This touch-up paint can be used on a wide variety of household appliances. It is most often used on washers, dryer, refrigerators, dishwashers, ranges, freezers, trash compactors, or microwaves. It is an 18 ml, or.6 fluid ounces, bottle of touch-up paint. It also features a brush for easy application. This quick-drying, long-lasting paint...Read more is perfect for fixing any nicks, scratches, or chips on the exterior of your appliance. This paint is white in color, and provides a durable finish.
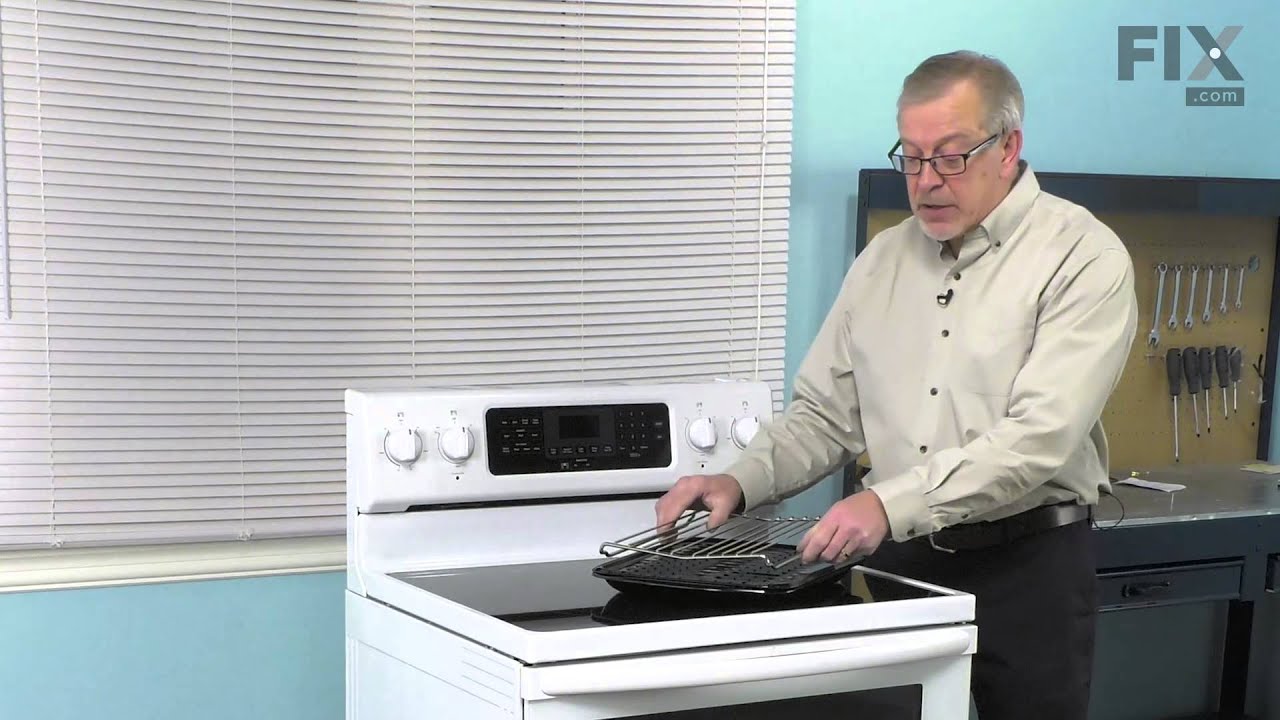
This broiler pan and roasting rack set is designed to help reduce mess while cooking by allowing grease to drain away from food. Its durable porcelain-coated construction stands up to high temperatures and makes cleanup simple. With approximate dimensions of 16 3/4 inches long, 12 3/4 inches wide, and 1 3/4 inches high, it offers a convenient size for everyday broiling and roasting.
Appliance spray paint is a great way to cover up any chips and scratches that have appeared on your appliances. Instead of replacing the part entirely, this is an easy fix. This is also a great way to give a fresh new look to any handles or areas that have discoloring due to wear. Make sure to clean the area before you begin and wear a pr...Read moreotective mask for safety. Give the can a good shake and spray a few inches away from the surface. Apply the paint until the area is fully covered as desired. Wait until the paint has dried before using the appliance.
This authentic OEM black touch-up paint is specifically designed for repairing minor scratches, chips, or blemishes on your kitchen appliances. The bottle contains 16ml or 0.6oz of black paint and has an applicator brush under the cap, the same way a nail polish bottle is designed. Restoring these visible damages is important because crac...Read moreked or chipped surfaces can become a breeding ground for dirt and bacteria. If your existing bottle of paint has a thick or clumpy consistency, do not use it. Remember to shake the bottle before applying the paint to your appliance. Please keep in mind that this bottle is sold individually.
Support cookware securely inside a compatible oven with a replacement wire rack. Replacement may be needed when the original rack is warped, corroded, missing, or no longer slides smoothly along the side guides. First, clean baked-on residue from the rack and guide rails because heavy buildup can restrict movement. Check that the oven lin...Read moreer and supports are not bent. Verify compatibility with the full appliance model, since racks for similar ovens may differ in size and stop placement. Work only when the oven is turned off and completely cool. Install the rack evenly on matching guides, avoid overloading it, and remove it during self-cleaning unless the owners manual says otherwise.
This sliding oven rack is designed to replace damaged, warped, or missing racks in wall ovens, microwave oven combinations, and freestanding ranges. It provides a stable, smooth-gliding surface for baking, roasting, and cooking, helping maintain even heat distribution and safe handling of cookware. The rack is constructed for durability a...Read morend ease of use, restoring full functionality to ovens that have lost or compromised their original racks. Installation is straightforward—simply slide the rack into the designated support rails. Always verify compatibility with your specific appliance model before installation to ensure proper fit and performance.
This high-limit thermostat is a safety-critical component designed to prevent overheating in ranges and wall ovens. It monitors internal temperatures and cuts power to the heating elements if the oven exceeds a preset threshold, typically around 335°F (170°C). Constructed from heat-resistant materials for long-term durability, it helps pr...Read moreotect internal components and reduce the risk of fire or damage caused by control system failures, ventilation blockages, or fan malfunctions. A faulty thermostat may result in no heat, uneven cooking, or failure to start. Replacing this part restores safe and reliable oven operation. Installation should be performed with the appliance disconnected from power.
Ask our experts a question about this model and we'll get back to you as soon as possible!
We may have answered a similar question already! Search questions and answers left by others using simple keywords like "fit", "broken", "easy", or "quality" to find questions that match.
Search filter:
Clear Filter
Your search term must have 3 or more characters.
Sort by:
Prev
1
Next
Sorry, we couldn't find any existing answers that matched.Try using some different or simpler keywords, or submit your new question by using the "Ask a Question" button above!
Chuck - For model number KODE500ESS02
February 21, 2020
When the oven is turned on the display say preheating but nothing happens, there is no error code displayed. It looks just like it is working with no heat, i changed the thermal overload already.
Hello Chuck,
Thank you for your question. If you have checked your oven and it seems to be running properly, but there is no heat we would recommend checking your element under part number PS11756151. Typically that would be next. However, checking with a multi meter to check for a break in connection would ultimately be the best way to check which part is causing you to not get your desired heat. We hope this helps you.
How do i change the language on the display from french to english?
Hello Roberto, thank you for your question. The Tools selection key allows you access to 9 hidden functions within the Electronic Oven Control. These hidden functions allow you to set the clock, change the oven temperature between Fahrenheit and Celsius, turn the audible signals and prompts on and off, and adjust the oven calibration, change the language, and turn on the Demo Mode.
The Sabbath Mode is also set using the Tools selection key.
To Use: Touch CLOCK/TOOLS. The oven display will scroll
through the various tools, starting at "1" and ending automatically
at "9." You can also touch the Tools key repeatedly to manually
scroll through the list of tools.
1 Clock
2 Fahrenheit and Celsius conversion
3 Sound On/Off
4 Sound High/Low
5 End tone On/Off
6 Calibration
7 Sabbath
8 Language
9 Demo Mode
Was this helpful?
Thank you for voting!
Jimmy - For model number KODE500ESS02
January 30, 2023
What’s the difference in a 00,01,02 etc
Hello Jimmy, Thank you for the question. The last two digits of the model number normally refer to the color of the appliance. We hope this information helps!
Was this helpful?
Thank you for voting!
Kenneth - For model number KODE500ESS02
March 11, 2026
I need bottom door part number
Hi Kenneth, thank you for getting in touch. The lower oven door for your model does not come as an assembly. It comes in parts. We have attached a link to the door parts through which you can order the required parts. We hope that helps!
Our display board says "error code err f1e0 display board". It does not work. Can someone please help support this appliance
Hello Benjamin, thank you for your question. Try unplugging the unit or turning the power off at the breaker and leave it for about 5 minutes. If the error continues the main control board should be replaced which is PartSelect Number: PS12348595. I hope this helps.
Was this helpful?
Thank you for voting!
Prev
1
Next
✖
Ask a Question
Ask our experts a question on this model and we'll respond as soon as we can.
See how others fixed this model. Time, tools, difficulty, and steps that lead to victory!View More
Search repair tips from other customers using simple keywords like "replace", "fit", "remove", "inspect". DIY doesn't mean you have to do it alone!
Search filter:
Clear Filter
Your search term must have 3 or more characters.
faulty meat probe
38 of 69 peoplefound this instruction helpful.
Kent from Seattle, WA
Really Easy
Less than 15 mins
Not a repair. Just needed to replace the meat probe sensor for the programmable oven. Quick and easy purchase and very fast delivery took care of the problem. I was back in business.
Was this helpful?
Thank you for voting!
Scratches in Surface
83 of 227 peoplefound this instruction helpful.
Michelle from Richardson, TX
Really Easy
Less than 15 mins
This product comes in a bottle with a brush like Liquid Paper. It goes on incredibly easy. A second coat might be needed. I wanted to prevent rust from setting in so I covered the scratches and dings. The paint is a little brighter since my washer is 10 years old but it still looks great.



 My Orders