This broiler pan and roasting rack set is designed to help reduce mess while cooking by allowing grease to drain away from food. Its durable porcelain-coated construction stands up to high temperatures and makes cleanup simple. With approximate dimensions of 16 3/4 inches long, 12 3/4 inches wide, and 1 3/4 inches high, it offers a convenient size for everyday broiling and roasting.
This is a replacement light bulb to illuminate the inside of your oven. It is 25 watts and 120 volts. Please wear gloves during replacement if your existing bulb is shattered. Consider ordering a spare as this is a common wear part.
Appliance spray paint is a great way to cover up any chips and scratches that have appeared on your appliances. Instead of replacing the part entirely, this is an easy fix. This is also a great way to give a fresh new look to any handles or areas that have discoloring due to wear. Make sure to clean the area before you begin and wear a pr...Read moreotective mask for safety. Give the can a good shake and spray a few inches away from the surface. Apply the paint until the area is fully covered as desired. Wait until the paint has dried before using the appliance.
Explore the whirlpool blower motor assembly, a genuine OEM part compatible with a range of models by Whirlpool, KitchenAid, Maytag, Jenn-Air, Amana, Inglis, and Magic Chef. This cooling fan motor assembly plays a crucial role in maintaining the functionality of stoves, ovens, and ranges, circulating air through the oven control area. It e...Read morensures all controls, wiring, and other components stay cool during use, thereby optimizing durability and performance. The fan blade measures 45 millimeters in diameter, fitting perfectly into most double ovens and enhancing efficiency. The assembly comes with an insulation strip to prevent air leaks through the back oven panel. Trust in Whirlpool's quality construction and upgrade your appliance with this blower motor assembly today.
Ask our experts a question about this model and we'll get back to you as soon as possible!
We may have answered a similar question already! Search questions and answers left by others using simple keywords like "fit", "broken", "easy", or "quality" to find questions that match.
Search filter:
Clear Filter
Your search term must have 3 or more characters.
Sort by:
Prev
1
Next
Sorry, we couldn't find any existing answers that matched.Try using some different or simpler keywords, or submit your new question by using the "Ask a Question" button above!
David - For model number KODC304EWH00
August 4, 2026
Our KitchenAid Double Oven will initially reach the temperature we set it at on both the top and bottom oven. However, it will not maintain that temperature throughout the baking period. Both ovens are also very slow to reach that initial temperature setting, particularly the bottom oven which normally reaches the initial temperature setting rather quickly.
Hello David, thank you for the question. When both ovens reach a temperature initially but cannot maintain it and are slow to preheat, the most likely cause is a failed heating element forcing the remaining elements to work harder. Visually inspecting the bake and broil elements in both cavities during a preheat cycle. Every element that is functioning should glow red. If any element stays dark, shows visible blistering, or has burn marks it has failed. If all elements appear to be glowing, the temperature sensor in one or both cavities may have drifted out of specification. A sensor that reads incorrectly causes the control board to cycle the elements off too early. The oven thinks it is at temperature when it is actually several degrees short. At room temperature a properly functioning sensor should read approximately 1080 ohms. We hope this is what you were looking for!
Looking for the high temperature circuit breaker thermostat
Hi Jim, thank you for getting in touch. The thermoprotector and high-limit thermostat listed for your model are part numbers PS11770348, and PS12348004. We hope that helps!
See how others fixed this model. Time, tools, difficulty, and steps that lead to victory!View More
Search repair tips from other customers using simple keywords like "replace", "fit", "remove", "inspect". DIY doesn't mean you have to do it alone!
Search filter:
Clear Filter
Your search term must have 3 or more characters.
The original blower squirrel cage failed out balance.
34 of 40 peoplefound this instruction helpful.
Joseph from North Grosvenordale, CT
Really Easy
30 - 60 mins
Pliers, Screw drivers
Safety first , I shut off the circuit breaker . I removed the racks from inside the wall oven . I removed the the wall oven from the niche .Then removed the three sheet metal panels in the rear of the oven exposing the mounting screws that hold the blower down .I removed the wires from the blower motor and then the blower assembly ,then I
... Read more removed the small duct affixed to the blower assembly by a single sheet metal screw and transferred it to the new blower assembly . I installed the adhesive backed foam strip that is a vibration dampener and reassembled in reverse order.Once the over was returned to its original position in the wall mounting I turned the breakers back on and tested the oven ...AAAAAAAAA++++++++++++ To be fair i must admit that I am not a novice at this 15 years of my working career revolved around HVAC and appliance repair ,still however a novice that is mechanically inclined can perform the same task in about 70 to 80 minutes as opposed to my 35 . That is all there is to it.
Read less
Was this helpful?
Thank you for voting!
Broken inner door glass
31 of 37 peoplefound this instruction helpful.
Elizabeth from Seattle, WA
Easy
30 - 60 mins
Screw drivers
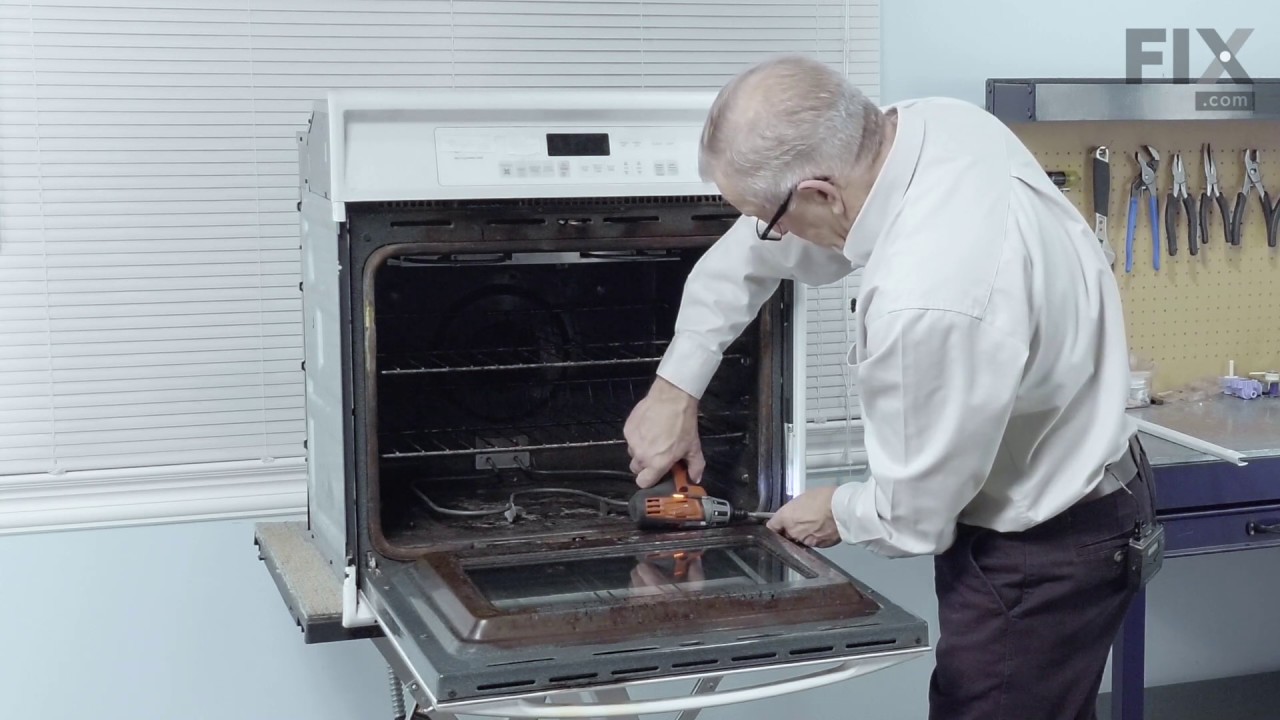
I removed all the screws attaching the inner liner to the door, then removed the broken glass. I did this before ordering the replacement glass so I could be sure that only one piece was broken -- the door contains four pieces of glass in all. After the replacement glass arrived (really fast delivery!), I cleaned all the parts and reass
... Read moreembled the door. I had some difficulty in aligning the screw holes properly, and I'm still not sure if I have the exterior sheet of glass positioned correctly -- the schematic shows the order in which the parts go together but not how they fit exactly. I should have inspected the door more closely before I took it apart. Anyway, it feels solid and everything seems to work.
Read less
Was this helpful?
Thank you for voting!
Inner glass
22 of 31 peoplefound this instruction helpful.
Michael from Denville, NJ
Easy
30 - 60 mins
Screw drivers
Take door off completely by setting hinge locks into place and then removing door. Take all of the screws out from frame (remember that the flat screws go the outside and the raised heads on the inside of door)Remove the clips on the bottom of door as well. Carefully remove frame. Then remove the inner glass clips, this will allow you to
... Read moreremove the broke or cracked glass easily and install the new glass. Set the door on a soft towel with finish side down. Make sure your hinges are on the proper sides if you moved them. (you will see where the screw hole matches up with the bottom of the frame. Do everything in reverse to put back together. Good Luck



 My Orders