


 My Orders




KODC304ESS01 Whirlpool Wall Oven - Overview
Diagrams for KODC304ESS01
See every part. Know exactly what you need.


Enter a part description. DIY Heroes keep it simple, eg. "belt" or "pump".
Search filter:
Clear Filter
Your search term must have 3 or more characters.

$7.47
In Stock

$49.50
In Stock
2 Piece Broiler Pan
Part #4396923
This broiler pan and roasting rack set is designed to help reduce mess while cooking by allowing grease to drain away from food. Its durable porcelain-coated construction stands up to high temperatures and makes cleanup simple. With approximate dimensions of 16 3/4 inches long, 12 3/4 inches wide, and 1 3/4 inches high, it offers a convenient size for everyday broiling and roasting.

$82.38
In Stock

$48.45
In Stock
Light Bulb
Part #WPW10169757
This is a replacement light bulb to illuminate the inside of your oven. It is 25 watts and 120 volts. Please wear gloves during replacement if your existing bulb is shattered. Consider ordering a spare as this is a common wear part.

$7.47
In Stock

No Longer Available
Spray Paint - 12 oz. - White
Part #350930
Appliance spray paint is a great way to cover up any chips and scratches that have appeared on your appliances. Instead of replacing the part entirely, this is an easy fix. This is also a great way to give a fresh new look to any handles or areas that have discoloring due to wear. Make sure to clean the area before you begin and wear a pr...Read moreotective mask for safety. Give the can a good shake and spray a few inches away from the surface. Apply the paint until the area is fully covered as desired. Wait until the paint has dried before using the appliance.
Read less

$7.47
In Stock

$7.47
In Stock

$103.35
In Stock

$177.61
In Stock
Range Blower Motor Assembly
Part #WPW10016550
Explore the whirlpool blower motor assembly, a genuine OEM part compatible with a range of models by Whirlpool, KitchenAid, Maytag, Jenn-Air, Amana, Inglis, and Magic Chef. This cooling fan motor assembly plays a crucial role in maintaining the functionality of stoves, ovens, and ranges, circulating air through the oven control area. It e...Read morensures all controls, wiring, and other components stay cool during use, thereby optimizing durability and performance. The fan blade measures 45 millimeters in diameter, fitting perfectly into most double ovens and enhancing efficiency. The assembly comes with an insulation strip to prevent air leaks through the back oven panel. Trust in Whirlpool's quality construction and upgrade your appliance with this blower motor assembly today.
Read less

No Longer Available

$7.47
In Stock
Common Symptoms of the KODC304ESS01
How this model fails, and the parts that fix it.
Element will not heat
Fixed by
these parts
these parts


Show All
Little to no heat when baking
Fixed by
these parts
these parts
Show All
Door won’t close
Fixed by
these parts
these parts


Show All
Oven not heating evenly
Fixed by
these parts
these parts
Show All
Door won’t open after self cleaning cycle
Fixed by
these parts
these parts
Show All
Watch our pros, then fix it yourself.

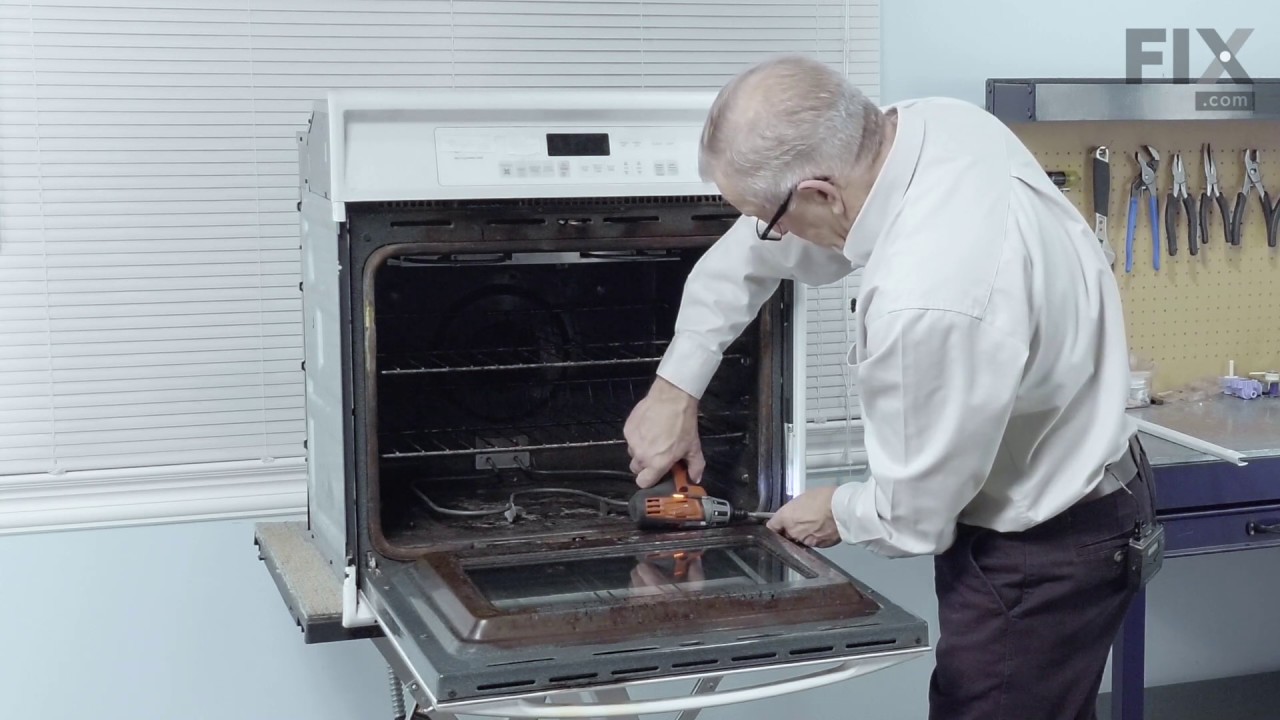

See how others fixed this model. Time, tools, difficulty, and steps that lead to victory!
View More