


 My Orders




KHEV01RSS0 KitchenAid Dryer - Overview
Diagrams for KHEV01RSS0
See every part. Know exactly what you need.


Enter a part description. DIY Heroes keep it simple, eg. "belt" or "pump".
Search filter:
Clear Filter
Your search term must have 3 or more characters.

$59.47
In Stock
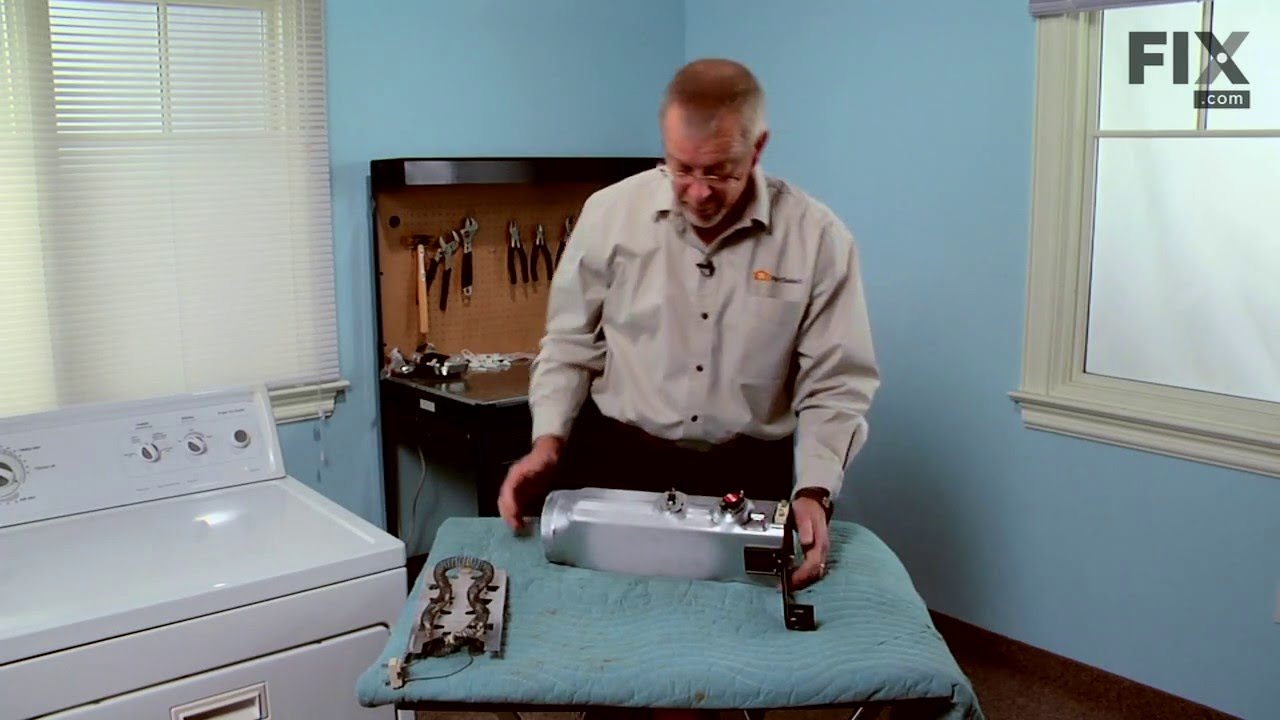
Dryer Heating Element
Part #WP3387747
When connected to electricity the dryer heating element glows red hot and generates heat. When air is blown over it, it heats the air which is used to dry the clothes. The heating element fits inside the heater housing inside the dryer. Wear and tear on the heater coil from use will eventually cause the coil to break and the element to fa...Read moreil. When this part fails it can cease to produce any heat. Alternately, the coil could break and short to ground allowing the dryer to continue to heat even when turned off. The latter is a fire hazard and the dryer should be disconnected from power until the element is replaced. If the element coil breaks, the element needs to be replaced. This model is 11 by 5 inches with 5/16” terminals, metal and ceramic, and comes in black. It is sold individually.
Read less

$6.40
In Stock
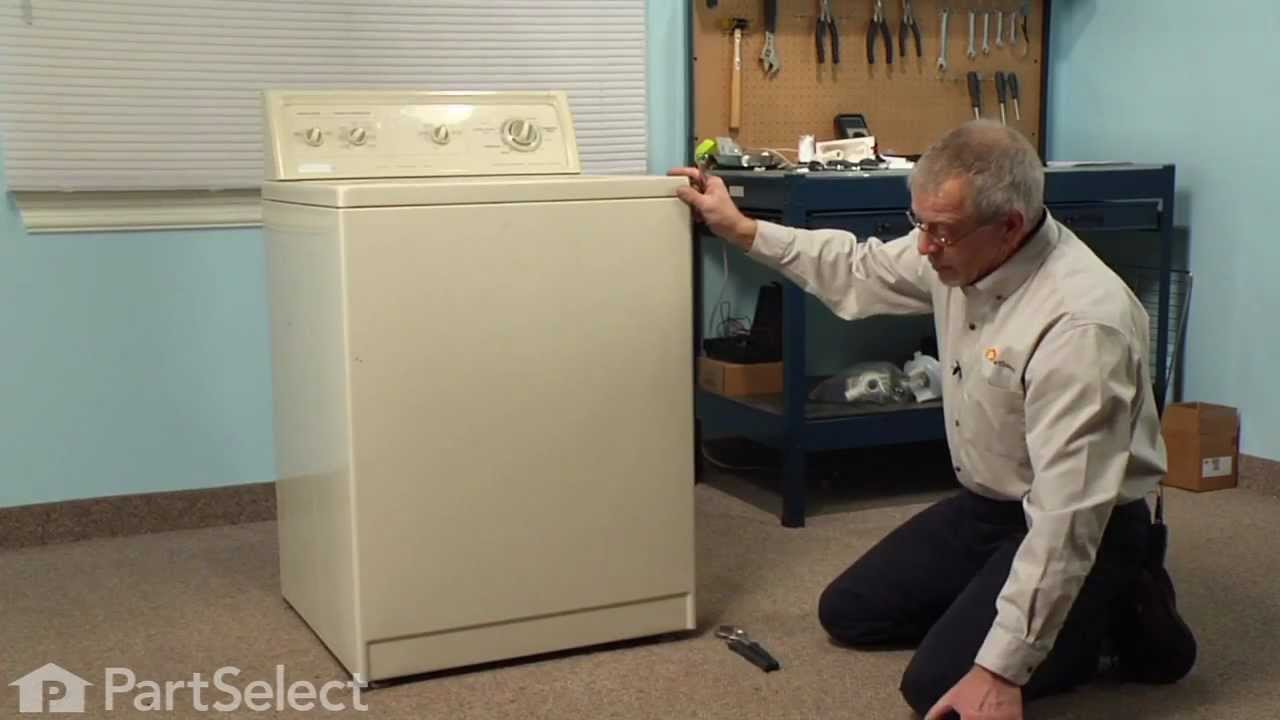
Washer Front Leveling Foot
Part #WPW10001130
The front facing foot is sold individually. It is used on your washing machine and can also be known as an adjustable leveling leg. This specific front facing leveling leg has a rubber foot. It is important that when installing this part you are very careful, if not installed correctly your washer will be off balance which will then cause...Read more it to vibrate and/or shake during the cycle. The function of the adjustable foot is to keep your washing machine supported and to make sure that it is level at all times. The tools you will need for this repair include a pair of channel lock pliers, and a 9/16 wrench.
Read less

$19.30
In Stock
Dryer Terminal Block
Part #WP3397659
This part is an electrical connector where you can attach wires. This part does NOT included the wires, screws, and nuts. Must be order separately

$7.47
In Stock
Leveling Leg Locking Nut
Part #WP3359452
The leveling leg locking nut is an OEM replacement fastener for use in dryers and washers. It has a head diameter of 3/8 inches and a thread pitch of 16 threads per inch. The nut secures the leveling legs which helps to stabilize and level the appliances when they are placed on uneven surfaces. The nut ensures that the leg is stable and d...Read moreoes not move during operation. Over time, the threads on the nut may become stripped, or the nut can corrode and break rendering it unable to secure the leveling legs. A faulty nut will cause the appliance to shake and vibrate excessively, and potentially damage the floor and its internal components. It is recommended to replace both the leveling leg and nut at the same time. Use a wrench or pliers to loosen and remove the old locking nut from the leveling leg. Thread the new nut on to the leveling leg and ensure that it is tightened securely. Be careful not to overtighten and damage the threads. Gently shake the appliance to ensure that it is stable and level. Each nut is sold individually.
Read less

No Longer Available
Stainless Steel Cleaning Wipes
Part #8212510A
No Longer Available
SENSOR
Part #8182839
No Longer Available
BELT
Part #8182802
No Longer Available
MOTOR-DRVE
Part #8182899
No Longer Available
NUT
Part #4364257
No Longer Available
TOP
Part #8182866
No Longer Available
CAPACITOR
Part #8182867
No Longer Available
SENSOR
Part #8182868
Manuals & Care Guides for KHEV01RSS0
Click to downloadInstall
Installation Instructions
(1.09MB)
Manual
Owner's Manuals
(0.71MB)
Manual
Owner's Manuals
(2.48MB)
Specs
Product Specifications Sheet
(0.28MB)
Common Symptoms of the KHEV01RSS0
How this model fails, and the parts that fix it.
Not Heating
Fixed by
these parts
these parts

Show All
Too hot
Fixed by
these parts
these parts
Show All
Shaking and Moving
Fixed by
these parts
these parts

Show All
Won’t Start
Fixed by
these parts
these parts

Show All
Watch our pros, then fix it yourself.
See how others fixed this model. Time, tools, difficulty, and steps that lead to victory!
View More