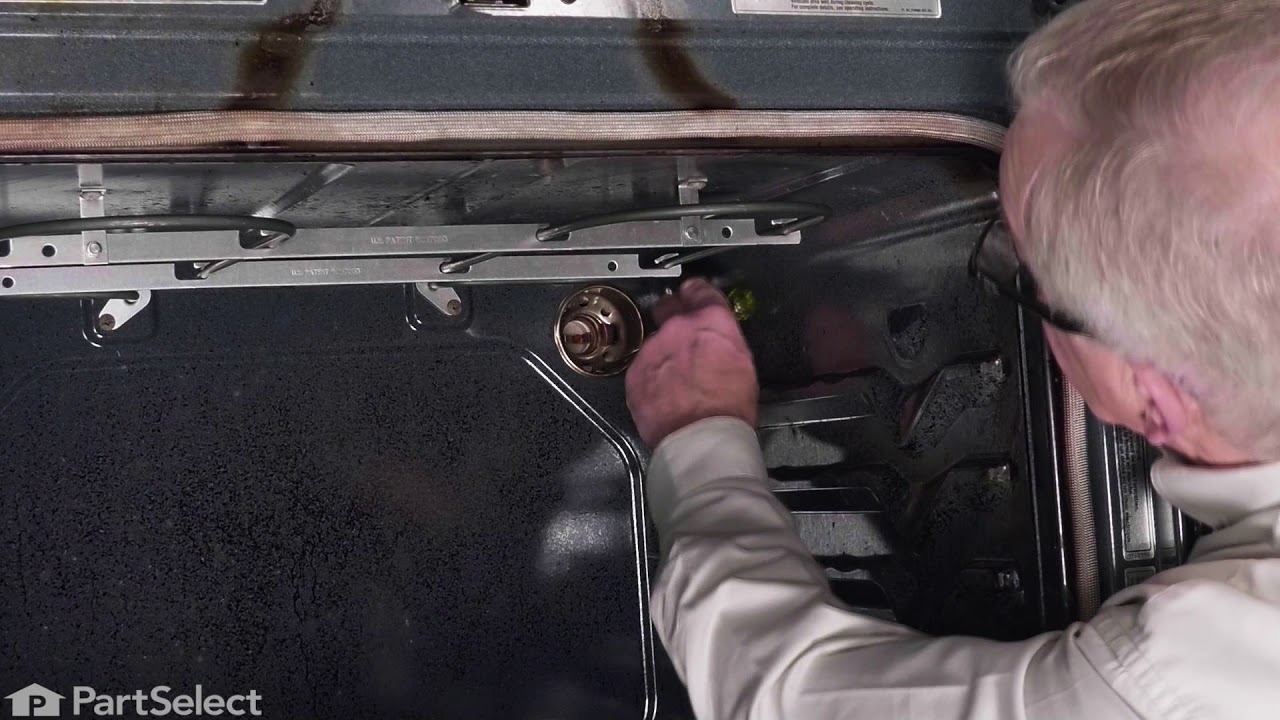
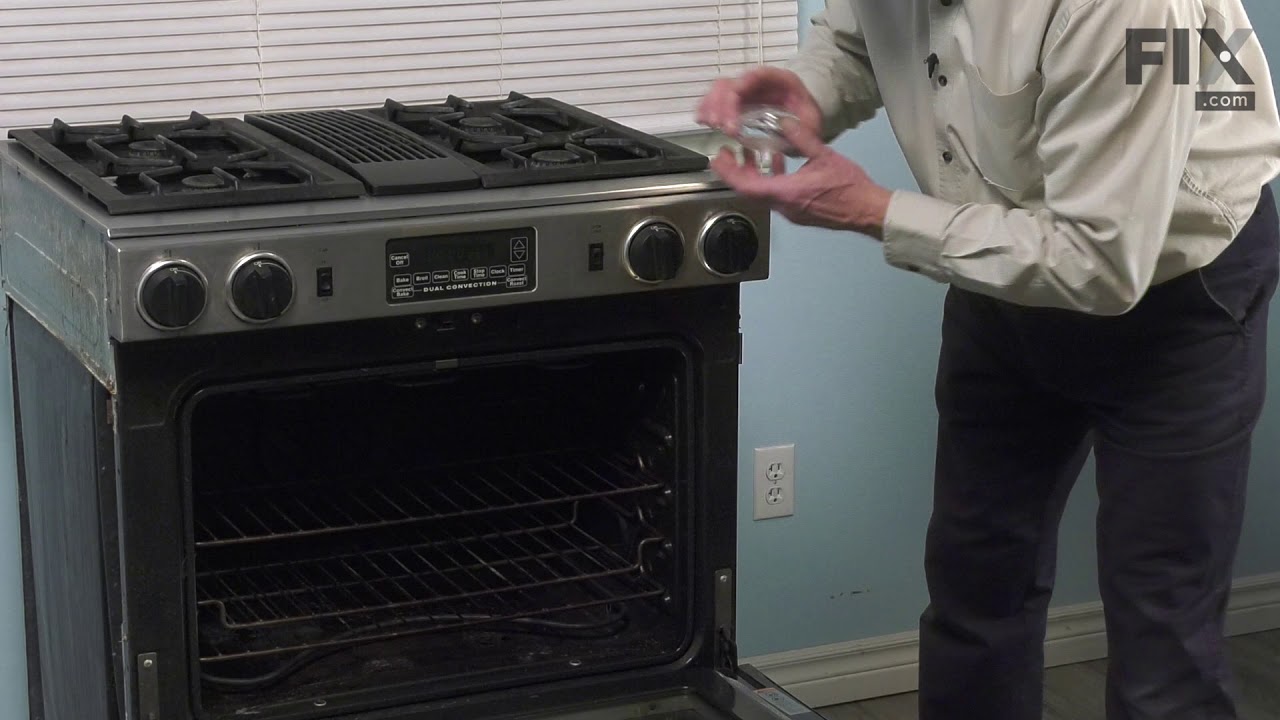
This an authentic OEM 40-Watt replacement light bulb, used in a number of household appliances. It is specially designed to withstand extreme temperatures, which is why these replacement bulbs are most often used to light the inside of refrigerators and ranges. It features a standard socket base, which means you simply unscrew the burnt-o...Read moreut bulb and screw in the replacement. Depending on the appliance you may require a screwdriver or nut driver to access the light bulb. We recommend you wear work gloves while handling this replacement part. It is constructed of glass and metal and is sold individually. Depending on the appliance and location of the bulb within it, you may want to consider disconnecting power and using a flashlight for easier access to unscrewing and re-screwing in your bulb during this repair.
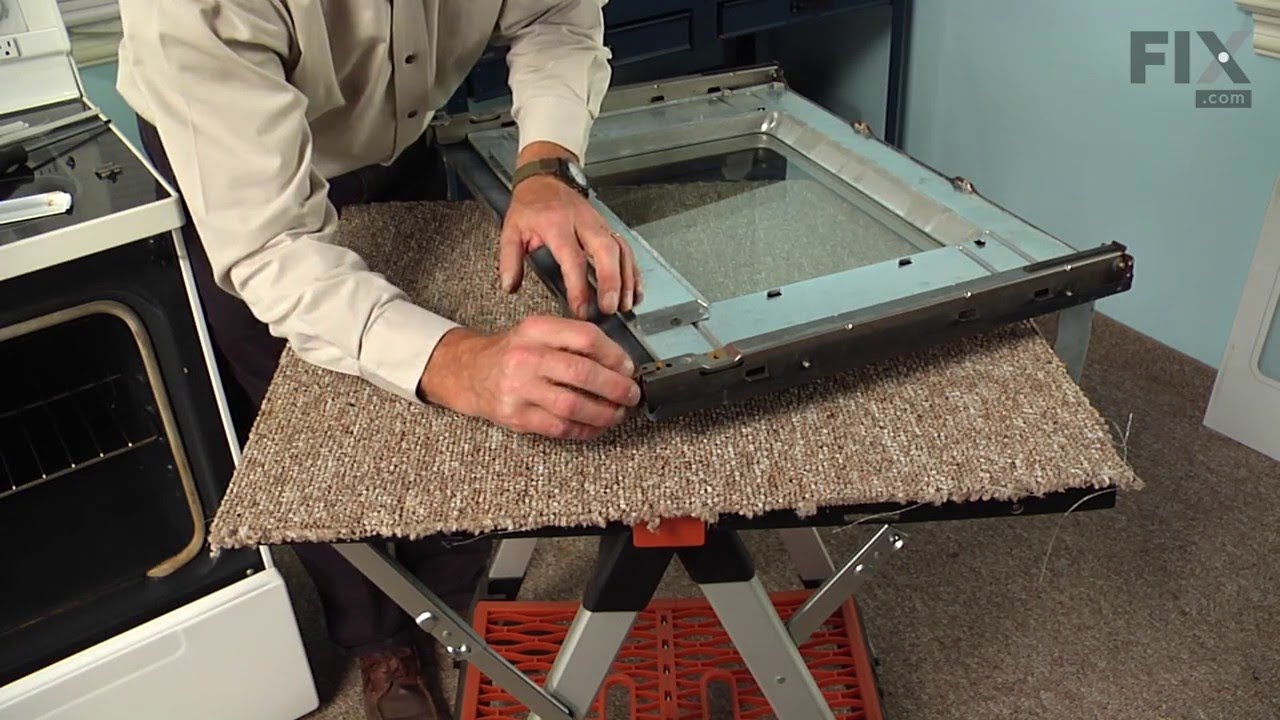
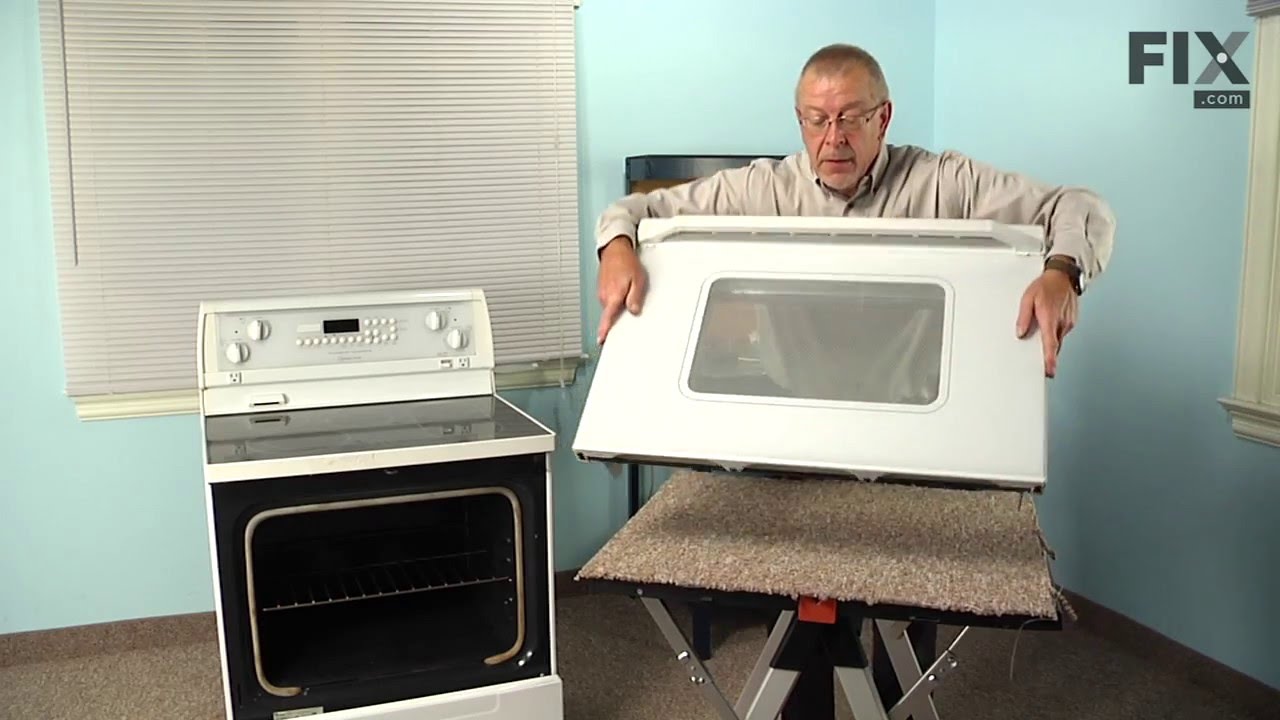
This inner door glass is used in ranges. It creates a transparent heat barrier inside your oven door. For this installment, the only tool needed is a #2 Phillips screwdriver. To repair, first remove the oven door from the range by lifting and pulling from the bottom of the hinges. To dissemble the door, you will need to remove the screws ...Read moreon the outer edge and remove the side pieces. There are also screws towards the middle that need to be removed to pull out the bottom trim. Next, lay the door on its back and slide outer door glass off and remove top trim. For the rest of the installation instructions refer to the manual provided by the manufacturer. Pro tip: remember to wait until the surface is cool before starting this repair project.
This touch-up paint can be used on a wide variety of household appliances. It is most often used on washers, dryer, refrigerators, dishwashers, ranges, freezers, trash compactors, or microwaves. It is an 18 ml, or.6 fluid ounces, bottle of touch-up paint. It also features a brush for easy application. This quick-drying, long-lasting paint...Read more is perfect for fixing any nicks, scratches, or chips on the exterior of your appliance. This paint is white in color, and provides a durable finish.
This broiler pan and roasting rack set is designed to help reduce mess while cooking by allowing grease to drain away from food. Its durable porcelain-coated construction stands up to high temperatures and makes cleanup simple. With approximate dimensions of 16 3/4 inches long, 12 3/4 inches wide, and 1 3/4 inches high, it offers a convenient size for everyday broiling and roasting.
This bottle of non-abrasive cooktop cleaner breaks down and gets rid of the hardest baked-on stains and residue without causing any harm to your appliance. The bottle is 10 oz and does not require a large amount of product to do the job. This cleaner is perfectly safe to use on any glass, ceramic, stainless steel, chrome, or porcelain coo...Read morektop surface. The cleaner is creamy in texture and provides a protective coat of silicone on smooth surfaces. To apply, use a gentle scrub, sponge, or rag and gently press in a circular motion until the stains are removed.
The light socket on your electric range connects the power source to the light bulb. If your oven light is malfunctioning, you may need to replace the light socket. The light socket is located in the back of your range, so in order to access it you will need to remove the back panel. Many of our customers have rated this repair as easy, a...Read morend it should take less than 15 minutes. Before you begin this repair, make sure to disconnect the power source from your range. This is an OEM part sourced directly from the manufacturer.
The light cover lens in your oven is designed to protect the light bulb. If your light cover lens is damaged, you will need to replace it. This part is made of clear glass and is roughly 3 inches in diameter. Many of our customers have rated this repair as easy, and it should take less than 10 minutes to complete. In order to do this repa...Read moreir, simply unscrew the old light cover lens, and replace it with the new one. If your old light cover lens is damaged, be careful of any broken glass when completing this repair.
Appliance spray paint is a great way to cover up any chips and scratches that have appeared on your appliances. Instead of replacing the part entirely, this is an easy fix. This is also a great way to give a fresh new look to any handles or areas that have discoloring due to wear. Make sure to clean the area before you begin and wear a pr...Read moreotective mask for safety. Give the can a good shake and spray a few inches away from the surface. Apply the paint until the area is fully covered as desired. Wait until the paint has dried before using the appliance.
Ask our experts a question about this model and we'll get back to you as soon as possible!
We may have answered a similar question already! Search questions and answers left by others using simple keywords like "fit", "broken", "easy", or "quality" to find questions that match.
Search filter:
Clear Filter
Your search term must have 3 or more characters.
Sort by:
Prev
1
Next
Sorry, we couldn't find any existing answers that matched.Try using some different or simpler keywords, or submit your new question by using the "Ask a Question" button above!
Jamie - For model number KGSC308LSS0
May 4, 2023
The control panel is no longer working. Is it possible to get a replacement?
Hi Jamie,
Thank you for your question. The part number for the control panel is PS650926. We hope this helps!
See how others fixed this model. Time, tools, difficulty, and steps that lead to victory!View More
Search repair tips from other customers using simple keywords like "replace", "fit", "remove", "inspect". DIY doesn't mean you have to do it alone!
Search filter:
Clear Filter
Your search term must have 3 or more characters.
Inside door glass broke
133 of 151 peoplefound this instruction helpful.
MANNY from LIVERMORE, CA
Easy
15 - 30 mins
Screw drivers
I removed the oven door by lifting it off with the hinges. Disassembled the door parts one at time making sure I remember where I removed the screws until I am able to get to the broken glass. The most difficult part is making sure that the insulation strip & the gasket stayed in place after I replaced the broken glass & doing the reverse
... Read more process of installing the parts together. Relatively easy process as long as you remember where the parts go. When in doubt, I had to refer to the pictorial of the disassembled door shown on your website.
Read less
Was this helpful?
Thank you for voting!
several grate pads fell out/lost /broke during cleaning
61 of 67 peoplefound this instruction helpful.
Sabrina from Mooresville, NC
Really Easy
Less than 15 mins
The only real issue was locating the proper adhesive to ensure that the new pads would not fall out. The small insert paper slip in the package noted that a RTV adhesive should be used. After much searching at the home improvement super store, I learned it would be found at an auto supply store. It is black, and is for high temp use. It i
... Read mores available in a small tube for around $2.00. The RTV is usually used to make gaskets for heat/oil exposure in auto repair. I did have trouble removing a broken stub from a pad that had broken off in the hole. I used an awl to get what I could and push the rest into the hole deeper, then insert a new pad with along with the adhesive.
Read less
Was this helpful?
Thank you for voting!
Oven stopped working/Slow to ignite
59 of 64 peoplefound this instruction helpful.
John from Chicago, IL
A Bit Difficult
30 - 60 mins
Nutdriver, Screw drivers, Wrench set
Although the ignitors glowed brilliant yellow I learned from an expert there are 2 fail modes. 1. that they break and don't glow well enough to ignite the gas or 2. they get resistive over the years and do not pass enough current to open the valve. This is important to know because the current passes through the ignitor before it gets t
... Read moreo the valve. If the ignitor resists too much then the valve never gets enough power to open. As evidence you get slow ignitions until one day it stops altogether.
There are 2 ignitors in this oven. one for the broiler and 1 for the oven. The broiler is exposed so easily removed. For the oven you need to remove the flame spreader cover and the flame spreader. Need a good screw driver for all the screws in the oven because they get corroded from the hostile environment and also the factory torques them in pretty good when new. It is hard to get leverage leaning into an oven without leaning on the oven door which could unhinge it. With a good screw driver and getting a good seat into the screw you can break it loose. Then some muscle power to get it out. 1 screw refused to come out all the way so I grabbed it with some pliers and pulled and twisted it out. A trick I learned from my days as a mechanic is to use valve lapping compound on the screw driver. The diamond dust bites into the screw for a grip on those really bad ones.
The last tricky part is you have to remove the back cover on the oven, unplug the wires and pull the ignitor out through the oven. When you see the wires in the back you will see insulation packing. Hint: If your smart you will tie a string to the wires before you pull it though so it is easier to pull the new ignitor wires back the same way. Else you need to use a stick to feel your way through the insulation packing to find the wires.
Hardest part of this job is undoing the screws. The rest is easy.



 My Orders