


 My Orders




KGCU483VSS00 KitchenAid Cooktop - Overview
Diagrams for KGCU483VSS00
See every part. Know exactly what you need.


Enter a part description. DIY Heroes keep it simple, eg. "belt" or "pump".
Search filter:
Clear Filter
Your search term must have 3 or more characters.

$21.45
In Stock
Screw
Part #W11233072
This is a multi-use and multi-appliance screw. It can be used on a microwave, refrigerator, range/oven, air conditioner, dehumidifier, washer, or dryer. The measurements of this screw are 8 x 1/2 inch. It has 6 threads. Refer to the manual provided by the manufacturer for further information on repair and accurate guidance. Remember to wear work gloves as a safety precaution.

$7.47
In Stock

$72.00
In Stock
Range Temperature Sensor
Part #WPW10131825
The temperature sensor measures the temperature inside the oven. If your oven is too hot, not heating evenly, is not heating enough when baking, or simply will not start, you could have a faulty temperature sensor. A faulty temperature sensor can be a fire risk. If your sensor is not working properly, you should look to replace it straigh...Read moret away. A failed oven sensor is most often responsible for F3 or F4 error messages on electronically-controlled ovens. Make sure you disconnect the power to your range before you start your repair.
Read less

$11.77
In Stock
Grate Feet - Kit of 4
Part #W10185266
This kit contains 4 grate feet for a range. These are the feet to fit your burner grates so the burner will not scratch your cooktop. The are black in color and made of rubber. These feet are fitted with a specific fire-resistant adhesive. If necessary, be sure to order adhesive separately. Be sure your burners are off and have cooled down to the touch before replacing these parts.

$21.45
In Stock

$17.15
Special Order
Palnut
Part #7103P166-60
This palnut is designed for use in cooktops, ranges, wall ovens, dehumidifiers, and range hoods. The palnut is screwed onto a bolt on top of an ordinary nut, and locks the nut in place when the nut is tightened. This product is made of metal, and is approximately 1/2-inch in diameter. This product is sold individually. This is an OEM part...Read more sourced directly from the manufacturer. Be sure to disconnect power to the appliance before you begin this repair.
Read less

$7.47
In Stock

$208.27
In Stock
Grate Kit
Part #W11569347

$148.25
Special Order
Regulator
Part #WP9759091
This part makes sure that no gas is released until the igniter gets enough power to ignite the gas range and automatically cuts off the flow of gas at a certain pressure.

$66.77
Special Order

No Longer Available

$81.30
In Stock
Surface Burner
Part #WPW10282515
Introducing the Whirlpool Surface Burner Head! This high-quality, genuine OEM burner base is designed to distribute gas evenly across your cooktop for consistent, optimal flame control. Built for durability and precision, it is compatible with select models from Whirlpool, KitchenAid, Maytag, Jenn-Air, Amana, Inglis, and Magic Chef. Befor...Read moree installation, it is advised to disconnect the gas supply and unplug the range to ensure safety, as well as wear work gloves to protect your hands during the process. Invest in the Whirlpool Surface Burner Head today to maximize your cooking experience. Please remember to double-check your model so the part will fit just right.
Read less
Manuals & Care Guides for KGCU483VSS00
Click to downloadInstall
Installation Instructions
(1.76MB)
Install
Installation Instructions
(4.75MB)
Manual
Owner's Manuals
(3.72MB)
Manual
Owner's Manuals
(3.92MB)
Specs
Product Specifications Sheet
(0.27MB)
Common Symptoms of the KGCU483VSS00
How this model fails, and the parts that fix it.
Oven is too hot
Fixed by
these parts
these parts

Show All
Little to no heat when baking
Fixed by
these parts
these parts
Show All
Oven not heating evenly
Fixed by
these parts
these parts
Show All
Will Not Start
Fixed by
these parts
these parts
Show All
Element will not heat
Fixed by
these parts
these parts
Show All
Lid or door won’t close
Fixed by
these parts
these parts

Show All
Watch our pros, then fix it yourself.
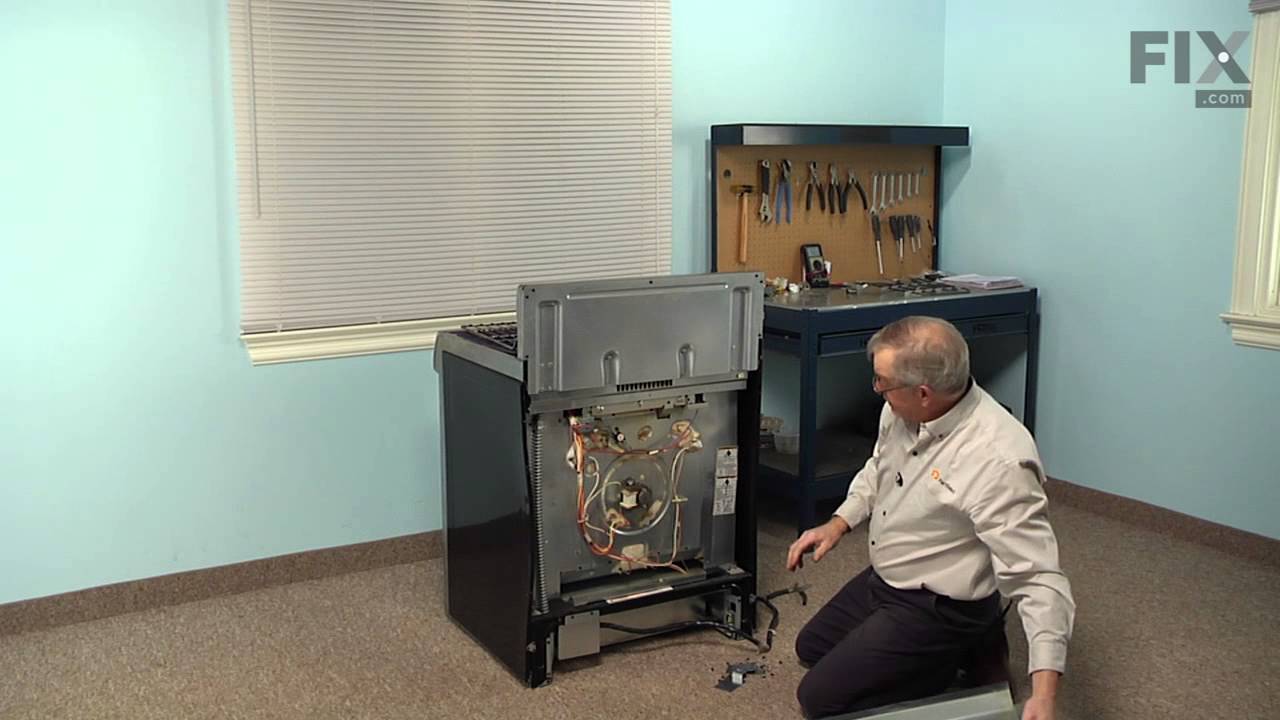
See how others fixed this model. Time, tools, difficulty, and steps that lead to victory!
View More