


 My Orders




KFU - Overview
Models starting with KFU
Click on the best match to narrow your results.
- KFU09M2AW0 Kelvinator Freezer (Kelv U09 Frz)
- KFU09M2AW1 Kelvinator Freezer (Kelv U09 Frz)
- KFU09M2AW2 Kelvinator Freezer (Kelv U09 Frz)
- KFU12M0AW0 Kelvinator Freezer (Upright)
- KFU12M0AW1 Kelvinator Freezer (Upright)
- KFU12M2AW0 Kelvinator Freezer (Kelv U12 Frz)
- KFU12M2AW1 Kelvinator Freezer (Kelv U12 Frz)
- KFU12M2AW2 Kelvinator Freezer (Kelv U12 Frz)
- KFU13M3LW0 Kelvinator Freezer
- KFU13M3LW1 Kelvinator Freezer (Kelv U13dww Mdf)
- KFU14M2AW0 Kelvinator Freezer (Kelv U14 Frz)
- KFU14M2AW1 Kelvinator Freezer (Kelv U14 Frz)
- KFU14M2AW2 Kelvinator Freezer (Kelv U14 Frz)
- KFU17M3AW0 Kelvinator Freezer (Kelv U17 Frz)
- KFU17M3AW1 Kelvinator Freezer (Kelv U17 Frz)
- KFU17M7LW0 Kelvinator Freezer
- KFU17M7LW1 Kelvinator Freezer
- KFU17M7LW2 Kelvinator Freezer (Commercial Freezer)
- KFU21M3AW0 Kelvinator Freezer (Kelv U21 Frz)
- KFU21M3AW1 Kelvinator Freezer (Kelv U21 Frz)
- KFU21M7LW0 Kelvinator Freezer
- KFU21M7LW1 Kelvinator Freezer
- KFU21M7LW2 Kelvinator Freezer
- KFU21M7LW3 Kelvinator Freezer (Commercial Freezer)
- KFU5750 (02) Bosch Refrigerator (Bosch Refrigerator Kfu5750/02)
- KFU5750 (01) Bosch Refrigerator (Bosch Refrigerator Kfu5750/01)
- KFU5750 (03) Bosch Refrigerator (Bosch Refrigerator Kfu5750/03)
- KFU5750 Maytag Refrigerator
- KFU5755 Maytag Refrigerator
Enter a part description. DIY Heroes keep it simple, eg. "belt" or "pump".
Search filter:
Clear Filter
Your search term must have 3 or more characters.

$14.18
In Stock
Freezer Door Key
Part #297147700
This freezer door key is designed for use with most upright and chest freezers. It is an authentic OEM replacement part. Your appliance has a lid or door that locks and unlocks, this key controls that function. If your key is lost or damaged this is the replacement you need. Be sure to store this key someplace safe, we also recommend that...Read more you store it away from the freezer. This part is made of plastic, is white in color, and it is sold individually.
Read less

$30.53
In Stock

$30.53
In Stock
Door Switch
Part #W11396033
This light switch may also be known as a refrigerator door switch or a light switch kit, and is compatible with your refrigerator. The function of the refrigerator door switch is to turn on the light when your fridge door is open, and to make sure it is off when your refrigerator door is closed. The reason you would need to replace this p...Read moreart is if your light is not turning on when your door is open. For this repair, you will need a putty knife, and a small flat-blade screwdriver.
Read less

$126.45
In Stock
Freezer Door Gasket
Part #5304507199
This gasket is used to seal the freezer door when closed to keep the cool air inside and the warm temperature surrounding the freezer from getting in. It is white in color. If you notice that your freezer is not shutting with ease, is not maintaining your desired temperature, or there is frost build up, it could be due to the door gasket ...Read morebeing damaged. You might also notice that there is a leak coming from the door and this could also be caused by the gasket being worn, damaged, or no longer aligned properly. You will need to remove the existing screws before installing the gasket.
Read less

$69.59
In Stock

$56.05
In Stock
Run Capacitor
Part #5304464438
The run capacitor helps the compressor kick on and off while maintaining a constant temperature in your fridge and freezer. You may need to replace your run capacitor if your refrigerator or freezer section will not start, if they are too warm, or if your refrigerator has become too noisy. Replacing the run capacitor is a relatively easy ...Read moreproject. For this repair you will only need a 1/4 inch nut driver and needle nose pliers. Remember to disconnect the power and water supply line to the unit before you begin this repair. For full step by step instructions, simply click on the video below.
Read less

$21.45
In Stock
Screw
Part #W11233072
This is a multi-use and multi-appliance screw. It can be used on a microwave, refrigerator, range/oven, air conditioner, dehumidifier, washer, or dryer. The measurements of this screw are 8 x 1/2 inch. It has 6 threads. Refer to the manual provided by the manufacturer for further information on repair and accurate guidance. Remember to wear work gloves as a safety precaution.

$7.47
In Stock

$52.75
In Stock
Run Capacitor - 120V
Part #297286803
This part helps the compressor kick on and off while maintaining a constant temperature to keep things frozen in your freezer. The run capacitor is attached to the compressor. This part is 120 volts and 15 mfd. The run capacitor helps the compressor kick on and off while maintaining a constant temperature to keep things frozen in your fre...Read moreezer. If your refrigerator is too warm, will not start, or your freezer section is too warm, you may need to replace this part. This is a genuine OEM part. Please remember to disconnect power to your refrigerator before starting your repair.
Read less

No Longer Available
Crisper Drawer Shelf Support
Part #67764-1
This crisper drawer shelf support is used for many refrigerators.

$7.47
In Stock
Washer Hose Clamp
Part #WP596669
This hose clamp is used in a wide variety of household appliances. Most often it is found in washers, dishwashers, refrigerators, freezers, dehumidifiers, garbage disposals, or air conditioners. This clamp is used to securely attach a hose to another part of your appliance, which helps prevent leaks from those connections. Depending on th...Read moree appliance, it can attach hoses to drain pumps, water inlet valves, pressure switches, and injector nozzles. We recommend you refer to model-specific diagrams for appropriate uses and exact placement. This hose clamp is made of metal, and is sold individually. To access and replace this part you will need a nut driver, pliers, and screwdrivers. Before you begin any repair work, make sure you have unplugged your appliance, and shut off the water supply if applicable.
Read less

$130.85
In Stock
Refrigerator Door Gasket
Part #5304507200
This door gasket, also known as a door seal, is sourced from the original equipment manufacturer for use in refrigerators and freezers. It is a flexible rubber strip that runs along the edge of the appliance door. It creates an airtight seal between the door and cabinet to prevent cold air from escaping, and warm air from entering the ref...Read morerigerator, to ensure that the temperature in the appliance remains constant. Over time, the door gasket can lose its elasticity or tear. In this case, you will likely notice frost build-up, increased noise, and inconsistent temperatures. Peel the faulty gasket off the refrigerator frame and remove any debris or residue on the surface. Carefully place the new seal along the edge of the door and press it firmly into place. Secure it with the appropriate fasteners and close the door to verify that there are no gaps between the door and cabinet.
Read less
Common Symptoms of models starting with KFU
How this model fails, and the parts that fix it.
Light not working
Fixed by
these parts
these parts


Show All
Frost buildup
Fixed by
these parts
these parts


Show All
Leaking
Fixed by
these parts
these parts


Show All
Will Not Start
Fixed by
these parts
these parts


Show All
Fridge too warm
Fixed by
these parts
these parts

Show All
Won’t start
Fixed by
these parts
these parts

Show All
Ice maker not making ice
Fixed by
these parts
these parts


Show All
Too warm
Fixed by
these parts
these parts
Show All
Door won’t open or close
Fixed by
these parts
these parts


Show All
Freezer section too warm
Fixed by
these parts
these parts
Show All
Ice maker won’t dispense ice
Fixed by
these parts
these parts


Show All
Fridge and Freezer are too warm
Fixed by
these parts
these parts
Show All
Ice maker dispenses too much ice
Fixed by
these parts
these parts

Show All
Not dispensing water
Fixed by
these parts
these parts

Show All
Doesn’t stop running
Fixed by
these parts
these parts

Show All
Door Sweating
Fixed by
these parts
these parts
Show All
Noisy
Fixed by
these parts
these parts

Show All
Clicking sound
Fixed by
these parts
these parts
Show All
Fridge too cold
Fixed by
these parts
these parts

Show All
Door latch failure
Fixed by
these parts
these parts


Show All
Freezer not defrosting
Fixed by
these parts
these parts
Show All
Fridge runs too long
Fixed by
these parts
these parts
Show All
Too cold
Fixed by
these parts
these parts
Show All
Will not drain
Fixed by
these parts
these parts
Show All
Watch our pros, then fix it yourself.


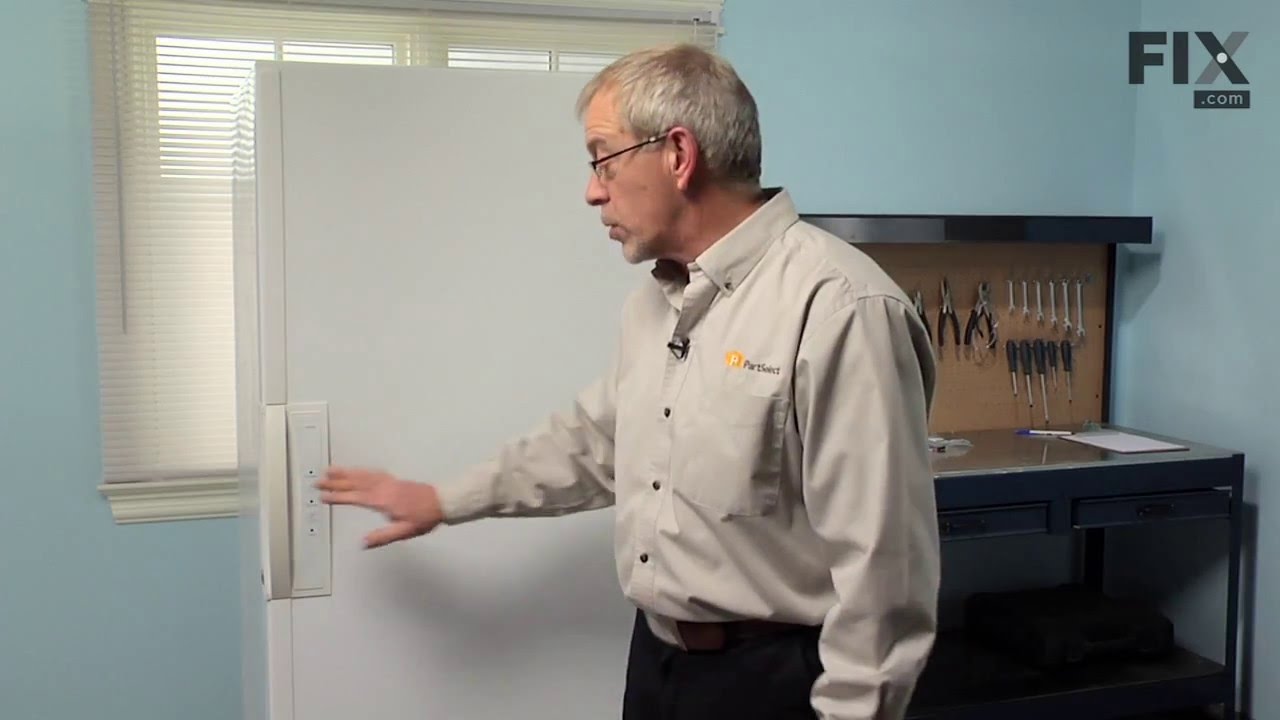
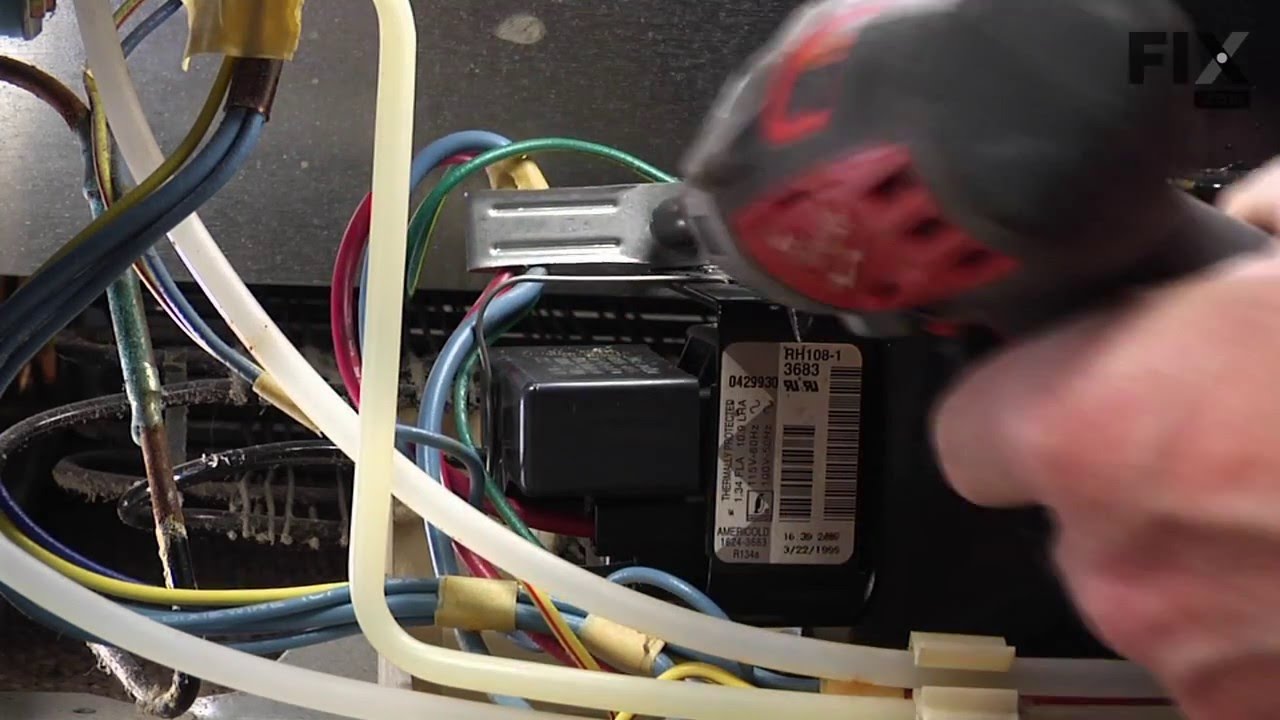

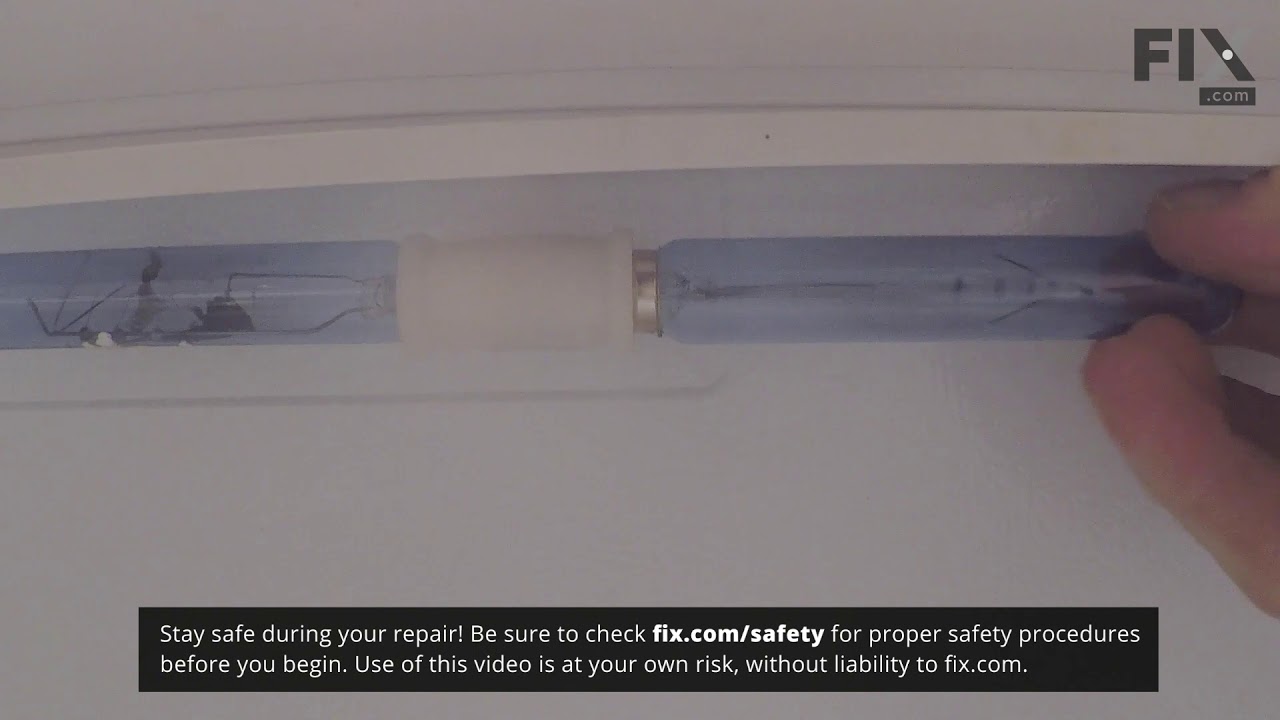


See how others fixed this model. Time, tools, difficulty, and steps that lead to victory!
View More