This an authentic OEM 40-Watt replacement light bulb, used in a number of household appliances. It is specially designed to withstand extreme temperatures, which is why these replacement bulbs are most often used to light the inside of refrigerators and ranges. It features a standard socket base, which means you simply unscrew the burnt-o...Read moreut bulb and screw in the replacement. Depending on the appliance you may require a screwdriver or nut driver to access the light bulb. We recommend you wear work gloves while handling this replacement part. It is constructed of glass and metal and is sold individually. Depending on the appliance and location of the bulb within it, you may want to consider disconnecting power and using a flashlight for easier access to unscrewing and re-screwing in your bulb during this repair.
This is a leveling leg for your oven, range, or stove. The leveling legs on your oven allow your appliance to sit perfectly flat. The new one may be longer in length than your original, but will work the same. Install the new leveling leg, and test if you have it adjusted properly by putting the appliance on four legs. Adjust in or out a...Read mores required if your oven is rocking. It is recommended to check the other three leveling legs on your appliance in case they are also damaged or worn. The leveling leg measures 1.859", is all black in color, and is made entirely out of plastic. This leg may be shorter than the original but is the factory replacement. Longer leg is not available.
This is a multi-use and multi-appliance screw. It can be used on a microwave, refrigerator, range/oven, air conditioner, dehumidifier, washer, or dryer. The measurements of this screw are 8 x 1/2 inch. It has 6 threads. Refer to the manual provided by the manufacturer for further information on repair and accurate guidance. Remember to wear work gloves as a safety precaution.
This gas range oven igniter is a flat-style component designed to initiate the heating process by glowing and igniting the gas for the bake burner. Essential for proper oven function, it ensures consistent and reliable heat for baking and broiling. Compatible with a wide range of models across brands such as Whirlpool, Maytag, KitchenAid,...Read more Kenmore, and others, this igniter addresses common issues including no heat, weak flame, uneven cooking, or delayed ignition. If the igniter glows but fails to light the burner, or if the oven doesn’t respond or heat evenly, replacement may be necessary. Before installation, disconnect power, shut off the gas supply, and verify compatibility with your appliance model. Handle the igniter carefully, as it is fragile.
This touch-up paint can be used on a wide variety of household appliances. It is most often used on washers, dryer, refrigerators, dishwashers, ranges, freezers, trash compactors, or microwaves. It is an 18 ml, or.6 fluid ounces, bottle of touch-up paint. It also features a brush for easy application. This quick-drying, long-lasting paint...Read more is perfect for fixing any nicks, scratches, or chips on the exterior of your appliance. This paint is white in color, and provides a durable finish.
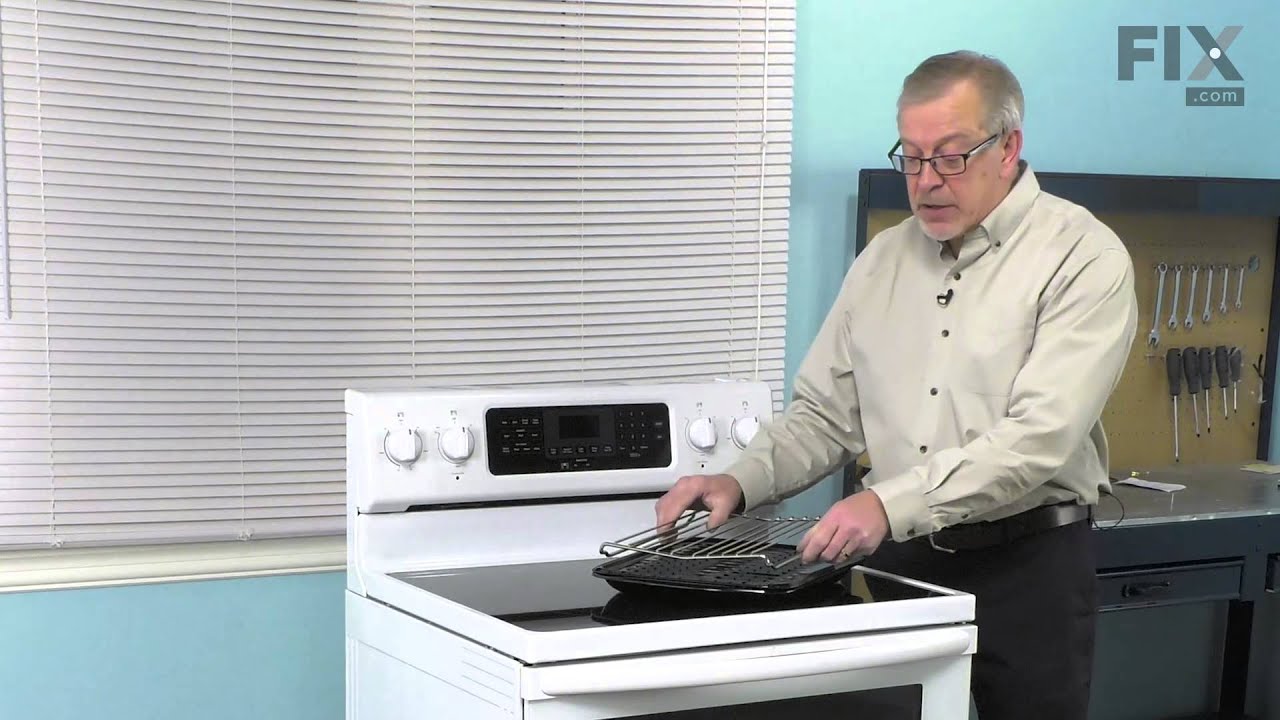
This broiler pan and roasting rack set is designed to help reduce mess while cooking by allowing grease to drain away from food. Its durable porcelain-coated construction stands up to high temperatures and makes cleanup simple. With approximate dimensions of 16 3/4 inches long, 12 3/4 inches wide, and 1 3/4 inches high, it offers a convenient size for everyday broiling and roasting.
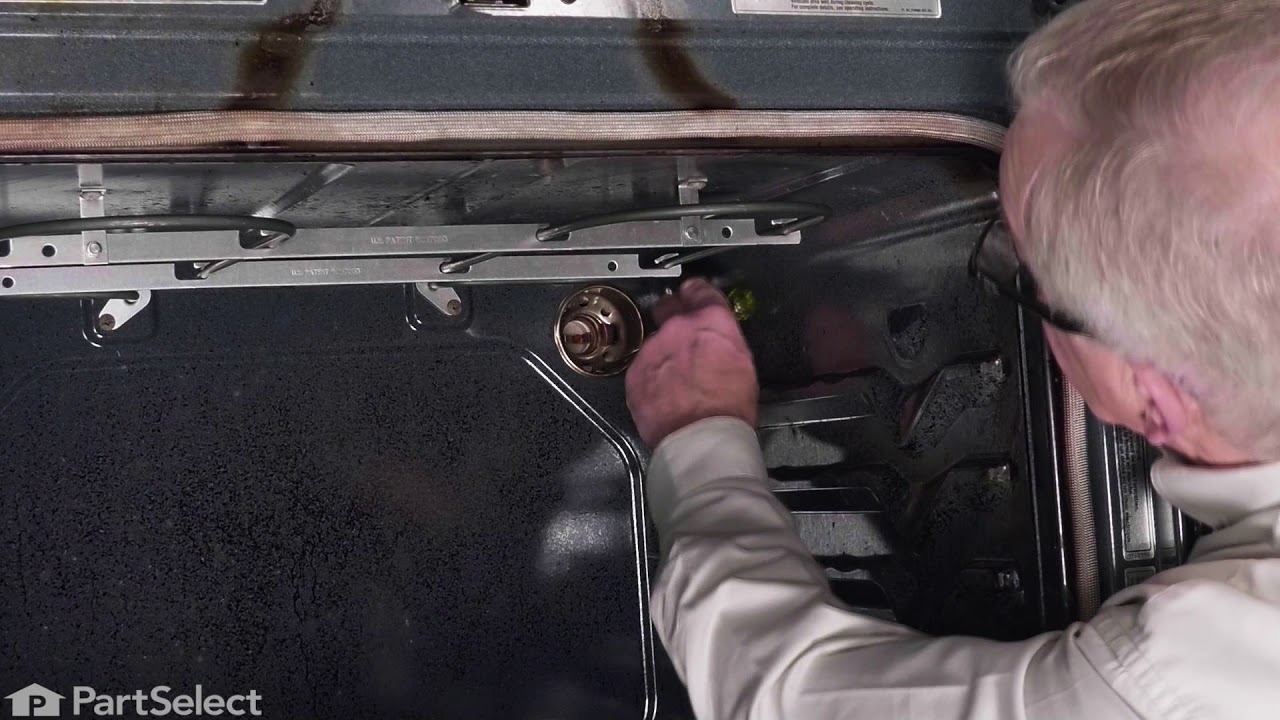
The light socket on your electric range connects the power source to the light bulb. If your oven light is malfunctioning, you may need to replace the light socket. The light socket is located in the back of your range, so in order to access it you will need to remove the back panel. Many of our customers have rated this repair as easy, a...Read morend it should take less than 15 minutes. Before you begin this repair, make sure to disconnect the power source from your range. This is an OEM part sourced directly from the manufacturer.
Appliance spray paint is a great way to cover up any chips and scratches that have appeared on your appliances. Instead of replacing the part entirely, this is an easy fix. This is also a great way to give a fresh new look to any handles or areas that have discoloring due to wear. Make sure to clean the area before you begin and wear a pr...Read moreotective mask for safety. Give the can a good shake and spray a few inches away from the surface. Apply the paint until the area is fully covered as desired. Wait until the paint has dried before using the appliance.
Ask our experts a question about this model and we'll get back to you as soon as possible!
We may have answered a similar question already! Search questions and answers left by others using simple keywords like "fit", "broken", "easy", or "quality" to find questions that match.
Search filter:
Clear Filter
Your search term must have 3 or more characters.
Sort by:
Prev
1
Next
Sorry, we couldn't find any existing answers that matched.Try using some different or simpler keywords, or submit your new question by using the "Ask a Question" button above!
Nathan - For model number KFGD500ESS04
March 31, 2023
I have a gas range with two ovens. The lower oven will preheat to the correct temperature but will only reheat up to 265 degrees no matter what temp you preheated it to, the upper oven works just fine. I swapped the lower oven thermostat with the upper oven thermostat and it still had the same problem. I then replaced the oven control computer and it still does not maintain proper heat in the lower oven. Any help is appreciated.
Hello Nathan, thank you for contacting us. According to our research, we would recommend checking the gas oven igniter, part number PS11752880, and element, part number PS2579876. We hope this solves your problem!
My Kitchen Aid model KFGD500ESS
In the upper oven, the bake burner does not light while the Broil works fine.
Hello Dutton, thank you for the question. We would recommend checking the oven igniter, part number PS16744717, to fix the issue. We hope this solves your problem!
I need to switch from gas to propane can I get the parts ordered here
Hi Clay, thank you for contacting us. For gas-to-propane conversion, you will need to order the LP conversion kit, part number PS17216080. You can order it from our site. We hope that helps!
Hello Richard, thank you for getting in touch. Confirm the Control Lock is not active, press and hold the Control Lock or Cancel Off button for 3 seconds until the lock icon disappears or you hear a beep. If Bake, Broil, and Timer all respond normally but Start does not, the membrane touchpad or ribbon cable has failed and the control panel, part number PS12347966, will need to be replaced. If no buttons respond at all, the control board, part number PS11738160, is the likely culprit. We hope this helps.
See how others fixed this model. Time, tools, difficulty, and steps that lead to victory!View More
Search repair tips from other customers using simple keywords like "replace", "fit", "remove", "inspect". DIY doesn't mean you have to do it alone!
Search filter:
Clear Filter
Your search term must have 3 or more characters.
Ignitor was bad on upper oven
76 of 87 peoplefound this instruction helpful.
David from Temple Terrace, FL
A Bit Difficult
1- 2 hours
Nutdriver, Pliers, Screw drivers
First I removed the lower tray and all parts covering the ignitor on the upper oven. 2. Then I removed the screws holding down the ignitor and flame distributor. 3. I then had to pull out the oven from the wall and remove the back panel to expose the wires connecting the ignitor. This required the removal of about six screws but they
... Read morewere fairly easy to get to. 4. I disconnected the ignitor from the back panel then went around to the front of the oven and pulled out the ignitor and all of the attached parts. 5. Here's the tricky part. The screws holding the ignitor in place had fused from the heat and then the threads stripped when I tried to remove them. I had to use a dremel tool and cutting wheel to carefully cut the screws off and then went to buy some replacement screws from the hardware store. 6. I replaced them with a nut and a bolt, to hopefully avoid the same problem for later replacement if necessary. 7. I then replaced everything the same way it came out and all is working like new!
Read less
Was this helpful?
Thank you for voting!
Socket Light had a bad thread
44 of 65 peoplefound this instruction helpful.
Edmund from Emporium, PA
Easy
15 - 30 mins
Pliers, Screw drivers
Socket Lite come with clips attached to the outside of the housing. After you unhook the 3 lead wires that are attached to the unit. All you have to do is push in on the clips and release the unit. Then you snap in the new unit. Attach the 3 wire leads, put a oven bulb in the socket end, and the install the light cove
... Read morer
Read less
Was this helpful?
Thank you for voting!
Oven would not heat
32 of 35 peoplefound this instruction helpful.
Timothy from Elkhorn, WI
Easy
15 - 30 mins
Screw drivers
Lifted door off hinges; removed lower oven spill plate; unmounted bake igniter from heat shield; pulled stove away from wall; removed rear access panels (4 screws); unplugged bake igniter; installed new part; vacuumed behind stove and mopped floor (this took more time than installing the part); oven is back in cookie baking mode!



 My Orders