


 My Orders




KFGC558JPA05 KitchenAid Range - Overview

Enter a part description. DIY Heroes keep it simple, eg. "belt" or "pump".
Search filter:
Clear Filter
Your search term must have 3 or more characters.

$7.47
In Stock

$48.45
In Stock
Light Bulb
Part #WPW10169757
This is a replacement light bulb to illuminate the inside of your oven. It is 25 watts and 120 volts. Please wear gloves during replacement if your existing bulb is shattered. Consider ordering a spare as this is a common wear part.

$76.17
In Stock

$45.29
In Stock
Gasket Cavity (Black)
Part #W11675844
This part is the replacement door gasket for your oven. It is now made of black rubber and is sold individually. The door gasket runs along the circumference of the oven door and creates a seal that insulates the oven and keeps heat in. If your oven will not heat up properly, or if you notice that the door gasket has become loose or worn,...Read more it may need to be replaced. To replace the door gasket, you will need to remove the retaining bracket at the bottom of the oven door, then carefully pull the gasket away from the front of the oven cavity. Then, push the new gasket inside the groove on the outside of the oven cavity, securing it with the arrowhead fasteners that are built in to the oven cavity. This is an OEM part from the manufacturer.
Read less

$7.47
In Stock

$7.47
Special Order

$11.77
In Stock
Refrigerator Screw
Part #WP12992902
This part is the replacement door handle mounting screw for your refrigerator. The head is approximately 3/4 inch in diameter and the screw is approximately 3/4 inch in length. It is made of metal, is red in color, and is sold individually. The door handle mounting screw allows you to connect your door handle to the refrigerator door. This part is an authentic OEM part sourced directly from the manufacturer.

$7.47
In Stock
Range Hex Nut
Part #WP112432
This 10-32-inch hex nut works with multiple appliances in your home as a fastener. This specific model is sold individually. Hex nuts usually have 6 even sides and together they are used with bolts and screws in order to hold items firmly together. This piece is a fastener that attaches one item to another. This part has several advantage...Read mores, the main one being that it is universal and can be used with most pieces and appliances in your home. This hex nut is an original equipment manufacturer part, meaning it is directly sourced from the manufacturer.
Read less

$7.47
In Stock

$8.55
In Stock

$117.51
In Stock
Burner Grate
Part #W11380124

$17.15
In Stock
Grate Pad
Part #W11550692
This range grate pad, also called a grate bumper, is a small but essential component that sits beneath stovetop burner grates to provide stability and protect the cooktop surface. Made from durable rubber, it helps prevent scratches, keeps cookware level, and ensures even heat distribution during cooking. Ideal for replacing worn or missi...Read moreng pads, this part restores proper grate alignment for safer and more efficient cooking. Installation is quick—simply remove the grate, position the pad in place, and reassemble for a secure fit.
Read less
Common Symptoms of the KFGC558JPA05
How this model fails, and the parts that fix it.
Will not program
Fixed by
these parts
these parts

Show All
Oven not heating evenly
Fixed by
these parts
these parts

Show All
Will Not Start
Fixed by
these parts
these parts
Show All
Watch our pros, then fix it yourself.
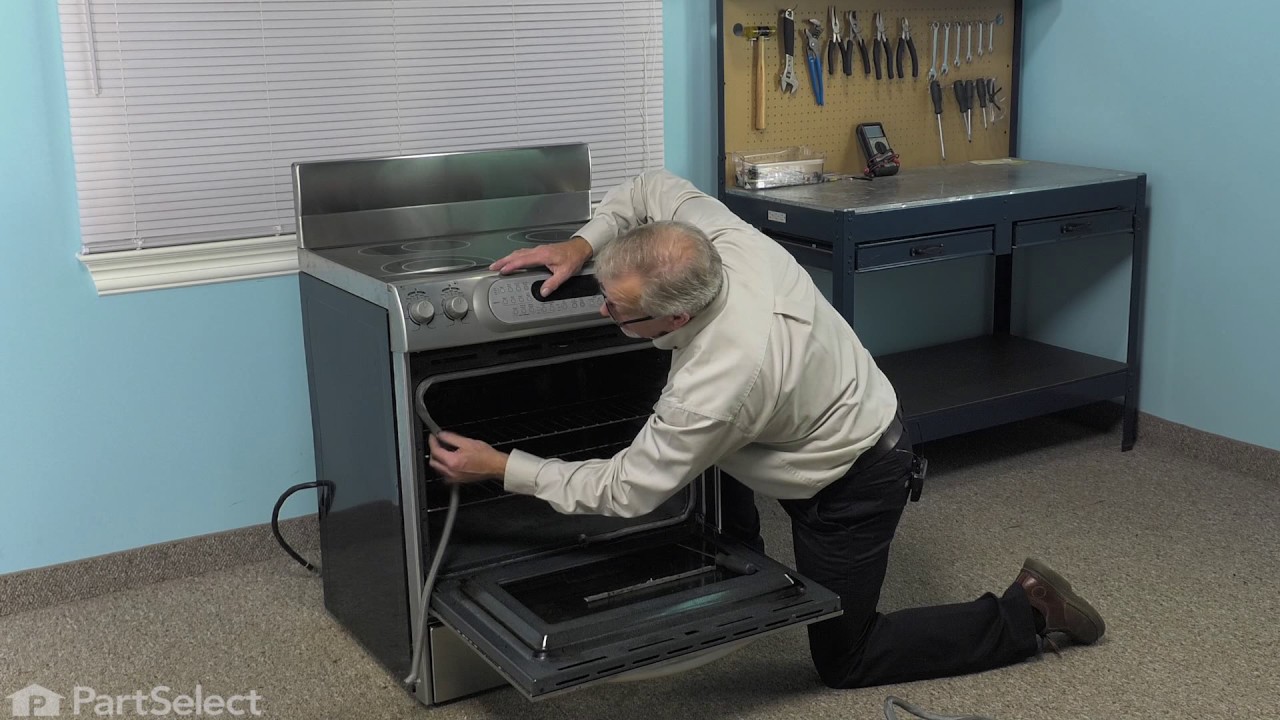
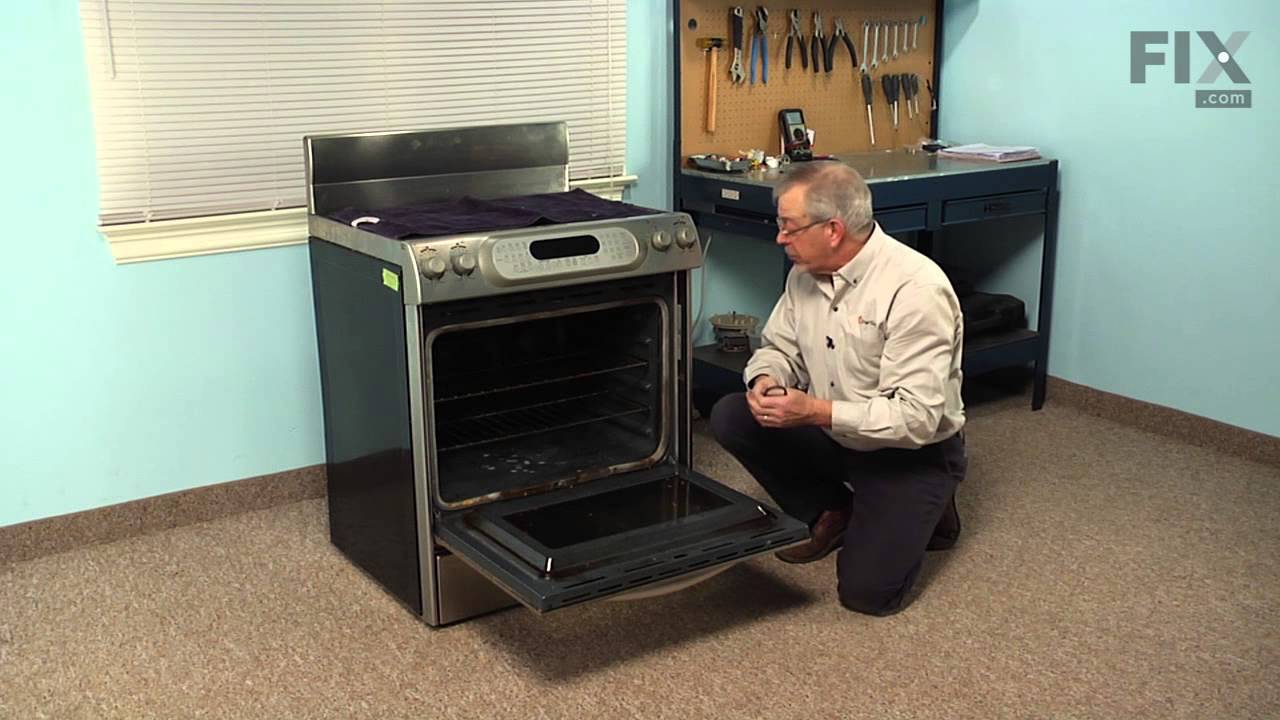
See how others fixed this model. Time, tools, difficulty, and steps that lead to victory!
View More