This is a replacement light bulb to illuminate the inside of your oven. It is 25 watts and 120 volts. Please wear gloves during replacement if your existing bulb is shattered. Consider ordering a spare as this is a common wear part.
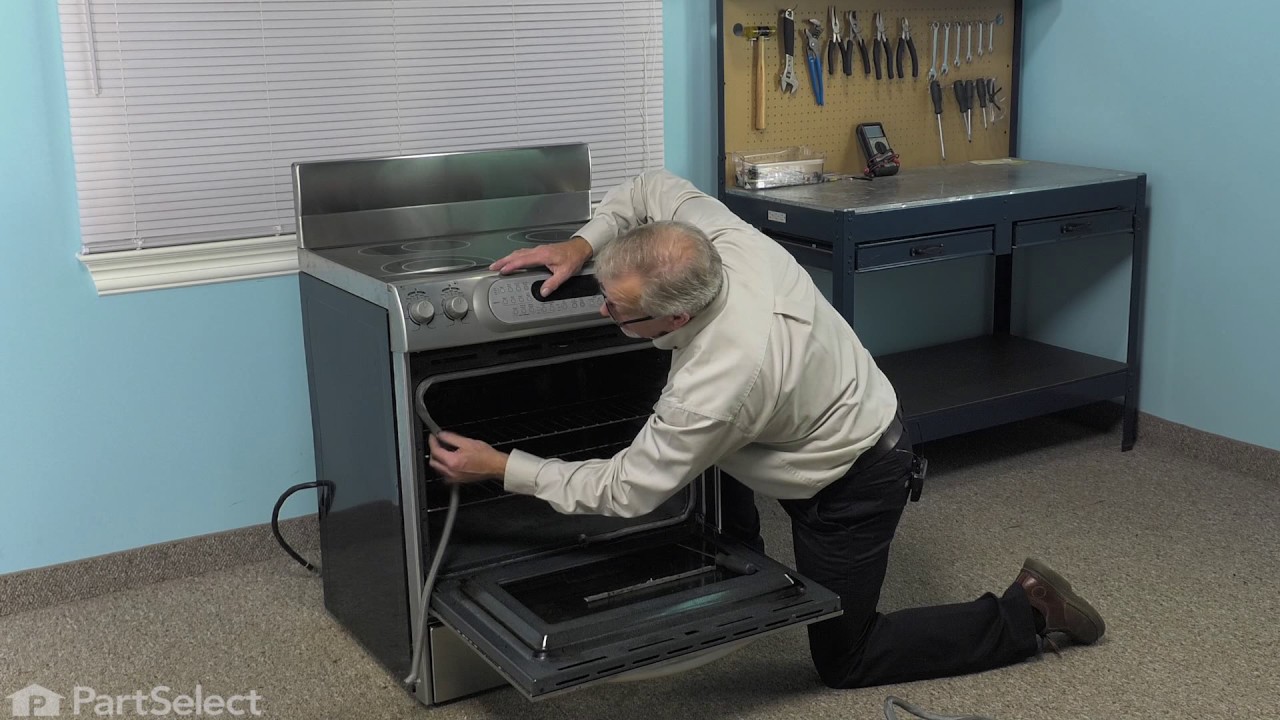
This part is the replacement door gasket for your oven. It is now made of black rubber and is sold individually. The door gasket runs along the circumference of the oven door and creates a seal that insulates the oven and keeps heat in. If your oven will not heat up properly, or if you notice that the door gasket has become loose or worn,...Read more it may need to be replaced. To replace the door gasket, you will need to remove the retaining bracket at the bottom of the oven door, then carefully pull the gasket away from the front of the oven cavity. Then, push the new gasket inside the groove on the outside of the oven cavity, securing it with the arrowhead fasteners that are built in to the oven cavity. This is an OEM part from the manufacturer.
This part is the replacement door handle mounting screw for your refrigerator. The head is approximately 3/4 inch in diameter and the screw is approximately 3/4 inch in length. It is made of metal, is red in color, and is sold individually. The door handle mounting screw allows you to connect your door handle to the refrigerator door. This part is an authentic OEM part sourced directly from the manufacturer.
This range grate pad, also called a grate bumper, is a small but essential component that sits beneath stovetop burner grates to provide stability and protect the cooktop surface. Made from durable rubber, it helps prevent scratches, keeps cookware level, and ensures even heat distribution during cooking. Ideal for replacing worn or missi...Read moreng pads, this part restores proper grate alignment for safer and more efficient cooking. Installation is quick—simply remove the grate, position the pad in place, and reassemble for a secure fit.
Ask our experts a question about this model and we'll get back to you as soon as possible!
We may have answered a similar question already! Search questions and answers left by others using simple keywords like "fit", "broken", "easy", or "quality" to find questions that match.
Search filter:
Clear Filter
Your search term must have 3 or more characters.
Sort by:
Prev
1
Next
Sorry, we couldn't find any existing answers that matched.Try using some different or simpler keywords, or submit your new question by using the "Ask a Question" button above!
Mike - For model number KFGC500JSS05
November 23, 2025
Looking for bottom front stainless panel.
Thanks
Hello Mike, thank you for getting in touch. According to our research, the panel you are looking for is part number PS12745146. We hope this helps.
See how others fixed this model. Time, tools, difficulty, and steps that lead to victory!View More
Search repair tips from other customers using simple keywords like "replace", "fit", "remove", "inspect". DIY doesn't mean you have to do it alone!
Search filter:
Clear Filter
Your search term must have 3 or more characters.
faulty meat probe
38 of 69 peoplefound this instruction helpful.
Kent from Seattle, WA
Really Easy
Less than 15 mins
Not a repair. Just needed to replace the meat probe sensor for the programmable oven. Quick and easy purchase and very fast delivery took care of the problem. I was back in business.
Was this helpful?
Thank you for voting!
Replace KitchenAid oven light bulbs
10 of 10 peoplefound this instruction helpful.
Doris from NEW JOHSONVLE, TN
Really Easy
Less than 15 mins
Screw drivers
Pull the end of the lens nearest the oven door out of the oven wall. Because our oven is several years old and the bulbs had not been previously changed, I could not pull the lens out with my hand, so used two small screwdriver under the metal tabs which hold the lens in place, the metal holder came out with the lens. Once the lens is r
... Read moreemoved, simply pull out the old bulb and, either while wearing surgical gloves or holding the bulb with a cloth (do NOT allow bare skin to touch the bulb or you will be replacing it again sooner rather than later), push the new bulb's pins into the socket. The lens then is simply pushed back into place.
Read less
Was this helpful?
Thank you for voting!
oven door gasket seal worn
8 of 10 peoplefound this instruction helpful.
Kevin from Sterling Heigths, MI
Easy
Less than 15 mins
Screw drivers
Open oven dooor. With a philip screw driver remove the gasket plate at the bottom of the oven holding the seal gasket. pull seal gasket away from oven seal channel and clean surface before installing new seal. align seal pins to to seal channel holes be sure not to twist the seal insert pins in one at a time.Install lower bracket however
... Read moreyou may want to wet the fray ends of the seal gasket prior to screwing in plate to keep the ends from moving away from the bracket when scrwing it in place.



 My Orders