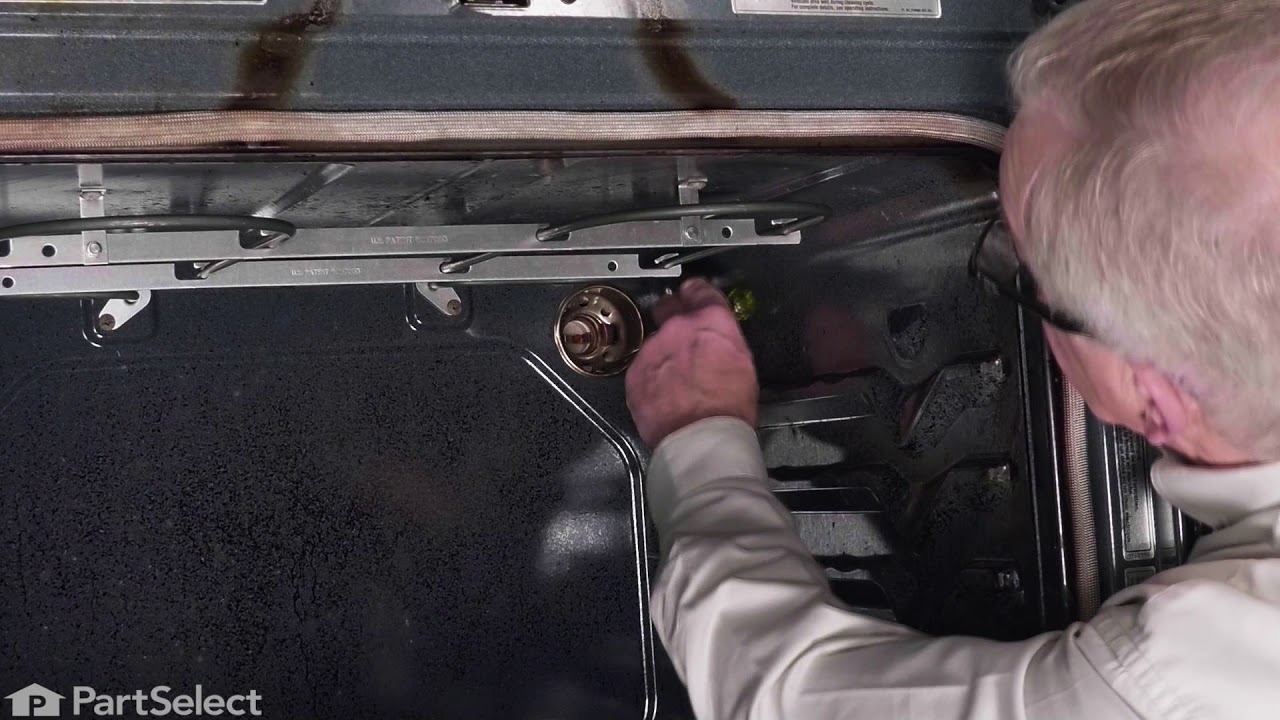
This an authentic OEM 40-Watt replacement light bulb, used in a number of household appliances. It is specially designed to withstand extreme temperatures, which is why these replacement bulbs are most often used to light the inside of refrigerators and ranges. It features a standard socket base, which means you simply unscrew the burnt-o...Read moreut bulb and screw in the replacement. Depending on the appliance you may require a screwdriver or nut driver to access the light bulb. We recommend you wear work gloves while handling this replacement part. It is constructed of glass and metal and is sold individually. Depending on the appliance and location of the bulb within it, you may want to consider disconnecting power and using a flashlight for easier access to unscrewing and re-screwing in your bulb during this repair.
This is a leveling leg for your oven, range, or stove. The leveling legs on your oven allow your appliance to sit perfectly flat. The new one may be longer in length than your original, but will work the same. Install the new leveling leg, and test if you have it adjusted properly by putting the appliance on four legs. Adjust in or out a...Read mores required if your oven is rocking. It is recommended to check the other three leveling legs on your appliance in case they are also damaged or worn. The leveling leg measures 1.859", is all black in color, and is made entirely out of plastic. This leg may be shorter than the original but is the factory replacement. Longer leg is not available.
This is a multi-use and multi-appliance screw. It can be used on a microwave, refrigerator, range/oven, air conditioner, dehumidifier, washer, or dryer. The measurements of this screw are 8 x 1/2 inch. It has 6 threads. Refer to the manual provided by the manufacturer for further information on repair and accurate guidance. Remember to wear work gloves as a safety precaution.
This touch-up paint can be used on a wide variety of household appliances. It is most often used on washers, dryer, refrigerators, dishwashers, ranges, freezers, trash compactors, or microwaves. It is an 18 ml, or.6 fluid ounces, bottle of touch-up paint. It also features a brush for easy application. This quick-drying, long-lasting paint...Read more is perfect for fixing any nicks, scratches, or chips on the exterior of your appliance. This paint is white in color, and provides a durable finish.
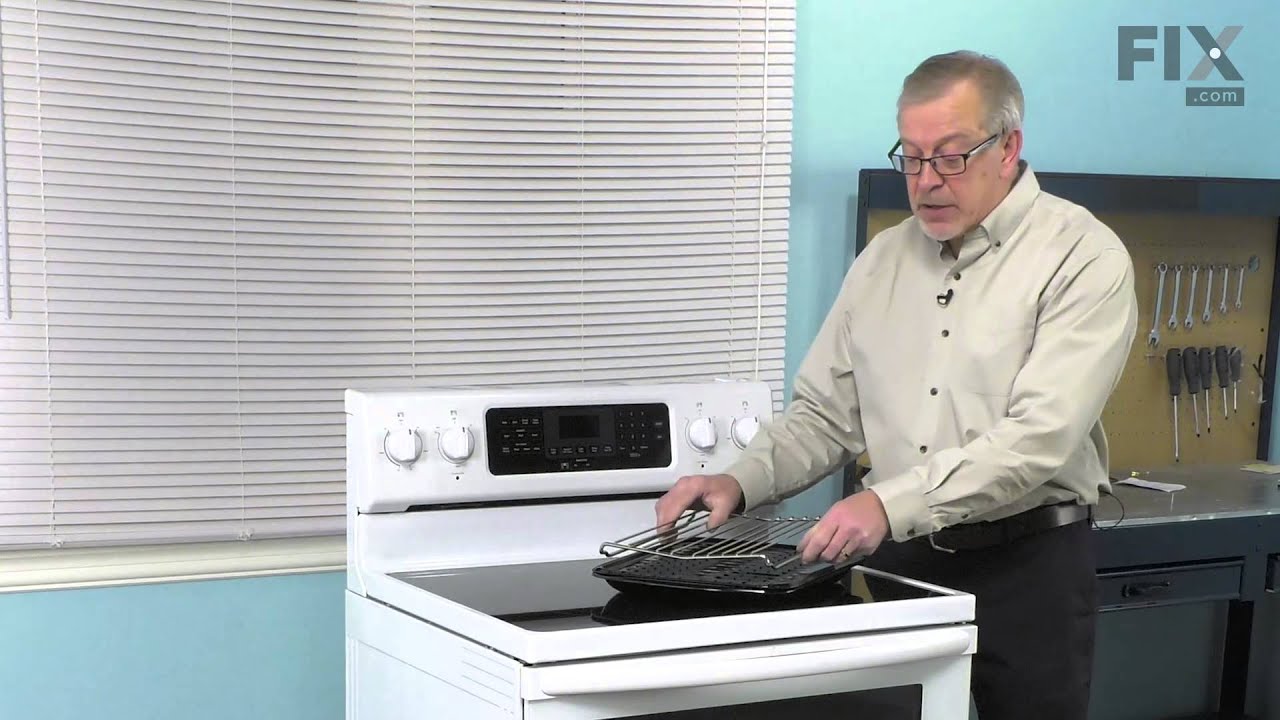
This broiler pan and roasting rack set is designed to help reduce mess while cooking by allowing grease to drain away from food. Its durable porcelain-coated construction stands up to high temperatures and makes cleanup simple. With approximate dimensions of 16 3/4 inches long, 12 3/4 inches wide, and 1 3/4 inches high, it offers a convenient size for everyday broiling and roasting.
The light socket on your electric range connects the power source to the light bulb. If your oven light is malfunctioning, you may need to replace the light socket. The light socket is located in the back of your range, so in order to access it you will need to remove the back panel. Many of our customers have rated this repair as easy, a...Read morend it should take less than 15 minutes. Before you begin this repair, make sure to disconnect the power source from your range. This is an OEM part sourced directly from the manufacturer.
Appliance spray paint is a great way to cover up any chips and scratches that have appeared on your appliances. Instead of replacing the part entirely, this is an easy fix. This is also a great way to give a fresh new look to any handles or areas that have discoloring due to wear. Make sure to clean the area before you begin and wear a pr...Read moreotective mask for safety. Give the can a good shake and spray a few inches away from the surface. Apply the paint until the area is fully covered as desired. Wait until the paint has dried before using the appliance.
Ask our experts a question about this model and we'll get back to you as soon as possible!
We may have answered a similar question already! Search questions and answers left by others using simple keywords like "fit", "broken", "easy", or "quality" to find questions that match.
Search filter:
Clear Filter
Your search term must have 3 or more characters.
Sort by:
Prev
1
Next
Sorry, we couldn't find any existing answers that matched.Try using some different or simpler keywords, or submit your new question by using the "Ask a Question" button above!
Edward - For model number KFDD500ESS02
September 15, 2022
The upper or small oven works fine and comes to and holds temp but once hot it will not turn off. To shut it down you must turn off breaker power. Once it is cool the on/off function is normal. Unit has been used very little as it is in vacation home. Serial number is D81403117
Hi Edward,
Thank you for your question. If the oven is not heating correctly, the issue may be with the oven sensor. The oven temperature sensor is the part that monitors the oven temperature and signals the electronic control board to turn the elements on and off. Before removing this part from the oven and testing it with a multimeter for continuity, unplug the oven from the electrical outlet. A normal reading should be 1100 ohms, but as readings vary from model to model, you will need to reference your owner’s manual to determine what the correct reading should be. To test it for continuity, use a multimeter on the Rx1 setting and touch the terminals with the probes. This test needs to be done with the sensor at room temperature to produce accurate results. If your test results do not meet the manufacturer’s guidelines, you need a replacement temperature sensor. If the sensor is fine, then one of the relays on the control board has shorted and it will need to be replaced. If the control board is fine, then you will need to check the elements and the wiring between the parts to see which one is causing the issue. If you have any questions, please let us know. We are open 7 days a week. We look forward to hearing from you!
The on and off want work on key pads. Can you just buy key pad
Hello Johnnie, thank you for contacting us. The touchpad is sold only as a part of the front panel assembly, part number PS11702324. It includes the touchpad and covers the front of the oven control on the control panel. Customer service is always available to help you place an order if you are having trouble doing so. Good luck with your repair.
See how others fixed this model. Time, tools, difficulty, and steps that lead to victory!View More
Search repair tips from other customers using simple keywords like "replace", "fit", "remove", "inspect". DIY doesn't mean you have to do it alone!
Search filter:
Clear Filter
Your search term must have 3 or more characters.
Socket Light had a bad thread
44 of 65 peoplefound this instruction helpful.
Edmund from Emporium, PA
Easy
15 - 30 mins
Pliers, Screw drivers
Socket Lite come with clips attached to the outside of the housing. After you unhook the 3 lead wires that are attached to the unit. All you have to do is push in on the clips and release the unit. Then you snap in the new unit. Attach the 3 wire leads, put a oven bulb in the socket end, and the install the light cove
... Read morer
Read less
Was this helpful?
Thank you for voting!
Inside brass liner in socket came out when bulb was removed. Apparently had welded itself to the base of the bulb
21 of 26 peoplefound this instruction helpful.
Lewis from Chapin, SC
Easy
15 - 30 mins
Nutdriver, Screw drivers
Removed oven from wall unit and took the back off. Removed the old socket assembly by depressing the ears and forcing unit into the oven. The electrical wires were easily removed since they are spade connections and slip off. They also are different sizes so that there is no chance of erroneously putting them back in an incorrect order.
... Read more The new unit simply slips in from the front and snaps into place. The most difficult part of the entire process is removing the old unit. A little "friendly persuasion" is required to get the old unit out.
Read less
Was this helpful?
Thank you for voting!
Oven light not working
18 of 26 peoplefound this instruction helpful.
Carol from Allison Park, PA
Really Easy
15 - 30 mins
I turned off the breaker (I'm a little nervous even unplugging a 220 plug). I first removed the cover from the back of the stove to get to the wiring/socket. Removed the two wires from the leads - they just pull off by hand but use a needlenose pilers if it is stuck. One is larger so no need to try to remember which one goes where. I re
... Read moremoved the glass cover and bulb from inside the oven. I read another post on this site that said there were clips that you had to press to get the old socket out which helped. That part was a little tricky as the insulation around the socket makes it hard to see and the opening is really tight. I finally found the clips and pressed one then got that side out enough to hold the clip back then pressed the other clip and I was able to push it right out. I did not have the strength to press both clips with enough pressure but if you do, that would probably be easier. From inside the oven, I pushed the new socket through the hole - there was a little notch in the opening that had to match up with the socket. I had to push pretty firmly until I felt both clips snap in place. Replaced the wires, turned on the power, screwed in the bulb and cover and I had light!



 My Orders