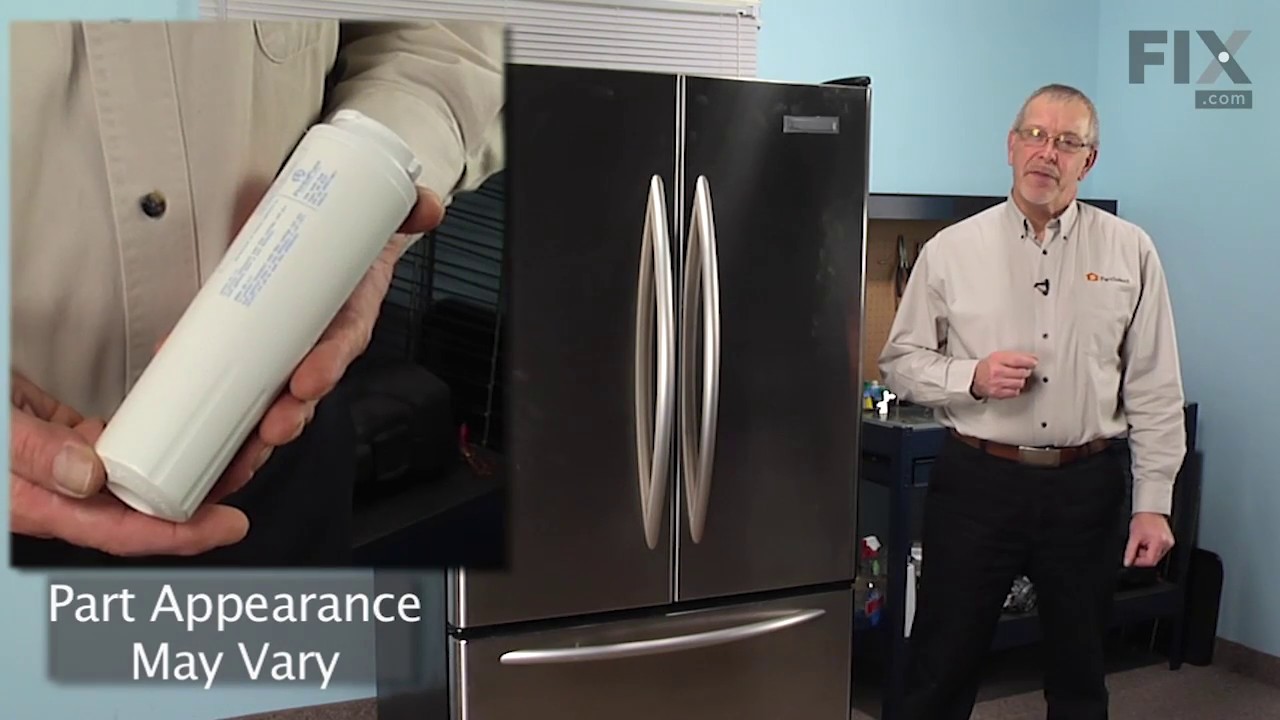
This water filter (Whirlpool EveryDrop Refrigerator Water Filter, Single Turn Filter) purifies water going to the water dispenser and sometimes the icemaker as well. This part should be replaced if it is causing reduced water flow or just replaced periodically per the owner manual. Replacing this water filter may fix a noisy or leaking fr...Read moreidge, a fridge that is not dispensing water (or reduced flow rate), and an ice maker that is not making ice at all, or not making enough ice. This filter is white, sold individually and measures 8 inches by 3 inches in diameter. This water filter has been updated by the manufacturer. It may appear different but will still function the same. It is sold individually.
This ice maker (Ice Maker Assembly, Refrigerator Ice Maker) produces ice cubes that are ejected into the storage bucket. It is located in the freezer section of your appliance, mounted on the freezer wall. The ice maker can break from normal wear and accidental damage. If this happens, your refrigerator may no longer make ice cubes, or ma...Read morey not make enough cubes, and the part should be replaced. This model measures approximately 11 inches long and 5 inches wide. It’s constructed of plastic and metal, and comes in black/white/silver. This assembly includes the ice mold and the control device.
This capacitor (Refrigerator and Freezer Compressor Run Capacitor, Run Capacitor) provides the voltage or energy current required to start the compressor and keep it running. It allows the compressor in your appliance to easily cycle on and off. This capacitor mounts directly onto the compressor starting relay. If the capacitor is faulty ...Read morethe compressor may get unusually hot and draw excessive amperage. It the compressor overheats, it may fail to run until it cools down again. The compressor may also get noisy from overheating. If this part is totally electrically open, it is defective (often due to overheating) and needs to be replaced. The part measures 1 inch by 1-1/2 inches, and is constructed of plastic with two metal wire terminals. This item includes 1 capacitor, sold individually. This part comes in black.
This light switch may also be known as a refrigerator door switch or a light switch kit, and is compatible with your refrigerator. The function of the refrigerator door switch is to turn on the light when your fridge door is open, and to make sure it is off when your refrigerator door is closed. The reason you would need to replace this p...Read moreart is if your light is not turning on when your door is open. For this repair, you will need a putty knife, and a small flat-blade screwdriver.
The p-trap drain tube kit may also be known as the duck bill, or the drain pipe, and it is compatible with your refrigerator. The function of the p-trap drain kit is to carry the water that has formed during the defrost cycle to the bottom of the refrigerator, where your drain pan is located. The tools you will need for this repair includ...Read moree a 1/4-inch nut driver and a small flat-blade screwdriver. To do this repair you will need to pull the refrigerator forward in order to reach the lower access panel at the back. This kit includes the tube extension piece and spacer.
This water filter bypass cap, also known as a water filter bypass plug, is an authentic OEM part that replaces the regular water filter cartridge in refrigerators. It allows water to flow freely through the dispensing system when the filter is not present. The bypass can fail if it becomes clogged, cracked, or falls out of alignment. A fa...Read moreulty filter bypass will result in leaking, poor ice production, and difficulties dispensing water. You can find the filter bypass inside the refrigerator, near the water filter housing. Disconnect the water supply lines and remove the faulty bypass. Insert the new bypass in its place and reconnect the water supply lines.
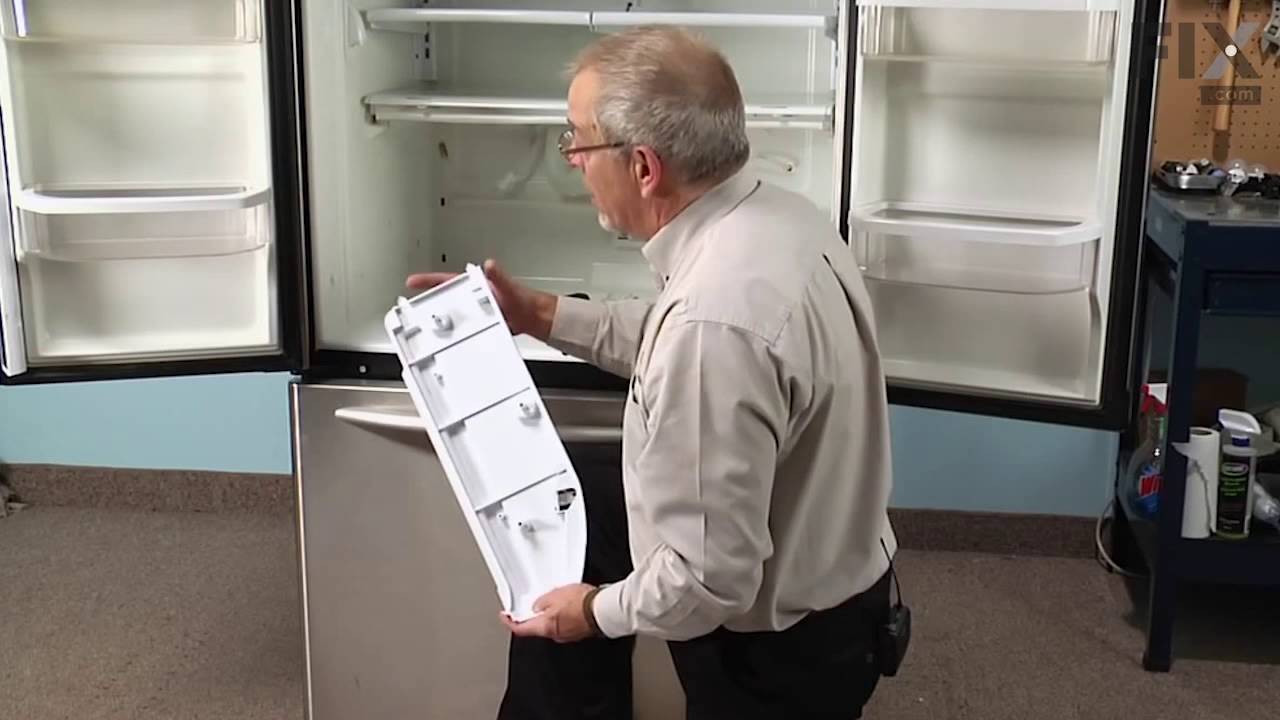
This is a replacement end cap for your refrigerator pantry drawer. The pantry drawer has an endcap on either side, which encloses the drawer. This end cap is for the left side of the pantry drawer only. Make sure you need the left side end cap before you order this part. This part is made of white plastic, and will fit into position on th...Read moree left side of the pantry drawer. This part is approximately 20 inches wide and 7 inches tall. It is an OEM part sourced directly from the manufacturer.
This part is the replacement for the end cap on your refrigerator pantry drawer. Your pantry drawer will have two end caps; one for the right side and one for the left. This is the end cap for the right-hand side, and is sold separately from the left end cap. The part is made of white plastic and is an OEM part sourced directly from the m...Read moreanufacturer. To remove the old pantry drawer end cap, simply remove the pantry drawer and disconnect the end cap. Replace it with a new one, and slide the pantry drawer back into place.
This is a light switch for your refrigerator. It activates when the door of your appliance is opened, and it will turn the light inside on and off. You will need to replace this part is if your light is not working properly. In order to make this repair you will need a Phillips screwdriver, a pair of needle nose pliers, and a small flat b...Read morelade screwdriver. This light switch is almost 2 inches long, 1.5 inches wide, and just over an inch thick.
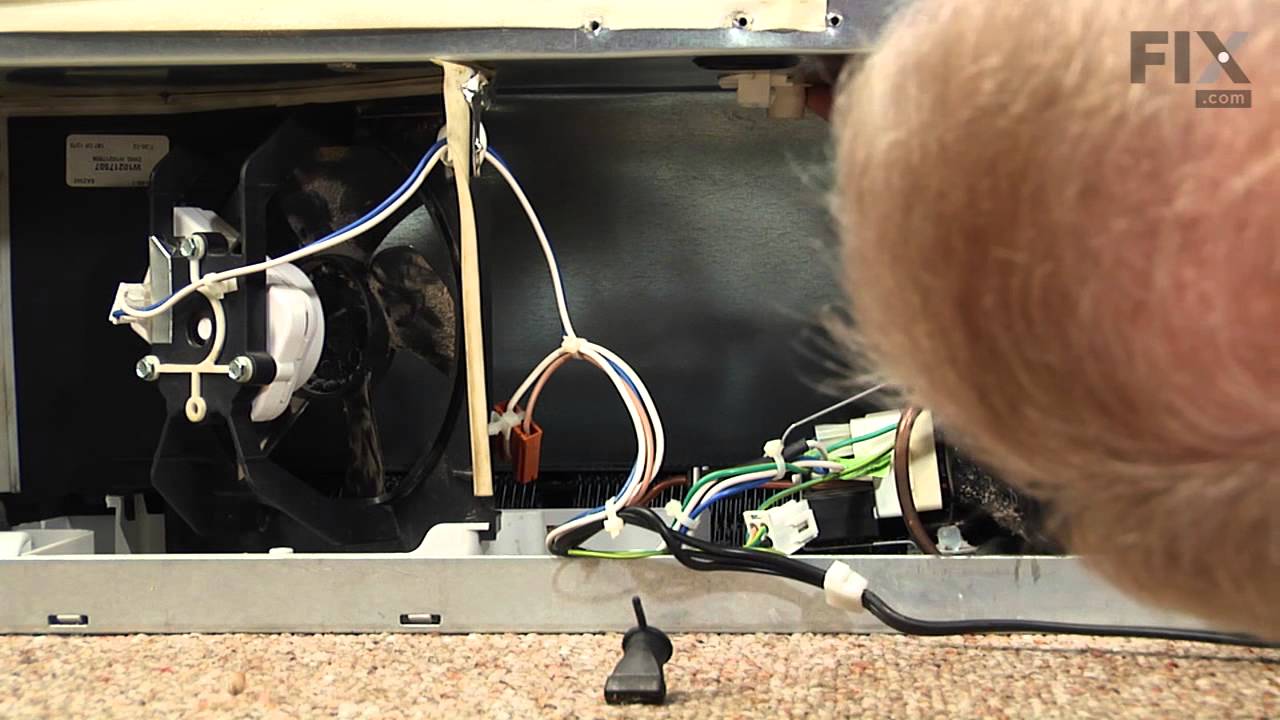
If your refrigerator or freezer is too warm, or making noises, you may need to replace the fan blade. The fan blade attaches to the evaporator motor, which is in the freezer section, to help circulate the cold air into the refrigerator and freezer sections. The fan blade is white in color and made from plastic. This is a genuine OEM part...Read more. Please be sure to disconnect the power to your refrigerator before starting your repair.
Ask our experts a question about this model and we'll get back to you as soon as possible!
We may have answered a similar question already! Search questions and answers left by others using simple keywords like "fit", "broken", "easy", or "quality" to find questions that match.
Search filter:
Clear Filter
Your search term must have 3 or more characters.
Sort by:
Prev
1
2
Next
Sorry, we couldn't find any existing answers that matched.Try using some different or simpler keywords, or submit your new question by using the "Ask a Question" button above!
Alan - For model number KFCS22EVMS2
November 11, 2019
I ordered a new part #16 for the shelf parts that's the right side support for the pull-out deli drawer. The little tab that holds a pivot for the deli drawer lid part #3 broke off. I can get to the old #16 broken part by accessing it by removing what looks to be part #14. But how do i get the old part #16 off? I can't see any screws or is there some kind of release tab to be pressed? Let me know. I hate to call out an appliance repair specialist for something that should be relatively easy for me to fix myself. Thanks.Alan
Hi Alan, please watch our video on replacing similar part here: https://www.youtube.com/watch?v=_zv8Vi_9ylw . Thank you for your question and good luck with your repair!
3 peoplefound this instruction helpful.
Was this helpful?
Thank you for voting!
Narendra - For model number KFCS22EVMS2
November 24, 2023
My refrigerator not cooling
Hi Narendra, thank you for contacting us. Based on our research, the issue is most probably with the air damper control assembly, part number PS11756641. The air damper control assembly controls the cold airflow from the freezer compartment into the refrigerator compartment. We would recommend checking this part to fix the issue. We hope this information is useful!
I’m ready to purchase a new refrigerator. I need to know the exact size specs for this model. Thanks you.
Hello Susan, thank you for the great question. The capacity of your model is 21.9 cubic feet. The dimensions of your model are: height: 71 7/8 inches, width: 35 5/8 inches, depth: 30 1/8 inches. We hope this information helps!
Was this helpful?
Thank you for voting!
Mary - For model number KFCS22EVMS2
December 29, 2024
I cannot remove the water filter. It is stuck. Tried cutting off the water valve to the fridge and still no luck.
Hello Mary, thank you for contacting us. Based on our research, you may simply need to turn the filter counterclockwise to remove it. If it is still not being removed, then here are a few additional steps you can try:
1. Use a Towel or Grip: Sometimes, the filter can be slippery. Use a towel or a rubber grip to get a better hold on the filter and try turning it again.
2. Apply Gentle Pressure: Apply gentle, consistent pressure while turning the filter. Avoid using excessive force, as this could damage the filter or the housing.
3. Warm the Area: If the filter is cold, it might be more difficult to remove. Try warming the area around the filter with a hairdryer on a low setting to expand the plastic slightly.
We hope this helps.
Was this helpful?
Thank you for voting!
Ileana - For model number KFCS22EVMS2
January 3, 2025
How do I fix the freezer light? It's not working and I can't find it to replace the bulb.
Hello Ileana, thank you for reaching out. The freezer light for your model is part number PS17216393. To replace it, unplug the refrigerator first. The light bulb is located on the ceiling of the freezer section. Remove the burned-out bulb and replace it with a new one. We hope this information is useful!
See how others fixed this model. Time, tools, difficulty, and steps that lead to victory!View More
Search repair tips from other customers using simple keywords like "replace", "fit", "remove", "inspect". DIY doesn't mean you have to do it alone!
Search filter:
Clear Filter
Your search term must have 3 or more characters.
light on to order water filter
916 of 1059 peoplefound this instruction helpful.
Douglas from Byron, NY
Really Easy
Less than 15 mins
Pressed in the end of the filter cover, lowered it down part way. Twisted the old filter 1/4 turn and removed it. Set in the sink to drain. Inserted new filter and twisted it to lock. closed cover. Done. Total time @ 1 Minute.
Was this helpful?
Thank you for voting!
Icemaker producing few or no cubes and often leaving "kling-ons" on ice tray
816 of 915 peoplefound this instruction helpful.
Bernie from Diamond Bar, CA
Easy
30 - 60 mins
Nutdriver
Interior surface of ice tray felt rough & flaky (coating deteriorated) so cubes would not release. Unplug appliance. Remove timer cover by hand pressure @ edge. Remove single attachment screw & bracket at lower front of icemaker. Disconnect wiring harness from socket @ rear of compartment. Tricky part was determin
... Read moreing what type of connection held the other two attachment points along the long edge of the icemaker. I did not have repair manual or useful drawing but looked @ PartsDirect pic of side brackets & used a small mirror to confirm that mine were also some sort of "snap in" attachment. Remove icemaker unit by pushing upward and outward on the unit. I takes a good bit of pressure and will pop loose, but be careful not to break attachment bracket from freezer wall. Scavenge shut off bar and wiring harness from old icemaker once you have it out & attach to new one before installing it back in freezer. Again, you might find a mirror useful to align those pesky snap-in brackets with the new unit. Since you probably kept your freezer running while waiting for the part, the plastic snap-ins will be cold and brittle. I warmed them up first by applying a dampened cloth heated in the microwave to make them a little more pliable. A good push of the new unit towards the snap-ins along with some upward force will get it stable. Reattach the metal screw in bracket & connect the wiring harness to rear plug... and don't forget to plug the whole thing back in. It will take awhile for the first batch of cubes dump as the timer may need to cycle completely around to get to the fill cycle... be patient. Dump the first couple of batches of cubes just to make sure you're free of any residue.
Read less
Was this helpful?
Thank you for voting!
Ice maker leaking at first then quit making ice all together
433 of 497 peoplefound this instruction helpful.
Hootie from Joshua, TX
Really Easy
15 - 30 mins
Nutdriver
unplugged refrigerator and shut off water, removed one screw and loosened two more, after removing one side of the ice bucket rail, unplugged electrical from old ice maker. Then I removed the bail and out on new one, reinstalled ice maker in reverse order from taking it out.



 My Orders