


 My Orders




KF57U56 Maytag Refrigerator - Overview
Diagrams for KF57U56
See every part. Know exactly what you need.


Enter a part description. DIY Heroes keep it simple, eg. "belt" or "pump".
Search filter:
Clear Filter
Your search term must have 3 or more characters.

$30.53
In Stock

$30.53
In Stock
Door Switch
Part #W11396033
This light switch may also be known as a refrigerator door switch or a light switch kit, and is compatible with your refrigerator. The function of the refrigerator door switch is to turn on the light when your fridge door is open, and to make sure it is off when your refrigerator door is closed. The reason you would need to replace this p...Read moreart is if your light is not turning on when your door is open. For this repair, you will need a putty knife, and a small flat-blade screwdriver.
Read less

$21.45
In Stock
Screw
Part #W11233072
This is a multi-use and multi-appliance screw. It can be used on a microwave, refrigerator, range/oven, air conditioner, dehumidifier, washer, or dryer. The measurements of this screw are 8 x 1/2 inch. It has 6 threads. Refer to the manual provided by the manufacturer for further information on repair and accurate guidance. Remember to wear work gloves as a safety precaution.

No Longer Available
Crisper Drawer Shelf Support
Part #67764-1
This crisper drawer shelf support is used for many refrigerators.

$35.80
In Stock
Refrigerator Water Fill Cup & Bearing
Part #WP628356
This refrigerator ice maker fill cup dispenses the water into the ice cube mold during the fill cycle. Replacing the water fill cup is a possible solution if you notice that the ice maker is leaking, or not making/dispensing ice. If you notice the fill cup has been damaged or cracked; replace the part straight away. This water fill cup is...Read more a genuine OEM part and will fit most refrigerators, but check the list of compatible brands to make sure yours is included before purchasing.
Read less

No Longer Available
Lower Hinge Pin
Part #61003174
This lower hinge pin is almost two inches long. It is made entirely of plastic and it is all black in color.

$16.07
Special Order
Natural Door Closer
Part #61003647
This part is the replacement natural door closer for your refrigerator. It is black in color and is approximately 3 inches by 2 inches in size. The natural door closer allows your refrigerator door to open and close smoothly. If your door won’t open or close, the door is sweating, or the refrigerator is too warm, it could be an indication...Read more that you need to replace the door closer. You will also want to replace the door closer if it is cracked, broken, or missing. This part is sold individually and is an OEM part sourced directly from the manufacturer.
Read less

$7.47
In Stock

$9.62
Special Order
Rack Roller
Part #WP61002307
This rack roller is well under an inch in diameter. It is all white in color and it is made entirely of plastic.

No Longer Available

$7.47
In Stock

$7.47
Special Order
Roller Screw
Part #WP61002308
This screw is less than an inch long, and is made entirely of metal. It is used for the roller of many Maytag brand refrigerators.
Manuals & Care Guides for KF57U56
Click to downloadCommon Symptoms of the KF57U56
How this model fails, and the parts that fix it.
Light not working
Fixed by
these parts
these parts


Show All
Leaking
Fixed by
these parts
these parts


Show All
Ice maker not making ice
Fixed by
these parts
these parts

Show All
Door won’t open or close
Fixed by
these parts
these parts


Show All
Ice maker won’t dispense ice
Fixed by
these parts
these parts


Show All
Not dispensing water
Fixed by
these parts
these parts


Show All
Fridge too warm
Fixed by
these parts
these parts

Show All
Ice maker dispenses too much ice
Fixed by
these parts
these parts

Show All
Door Sweating
Fixed by
these parts
these parts
Show All
Will Not Start
Fixed by
these parts
these parts

Show All
Fridge too cold
Fixed by
these parts
these parts

Show All
Door latch failure
Fixed by
these parts
these parts

Show All
Freezer section too warm
Fixed by
these parts
these parts
Show All
Noisy
Fixed by
these parts
these parts

Show All
Watch our pros, then fix it yourself.



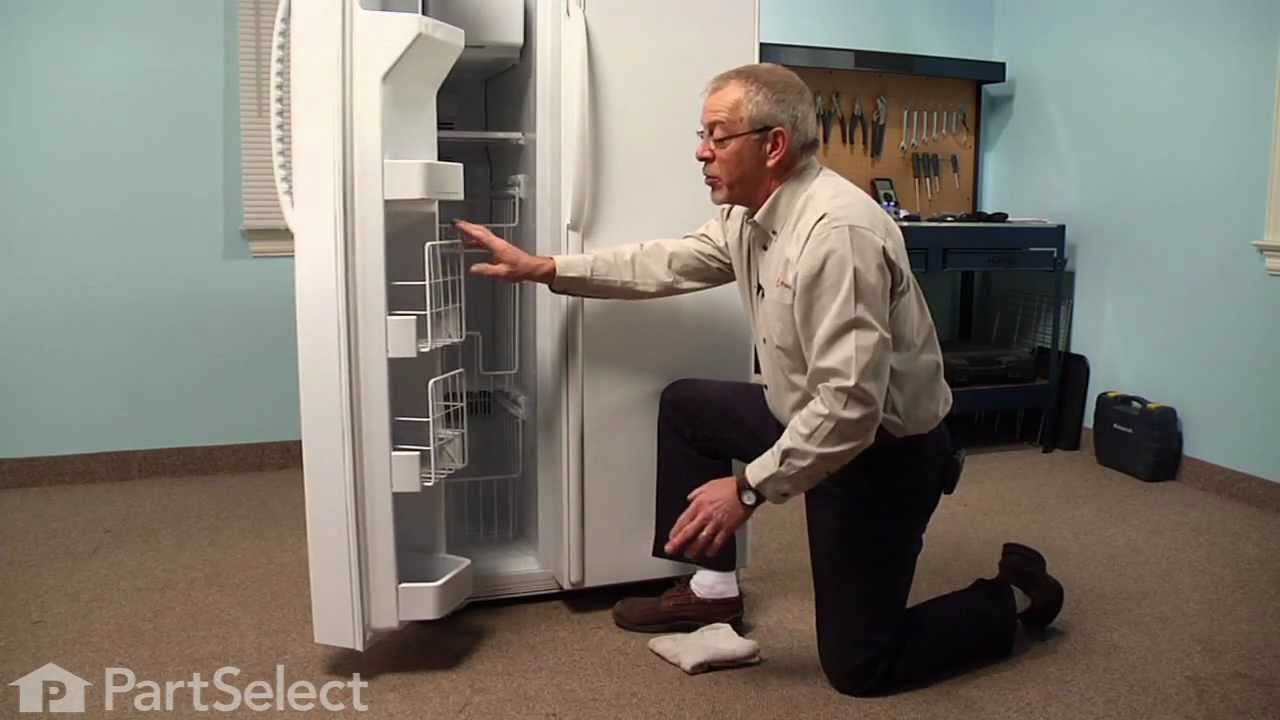
See how others fixed this model. Time, tools, difficulty, and steps that lead to victory!
View More