


 My Orders




KET570 Amana Cooktop - Overview
Diagrams for KET570
See every part. Know exactly what you need.


Enter a part description. DIY Heroes keep it simple, eg. "belt" or "pump".
Search filter:
Clear Filter
Your search term must have 3 or more characters.

$10.95
In Stock
Chrome Drip Bowl - 8 inch
Part #WPW10196405
This manufacturer-certified drip bowl is also known as a drip pan, and it is designed for use with cooktops and ranges. It sits below 8-inch burner elements and catches drips and spills from the cookware on the burner. The diameter of the drip bowl is approximately 10 inches. This replacement might appear slightly different, but it will f...Read moreit your appliance.
You will need no tools to complete this repair. Simply remove the burner element, remove the old bowl, line up the hole on the new bowl with the terminal block and drop it into place. Make sure the bowl is flat before reinstalling the element. While you have the element out you should inspect the terminals for corrosion, damage, or discolouration. If you notice any of those things you should also replace the element and terminal block. You will need to replace your drip bowl if it is lost, damaged, or can no longer be cleaned. This replacement part is sold individually. To extend the life of your new drip bowl we recommend you clean it regularly with soap and water. We recommend only using the recommended drip bowl for your appliance; generic versions will not fit properly which could affect the performance of your elements and cause long-term damage.
Read less

$15.00
In Stock
Drip Bowl - 6 Inch
Part #W10196406RW
If your element will not heat, there could be an issue with your drip bowl. This chrome drip bowl is 8 inches in diameter, and fits most electric ranges. Before you replace the drip bowl, make sure the element is turned off and cool to the touch. Installation is easy, just remove the element, replace the current drip bowl, and replace the...Read more element. Make sure the small hole on the bowl lines up with the element socket. The manufacturer has substituted this part, it now has a hole in the center, and no longer has a solid bottom. For a step by step guide, click the video below.
Read less

$16.07
In Stock
Range Surface Burner Plug-In Block Kit
Part #330031
The surface burner plug-in block kit features a newer-style terminal block. This kit is designed for use with ranges and cooktops. This terminal block is how the coil element on your stove connects to the inner wiring of your appliance. Without this connection your burner element would not get the electrical current it needs to heat up. W...Read morehen your element will not heat at all, or if it is not heating properly it is likely an issue with the terminal block. You need to remove the element to replace this part. While you have the element out, inspect the element and the terminal for any corrosion, arcing, or discoloration. If you notice any damage to the element or the terminals we recommend you replace this part as well. This kit includes two metal brackets, two pre-crimped high-temperature wire leads, two ceramic wire nuts, two heat-shrinking insulators, and a mounting screw. Before you begin this repair, make sure you have unplugged your appliance.
Read less

$95.15
In Stock
Surface Burner Element - 8 Inch
Part #WP3191454
This surface burner element is a genuine OEM replacement part for your kitchen appliances. It measures 8inches in diameter with a wattage of 2100W. You will need to replace the element if you notice that it is discolored, making popping or crackling noises, no longer level, or no longer heating up. To replace the faulty burner element, ge...Read morently lift and pull it off the appliance. Next, plug the new element terminals into the socket. Remember to first turn off your appliance or turn off the circuit breaker before you begin any repairs.
Read less

$7.47
In Stock

$11.77
Special Order

No Longer Available
Fan Switch Knob
Part #Y0042636
This knob allows you to control the function of the fan switch and takes a D-shaped shaft.

No Longer Available
Receptacle Mounting Bracket
Part #W10116809
This terminal block mounting bracket is a little over two inches long. It is made of metal.

No Longer Available
FILTER EXHAUST KET595
Part #Y0042024
This filter assembly is just under eleven inches long and is not quite six inches wide. It is a metallic filter and it is used with some downdraft ranges.

No Longer Available
SWITCH GAS
Part #31953701

No Longer Available
Modular Plug Block
Part #Y0042210

No Longer Available
TERM-RECP
Part #Y0042123
Common Symptoms of the KET570
How this model fails, and the parts that fix it.


Watch our pros, then fix it yourself.
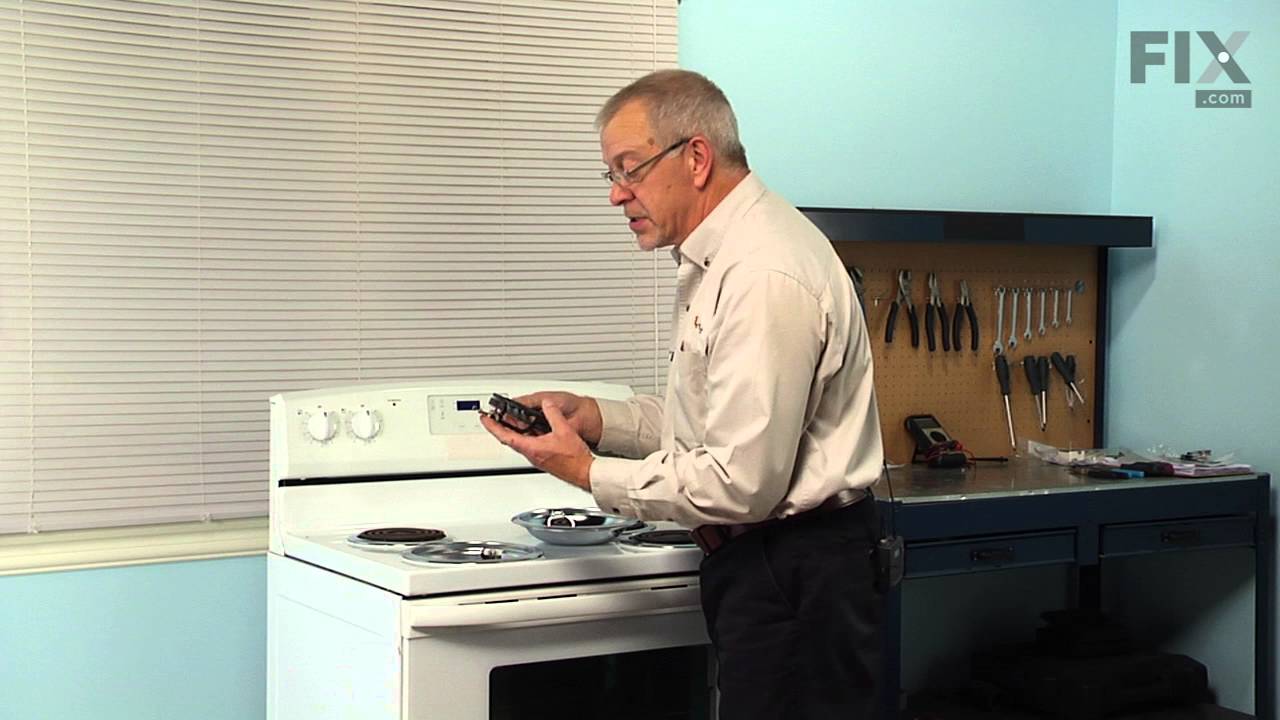
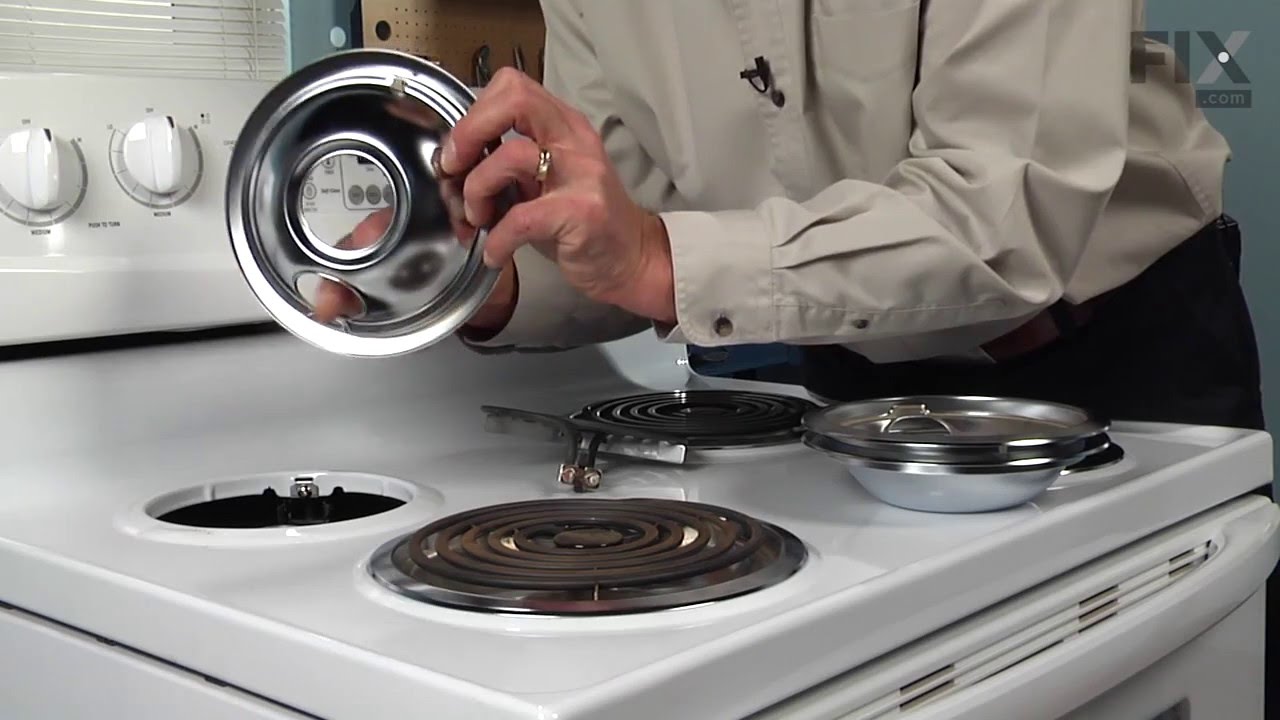
See how others fixed this model. Time, tools, difficulty, and steps that lead to victory!
View More
Search repair tips from other customers using simple keywords like "replace", "fit", "remove", "inspect". DIY doesn't mean you have to do it alone!
Search filter:
Clear Filter
Your search term must have 3 or more characters.
Replaced drip bowls in stove
71 of 134 people
found this instruction helpful.
Took out the old drip bowls and replaced with new bowls.
Other Parts Used:
Was this helpful?
Thank you for voting!
Rented appartment in which none of the drain pans were the proper size making it very difficult to cook
67 of 131 people
found this instruction helpful.
I removed the element and then the drain pan and replaced with the new correct pans. I replaced the element and all was well.
Other Parts Used:
Was this helpful?
Thank you for voting!