


 My Orders




KERS5 KitchenAid Range - Overview
Models starting with KERS5
Click on the best match to narrow your results.
- KERS500SWB0 KitchenAid Range
- KERS500SWB1 KitchenAid Range
- KERS502SWB0 KitchenAid Range
- KERS502SWB1 KitchenAid Range
- KERS505SWB0 KitchenAid Range
- KERS505SWB1 KitchenAid Range
- KERS505XBL00 KitchenAid Range
- KERS505XBL01 KitchenAid Range
- KERS505XBL02 KitchenAid Range
- KERS505XBL03 KitchenAid Range
- KERS505XBL05 KitchenAid Range (ELECTRIC OVEN)
- KERS505XSS00 KitchenAid Range
- KERS505XSS01 KitchenAid Range
- KERS505XSS02 KitchenAid Range
- KERS505XSS03 KitchenAid Range
- KERS505XSS05 KitchenAid Range (ELECTRIC OVEN)
- KERS505XWH00 KitchenAid Range
- KERS505XWH01 KitchenAid Range
- KERS505XWH02 KitchenAid Range
- KERS505XWH03 KitchenAid Range
- KERS505XWH05 KitchenAid Range (ELECTRIC OVEN)
- KERS507EAL1 KitchenAid Range
- KERS507EAL2 KitchenAid Range
- KERS507EAL3 KitchenAid Range
- KERS507EWH1 KitchenAid Range
- KERS507EWH2 KitchenAid Range
- KERS507EWH3 KitchenAid Range
- KERS507XSS00 KitchenAid Range
- KERS507XSS01 KitchenAid Range
- KERS507XSS02 KitchenAid Range
- KERS507YAL0 KitchenAid Range
- KERS507YAL1 KitchenAid Range
- KERS507YAL2 KitchenAid Range
- KERS507YAL3 KitchenAid Range
- KERS507YAL4 KitchenAid Range
- KERS507YWH0 KitchenAid Range
- KERS507YWH1 KitchenAid Range
- KERS507YWH2 KitchenAid Range
- KERS507YWH3 KitchenAid Range
- KERS507YWH4 KitchenAid Range
Enter a part description. DIY Heroes keep it simple, eg. "belt" or "pump".
Search filter:
Clear Filter
Your search term must have 3 or more characters.

$19.54
In Stock
Light Bulb - 40W
Part #8009
This an authentic OEM 40-Watt replacement light bulb, used in a number of household appliances. It is specially designed to withstand extreme temperatures, which is why these replacement bulbs are most often used to light the inside of refrigerators and ranges. It features a standard socket base, which means you simply unscrew the burnt-o...Read moreut bulb and screw in the replacement. Depending on the appliance you may require a screwdriver or nut driver to access the light bulb. We recommend you wear work gloves while handling this replacement part. It is constructed of glass and metal and is sold individually. Depending on the appliance and location of the bulb within it, you may want to consider disconnecting power and using a flashlight for easier access to unscrewing and re-screwing in your bulb during this repair.
Read less

$78.27
In Stock
Oven Bake Element 2600w 240v
Part #WP308180
The bake element in your oven is the part that provides heat when cooking. If your oven is too hot, or not hot enough, or does not heat evenly, you may need to replace the bake element. This part is 2600 Watts and 240 Volts. It is a closed hinged style bake element which is 15-3/4 inches long and 16-5/8 inches wide. The terminal depth is ...Read morethree inches and they are 1-3/4 inches apart. This part is made of metal and is black in color. Be sure to disconnect power to the oven before completing this repair.
Read less

$16.07
In Stock
Range Surface Burner Plug-In Block Kit
Part #330031
The surface burner plug-in block kit features a newer-style terminal block. This kit is designed for use with ranges and cooktops. This terminal block is how the coil element on your stove connects to the inner wiring of your appliance. Without this connection your burner element would not get the electrical current it needs to heat up. W...Read morehen your element will not heat at all, or if it is not heating properly it is likely an issue with the terminal block. You need to remove the element to replace this part. While you have the element out, inspect the element and the terminal for any corrosion, arcing, or discoloration. If you notice any damage to the element or the terminals we recommend you replace this part as well. This kit includes two metal brackets, two pre-crimped high-temperature wire leads, two ceramic wire nuts, two heat-shrinking insulators, and a mounting screw. Before you begin this repair, make sure you have unplugged your appliance.
Read less

$33.69
In Stock
Surface Burner - 8 Inch - 2600W
Part #WP660533
The surface burner or element on your range provides the heat that you cook with. If your element will not heat, you may need to replace the surface burner. This surface burner is 8 inches in diameter and 2600 watts. The burner element is made of metal and has two prongs that connect it to the range. The manufacturer recommends you replac...Read moree the burner receptacle at the same time that you replace the surface burner. Many of our customers have rated this repair as very easy. To complete the repair simply lift the old burner up and out, and replace it with the new one. Be sure to disconnect power to the range before beginning this repair.
Read less

$50.56
In Stock
Drip Bowl Kit - Light Gray
Part #W10291024
This is a kit of 4 drip bowls. This includes 2 large pans and 2 small pans. All pans have holes in the bottom and they are light gray in color. The large bowl is for an 8-inch element and is 10 inches in diameter. The small pans are meant for 6 inch elements and measure 8 inches in diameter. These durable drip bowls are made of a porcelai...Read moren finish and are safe for the dishwasher. These drip bowls are for electric ranges that have two-wire plug-in elements. Drip bowls catch food and grease that drip off cookware placed on the element.
Read less

$23.60
In Stock
Leveler Foot Screw (Nylon)
Part #W11665456
This is a leveling leg for your oven, range, or stove. The leveling legs on your oven allow your appliance to sit perfectly flat. The new one may be longer in length than your original, but will work the same. Install the new leveling leg, and test if you have it adjusted properly by putting the appliance on four legs. Adjust in or out a...Read mores required if your oven is rocking. It is recommended to check the other three leveling legs on your appliance in case they are also damaged or worn. The leveling leg measures 1.859", is all black in color, and is made entirely out of plastic. This leg may be shorter than the original but is the factory replacement. Longer leg is not available.
Read less

$28.42
In Stock
Standard Y-Frame Range Surface Burner
Part #WP660532
The standard y-frame surface burner provides heat to your range. If you notice that your element will not heat, you may need to replace your surface burner. This product is 6 inches in diameter, and 1500W. The manufacturer suggests replacing the receptacle at the same time that you replace the surface burner. Many of our customers have ra...Read moreted this repair as very easy, and you will not need any tools. To complete the repair, simply lift out the old burner and replace it with the new one. Check that the burners are turned off before you begin this repair.
Read less

$20.37
In Stock

$7.47
In Stock

$103.24
In Stock
Range Surface Element
Part #WPW10259865
This is a surface element for the stove top on your range. It supplies heat to the top of the range cooking area. This model is 2100 watts and is eight inches in diameter. It has looped terminal ends, and five turns. The most common reason for needing to replace this part is if your current element is not retaining heat. The first step to...Read more this repair is to make sure the burner control is set to off, and that the element is cool to the touch.
Read less

$18.22
In Stock

$27.36
In Stock
Range Terminal Block
Part #WPW10245259
This part is for oven ranges, it connects individual wires and protects the device from electrical surges, voltages, and current. With this part, the house power is connected to the range wire harness. Some symptoms replacing the terminal block could be a solution for are little to no heat when baking, element will not heat and/or it will...Read more not start. This part will prevent loosening and will reduce damage caused by corrosion (by two different metals). Refer to the instructional diagram for further replacement guidance and exact placement. You must unplug the appliance before installing this part and wear gloves to protect your hands.
Read less
Common Symptoms of models starting with KERS5
How this model fails, and the parts that fix it.
Element will not heat
Fixed by
these parts
these parts


Show All
Little to no heat when baking
Fixed by
these parts
these parts


Show All
Oven not heating evenly
Fixed by
these parts
these parts

Show All
Will Not Start
Fixed by
these parts
these parts


Show All
Little to no heat when broiling
Fixed by
these parts
these parts


Show All
Oven is too hot
Fixed by
these parts
these parts
Show All
Door won’t close
Fixed by
these parts
these parts


Show All
Noisy
Fixed by
these parts
these parts

Show All
Touchpad does not respond
Fixed by
these parts
these parts
Show All
Door won’t close
Fixed by
these parts
these parts

Show All
Watch our pros, then fix it yourself.

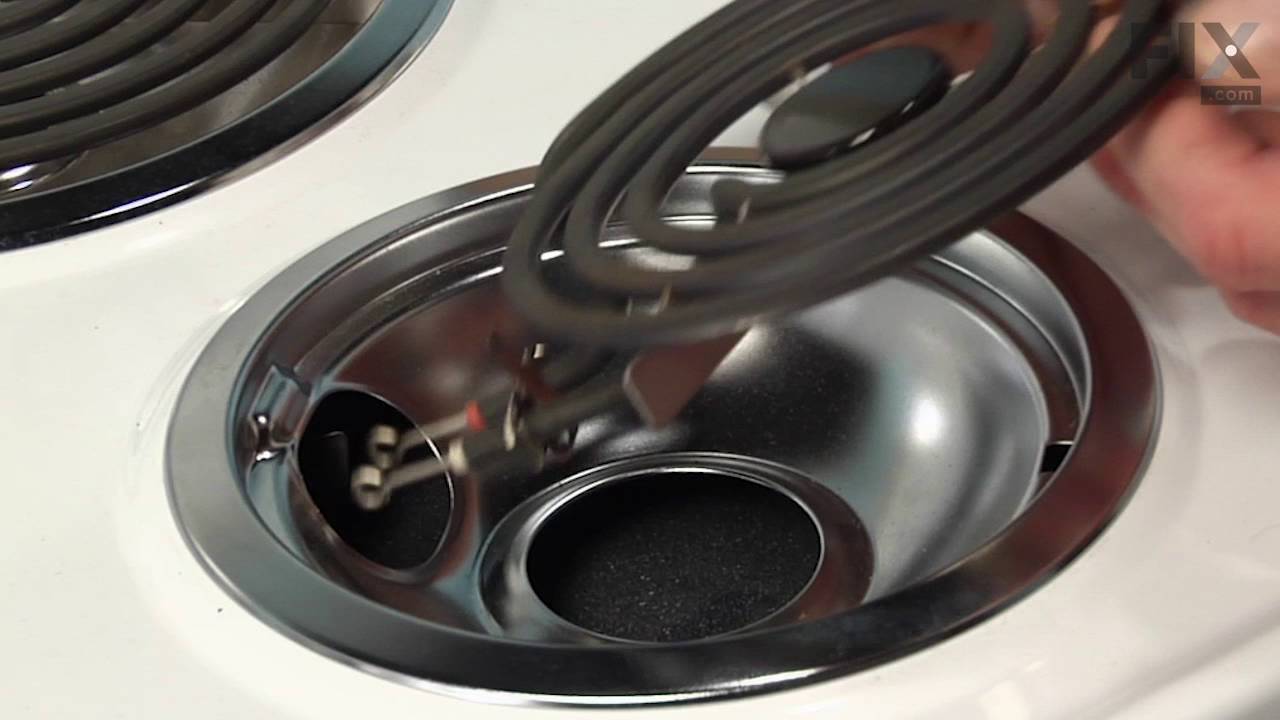


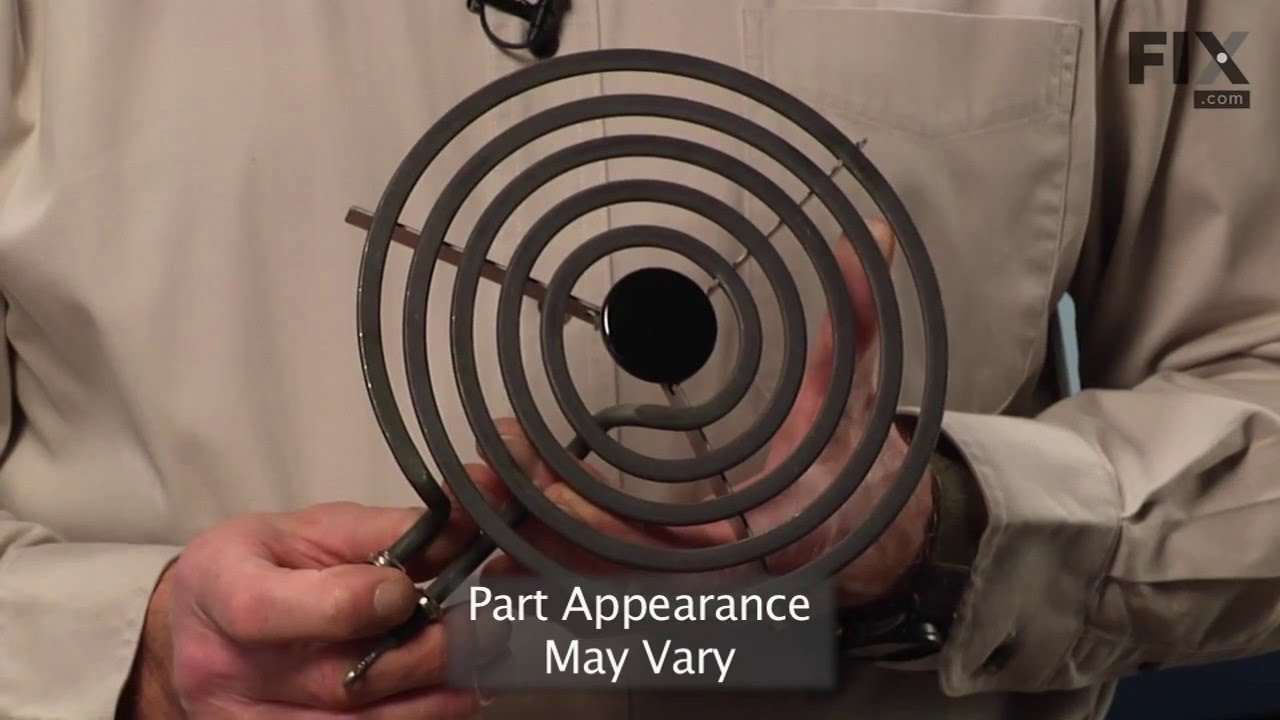

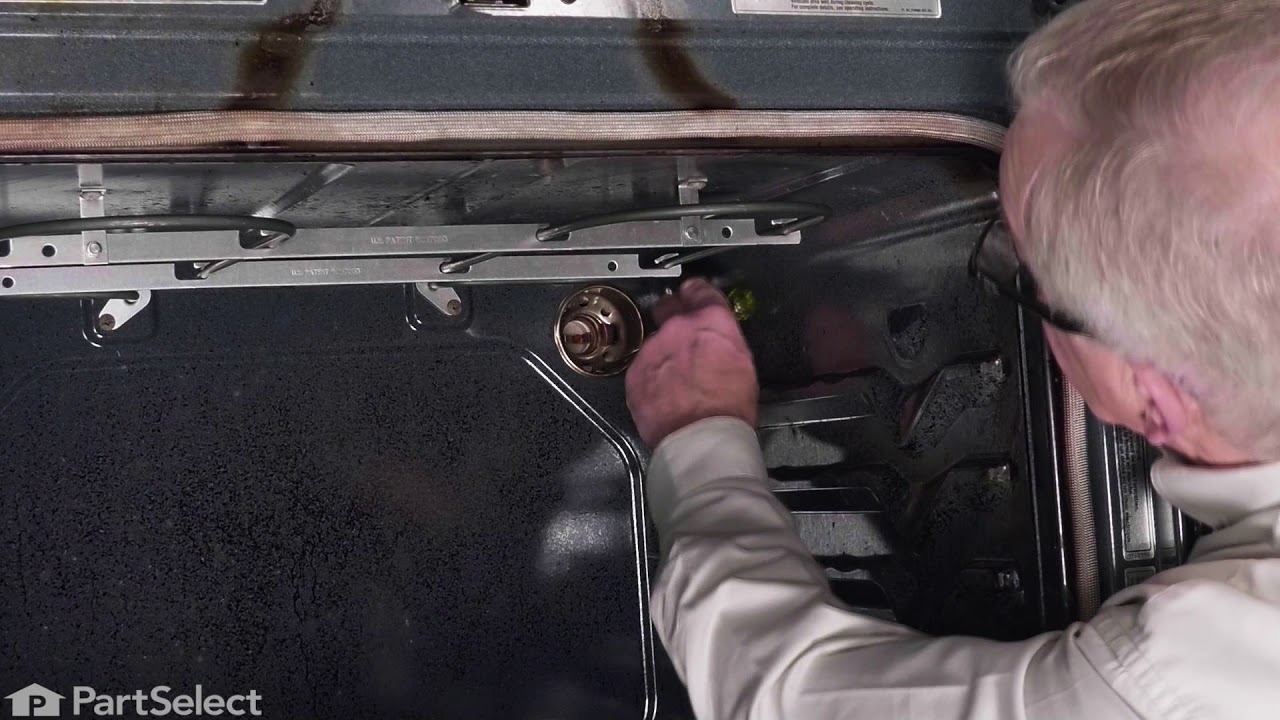
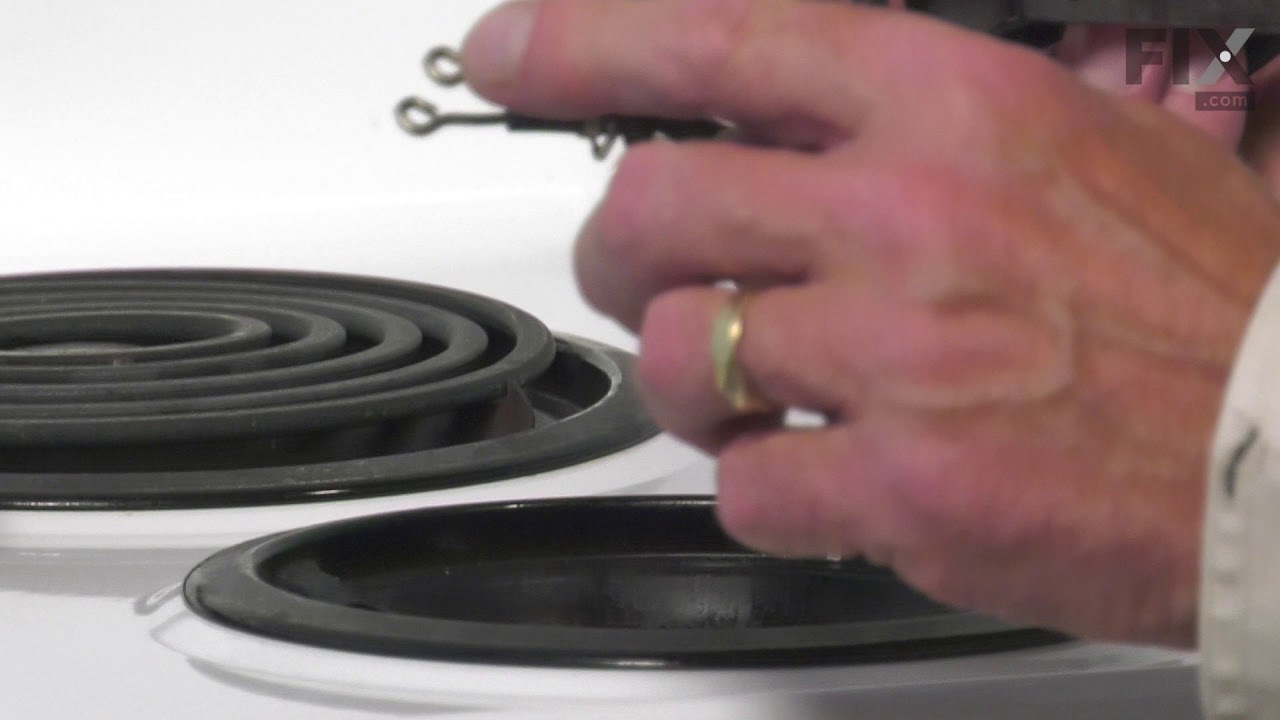
See how others fixed this model. Time, tools, difficulty, and steps that lead to victory!
View More