


 My Orders




KERC607GBS0 KitchenAid Range - Overview
Diagrams for KERC607GBS0
See every part. Know exactly what you need.


Enter a part description. DIY Heroes keep it simple, eg. "belt" or "pump".
Search filter:
Clear Filter
Your search term must have 3 or more characters.

$79.82
In Stock
Range Inner Door Glass
Part #WP9781593
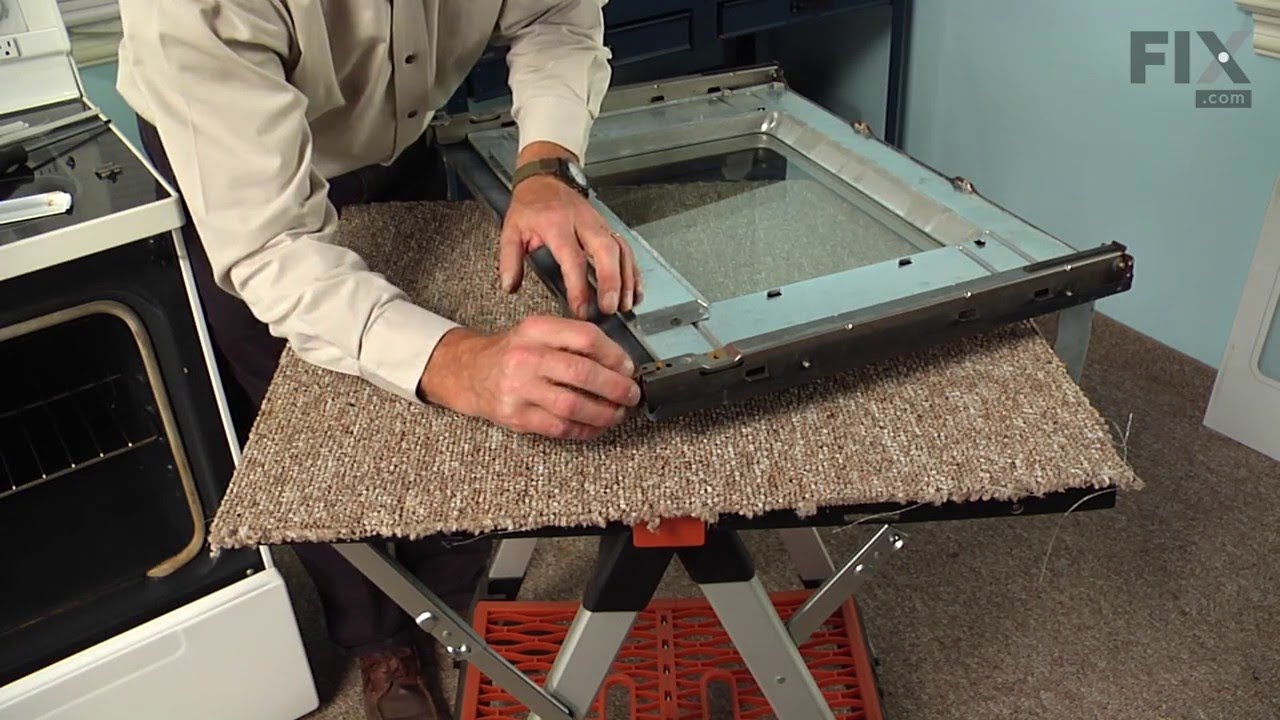
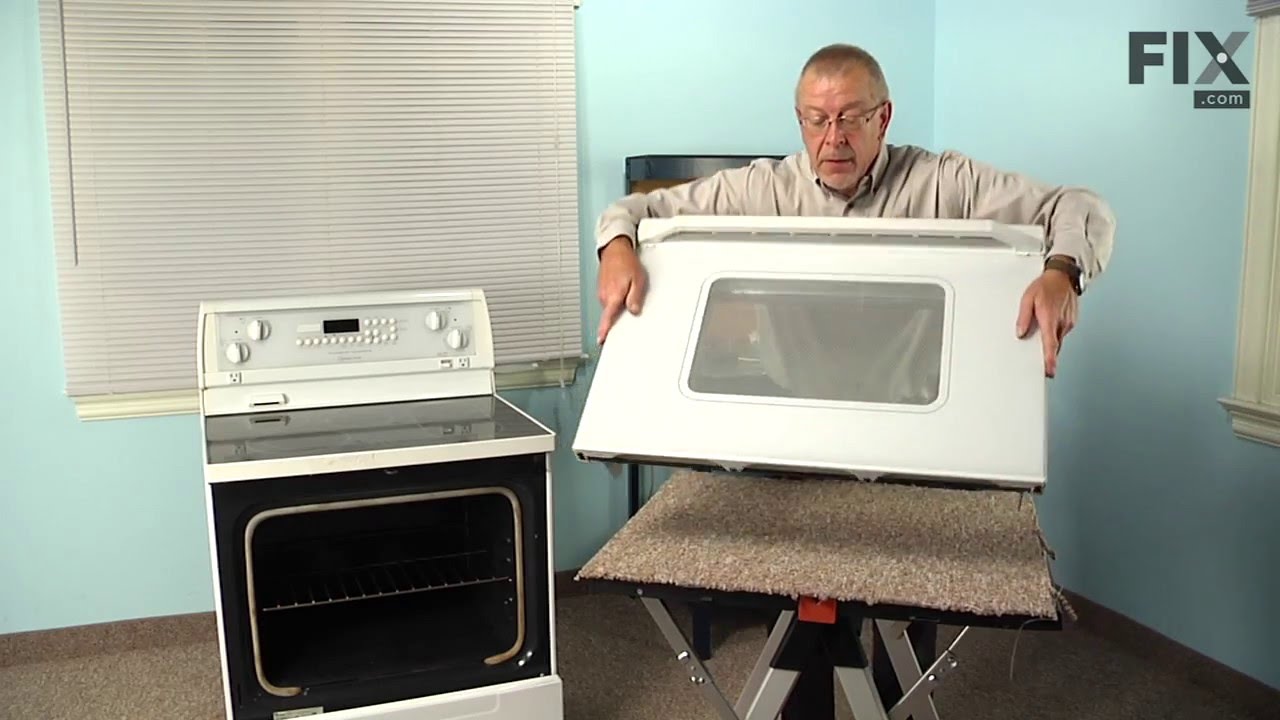
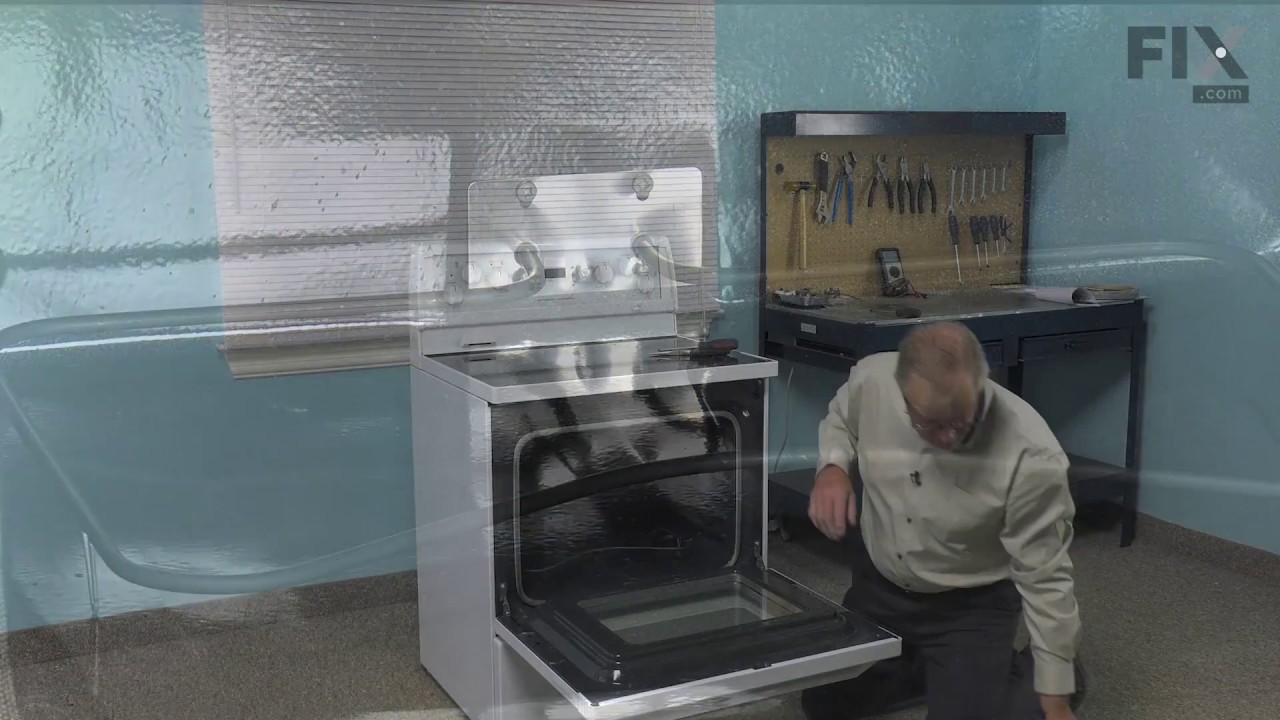
This inner door glass is used in ranges. It creates a transparent heat barrier inside your oven door. For this installment, the only tool needed is a #2 Phillips screwdriver. To repair, first remove the oven door from the range by lifting and pulling from the bottom of the hinges. To dissemble the door, you will need to remove the screws ...Read moreon the outer edge and remove the side pieces. There are also screws towards the middle that need to be removed to pull out the bottom trim. Next, lay the door on its back and slide outer door glass off and remove top trim. For the rest of the installation instructions refer to the manual provided by the manufacturer. Pro tip: remember to wait until the surface is cool before starting this repair project.
Read less

No Longer Available
Touch-Up Paint - White
Part #72017
This touch-up paint can be used on a wide variety of household appliances. It is most often used on washers, dryer, refrigerators, dishwashers, ranges, freezers, trash compactors, or microwaves. It is an 18 ml, or.6 fluid ounces, bottle of touch-up paint. It also features a brush for easy application. This quick-drying, long-lasting paint...Read more is perfect for fixing any nicks, scratches, or chips on the exterior of your appliance. This paint is white in color, and provides a durable finish.
Read less

$24.67
In Stock
Range Surface Burner Knob
Part #WP9750372FF
This knob allows you to turn the burner on your range or cooktop on, and it allows you to control the temperature of the burner. If your knob is broken, damaged, or lost, this is the replacement part you will need. This knob accepts a d-shaped shaft. To successfully install this part, line the flat edge of the shaft on the switch up with ...Read morethe hole in the knob, then simply press the knob onto the shaft and into place. This part is sold individually, and is made of black plastic. This part is approximately 2 inches in diameter.
Read less

$49.50
In Stock
2 Piece Broiler Pan
Part #4396923
This broiler pan and roasting rack set is designed to help reduce mess while cooking by allowing grease to drain away from food. Its durable porcelain-coated construction stands up to high temperatures and makes cleanup simple. With approximate dimensions of 16 3/4 inches long, 12 3/4 inches wide, and 1 3/4 inches high, it offers a convenient size for everyday broiling and roasting.

No Longer Available
Cooktop Cleaner
Part #W10355051
This bottle of non-abrasive cooktop cleaner breaks down and gets rid of the hardest baked-on stains and residue without causing any harm to your appliance. The bottle is 10 oz and does not require a large amount of product to do the job. This cleaner is perfectly safe to use on any glass, ceramic, stainless steel, chrome, or porcelain coo...Read morektop surface. The cleaner is creamy in texture and provides a protective coat of silicone on smooth surfaces. To apply, use a gentle scrub, sponge, or rag and gently press in a circular motion until the stains are removed.
Read less

No Longer Available
Oven Bake Element
Part #WP9750213
This bake element has push-on wire terminals and is found at the bottom of your oven cavity.

$9.62
In Stock

No Longer Available
Spray Paint - 12 oz. - White
Part #350930
Appliance spray paint is a great way to cover up any chips and scratches that have appeared on your appliances. Instead of replacing the part entirely, this is an easy fix. This is also a great way to give a fresh new look to any handles or areas that have discoloring due to wear. Make sure to clean the area before you begin and wear a pr...Read moreotective mask for safety. Give the can a good shake and spray a few inches away from the surface. Apply the paint until the area is fully covered as desired. Wait until the paint has dried before using the appliance.
Read less

No Longer Available

$7.47
In Stock

$144.16
In Stock
Range Door Hinge Left Or Right Side
Part #WP9782033
This hinge is located on each side of the oven door. Sold individually.

$48.45
Special Order
Common Symptoms of the KERC607GBS0
How this model fails, and the parts that fix it.
Element will not heat
Fixed by
these parts
these parts


Show All
Little to no heat when baking
Fixed by
these parts
these parts

Show All
Door won’t close
Fixed by
these parts
these parts


Show All
Little to no heat when broiling
Fixed by
these parts
these parts
Show All
Oven not heating evenly
Fixed by
these parts
these parts

Show All
Noisy
Fixed by
these parts
these parts

Show All
Will Not Start
Fixed by
these parts
these parts

Show All
Oven is too hot
Fixed by
these parts
these parts
Show All
Watch our pros, then fix it yourself.



See how others fixed this model. Time, tools, difficulty, and steps that lead to victory!
View More
Search repair tips from other customers using simple keywords like "replace", "fit", "remove", "inspect". DIY doesn't mean you have to do it alone!
Search filter:
Clear Filter
Your search term must have 3 or more characters.
Inner Oven Door Shattered during cooking.
47 of 51 people
found this instruction helpful.
First, layed tape across all broken glass to keep glass from shattering more and releasing more bits of glass. Pull up and out the oven door. Had table set aside covered with an old sheet to lay door on, After laying door on table, Removed outer screws. Needed phillips #2 & #3 tip widths and electric screwdriver, for inner screws that whe
... Read more
re difficult to remove. Making notes of what came off first! ( (rt & left, bottom,/top) when removing metal frame braces, and in what order they go in when reassembled . Did the same with screws & set them aside in groups. Then marked the groups of screws. Removed the metal door panel. Carefully removed the in between panel of glass. Set Outer glass aside along with metal "door"and inner door glass,and proped them up in a safe place. Carefully removed the broken & shattered inside glass wearing rubber gloves. Had a garbage can next to the table to with news paper to wrap glass. Cleaned area. Replaced glass taking care not to tighted screws so much as to break the glass. Put added insulation.(Whcih was not the same as in diagram), around the edge. put back the inner glass panel, care not to leave prints, tighten screw ( care not to break glass) Cleaned the door sides and bottom, all had alot of grease buildup.
Put back the metal door portion. Cleaned the outer glass door front and back. Being careful not to break it (or leave prints inside). Replaced the side and bottom metal frames. Wiped it down and put door back on stove.
Put back the metal door portion. Cleaned the outer glass door front and back. Being careful not to break it (or leave prints inside). Replaced the side and bottom metal frames. Wiped it down and put door back on stove.
Read less
Other Parts Used:


Was this helpful?
Thank you for voting!