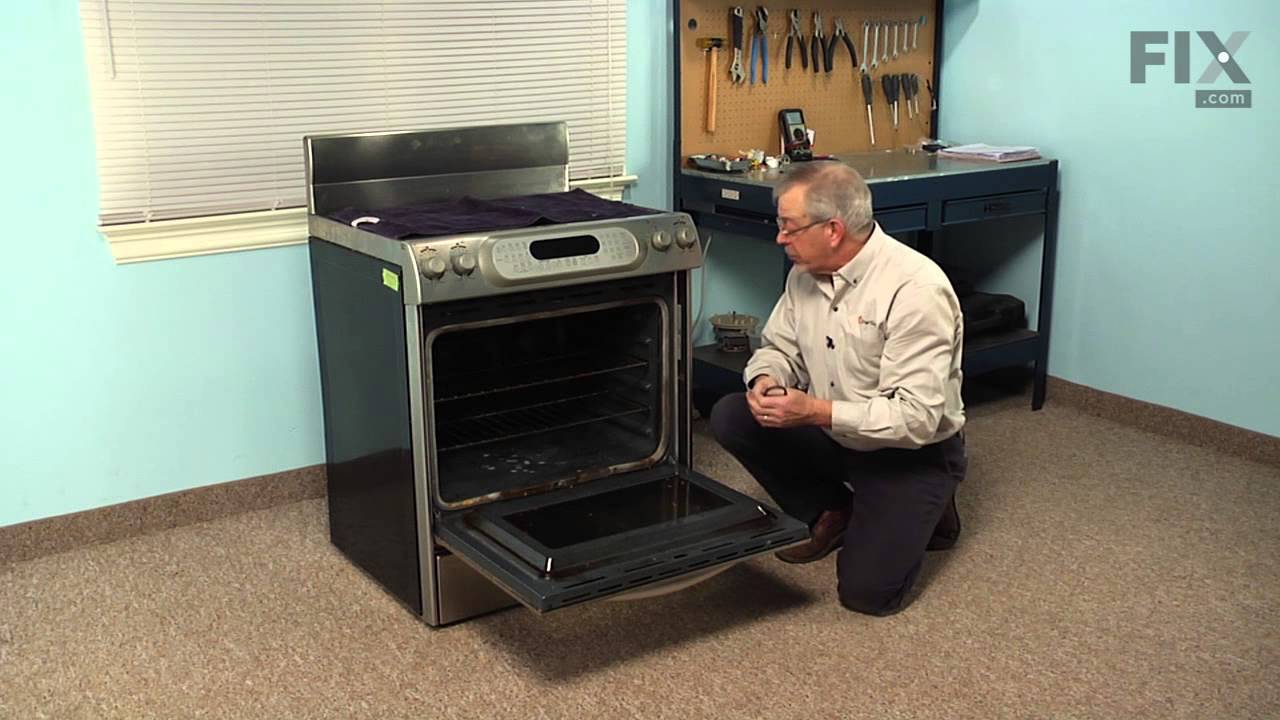
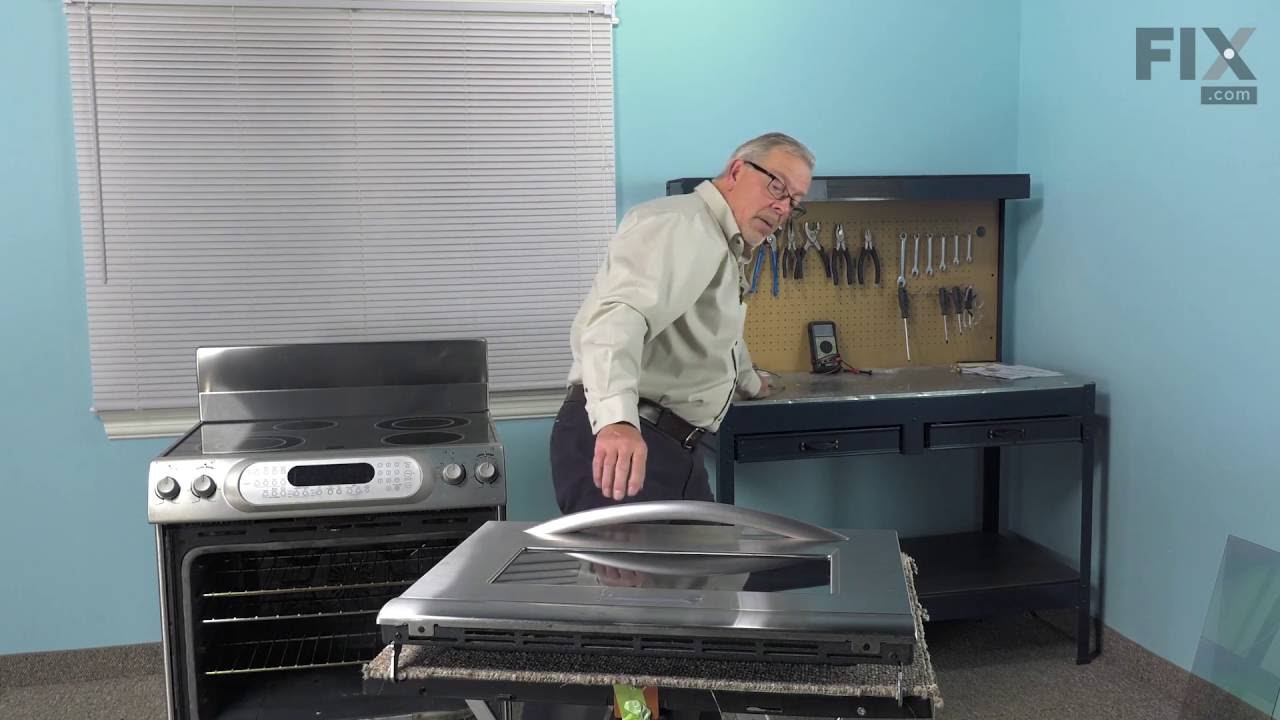
This inner door glass is a heat resistant part that fits into a stove, oven, wall oven, cooktop, or range as the inner glass panel of the appliance door. The glass panel allows you to see the items being cooked or heated in the appliance. Handle with caution and be sure to use gloves, as the door is heavy and the glass is breakable. Do no...Read moret replace the glass until the appliance is cool to the touch. This genuine manufacturer part is approximately 20 inches by 10 inches. The inner glass door is sold individually and contains the glass panel only.
This genuine OEM microwave turntable tray is a circular plate made of glass and has a diameter of approximately 16 inches. It rotates food in your microwave oven, so that your food cooks evenly. It is found in the center of your microwave and can be removed from it for cleaning. If your turntable tray is broken, you will notice that it wo...Read morebbles as it rotates, or it may not rotate at all. With a damaged turntable tray, your food will not cook evenly or thoroughly. The other components in your microwave may also wear out more quickly. To remove your current turntable tray, simply lift it off the spindle in the center of your microwave. This part is sold individually.
This oven rack is chrome in color and is approximately 24.76 inches wide by 15.78 inches deep. If your old oven rack is damaged, you should consider replacing it. Many of our customers have determined this repair to be very easy. You will not require any tools to complete it. To replace the oven rack, simply pull the old rack out, and rep...Read morelace it with the new one. Make sure to put the new rack back in the oven with the beveled edge in first. To keep your oven racks clean, we recommend that you pull them out before using the self-cleaning function on your oven.
This is a multi-use and multi-appliance screw. It can be used on a microwave, refrigerator, range/oven, air conditioner, dehumidifier, washer, or dryer. The measurements of this screw are 8 x 1/2 inch. It has 6 threads. Refer to the manual provided by the manufacturer for further information on repair and accurate guidance. Remember to wear work gloves as a safety precaution.
This halogen light bulb is a type of lamp that uses a halogen gas mixture for better lighting quality and longevity. It is an authentic OEM replacement bulb designed for use in ovens and ranges. It is used to illuminate the oven cavity. Over time, the filament inside the bulb can wear out and break, causing the lamp to fail. A faulty sock...Read moreet connection can also cause the bulb to lose electrical contact and stop working. If your oven light is faulty, you will have difficulty seeing and monitoring the food throughout the cooking process. Locate the bulb housing inside the oven cavity and carefully remove the bulb from the socket. Place your new bulb into the socket and ensure the bulb housing is secure. Note that each light bulb is sold individually.
The temperature sensor measures the temperature inside the oven. If your oven is too hot, not heating evenly, is not heating enough when baking, or simply will not start, you could have a faulty temperature sensor. A faulty temperature sensor can be a fire risk. If your sensor is not working properly, you should look to replace it straigh...Read moret away. A failed oven sensor is most often responsible for F3 or F4 error messages on electronically-controlled ovens. Make sure you disconnect the power to your range before you start your repair.
An oven thermostat is a switch that opens and closes in response to the temperature it senses. It is typically found in the control panel, where a liquid-filled temperature-sensing bulb senses and maintains the internal oven temperature by cycling heat on and off. This safety thermostat trips when the controls are not working properly, or...Read more if the range gets too hot. If your oven will not start or is not heating properly, there could be an issue with the limit thermostat, and you should look to replace the part.
NOTE: Remember to disconnect the power from your range before you start this repair. This is an electrical appliance that can potentially hold a 220 volt charge.
This touch-up paint can be used on a wide variety of household appliances. It is most often used on washers, dryer, refrigerators, dishwashers, ranges, freezers, trash compactors, or microwaves. It is an 18 ml, or.6 fluid ounces, bottle of touch-up paint. It also features a brush for easy application. This quick-drying, long-lasting paint...Read more is perfect for fixing any nicks, scratches, or chips on the exterior of your appliance. This paint is white in color, and provides a durable finish.
This broiler pan and roasting rack set is designed to help reduce mess while cooking by allowing grease to drain away from food. Its durable porcelain-coated construction stands up to high temperatures and makes cleanup simple. With approximate dimensions of 16 3/4 inches long, 12 3/4 inches wide, and 1 3/4 inches high, it offers a convenient size for everyday broiling and roasting.
This is a door hinge for the oven door on your range. It allows the door of your unit to open and close without much effort. This hinge will also allow the door to stay open at different angles and hold that position. This part is sold individually and it works for both the left and the right side of your unit. You may need to replace thi...Read mores part if you are noticing that your appliance will not hold the open or closed positions properly.
Ask our experts a question about this model and we'll get back to you as soon as possible!
We may have answered a similar question already! Search questions and answers left by others using simple keywords like "fit", "broken", "easy", or "quality" to find questions that match.
Search filter:
Clear Filter
Your search term must have 3 or more characters.
Sort by:
Prev
1
Next
Sorry, we couldn't find any existing answers that matched.Try using some different or simpler keywords, or submit your new question by using the "Ask a Question" button above!
Bob - For model number KEMS308GSS3
January 9, 2023
I recently cleaned my oven with a mixture of dawn dish soap, baking soda and vinegar mixture. I believe some of the mixture got into the heating probe inlet and now my oven says that the probe is in. I don't even have a probe for my oven. How do I fix this or reset my display.
Thanks,
Bob
Hi Bob, thank you for the question. It means that the oven meat probe jack has shorted out. Power the unit down by turning off the circuit breaker(s) for one minute. Power the unit up by turning on the circuit breaker(s). Monitor the oven for one minute to ensure the error code does not display again. Verify the oven's operation. If the issues persist, the only thing we could figure out is whether enough moisture has collected inside the probe socket to cause a short. Dry it out with a hair dryer, and it will start working again. If this does not help, you will need to replace the meat probe receptacle, part number PS1486371. Please reach out to customer service if you need help placing an order. Glad to be of help!
See how others fixed this model. Time, tools, difficulty, and steps that lead to victory!View More
Search repair tips from other customers using simple keywords like "replace", "fit", "remove", "inspect". DIY doesn't mean you have to do it alone!
Search filter:
Clear Filter
Your search term must have 3 or more characters.
Broke the glass panel inside the oven door -- dropped a baking dish on the glass!
237 of 301 peoplefound this instruction helpful.
Robert from Wildwood, MO
Easy
30 - 60 mins
Screw drivers
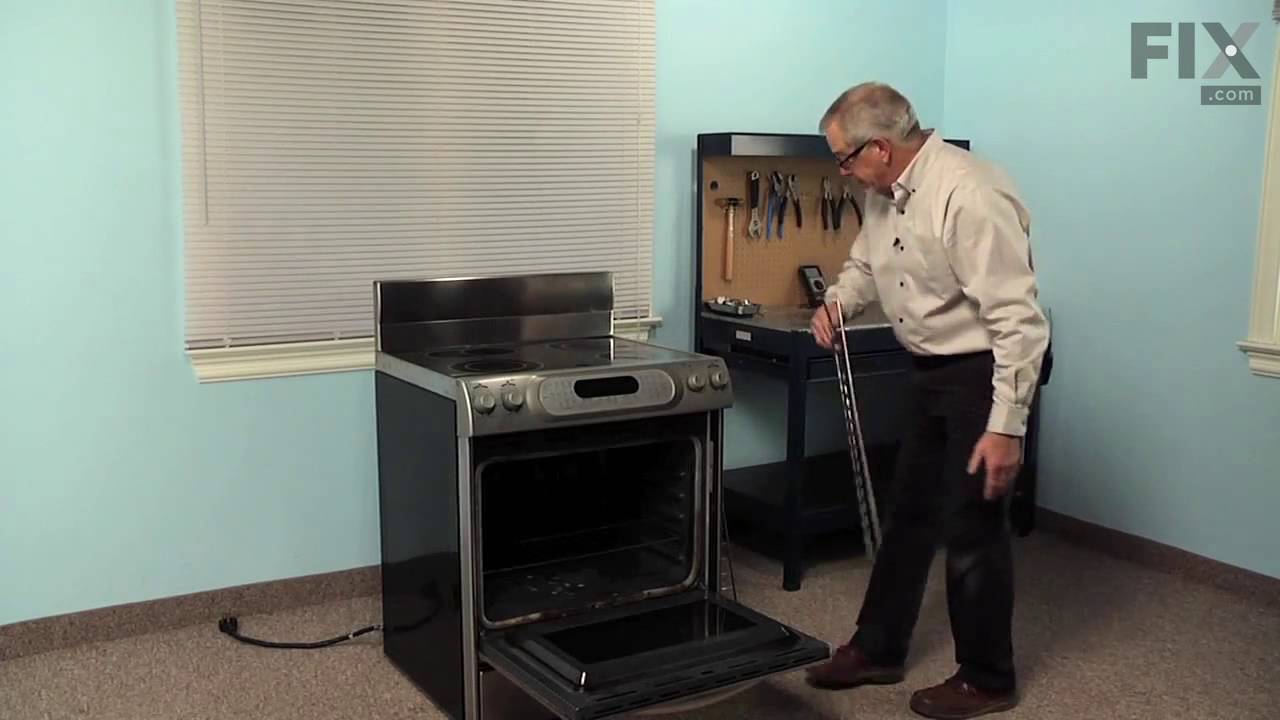
Easily removed the door from the oven by releasing clips attached to the door hinge -- very nicely engineered. Removed about 6 philips head screws to allow the door assembly to be taken apart for access to the glass. Lifted out the broken glass, cleaned the inside of the door, installed the new glass, reassembled the door (a two minute
... Read more project), and reattached the door to the oven. Cleaning the inside of the door took longer than the actual repair!
Read less
Was this helpful?
Thank you for voting!
No heat after cleaning oven
109 of 124 peoplefound this instruction helpful.
Frederick from St. Louis, MO
Easy
15 - 30 mins
Nutdriver, Pliers
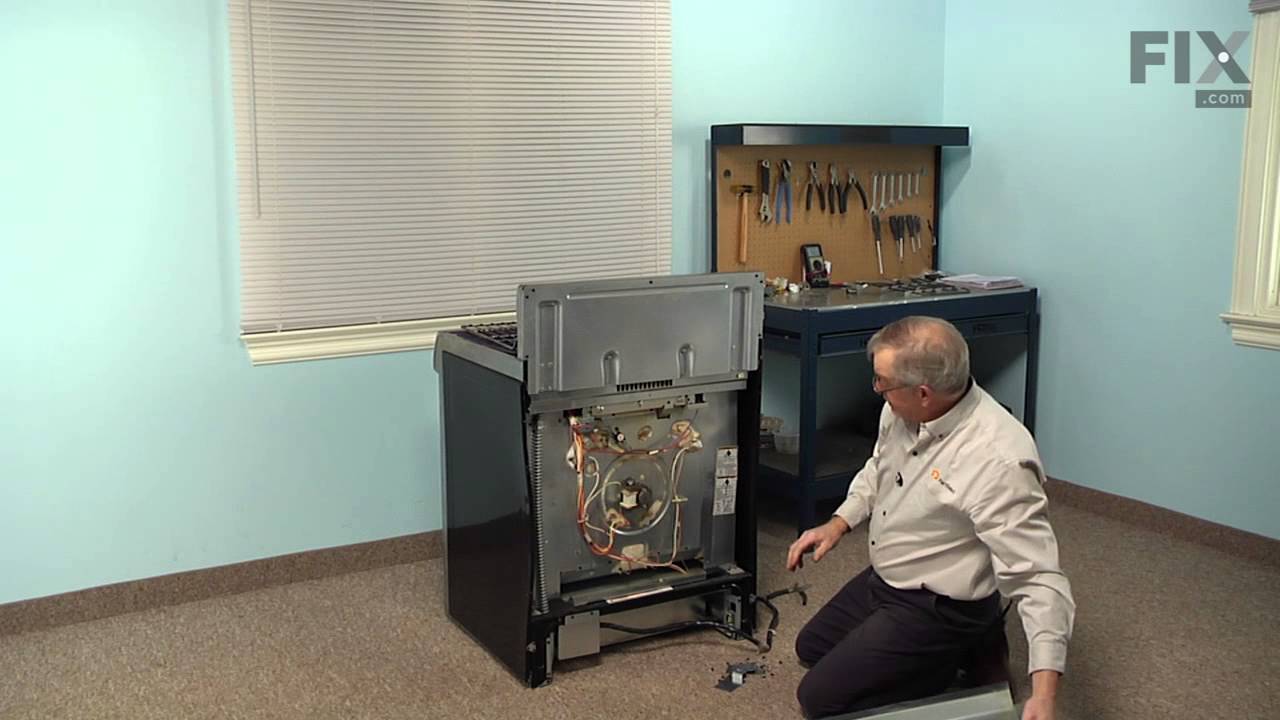
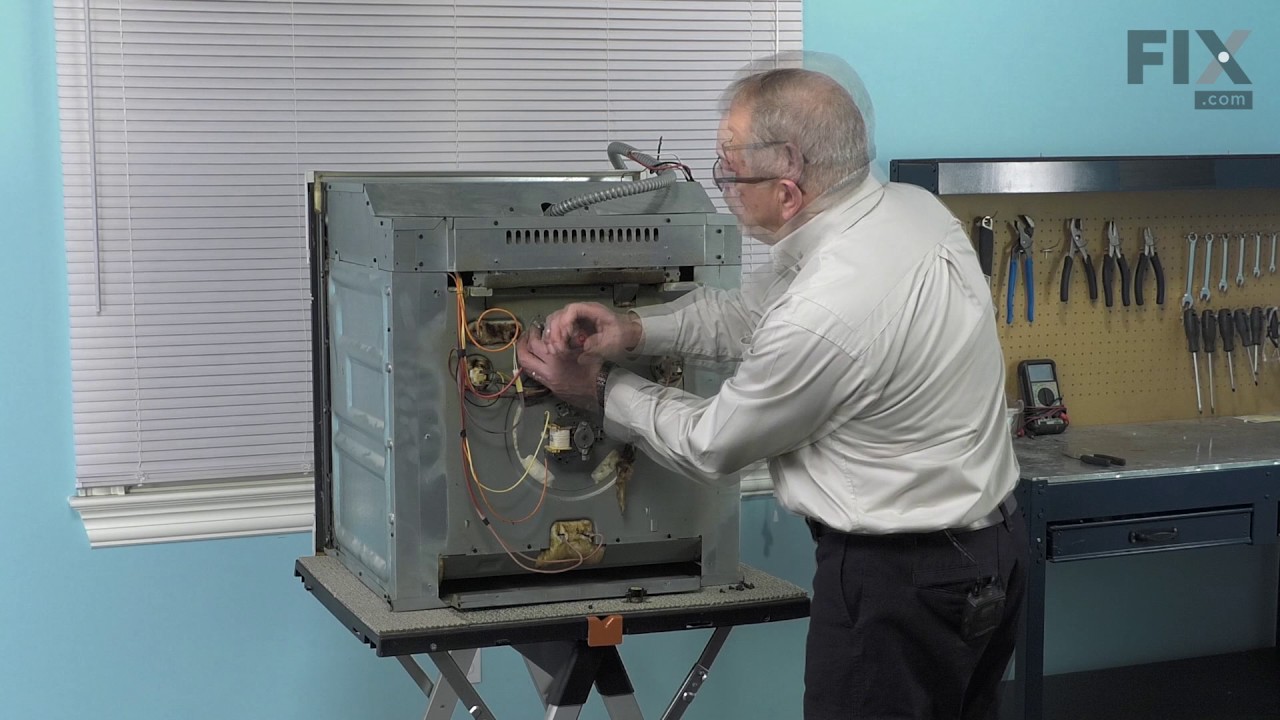
This built-in oven was slid out of it's space and set on a box. I removed the back cover with nut driver and located the safety overload device. removed nuts and used pliers to remove wires and replace them. The power must be off to do this repair.Replaced the cover and slid back into place. This could be a lot more difficult if your pow
... Read moreer cord or gas line is not long enough to make it out of your wall space. Or of your oven is attached well to the frame.
Read less
Was this helpful?
Thank you for voting!
Cracked the inner door glass by wiping with wet rag when hot
66 of 78 peoplefound this instruction helpful.
James from Renton, WA
Easy
30 - 60 mins
Screw drivers
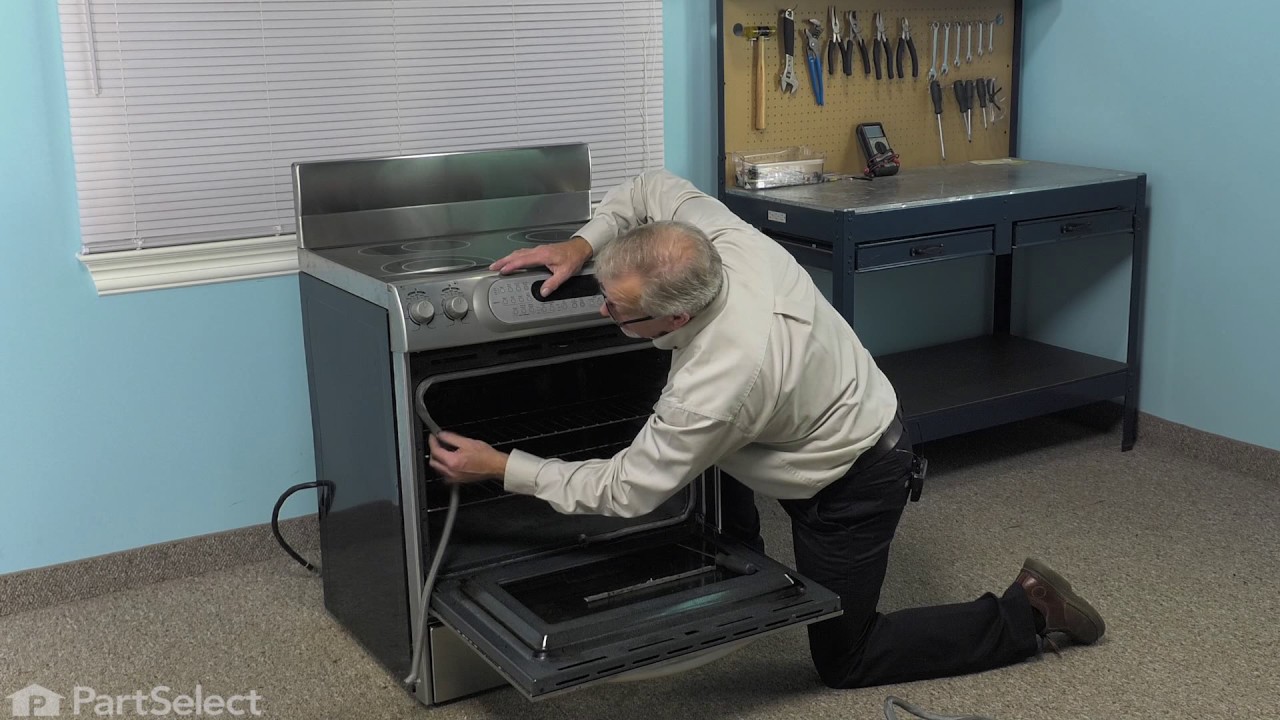
Removed the oven door by following the straightforward instructions in the user's manual. Removed philips head screws to take the door assembly apart. Removed clips holding the two inner door glass plates, and the two plates. Removed the clamp holding the broken glass plate, then the glass and associated glass fragments. Then cleaned
... Read moreand re-installed the three glass plates and their clamps in reverse order. Re-assembled the door and re-attached to the oven. Only cautionary note is to be careful when removing, handling and re-installing the various glass plates. Watch out for fragments from the broken plate; they can cut you and/or fall on the floor.



 My Orders