


 My Orders




KEK3 Frigidaire Range - Overview
Models starting with KEK3
Click on the best match to narrow your results.
- KEK3BXA2 Frigidaire Range (Frigidaire Range/Stove/Oven Model KEK3BXA2 Parts)
- KEK3BXA3 Frigidaire Range (Frigidaire Range/Stove/Oven Model KEK3BXA3 Parts)
- KEK3BXE2 Frigidaire Range (Frigidaire Range/Stove/Oven Model KEK3BXE2 Parts)
- KEK3BXE3 Frigidaire Range (Frigidaire Range/Stove/Oven Model KEK3BXE3 Parts)
- KEK3BXG2 Frigidaire Range (Frigidaire Range/Stove/Oven Model KEK3BXG2 Parts)
- KEK3BXG3 Frigidaire Range (Frigidaire Range/Stove/Oven Model KEK3BXG3 Parts)
- KEK3BXW2 Frigidaire Range (Frigidaire Range/Stove/Oven Model KEK3BXW2 Parts)
- KEK3BXW3 Frigidaire Range (Frigidaire Range/Stove/Oven Model KEK3BXW3 Parts)
- KEK3CXA2 Frigidaire Range (Frigidaire Range/Stove/Oven Model KEK3CXA2 Parts)
- KEK3CXA3 Frigidaire Range (Frigidaire Range/Stove/Oven Model KEK3CXA3 Parts)
- KEK3CXA4 Frigidaire Range (Frigidaire Range/Stove/Oven Model KEK3CXA4 Parts)
- KEK3CXE2 Frigidaire Range (Frigidaire Range/Stove/Oven Model KEK3CXE2 Parts)
- KEK3CXE3 Frigidaire Range (Frigidaire Range/Stove/Oven Model KEK3CXE3 Parts)
- KEK3CXE4 Frigidaire Range (Frigidaire Range/Stove/Oven Model KEK3CXE4 Parts)
- KEK3CXG2 Frigidaire Range (Frigidaire Range/Stove/Oven Model KEK3CXG2 Parts)
- KEK3CXG3 Frigidaire Range (Frigidaire Range/Stove/Oven Model KEK3CXG3 Parts)
- KEK3CXG4 Frigidaire Range (Frigidaire Range/Stove/Oven Model KEK3CXG4 Parts)
- KEK3CXW2 Frigidaire Range (Frigidaire Range/Stove/Oven Model KEK3CXW2 Parts)
- KEK3CXW3 Frigidaire Range (Frigidaire Range/Stove/Oven Model KEK3CXW3 Parts)
- KEK3CXW4 Frigidaire Range (Frigidaire Range/Stove/Oven Kek3cxw4)
- KEK3HXA1 Frigidaire Range (Frigidaire Range/Stove/Oven Model KEK3HXA1 Parts)
- KEK3HXE1 Frigidaire Range (Frigidaire Range/Stove/Oven Model KEK3HXE1 Parts)
- KEK3HXG1 Frigidaire Range (Frigidaire Range/Stove/Oven Model KEK3HXG1 Parts)
- KEK3HXT1 Frigidaire Range (Frigidaire Range/Stove/Oven Model KEK3HXT1 Parts)
- KEK3HXW1 Frigidaire Range (Frigidaire Range/Stove/Oven Model KEK3HXW1 Parts)
Enter a part description. DIY Heroes keep it simple, eg. "belt" or "pump".
Search filter:
Clear Filter
Your search term must have 3 or more characters.

$40.60
In Stock
Main Terminal Block Kit
Part #5304409888
Terminal block kits are also known as terminal boards, or terminal strips, and they are found in a wide variety of household appliances. Most often in ranges, wall ovens, and dryers. This kit attaches the power cord to the inner wiring of your appliance. If the terminal block is faulty, your appliance will not get the power it needs to op...Read moreerate properly. When removing the old block pay close attention to the wire placement, this will make installing your new part much easier. If you notice any of the wires or wire terminals are corroded or damaged they will also need to be replaced.
Read less

No Longer Available
White Touch up Paint
Part #5303321319
This is white touch up paint for refrigerators, microwaves, ranges, dryers, and freezers. It is used to cover, or touch up, nicks and scratches on the appliance from wear and tear. It is an 18ml bottle that contains paint and a small brush for easy application. It is a little over 2 inches tall. This is an OEM part that is sourced directl...Read morey from the genuine manufacturer, and is meant to be an exact match to the color of the appliance. If the appliance is not white, please see other colors such as almond or black.
Read less

$63.59
In Stock
Oven Light Socket
Part #316116400
The oven light socket allows you to screw in a light bulb so that you can see the inside of your oven. The light socket is located in the back of your oven, so you will need to remove the back panel to access the socket for the repair. You will also need to remove the current light bulb and the light lens cover so that the old socket can ...Read morebe removed. As you will be working around electrical circuits for this repair, be sure to disconnect the power source from the oven before you begin work on the oven.
Read less

$38.30
On Order

$17.19
Special Order
Drip Bowl - 6" Chrome
Part #A316221501
This six inch chrome drip bowl is used for some Frigidaire/WCI brand White-Westinghouse style electric ranges.

No Longer Available
Chrome Drip Bowl ( 8'')
Part #5300147223
This eight inch chrome drip bowl has a 3/4" lip and is used for Frigidaire/WCI brand White-Westinghouse style of electric ranges.

No Longer Available
6 Inch Surface Element
Part #5300161845

No Longer Available
Chrome Drip Bowl - 6"
Part #5300147221
This six inch chrome drip bowl has a 3/4" lip and is used for Frigidaire/WCI brand White-Westinghouse style of electric ranges.

$82.45
Special Order
Element Heating
Part #5300207517

No Longer Available
Chrome Drip Bowl - 8"
Part #5300131964
This eight inch chrome drip bowl is used for some Frigidaire/WCI brand White-Westinghouse style electric ranges.

$18.95
Special Order
Chrome Trim Ring ( 6'')
Part #5300131986
The lip of this six inch chrome trim ring is 3/4 inch deep. Use it for your Frigidaire/WCI brand White-Westinghouse style electric range.

No Longer Available
Chrome Trim Ring - 8"
Part #5300131987
The lip of this eight inch chrome trim ring is 3/4 inch deep. Use it for your Frigidaire/WCI brand White-Westinghouse style electric range.
Common Symptoms of models starting with KEK3
How this model fails, and the parts that fix it.
Little to no heat when baking
Fixed by
these parts
these parts

Show All
Will Not Start
Fixed by
these parts
these parts

Show All
Element will not heat
Fixed by
these parts
these parts
Show All
Oven not heating evenly
Fixed by
these parts
these parts
Show All
Little to no heat when broiling
Fixed by
these parts
these parts
Show All
Watch our pros, then fix it yourself.

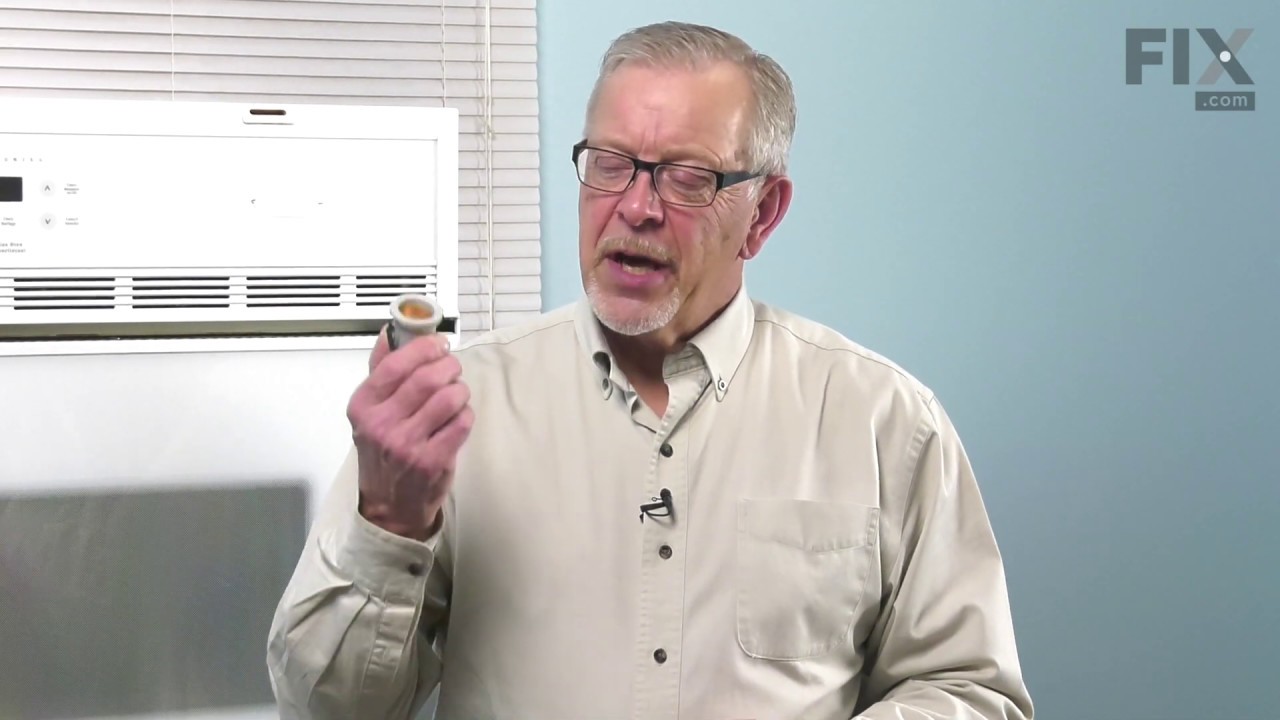
See how others fixed this model. Time, tools, difficulty, and steps that lead to victory!
View More