


 My Orders




KEHC379JWH08 KitchenAid Microwave Oven Combo - Overview
Diagrams for KEHC379JWH08
See every part. Know exactly what you need.


Enter a part description. DIY Heroes keep it simple, eg. "belt" or "pump".
Search filter:
Clear Filter
Your search term must have 3 or more characters.

$72.00
In Stock
Microwave Turntable Tray
Part #W11373838
This genuine OEM microwave turntable tray is a circular plate made of glass and has a diameter of approximately 16 inches. It rotates food in your microwave oven, so that your food cooks evenly. It is found in the center of your microwave and can be removed from it for cleaning. If your turntable tray is broken, you will notice that it wo...Read morebbles as it rotates, or it may not rotate at all. With a damaged turntable tray, your food will not cook evenly or thoroughly. The other components in your microwave may also wear out more quickly. To remove your current turntable tray, simply lift it off the spindle in the center of your microwave. This part is sold individually.
Read less

$21.45
In Stock
Screw
Part #W11233072
This is a multi-use and multi-appliance screw. It can be used on a microwave, refrigerator, range/oven, air conditioner, dehumidifier, washer, or dryer. The measurements of this screw are 8 x 1/2 inch. It has 6 threads. Refer to the manual provided by the manufacturer for further information on repair and accurate guidance. Remember to wear work gloves as a safety precaution.

$89.97
In Stock
Range Interior Oven Door Glass
Part #WP4449253
The interior oven door glass panel is the innermost piece of glass that faces the inside of your oven when the door is closed. This inner oven door glass is meant to be resistant to high heat and can be accessed when the oven door is open. To complete this repair, you will need a number two Phillips screwdriver and a flat blade screwdrive...Read morer. The most difficult part of this repair will be removing the oven door, so make sure when installing this part, you have a sufficient amount of work space.
Read less

$49.50
In Stock
Oven Halogen Bulb
Part #WP4452164
This halogen light bulb is a type of lamp that uses a halogen gas mixture for better lighting quality and longevity. It is an authentic OEM replacement bulb designed for use in ovens and ranges. It is used to illuminate the oven cavity. Over time, the filament inside the bulb can wear out and break, causing the lamp to fail. A faulty sock...Read moreet connection can also cause the bulb to lose electrical contact and stop working. If your oven light is faulty, you will have difficulty seeing and monitoring the food throughout the cooking process. Locate the bulb housing inside the oven cavity and carefully remove the bulb from the socket. Place your new bulb into the socket and ensure the bulb housing is secure. Note that each light bulb is sold individually.
Read less

$72.00
In Stock
Range Temperature Sensor
Part #WPW10131825
The temperature sensor measures the temperature inside the oven. If your oven is too hot, not heating evenly, is not heating enough when baking, or simply will not start, you could have a faulty temperature sensor. A faulty temperature sensor can be a fire risk. If your sensor is not working properly, you should look to replace it straigh...Read moret away. A failed oven sensor is most often responsible for F3 or F4 error messages on electronically-controlled ovens. Make sure you disconnect the power to your range before you start your repair.
Read less

$52.67
In Stock
Limit Thermostat
Part #WP9759243
An oven thermostat is a switch that opens and closes in response to the temperature it senses. It is typically found in the control panel, where a liquid-filled temperature-sensing bulb senses and maintains the internal oven temperature by cycling heat on and off. This safety thermostat trips when the controls are not working properly, or...Read more if the range gets too hot. If your oven will not start or is not heating properly, there could be an issue with the limit thermostat, and you should look to replace the part.
NOTE: Remember to disconnect the power from your range before you start this repair. This is an electrical appliance that can potentially hold a 220 volt charge.
Read less

No Longer Available
Touch-Up Paint - White
Part #72017
This touch-up paint can be used on a wide variety of household appliances. It is most often used on washers, dryer, refrigerators, dishwashers, ranges, freezers, trash compactors, or microwaves. It is an 18 ml, or.6 fluid ounces, bottle of touch-up paint. It also features a brush for easy application. This quick-drying, long-lasting paint...Read more is perfect for fixing any nicks, scratches, or chips on the exterior of your appliance. This paint is white in color, and provides a durable finish.
Read less

$78.77
In Stock
Torsion Spring - Stainless Steel - Right Side
Part #WP4452396
This is to be used with Stainless Steel models.

$27.36
In Stock

$7.47
In Stock

$76.17
In Stock

No Longer Available
Manuals & Care Guides for KEHC379JWH08
Click to downloadInstall
Installation Instructions
(2.67MB)
Install
Installation Instructions
(2.07MB)
Manual
Owner's Manuals
(1.78MB)
Specs
Product Specifications Sheet
(0.04MB)
Common Symptoms of the KEHC379JWH08
How this model fails, and the parts that fix it.
Little to no heat when baking
Fixed by
these parts
these parts


Show All
Oven is too hot
Fixed by
these parts
these parts
Show All
Element will not heat
Fixed by
these parts
these parts

Show All
Door not closing properly
Fixed by
these parts
these parts


Show All
Will Not Start
Fixed by
these parts
these parts

Show All
Oven not heating evenly
Fixed by
these parts
these parts
Show All
Won’t turn on
Fixed by
these parts
these parts

Show All
Door won’t close
Fixed by
these parts
these parts


Show All
Tray won’t turn
Fixed by
these parts
these parts


Show All
Door won’t open after self cleaning cycle
Fixed by
these parts
these parts

Show All
No heat
Fixed by
these parts
these parts

Show All
Will not program
Fixed by
these parts
these parts

Show All
Little to no heat when broiling
Fixed by
these parts
these parts
Show All
Watch our pros, then fix it yourself.
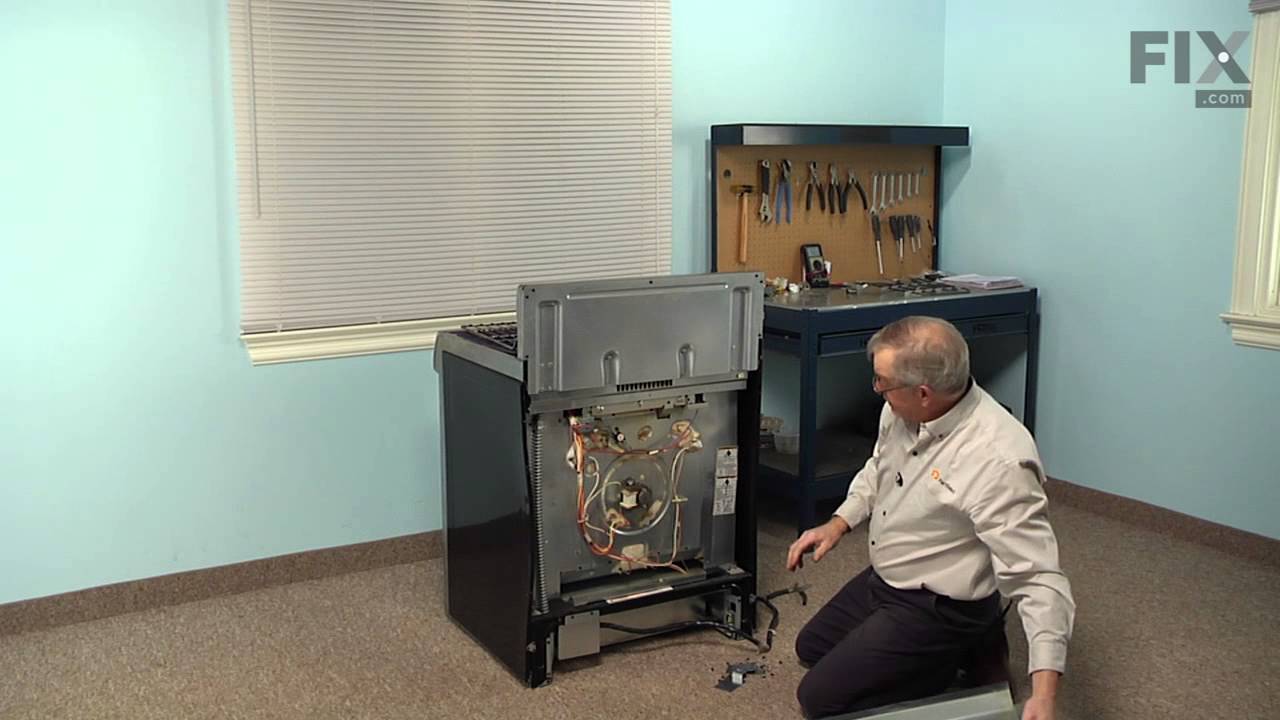
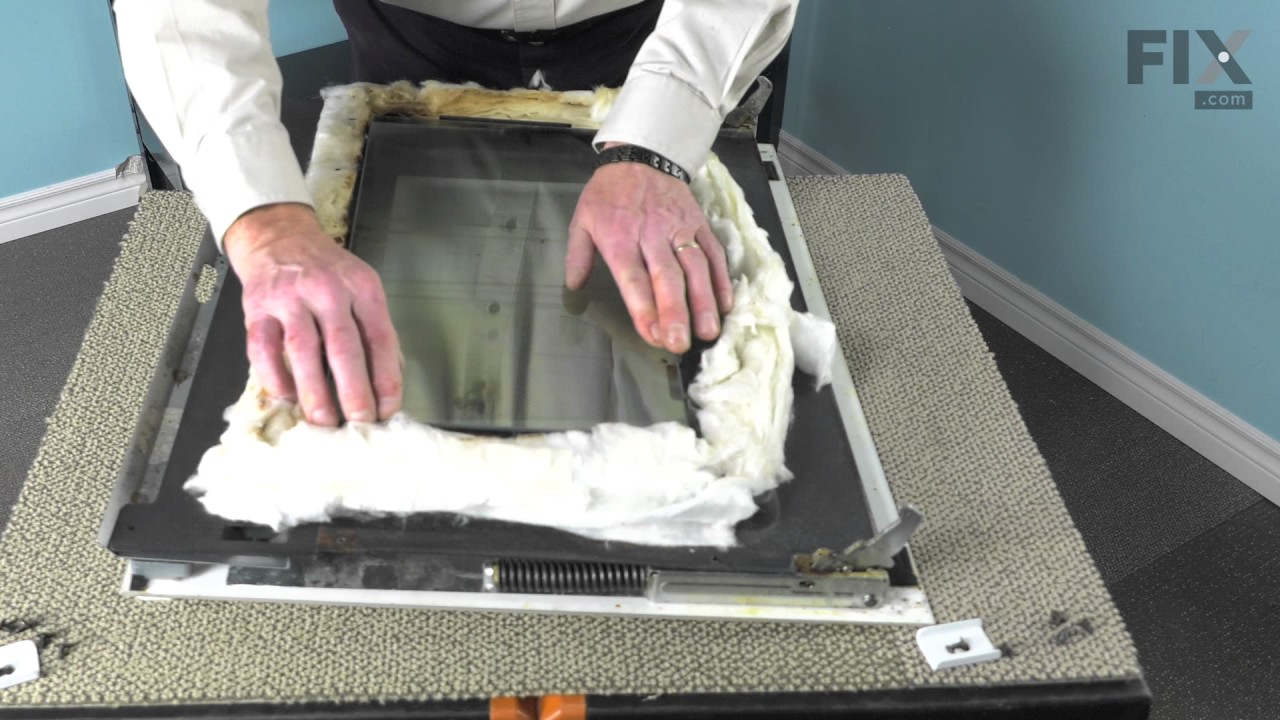
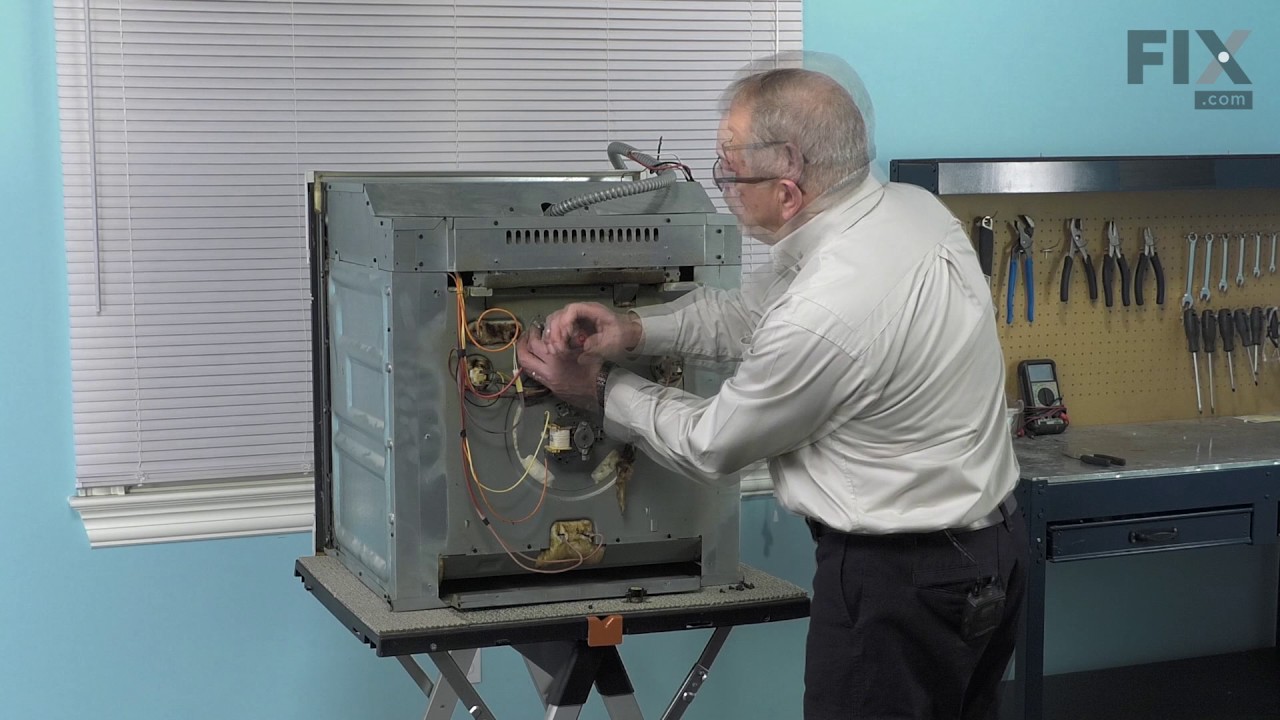

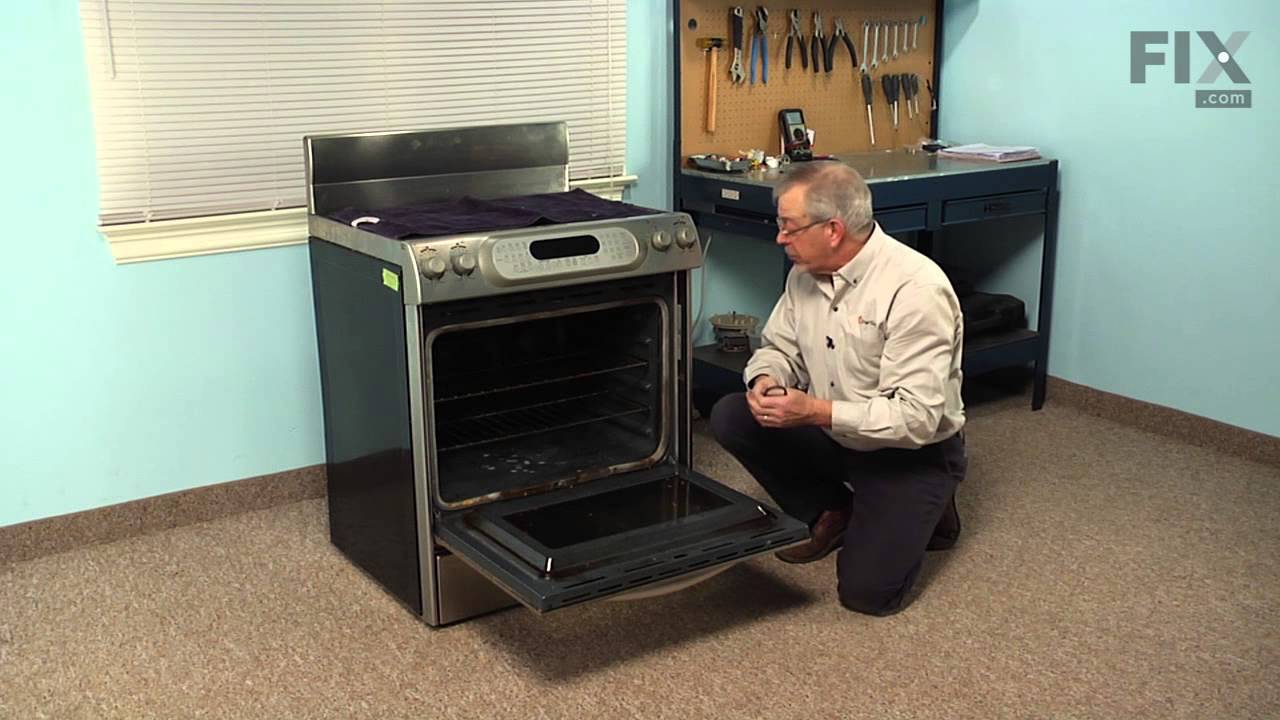

See how others fixed this model. Time, tools, difficulty, and steps that lead to victory!
View More