


 My Orders




KEE - Overview
Models starting with KEE
Click on the best match to narrow your results.
- KEE3BXA1 Frigidaire Range (Frigidaire Range/Stove/Oven Model KEE3BXA1 Parts)
- KEE3BXP1 Frigidaire Range (Frigidaire Range/Stove/Oven Model KEE3BXP1 Parts)
- KEE3BXT1 Frigidaire Range (Frigidaire Range/Stove/Oven Model KEE3BXT1 Parts)
- KEE3BXU1 Frigidaire Range (Frigidaire Range/Stove/Oven Model KEE3BXU1 Parts)
- KEE3BXW1 Frigidaire Range (Frigidaire Range/Stove/Oven Model KEE3BXW1 Parts)
- KEE3BXY1 Frigidaire Range (Frigidaire Range/Stove/Oven Model KEE3BXY1 Parts)
- KEE3CXA1 Frigidaire Range (Frigidaire Range/Stove/Oven Model KEE3CXA1 Parts)
- KEE3CXP1 Frigidaire Range (Frigidaire Range/Stove/Oven Model KEE3CXP1 Parts)
- KEE3CXT1 Frigidaire Range (Frigidaire Range/Stove/Oven Model KEE3CXT1 Parts)
- KEE3CXU1 Frigidaire Range (Frigidaire Range/Stove/Oven Model KEE3CXU1 Parts)
- KEE3CXW1 Frigidaire Range (Frigidaire Range/Stove/Oven Model KEE3CXW1 Parts)
- KEE3CXY1 Frigidaire Range (Frigidaire Range/Stove/Oven Model KEE3CXY1 Parts)
- KEE3HX1 Frigidaire Range (Frigidaire Range/Stove/Oven Model KEE3HX1 Parts)
- KEES702SWB0 KitchenAid Microwave Oven Combo
- KEES702SWB1 KitchenAid Microwave Oven Combo
- KEES705SAB1 KitchenAid Microwave Oven Combo
- KEES705SWB0 KitchenAid Microwave Oven Combo
- KEES705SWB1 KitchenAid Microwave Oven Combo
Enter a part description. DIY Heroes keep it simple, eg. "belt" or "pump".
Search filter:
Clear Filter
Your search term must have 3 or more characters.

$19.54
In Stock
Light Bulb - 40W
Part #8009
This an authentic OEM 40-Watt replacement light bulb, used in a number of household appliances. It is specially designed to withstand extreme temperatures, which is why these replacement bulbs are most often used to light the inside of refrigerators and ranges. It features a standard socket base, which means you simply unscrew the burnt-o...Read moreut bulb and screw in the replacement. Depending on the appliance you may require a screwdriver or nut driver to access the light bulb. We recommend you wear work gloves while handling this replacement part. It is constructed of glass and metal and is sold individually. Depending on the appliance and location of the bulb within it, you may want to consider disconnecting power and using a flashlight for easier access to unscrewing and re-screwing in your bulb during this repair.
Read less

$78.27
In Stock
Oven Bake Element 2600w 240v
Part #WP308180
The bake element in your oven is the part that provides heat when cooking. If your oven is too hot, or not hot enough, or does not heat evenly, you may need to replace the bake element. This part is 2600 Watts and 240 Volts. It is a closed hinged style bake element which is 15-3/4 inches long and 16-5/8 inches wide. The terminal depth is ...Read morethree inches and they are 1-3/4 inches apart. This part is made of metal and is black in color. Be sure to disconnect power to the oven before completing this repair.
Read less

$16.07
In Stock
Range Surface Burner Plug-In Block Kit
Part #330031
The surface burner plug-in block kit features a newer-style terminal block. This kit is designed for use with ranges and cooktops. This terminal block is how the coil element on your stove connects to the inner wiring of your appliance. Without this connection your burner element would not get the electrical current it needs to heat up. W...Read morehen your element will not heat at all, or if it is not heating properly it is likely an issue with the terminal block. You need to remove the element to replace this part. While you have the element out, inspect the element and the terminal for any corrosion, arcing, or discoloration. If you notice any damage to the element or the terminals we recommend you replace this part as well. This kit includes two metal brackets, two pre-crimped high-temperature wire leads, two ceramic wire nuts, two heat-shrinking insulators, and a mounting screw. Before you begin this repair, make sure you have unplugged your appliance.
Read less

$33.69
In Stock
Surface Burner - 8 Inch - 2600W
Part #WP660533
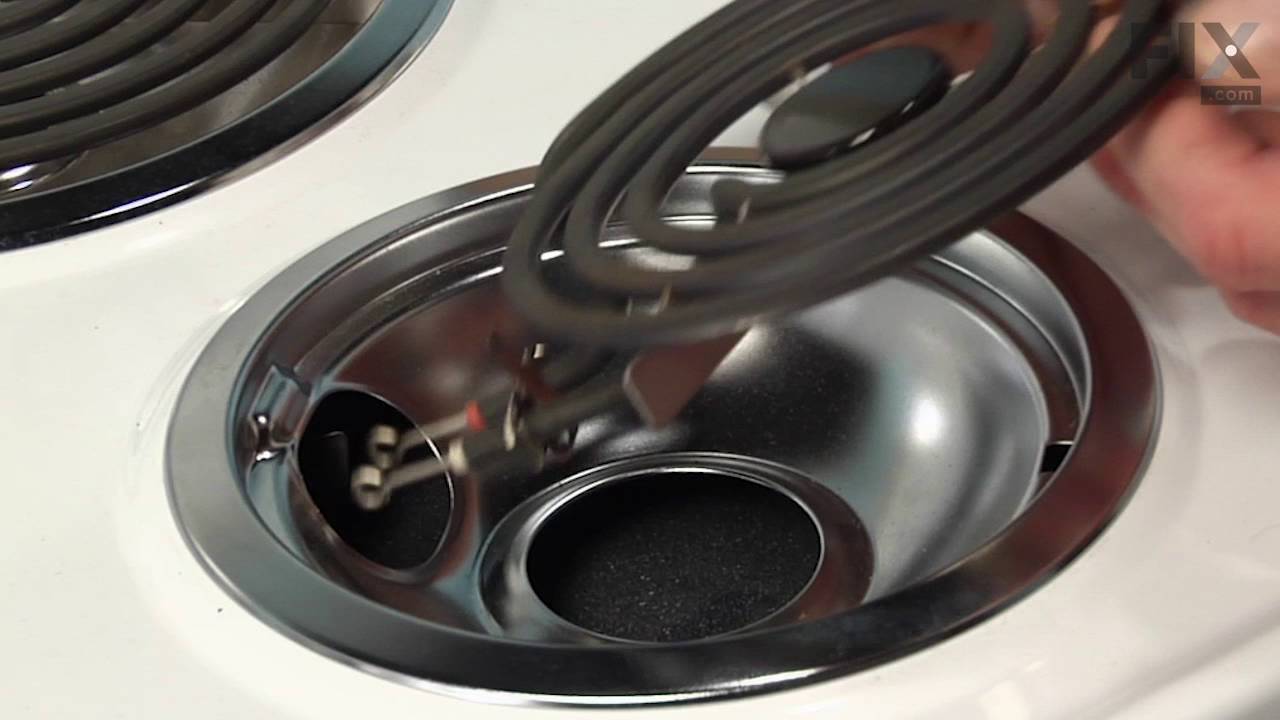
The surface burner or element on your range provides the heat that you cook with. If your element will not heat, you may need to replace the surface burner. This surface burner is 8 inches in diameter and 2600 watts. The burner element is made of metal and has two prongs that connect it to the range. The manufacturer recommends you replac...Read moree the burner receptacle at the same time that you replace the surface burner. Many of our customers have rated this repair as very easy. To complete the repair simply lift the old burner up and out, and replace it with the new one. Be sure to disconnect power to the range before beginning this repair.
Read less

$50.56
In Stock
Drip Bowl Kit - Light Gray
Part #W10291024
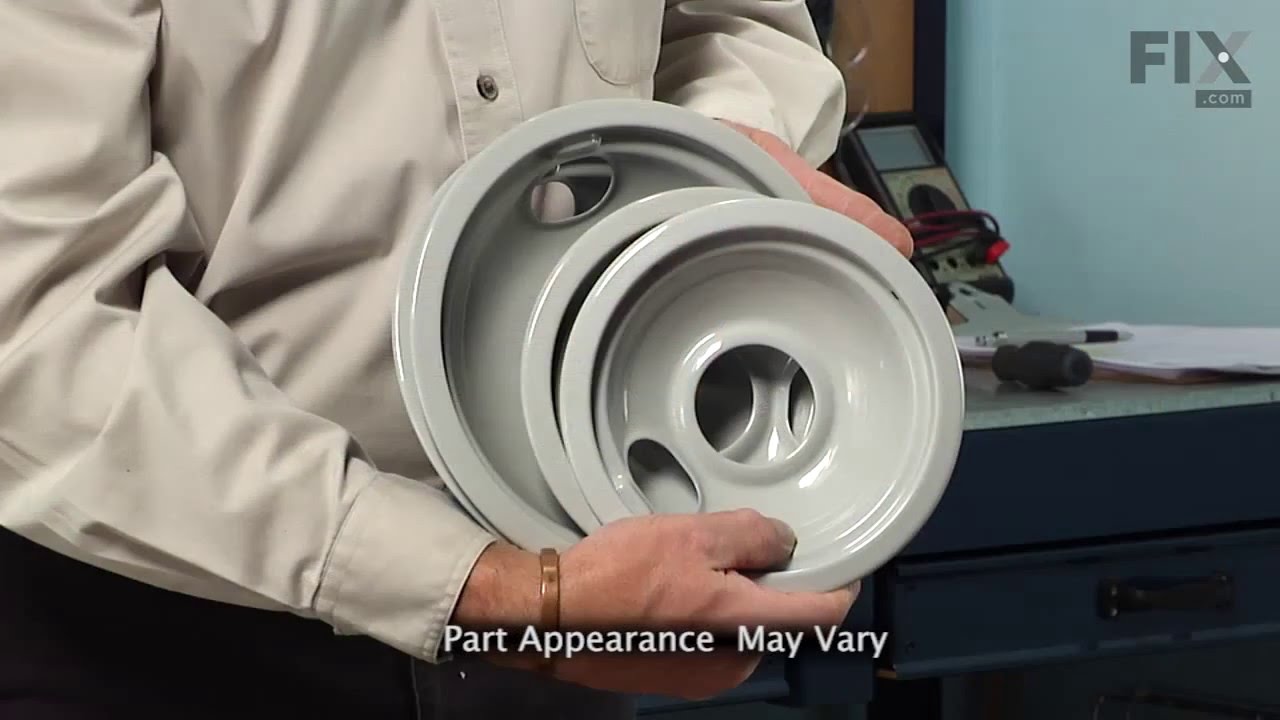
This is a kit of 4 drip bowls. This includes 2 large pans and 2 small pans. All pans have holes in the bottom and they are light gray in color. The large bowl is for an 8-inch element and is 10 inches in diameter. The small pans are meant for 6 inch elements and measure 8 inches in diameter. These durable drip bowls are made of a porcelai...Read moren finish and are safe for the dishwasher. These drip bowls are for electric ranges that have two-wire plug-in elements. Drip bowls catch food and grease that drip off cookware placed on the element.
Read less

$28.42
In Stock
Standard Y-Frame Range Surface Burner
Part #WP660532
The standard y-frame surface burner provides heat to your range. If you notice that your element will not heat, you may need to replace your surface burner. This product is 6 inches in diameter, and 1500W. The manufacturer suggests replacing the receptacle at the same time that you replace the surface burner. Many of our customers have ra...Read moreted this repair as very easy, and you will not need any tools. To complete the repair, simply lift out the old burner and replace it with the new one. Check that the burners are turned off before you begin this repair.
Read less

$7.47
In Stock

$40.60
In Stock
Main Terminal Block Kit
Part #5304409888
Terminal block kits are also known as terminal boards, or terminal strips, and they are found in a wide variety of household appliances. Most often in ranges, wall ovens, and dryers. This kit attaches the power cord to the inner wiring of your appliance. If the terminal block is faulty, your appliance will not get the power it needs to op...Read moreerate properly. When removing the old block pay close attention to the wire placement, this will make installing your new part much easier. If you notice any of the wires or wire terminals are corroded or damaged they will also need to be replaced.
Read less

$7.47
In Stock

No Longer Available
Touch-Up Paint - White
Part #72017
This touch-up paint can be used on a wide variety of household appliances. It is most often used on washers, dryer, refrigerators, dishwashers, ranges, freezers, trash compactors, or microwaves. It is an 18 ml, or.6 fluid ounces, bottle of touch-up paint. It also features a brush for easy application. This quick-drying, long-lasting paint...Read more is perfect for fixing any nicks, scratches, or chips on the exterior of your appliance. This paint is white in color, and provides a durable finish.
Read less

$7.47
In Stock
Screw
Part #WP488729
Metallic screw that is less than an inch long. Does not include the plastic washer.

$79.98
In Stock
Broil Element - 240V
Part #WP660579
This broil element is found on the roof of the oven and has push-on terminals.
Common Symptoms of models starting with KEE
How this model fails, and the parts that fix it.
Element will not heat
Fixed by
these parts
these parts


Show All
Little to no heat when baking
Fixed by
these parts
these parts


Show All
Oven not heating evenly
Fixed by
these parts
these parts
Show All
Will Not Start
Fixed by
these parts
these parts

Show All
Little to no heat when broiling
Fixed by
these parts
these parts
Show All
Noisy
Fixed by
these parts
these parts

Show All
Oven is too hot
Fixed by
these parts
these parts
Show All
Door won’t close
Fixed by
these parts
these parts

Show All
Watch our pros, then fix it yourself.






See how others fixed this model. Time, tools, difficulty, and steps that lead to victory!
View More