Your coupon for will be reflected when you check out!
✖
Your coupon for
✖
Hello!
You're visiting the PartSelect site in U.S.
Would you like to shop on the Canadian site?
Stay on this site
Go to Canadian site
✖
Model Number Locations
1Select Category Type
Select Category Type
2Select Product Type
Select Product Type
3Select {MODEL} Type
Select {MODEL} Type
Sample Model Number Tags
Model numbers can be made up of numbers (1005400, for example) or a combination of letters and numbers (LAT1000AAE). The model number will most likely appear on either a paper sticker or a metal plate. Your appliance's model number tag may look similar to the sample model number tags shown here (model number highlighted in yellow):
Model has been saved to My Models. If you're not signed in, your lists are available on this device and will expire within 30 days.
Model has been saved to My Models.
The surface burner plug-in block kit features a newer-style terminal block. This kit is designed for use with ranges and cooktops. This terminal block is how the coil element on your stove connects to...
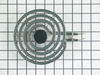
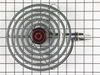
This is a burner surface element and is 8 inches in diameter and 2600 watts. The burner surface element functions as a cooking area on the cooktop of the range. The purpose of this part is to supply h...
This electric range delta frame surface element with looped terminal ends measures eight inches and has five turns. It carries 2600 watts the center medallion is black in color.
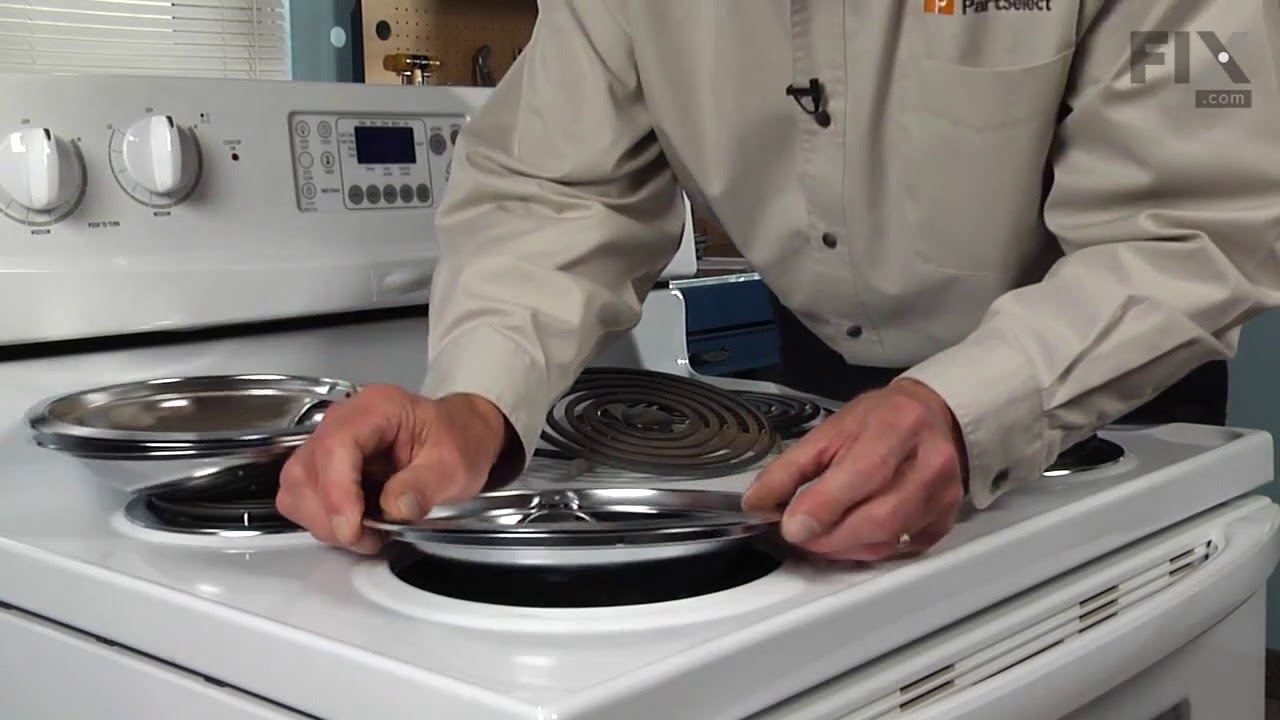
I unplugged the stove from the outlet, then removed the two burners I was going to be working on and the drip pans. Then I raised the top part of the stove and removed the screws holding the plug-in blocks to the stove. Then I cut the two wires going to the old plug-in block and stripped the wires back to match the new wire parts. Then I
... Read moreplaced the sleeves over the new wires, then I placed the new wire beside the wire I stripped on the stove and screw on the wire cap making sure it was tight. I repeated this three more times, once I had all four wires connected I then placed the sleeves over the connections and heated them up until they were formed around the connection. Once I had all the connections done I placed one wire at a time into the plug-in block until it locked into place ( I looked at my old plug-in blocks first to make sure I placed the new wires in the correct way ).I then used the metal mounting bracket that matched my old ones and snapped the correct one onto each plug-in block. Before mounting them onto the stove I compared them to my old ones to make sure they were correct. Then I used the new screws to mount them to the stove. I took a second look at everything I had done before closing the top cover of my stove. After lowering the cover back into place I put both the drip covers in place and then installed the burners.I then plugged the stove back into the outlet and tried the burners. This was very simple and the video on the web site shows this very well which made my job very simple.
Thought we was going to have to replace the range all together, due to most parts not being available for this model anymore. Since this is an expensive model, we did not look forward to having to replace it. So I thought just by chance I would check to see if anyone had parts to help in repairing it. Part Select did happen to have the
... Read more Surface Plug-in block kit that was needed. After going at least a year with this problem, I am sooooo happy to say it is finally fixed and working great! Thanks much Parts Select.