Your coupon for will be reflected when you check out!
✖
Your coupon for
✖
Hello!
You're visiting the PartSelect site in U.S.
Would you like to shop on the Canadian site?
Stay on this site
Go to Canadian site
✖
Model Number Locations
1Select Category Type
Select Category Type
2Select Product Type
Select Product Type
3Select {MODEL} Type
Select {MODEL} Type
Sample Model Number Tags
Model numbers can be made up of numbers (1005400, for example) or a combination of letters and numbers (LAT1000AAE). The model number will most likely appear on either a paper sticker or a metal plate. Your appliance's model number tag may look similar to the sample model number tags shown here (model number highlighted in yellow):
Model has been saved to My Models. If you're not signed in, your lists are available on this device and will expire within 30 days.
Model has been saved to My Models.
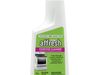
This bottle of non-abrasive cooktop cleaner breaks down and gets rid of the hardest baked-on stains and residue without causing any harm to your appliance. The bottle is 10 oz and does not require a l...
Does your appliance need a quick fix? Our GE Controller Assembly is here to help. This genuine GE part is the heartbeat of your appliance, keeping everything running smoothly and efficiently. It's spe...
Use this scraper for your ceramic/glass cooktop. It has a retractable blade and is an all-purpose tool for cooktops, mirrors, windows and tile. Use it to also remove paint, paper, dirt, stickers and more.
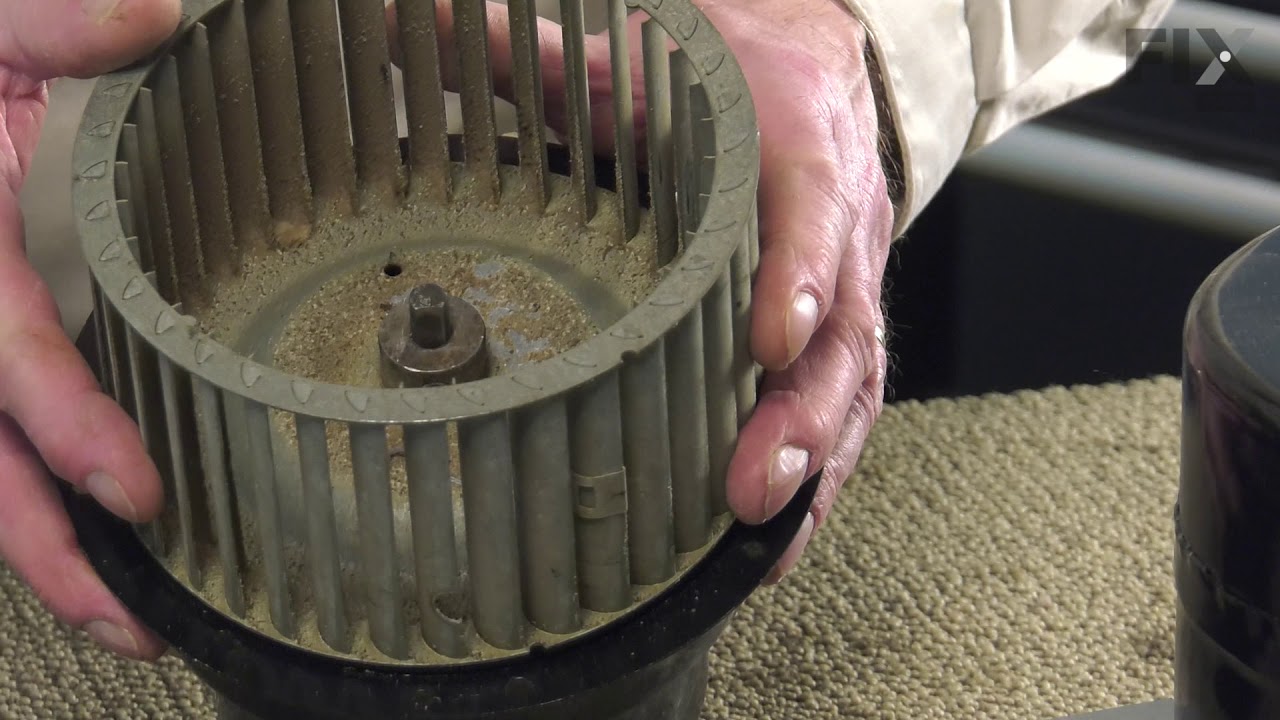
This exhaust vent blower wheel is almost seven inches in diameter, and just under four inches deep. It is made entirely of metal and is used with a range's venting system.
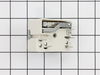
Introducing the genuine OEM Speed Control Switch from Whirlpool - a superb choice for those who need to maximize effectiveness in their cooking appliances. This crucial component interacts smoothly wi...
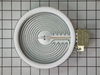
Took 2 screws under front edge of smooth top. Unscrewed ground wire from back of smooth top unit. Unplugged 2 wire bundles, from back. Took bad element out , put in new one. Put back together. About 10 min's tops. Easy peasy.
really easy! Removed 2 screws under the glass top at the front, access from the open oven door, then removed the ground wire, removed the stove top, took the element holder off,( 2 screws)and replaced with new element, 30 minutes. I ordered the part and came within 18 hrs of ordering it, fantastic experience.
Remove top by opening oven and taking out two screws in the front. Lift up top and unplug wire connectors on bad element, writing down where they are landed. Take out screw on element bracket and replace. That easy. Be sure to unplug appliance for your safety. :-) Also just wanted to add that PartSelect was great. Ordered it on saturda
... Read morey and was cooking with it on tuesday. Great job.