


 My Orders




KECC605BPW00 KitchenAid Cooktop - Overview
Diagrams for KECC605BPW00
See every part. Know exactly what you need.


Enter a part description. DIY Heroes keep it simple, eg. "belt" or "pump".
Search filter:
Clear Filter
Your search term must have 3 or more characters.

$7.47
In Stock

No Longer Available
Cooktop Cleaner
Part #W10355051
This bottle of non-abrasive cooktop cleaner breaks down and gets rid of the hardest baked-on stains and residue without causing any harm to your appliance. The bottle is 10 oz and does not require a large amount of product to do the job. This cleaner is perfectly safe to use on any glass, ceramic, stainless steel, chrome, or porcelain coo...Read morektop surface. The cleaner is creamy in texture and provides a protective coat of silicone on smooth surfaces. To apply, use a gentle scrub, sponge, or rag and gently press in a circular motion until the stains are removed.
Read less

$131.91
In Stock

$11.77
In Stock
Appliance Scraper
Part #WA906B
Use this scraper for your ceramic/glass cooktop. It has a retractable blade and is an all-purpose tool for cooktops, mirrors, windows and tile. Use it to also remove paint, paper, dirt, stickers and more.

$24.67
In Stock

No Longer Available
Stainless Steel Cleaner
Part #31462A
Use this bottle of stainless steel cleaner and polish for any of your stainless steel appliances.

$7.47
In Stock
Nut
Part #WP7103P027-60

$170.56
In Stock
Dual Radiant Surface Element 2500/1200 watts
Part #WPW10275049
This dual radiant surface element delivers 1200 and 2500 watts of power to the cooktop, offering flexible heating options for various cookware sizes. Designed for electric ranges, it allows users to select between two burner sizes, optimizing energy use and cooking performance. As a genuine OEM replacement, it ensures compatibility with a...Read more wide range of appliances under the Whirlpool Corporation umbrella, including Whirlpool, KitchenAid, Maytag, Jenn-Air, and Roper. A failing element may result in uneven heating or complete lack of heat. Installation requires basic hand tools and should only be performed after disconnecting the appliance from its power source to ensure safety.
Read less

$50.56
Special Order
Cooktop Mounting Bracket & Screw
Part #8186533

$85.03
In Stock
Surface Element Switch
Part #WPW10434447
This dual infinite surface element switch regulates the heat output of an electric cooktop burner by controlling the voltage supplied to the heating element, allowing smooth adjustment from low simmering to high-heat cooking. Designed to power burners with both an inner and outer heating ring, it lets you select either the smaller inner r...Read moreing for everyday use or both rings when additional cooking surface and heat are needed. Rated for 15 amps at 240 volts, this switch helps maintain consistent temperature performance. Replacing a worn switch can resolve issues such as a burner that won’t heat, heats inconsistently, responds unpredictably to knob adjustments, or shows signs of electrical problems like buzzing or intermittent power. Installation typically involves disconnecting the appliance from power, accessing the control panel, and transferring the wiring to the new switch.
Read less

$12.85
In Stock
Spring
Part #WPW10225448

$135.45
In Stock
Infinite Switch - (RR)
Part #WP74007840
This switch controls the stove top surface burner. To the Rear Right Burner and Center Rear Burner
Manuals & Care Guides for KECC605BPW00
Click to downloadInstall
Installation Instructions
(1.96MB)
Install
Installation Instructions
(1.97MB)
Manual
Owner's Manuals
(3.30MB)
Common Symptoms of the KECC605BPW00
How this model fails, and the parts that fix it.


Watch our pros, then fix it yourself.


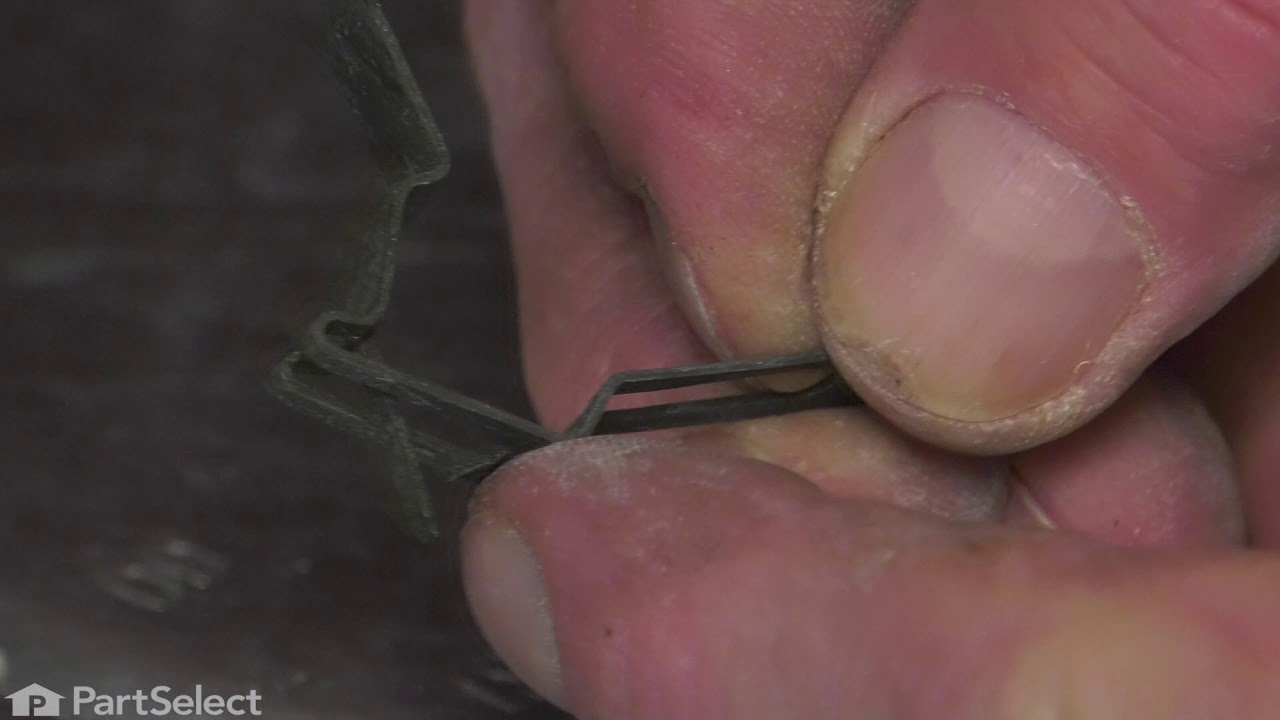
See how others fixed this model. Time, tools, difficulty, and steps that lead to victory!
View More