Your coupon for will be reflected when you check out!
✖
Your coupon for
✖
Hello!
You're visiting the PartSelect site in U.S.
Would you like to shop on the Canadian site?
Stay on this site
Go to Canadian site
✖
Model Number Locations
1Select Category Type
Select Category Type
2Select Product Type
Select Product Type
3Select {MODEL} Type
Select {MODEL} Type
Sample Model Number Tags
Model numbers can be made up of numbers (1005400, for example) or a combination of letters and numbers (LAT1000AAE). The model number will most likely appear on either a paper sticker or a metal plate. Your appliance's model number tag may look similar to the sample model number tags shown here (model number highlighted in yellow):
Model has been saved to My Models. If you're not signed in, your lists are available on this device and will expire within 30 days.
Model has been saved to My Models.
This knob allows you to turn the burner on your range or cooktop on, and it allows you to control the temperature of the burner. If your knob is broken, damaged, or lost, this is the replacement part ...
This is the replacement large surface element for your cooktop or range. It is approximately 10-inches in diameter and is 1200/2500 watts. The large surface element is installed under the cooktop and ...
This surface element is made for under glass set-ups and supplies the heat to a cooking area on top of the range. It has an outside diameter of approximately 7 inches (1500 watts), and is a genuine OE...
This seal switch cover is an OEM replacement component engineered for use in select cooktops and ranges. Its primary function is to form a protective barrier over the burner switch assembly, effective...
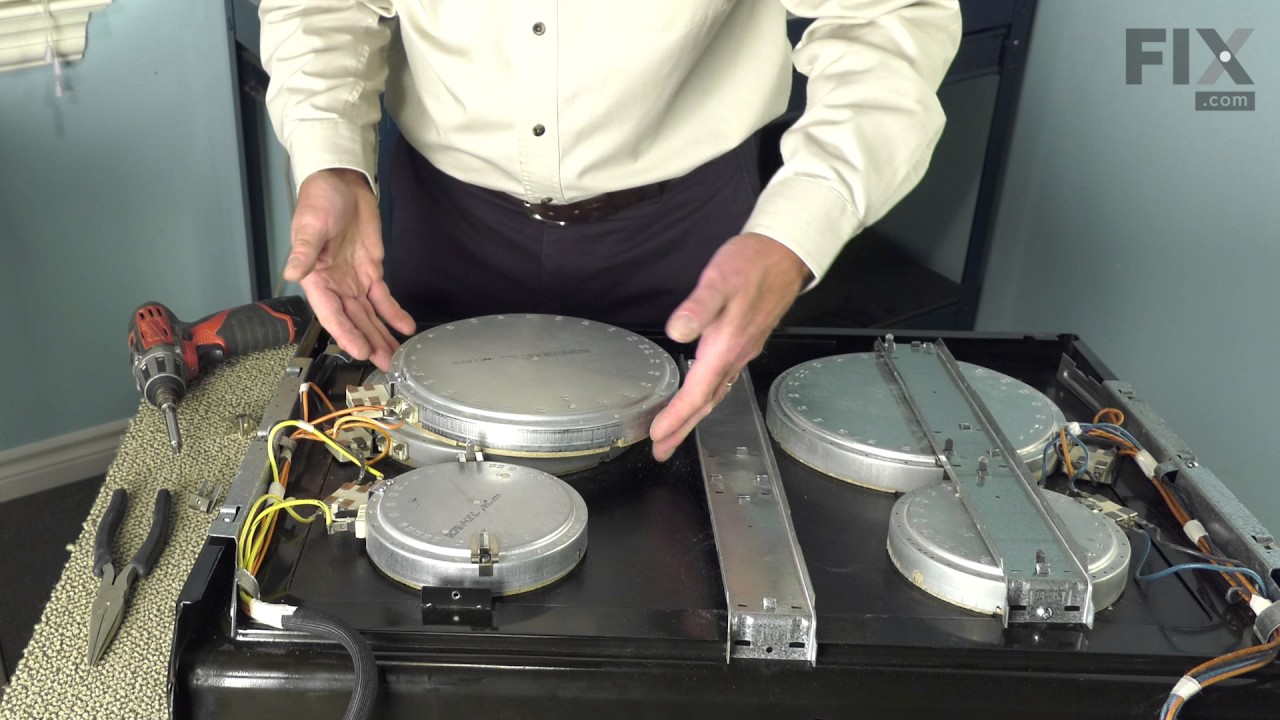
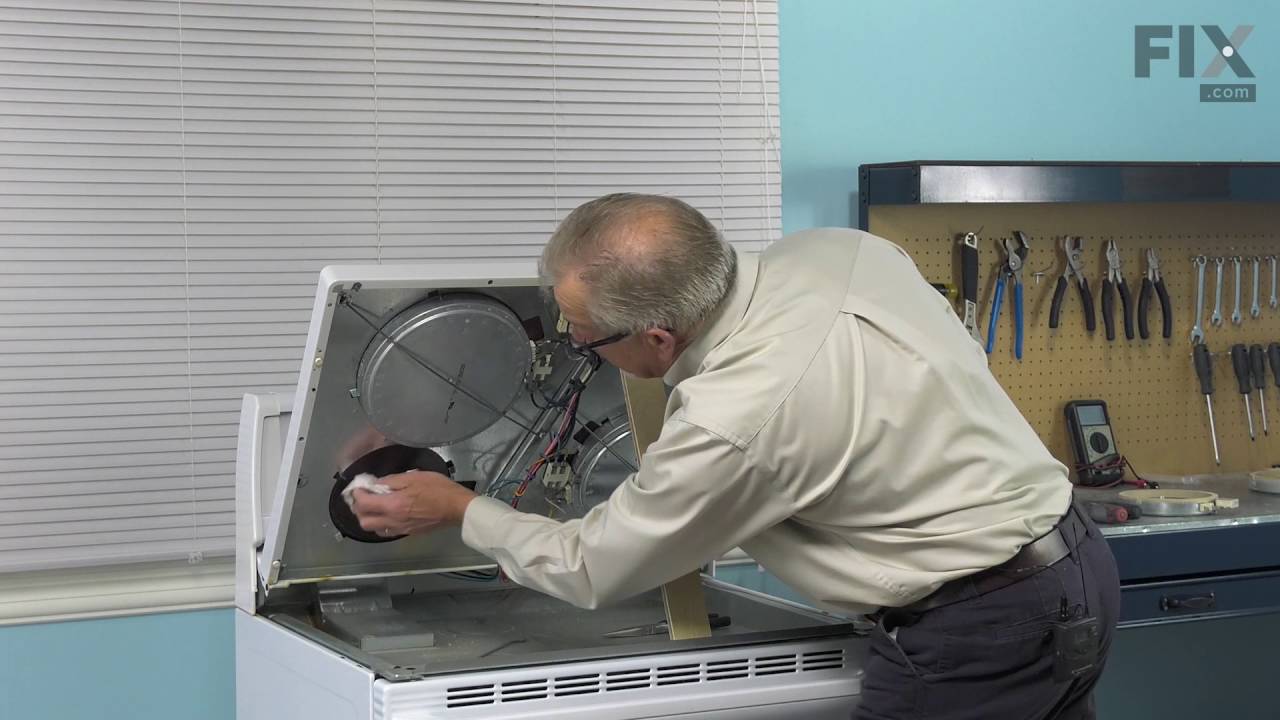
Unplug range and remove back panel (4 screws) unplug top burner plugs (2). Open oven door and remove 2 screws from under front of top. Pull top out and up to unhook from back. Remove top and lay cardboard on top of range. Flip over the ranges glass top unit and lay on cardboard. Remove screws from steel bottom and remove from top. Flip ov
... Read moreer steel bottom with burners attached. Remove attaching clips for burner and unscrew them from the burner then reinstall in new burner in the same place as old burner. Lay new burner on top of old burner and remove one wire at a time, transfering it to the matching plug on the new burner. When wiring is done remove old burner and attach 2 clips to steel backing plate. Vacuum off the glass top and reinstall the steel bottom to the glass top. Flip over the top, remove cardboard and slide top into back of range top and lower into place. Attach 2 screws under front. Reattach the tops plugs at the rear and reattach the back panel. Plug in range and slide back into place. Test units and all other burners. Done...