EasyApplianceParts is now PartSelect! We've merged our sites to provide a better shopping experience for you.   Full Details

Find Parts

Parts Departments

Top Model Types

Top Brands

Repair Help

Expert Repair Videos

Keep typing for more specific results...

KECC507KBT03 KitchenAid Cooktop - Overview

Diagrams for KECC507KBT03

See every part. Know exactly what you need.

Enter a part description. DIY Heroes keep it simple, eg. "belt" or "pump".

Search filter:
Clear Filter
Your search term must have 3 or more characters.
Range Surface Burner Knob – Part Number: WP9750372FF
$24.67
In Stock
Range Surface Burner Knob
★★★★★
★★★★★
(5)
Part #WP9750372FF
This knob allows you to turn the burner on your range or cooktop on, and it allows you to control the temperature of the burner. If your knob is broken, damaged, or lost, this is the replacement part you will need. This knob accepts a d-shaped shaft. To successfully install this part, line the flat edge of the shaft on the switch up with the hole in the knob, then simply press the knob onto the shaft and into place. This part is sold individually, and is made of black plastic. This part is approximately 2 inches in diameter.
Dual Surface Element - 2500w/1200w – Part Number: W10823692
$142.40
In Stock
Dual Surface Element - 2500w/1200w
★★★★★
★★★★★
(12)
Part #W10823692
This is the replacement large surface element for your cooktop or range. It is approximately 10-inches in diameter and is 1200/2500 watts. The large surface element is installed under the cooktop and heats up the area directly above it. You will need to replace the element if it does not heat up properly. As you will be working around electricity, be sure that your range is disconnected from power before you begin this repair. This is an OEM part sourced directly from the manufacturer.
Radiant Surface Burner Element 1500W – Part Number: W10823699
$105.35
In Stock
Radiant Surface Burner Element 1500W
★★★★★
★★★★★
(3)
Part #W10823699
This surface element is made for under glass set-ups and supplies the heat to a cooking area on top of the range. It has an outside diameter of approximately 7 inches (1500 watts), and is a genuine OEM part sourced directly from the manufacturer. Before you replace your faulty element, make sure the element is cool, and the power is disconnected from your range.
Burner Knob – Part Number: WP9750372FC
$9.62
In Stock
Burner Knob
Part #WP9750372FC
Sold individually. This bisque knob accepts a double-flat shaft.
Range Burner Knob – Part Number: WP9750372FW
$22.52
Special Order
Range Burner Knob
★★★★★
★★★★★
(1)
Part #WP9750372FW
Sold individually. This knob accepts a double-flat shaft.
6 Inch Surface Element Infinite Switch – Part Number: WP3191049
$83.35
In Stock
6 Inch Surface Element Infinite Switch
★★★★★
★★★★★
(3)
Part #WP3191049
This switch controls the stove top surface burner.
Refrigerator Screw – Part Number: WP3196557
$7.47
In Stock
Refrigerator Screw
Part #WP3196557
Sold individually.
Range Dual Burner Control Switch – Part Number: WP4456027
$84.00
On Order
Range Dual Burner Control Switch
★★★★★
★★★★★
(2)
Part #WP4456027
This switch controls the stove top surface burner.
Cooktop Mounting Bracket & Screw – Part Number: 8186533
$50.56
Special Order
Screw – Part Number: WP486579
$8.55
Special Order
Screw
Part #WP486579
Sold individually.
Screw – Part Number: WP486754
$7.47
In Stock
Screw
Part #WP486754
Sold individually.
SEAL-SWTCH – Part Number: 3183956
$48.45
In Stock
SEAL-SWTCH
Part #3183956
This seal switch cover is an OEM replacement component engineered for use in select cooktops and ranges. Its primary function is to form a protective barrier over the burner switch assembly, effectively shielding it from liquid ingress, particulate contamination, and thermal exposure. By isolating the switch mechanism from environmental factors such as spills and debris, it helps preserve electrical integrity and operational reliability. This part is compatible with a range of models across brands including Whirlpool, Maytag, KitchenAid, and Jenn-Air. It is commonly used to replace degraded or compromised seals, restoring the appliance’s original protective specifications and ensuring continued safe performance.

Manuals & Care Guides for KECC507KBT03

Click to download

Common Symptoms of the KECC507KBT03

How this model fails, and the parts that fix it.

Watch our pros, then fix it yourself.

See how others fixed this model. Time, tools, difficulty, and steps that lead to victory! View More

Search repair tips from other customers using simple keywords like "replace", "fit", "remove", "inspect". DIY doesn't mean you have to do it alone!

Search filter:
Clear Filter
Your search term must have 3 or more characters.
Radiant element, 2400 watt, under Ceran glass cok top needed replacement.
171 of 261 people found this instruction helpful.
  • GEORGE from NEWNAN, GA
  • Easy
  • 15 - 30 mins
  • Pliers, Screw drivers
turned off power
removed ceran top from cabinet
removed element
installed new element
replaced top
powered up and was done
Was this helpful?
Thank you for voting!
Bad Element
77 of 123 people found this instruction helpful.
  • Michael from Howell, MI
  • Easy
  • 15 - 30 mins
  • Screw drivers
Bought new element and installed. Very simple. Used phillips
screw driver.
Was this helpful?
Thank you for voting!
double coil which center coil had burned out on glass top range
51 of 57 people found this instruction helpful.
  • Frank from Owls Head, ME
  • A Bit Difficult
  • 15 - 30 mins
  • Nutdriver, Screw drivers
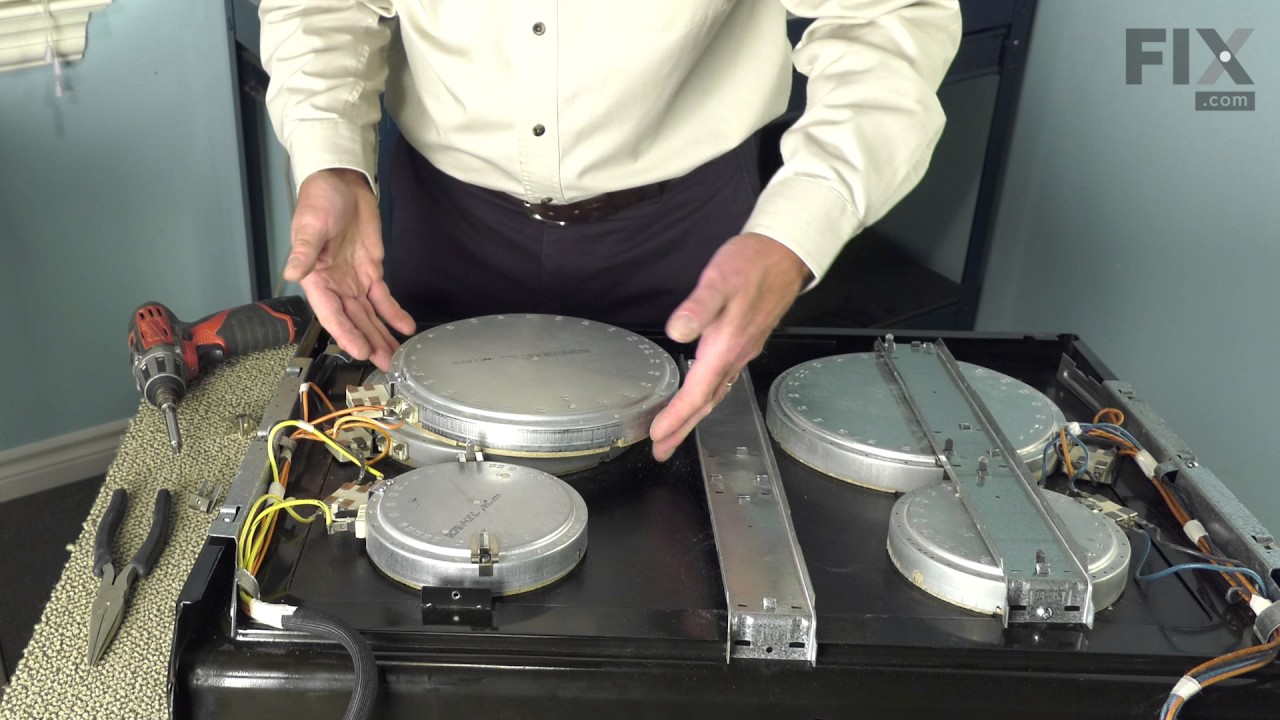
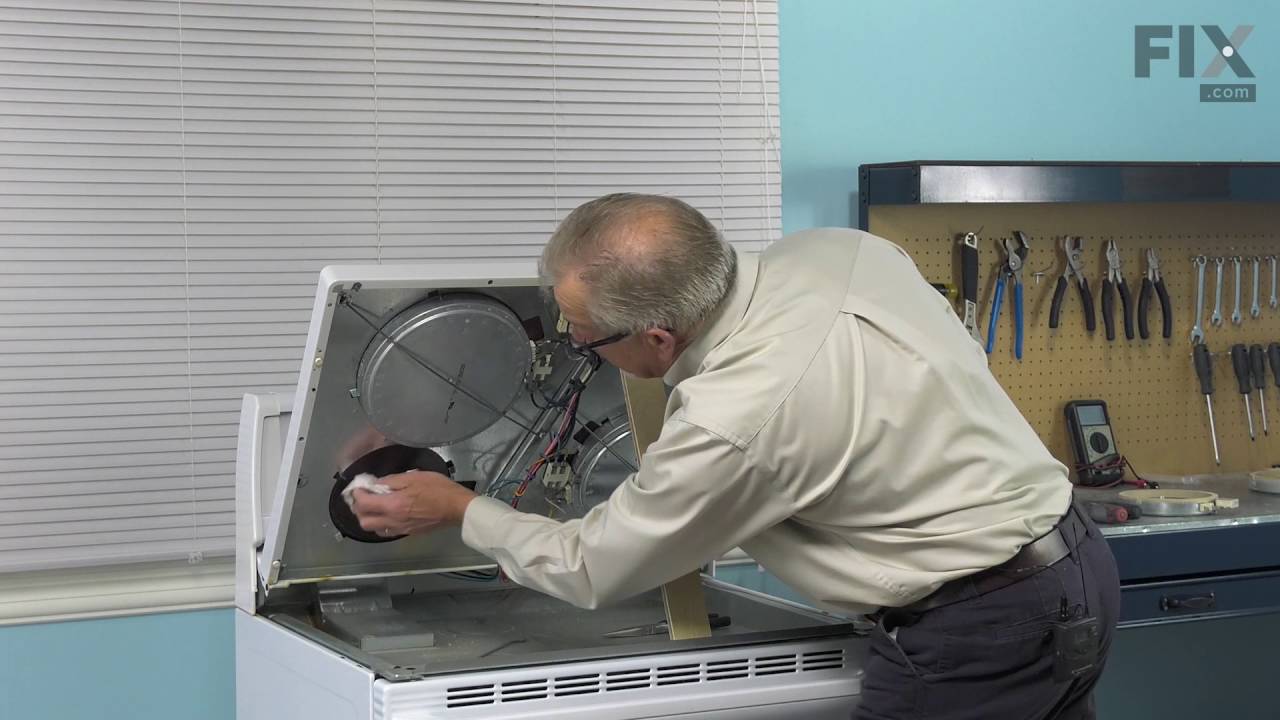
Unplug range and remove back panel (4 screws) unplug top burner plugs (2). Open oven door and remove 2 screws from under front of top. Pull top out and up to unhook from back. Remove top and lay cardboard on top of range. Flip over the ranges glass top unit and lay on cardboard. Remove screws from steel bottom and remove from top. Flip ov er steel bottom with burners attached. Remove attaching clips for burner and unscrew them from the burner then reinstall in new burner in the same place as old burner. Lay new burner on top of old burner and remove one wire at a time, transfering it to the matching plug on the new burner. When wiring is done remove old burner and attach 2 clips to steel backing plate. Vacuum off the glass top and reinstall the steel bottom to the glass top. Flip over the top, remove cardboard and slide top into back of range top and lower into place. Attach 2 screws under front. Reattach the tops plugs at the rear and reattach the back panel. Plug in range and slide back into place. Test units and all other burners. Done...

Was this helpful?
Thank you for voting!