This part is for oven ranges, it connects individual wires and protects the device from electrical surges, voltages, and current. With this part, the house power is connected to the range wire harness. Some symptoms replacing the terminal block could be a solution for are little to no heat when baking, element will not heat and/or it will...Read more not start. This part will prevent loosening and will reduce damage caused by corrosion (by two different metals). Refer to the instructional diagram for further replacement guidance and exact placement. You must unplug the appliance before installing this part and wear gloves to protect your hands.
This touch-up paint can be used on a wide variety of household appliances. It is most often used on washers, dryer, refrigerators, dishwashers, ranges, freezers, trash compactors, or microwaves. It is an 18 ml, or.6 fluid ounces, bottle of touch-up paint. It also features a brush for easy application. This quick-drying, long-lasting paint...Read more is perfect for fixing any nicks, scratches, or chips on the exterior of your appliance. This paint is white in color, and provides a durable finish.
This thermal fuse is a manufacturer-approved replacement part for your oven. It is common for the oven to lose power after completing a self-cleaning cycle, and the thermal fuse is often at fault. Replacing the blown fuse is a fairly easy repair, and involved removing the top of the oven to swap out the fuse. Make sure to turn off the power source to the oven before beginning this repair.
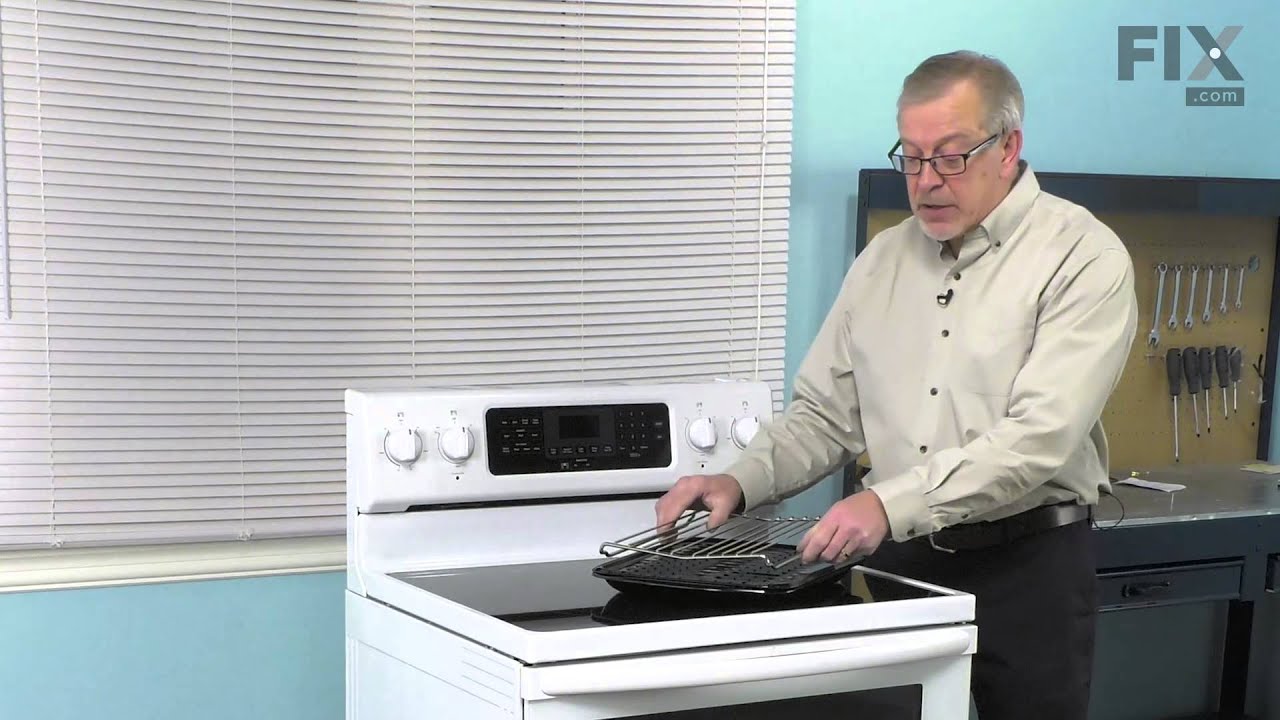
This broiler pan and roasting rack set is designed to help reduce mess while cooking by allowing grease to drain away from food. Its durable porcelain-coated construction stands up to high temperatures and makes cleanup simple. With approximate dimensions of 16 3/4 inches long, 12 3/4 inches wide, and 1 3/4 inches high, it offers a convenient size for everyday broiling and roasting.
Appliance spray paint is a great way to cover up any chips and scratches that have appeared on your appliances. Instead of replacing the part entirely, this is an easy fix. This is also a great way to give a fresh new look to any handles or areas that have discoloring due to wear. Make sure to clean the area before you begin and wear a pr...Read moreotective mask for safety. Give the can a good shake and spray a few inches away from the surface. Apply the paint until the area is fully covered as desired. Wait until the paint has dried before using the appliance.
This inner oven door glass panel serves as the heat-resistant interior lining of the oven door, providing both visibility and insulation for select wall ovens and ranges. Made from high-temperature glass with a black-painted exterior-facing side and a smooth interior-facing surface, it helps trap heat within the cooking chamber to maintai...Read moren consistent temperatures and improve energy efficiency. The panel also contributes to user safety by keeping the outer door cooler during operation. Replacement is recommended if the glass is cracked, broken, or if heat is escaping from the oven door. Compatible with a range of models from Whirlpool and related brands, installation should be performed with the appliance unplugged or the circuit breaker turned off. Protective gloves are advised during handling.
Ask our experts a question about this model and we'll get back to you as soon as possible!
We may have answered a similar question already! Search questions and answers left by others using simple keywords like "fit", "broken", "easy", or "quality" to find questions that match.
Search filter:
Clear Filter
Your search term must have 3 or more characters.
Sort by:
Prev
1
Next
Sorry, we couldn't find any existing answers that matched.Try using some different or simpler keywords, or submit your new question by using the "Ask a Question" button above!
Joseph - For model number KEBS109BSS00
August 16, 2021
It says enter temperataure and when bake is selected and when i enter the temperature it gives an error message.Then it says to replace temperature probe. Does this mean i need to replace the temperaure probe?
Hi Joseph,
Thank you for contacting us. If you are getting an error message when you are selecting a temperature for the bake setting, then the issue is likely the oven sensor. The oven temperature sensor is the part that monitors the oven temperature and signals the electronic control board to turn the elements on and off. Before removing this part from the oven and testing it with a multimeter for continuity, unplug the oven from the electrical outlet. To test the sensor, you will need to reference your owner’s manual to determine what the correct reading should be for your model, as this varies from model to model. To test it for continuity, use a multimeter on the Rx1 setting and touch the terminals with the probes. This test needs to be done with the sensor at room temperature to produce accurate results. If your test results do not meet the manufacturer’s guidelines, you need a replacement temperature sensor. If the sensor is fine, you will need to check the bake element, the electronic control board and the wiring between the parts to see which one is causing the issue. We hope this helps! If you have any questions, please let us know.
Do you have oven light bulbs for this model? And how expensive?
Hi Brian, Thank you for asking. The Oven Light Bulb is listed as PartSelect #: PS11755306 and the full Light Assembly with the Socket and Cover is PartSelect #: PS11755901. All current prices are listed on the site. Thank you for the inquiry, good luck with the repair!
I received a reply to my previous question: “When bake is selected, it says enter temperature and when I enter the temperature, it gives an error message. Does this mean I need to replace the temperature probe? The response I received is this: the issue is likely the oven sensor. If the sensor is fine, then I need to check the bake element, the electronic control board, and the wiring between the parts to see which one is causing the issue. My sensor is fine according to the electrician who tested it because it meets the 1.5-volt as required. But he is not sure if the GOC appliance manager or electronic control board is causing the problem. Can you recommend someone who will identify exactly what is causing the problem? Thanks.
Hello Joseph, Thank you for the question. For a Technician we suggest contacting KitchenAid. They can setup an appointment or direct you to someone local. Thank you for your inquiry, good luck with this repair!
Was this helpful?
Thank you for voting!
Prev
1
Next
✖
Ask a Question
Ask our experts a question on this model and we'll respond as soon as we can.
See how others fixed this model. Time, tools, difficulty, and steps that lead to victory!View More
Search repair tips from other customers using simple keywords like "replace", "fit", "remove", "inspect". DIY doesn't mean you have to do it alone!
Search filter:
Clear Filter
Your search term must have 3 or more characters.
Burned terminal block and filter board
95 of 208 peoplefound this instruction helpful.
Joseph from Decatur, GA
Easy
30 - 60 mins
Nutdriver, Screw drivers, Socket set, Wrench set
Removed and replaced above named parts, rewired.Be sure to tighten all nuts that secure wires. I believe this is what caused the problem.
Was this helpful?
Thank you for voting!
After running oven in BROIL for lengthy period, entire oven shut off, thermal fuse blown
26 of 30 peoplefound this instruction helpful.
JAMES P from UPATOI, GA
Very Easy
30 - 60 mins
Pliers, Screw drivers
USE 2 PEOPLE FOR SAFETY! SWITCH OFF OVEN POWER BREAKER!! Remove screws attaching oven to wall opening, slide out entire oven just far enough to get to 2 screws on either side of controls, remove those screws (may need stubby screwdriver), lift control front, opens forward, have 2nd person hold control panel cover while removing centered
... Read more thermal fuse (plugs on both ends, may need needle-nose pliers to grip plug on fuse.) Remove old fuse, plug in new one. Close control panel, replace side screws, TEST POWER BEFORE pushing oven back into wall, replace wall-holding screws. Less than 30 minutes. EXTRA PERSON MAKES EASY!
Read less
Was this helpful?
Thank you for voting!
faulty meat probe
38 of 69 peoplefound this instruction helpful.
Kent from Seattle, WA
Really Easy
Less than 15 mins
Not a repair. Just needed to replace the meat probe sensor for the programmable oven. Quick and easy purchase and very fast delivery took care of the problem. I was back in business.



 My Orders