


 My Orders




KEBK171SSS03 KitchenAid Wall Oven - Overview
Diagrams for KEBK171SSS03
See every part. Know exactly what you need.


Enter a part description. DIY Heroes keep it simple, eg. "belt" or "pump".
Search filter:
Clear Filter
Your search term must have 3 or more characters.

$21.45
In Stock
Screw
Part #W11233072
This is a multi-use and multi-appliance screw. It can be used on a microwave, refrigerator, range/oven, air conditioner, dehumidifier, washer, or dryer. The measurements of this screw are 8 x 1/2 inch. It has 6 threads. Refer to the manual provided by the manufacturer for further information on repair and accurate guidance. Remember to wear work gloves as a safety precaution.

$72.00
In Stock
Range Temperature Sensor
Part #WPW10131825
The temperature sensor measures the temperature inside the oven. If your oven is too hot, not heating evenly, is not heating enough when baking, or simply will not start, you could have a faulty temperature sensor. A faulty temperature sensor can be a fire risk. If your sensor is not working properly, you should look to replace it straigh...Read moret away. A failed oven sensor is most often responsible for F3 or F4 error messages on electronically-controlled ovens. Make sure you disconnect the power to your range before you start your repair.
Read less

$133.21
In Stock
Element, Broil
Part #WP9760774
This broil element is found on the roof of the oven. The broil element is at the top of the oven and supplies the heat to broiling. 14" x 15" with 1-3/8" inserts.
This part works with the following brands: Whirlpool, Roper, Admiral, Maytag, Hardwick, Jenn-Air, Estate, Magic Chef, Crosley, Inglis, Norge, Modern Maid, Amana, Kenmore, KitchenAid, Caloric.

No Longer Available
Touch-Up Paint - White
Part #72017
This touch-up paint can be used on a wide variety of household appliances. It is most often used on washers, dryer, refrigerators, dishwashers, ranges, freezers, trash compactors, or microwaves. It is an 18 ml, or.6 fluid ounces, bottle of touch-up paint. It also features a brush for easy application. This quick-drying, long-lasting paint...Read more is perfect for fixing any nicks, scratches, or chips on the exterior of your appliance. This paint is white in color, and provides a durable finish.
Read less

$48.45
In Stock
Light Bulb
Part #WPW10169757
This is a replacement light bulb to illuminate the inside of your oven. It is 25 watts and 120 volts. Please wear gloves during replacement if your existing bulb is shattered. Consider ordering a spare as this is a common wear part.

$7.47
In Stock

No Longer Available

No Longer Available
Spray Paint - 12 oz. - White
Part #350930
Appliance spray paint is a great way to cover up any chips and scratches that have appeared on your appliances. Instead of replacing the part entirely, this is an easy fix. This is also a great way to give a fresh new look to any handles or areas that have discoloring due to wear. Make sure to clean the area before you begin and wear a pr...Read moreotective mask for safety. Give the can a good shake and spray a few inches away from the surface. Apply the paint until the area is fully covered as desired. Wait until the paint has dried before using the appliance.
Read less

$7.47
In Stock

$7.47
In Stock

$103.35
In Stock

$7.47
In Stock
Range Screw
Part #WP4449809
Follow appropriate safety practices when installing your range screw. Sold individually.
Manuals & Care Guides for KEBK171SSS03
Click to downloadInstall
Installation Instructions
(0.30MB)
Install
Installation Instructions
(1.29MB)
Manual
Owner's Manuals
(0.79MB)
Manual
Owner's Manuals
(18.20MB)
Specs
Product Specifications Sheet
(0.22MB)
Common Symptoms of the KEBK171SSS03
How this model fails, and the parts that fix it.
Element will not heat
Fixed by
these parts
these parts


Show All
Little to no heat when baking
Fixed by
these parts
these parts

Show All
Oven is too hot
Fixed by
these parts
these parts
Show All
Little to no heat when broiling
Fixed by
these parts
these parts
Show All
Oven not heating evenly
Fixed by
these parts
these parts
Show All
Will Not Start
Fixed by
these parts
these parts

Show All
Watch our pros, then fix it yourself.
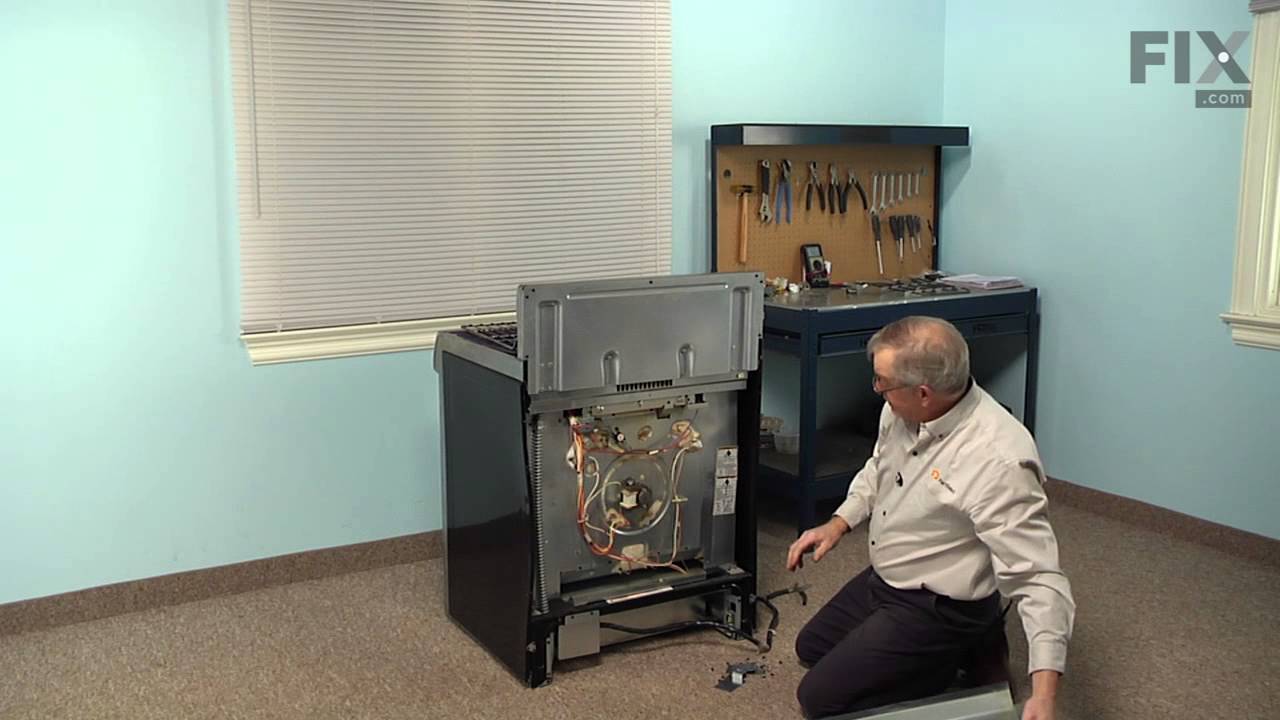
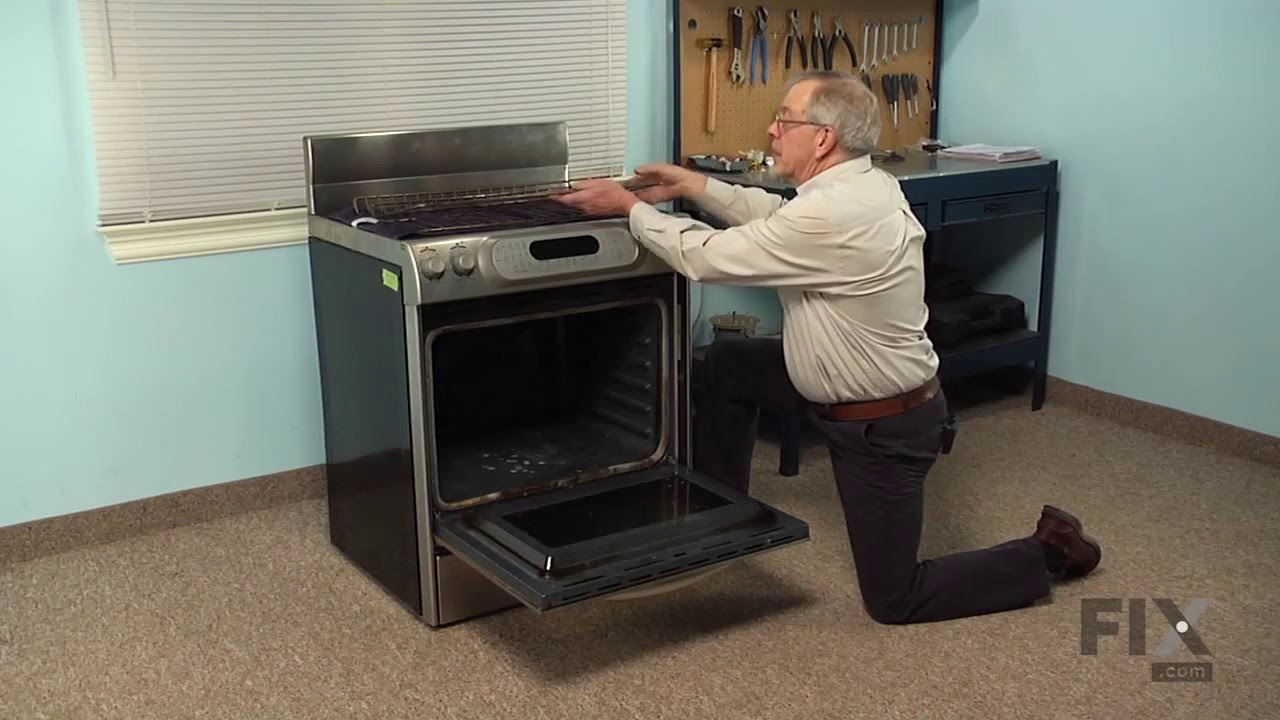

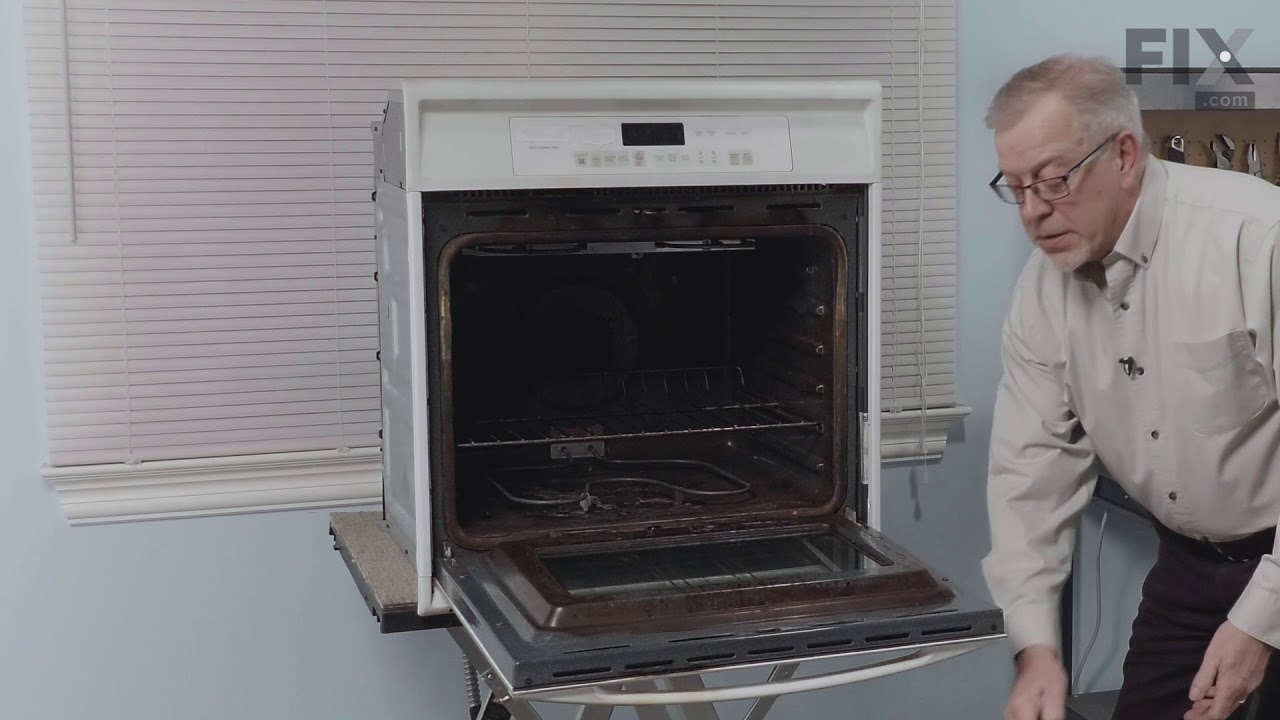
See how others fixed this model. Time, tools, difficulty, and steps that lead to victory!
View More
Search repair tips from other customers using simple keywords like "replace", "fit", "remove", "inspect". DIY doesn't mean you have to do it alone!
Search filter:
Clear Filter
Your search term must have 3 or more characters.
Broil element burned out/temp sensor questonable
13 of 14 people
found this instruction helpful.
I followed instructions from the videos provided on the Part Select site. As with many such appliances, parts are interchangeable between brands. this unit is a KitchenAid but Whirpool,Kenmore parts interchange...Access from the front is all that's needed however and the only tool required was a phllips head screw driver...the only nega
... Read more
tive surprise (which the video warned about but I ignored) was the risk of the element leads drawing back through the holes, which 2 did. Save yourself that trouble by securing the wires to the back oven wall with a small strip of duct tape until you're ready to re-attach them to the new element. This necessitated removing the oven entirely for access to the back; the most time consuming aspect being removing/replacing what seemed like 20 odd screws holding the back cover in place! If not for that mistake, entire job would have been under 30 minutes. Well worth the effort and would do it again!
Read less
Other Parts Used:


Was this helpful?
Thank you for voting!