


 My Orders




KEBI101DBL4 KitchenAid Wall Oven - Overview
Diagrams for KEBI101DBL4
See every part. Know exactly what you need.


Enter a part description. DIY Heroes keep it simple, eg. "belt" or "pump".
Search filter:
Clear Filter
Your search term must have 3 or more characters.

$100.80
In Stock
Range Inner Door Glass
Part #WP4449259
This inner door glass is a heat resistant part that fits into a stove, oven, wall oven, cooktop, or range as the inner glass panel of the appliance door. The glass panel allows you to see the items being cooked or heated in the appliance. Handle with caution and be sure to use gloves, as the door is heavy and the glass is breakable. Do no...Read moret replace the glass until the appliance is cool to the touch. This genuine manufacturer part is approximately 20 inches by 10 inches. The inner glass door is sold individually and contains the glass panel only.
Read less

$80.27
In Stock
Range Rack
Part #WPW10179152
This oven rack is chrome in color and is approximately 24.76 inches wide by 15.78 inches deep. If your old oven rack is damaged, you should consider replacing it. Many of our customers have determined this repair to be very easy. You will not require any tools to complete it. To replace the oven rack, simply pull the old rack out, and rep...Read morelace it with the new one. Make sure to put the new rack back in the oven with the beveled edge in first. To keep your oven racks clean, we recommend that you pull them out before using the self-cleaning function on your oven.
Read less

$7.47
In Stock

No Longer Available
Touch-Up Paint - White
Part #72017
This touch-up paint can be used on a wide variety of household appliances. It is most often used on washers, dryer, refrigerators, dishwashers, ranges, freezers, trash compactors, or microwaves. It is an 18 ml, or.6 fluid ounces, bottle of touch-up paint. It also features a brush for easy application. This quick-drying, long-lasting paint...Read more is perfect for fixing any nicks, scratches, or chips on the exterior of your appliance. This paint is white in color, and provides a durable finish.
Read less

$49.50
In Stock
2 Piece Broiler Pan
Part #4396923
This broiler pan and roasting rack set is designed to help reduce mess while cooking by allowing grease to drain away from food. Its durable porcelain-coated construction stands up to high temperatures and makes cleanup simple. With approximate dimensions of 16 3/4 inches long, 12 3/4 inches wide, and 1 3/4 inches high, it offers a convenient size for everyday broiling and roasting.

$57.38
In Stock
Range Door Hinge
Part #WP4455525
This is a door hinge for the oven door on your range. It allows the door of your unit to open and close without much effort. This hinge will also allow the door to stay open at different angles and hold that position. This part is sold individually and it works for both the left and the right side of your unit. You may need to replace thi...Read mores part if you are noticing that your appliance will not hold the open or closed positions properly.
Read less

$45.29
In Stock
Gasket Cavity (Black)
Part #W11675844
This part is the replacement door gasket for your oven. It is now made of black rubber and is sold individually. The door gasket runs along the circumference of the oven door and creates a seal that insulates the oven and keeps heat in. If your oven will not heat up properly, or if you notice that the door gasket has become loose or worn,...Read more it may need to be replaced. To replace the door gasket, you will need to remove the retaining bracket at the bottom of the oven door, then carefully pull the gasket away from the front of the oven cavity. Then, push the new gasket inside the groove on the outside of the oven cavity, securing it with the arrowhead fasteners that are built in to the oven cavity. This is an OEM part from the manufacturer.
Read less

No Longer Available
Spray Paint - 12 oz. - White
Part #350930
Appliance spray paint is a great way to cover up any chips and scratches that have appeared on your appliances. Instead of replacing the part entirely, this is an easy fix. This is also a great way to give a fresh new look to any handles or areas that have discoloring due to wear. Make sure to clean the area before you begin and wear a pr...Read moreotective mask for safety. Give the can a good shake and spray a few inches away from the surface. Apply the paint until the area is fully covered as desired. Wait until the paint has dried before using the appliance.
Read less

$7.47
In Stock

$102.35
In Stock

$7.47
In Stock
Range Screw
Part #WP4449809
Follow appropriate safety practices when installing your range screw. Sold individually.

$7.47
In Stock
Range Hex Nut
Part #WP112432
This 10-32-inch hex nut works with multiple appliances in your home as a fastener. This specific model is sold individually. Hex nuts usually have 6 even sides and together they are used with bolts and screws in order to hold items firmly together. This piece is a fastener that attaches one item to another. This part has several advantage...Read mores, the main one being that it is universal and can be used with most pieces and appliances in your home. This hex nut is an original equipment manufacturer part, meaning it is directly sourced from the manufacturer.
Read less
Common Symptoms of the KEBI101DBL4
How this model fails, and the parts that fix it.
Door won’t close
Fixed by
these parts
these parts

Show All
Element will not heat
Fixed by
these parts
these parts


Show All
Oven not heating evenly
Fixed by
these parts
these parts


Show All
Little to no heat when baking
Fixed by
these parts
these parts
Show All
Will Not Start
Fixed by
these parts
these parts
Show All
Little to no heat when broiling
Fixed by
these parts
these parts
Show All
Watch our pros, then fix it yourself.
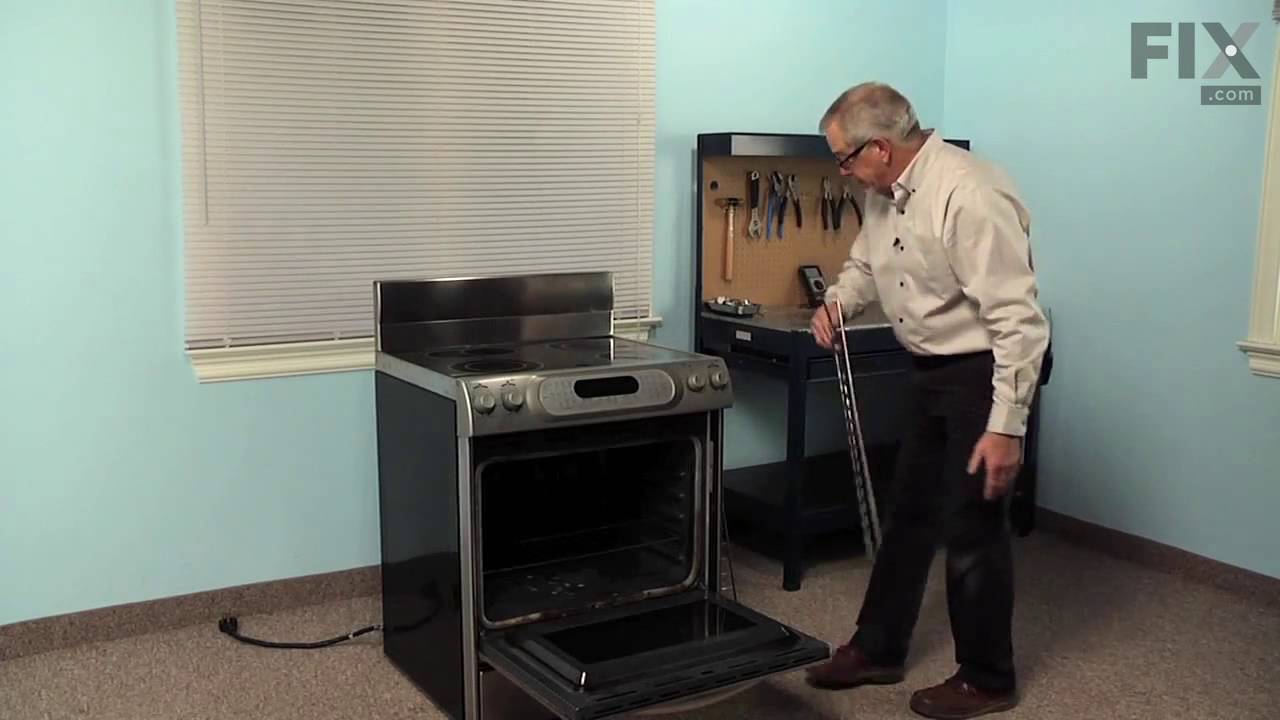
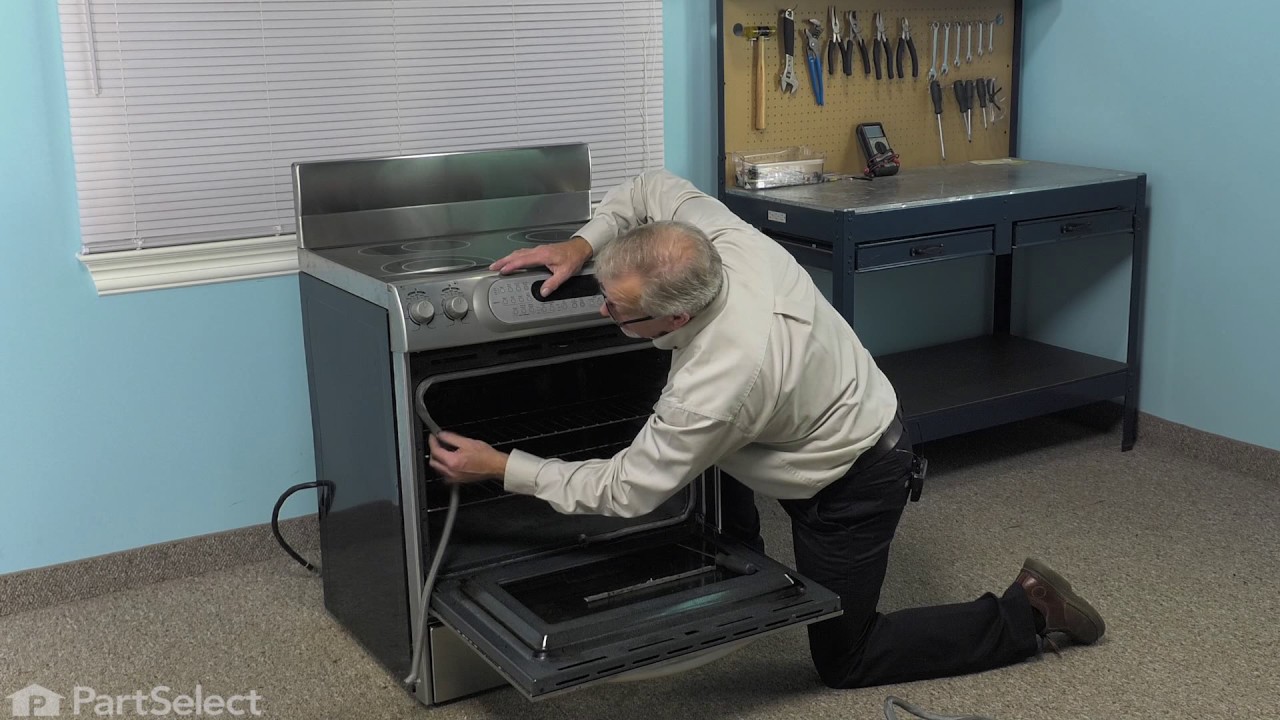


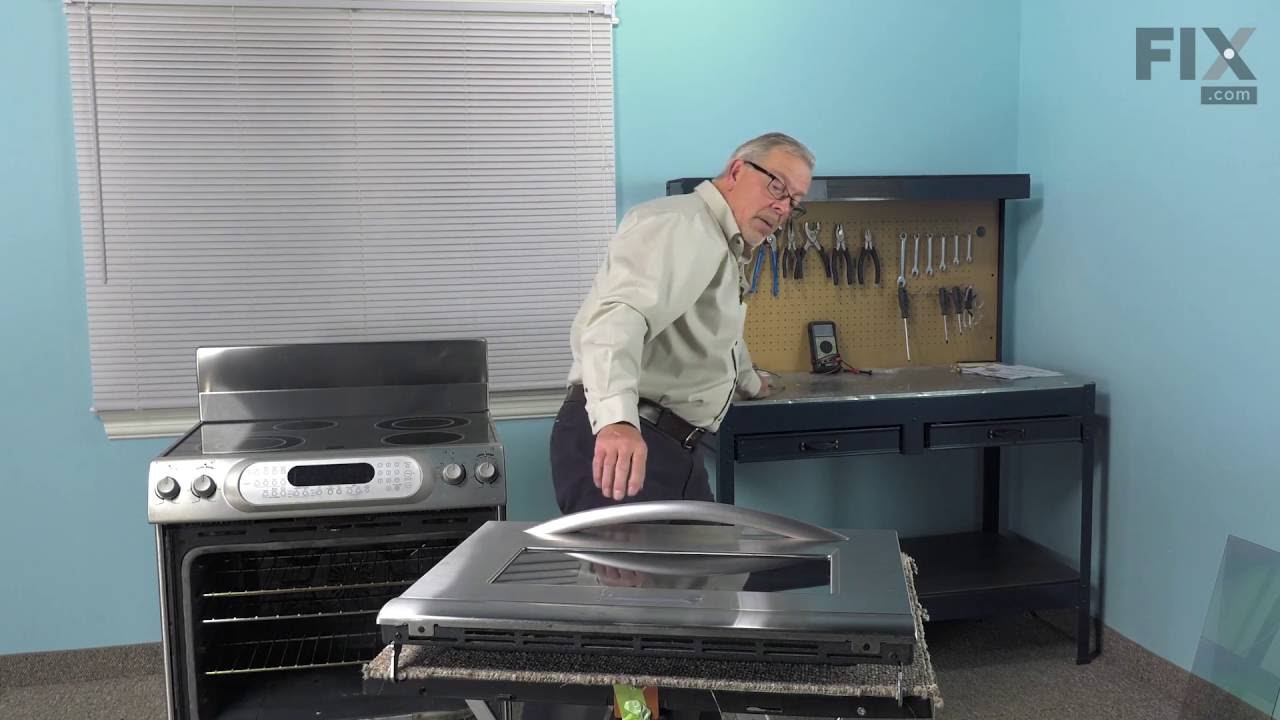
See how others fixed this model. Time, tools, difficulty, and steps that lead to victory!
View More