


 My Orders




KDRP707RSS01 KitchenAid Range - Overview
Diagrams for KDRP707RSS01
See every part. Know exactly what you need.


Enter a part description. DIY Heroes keep it simple, eg. "belt" or "pump".
Search filter:
Clear Filter
Your search term must have 3 or more characters.

$100.80
In Stock
Range Inner Door Glass
Part #WP4449259
This inner door glass is a heat resistant part that fits into a stove, oven, wall oven, cooktop, or range as the inner glass panel of the appliance door. The glass panel allows you to see the items being cooked or heated in the appliance. Handle with caution and be sure to use gloves, as the door is heavy and the glass is breakable. Do no...Read moret replace the glass until the appliance is cool to the touch. This genuine manufacturer part is approximately 20 inches by 10 inches. The inner glass door is sold individually and contains the glass panel only.
Read less

$6.40
In Stock

$21.45
In Stock
Screw
Part #W11233072
This is a multi-use and multi-appliance screw. It can be used on a microwave, refrigerator, range/oven, air conditioner, dehumidifier, washer, or dryer. The measurements of this screw are 8 x 1/2 inch. It has 6 threads. Refer to the manual provided by the manufacturer for further information on repair and accurate guidance. Remember to wear work gloves as a safety precaution.

$49.50
In Stock
Oven Halogen Bulb
Part #WP4452164
This halogen light bulb is a type of lamp that uses a halogen gas mixture for better lighting quality and longevity. It is an authentic OEM replacement bulb designed for use in ovens and ranges. It is used to illuminate the oven cavity. Over time, the filament inside the bulb can wear out and break, causing the lamp to fail. A faulty sock...Read moreet connection can also cause the bulb to lose electrical contact and stop working. If your oven light is faulty, you will have difficulty seeing and monitoring the food throughout the cooking process. Locate the bulb housing inside the oven cavity and carefully remove the bulb from the socket. Place your new bulb into the socket and ensure the bulb housing is secure. Note that each light bulb is sold individually.
Read less

$72.00
In Stock
Range Temperature Sensor
Part #WPW10131825
The temperature sensor measures the temperature inside the oven. If your oven is too hot, not heating evenly, is not heating enough when baking, or simply will not start, you could have a faulty temperature sensor. A faulty temperature sensor can be a fire risk. If your sensor is not working properly, you should look to replace it straigh...Read moret away. A failed oven sensor is most often responsible for F3 or F4 error messages on electronically-controlled ovens. Make sure you disconnect the power to your range before you start your repair.
Read less

$90.42
In Stock
Range Broil Element
Part #WP9760771
This broil element is a genuine replacement part designed to deliver high-intensity heat from the top of electric ranges and wall ovens. It plays a critical role in broiling by generating consistent heat for browning and cooking food. Compatible with select Whirlpool and related brand models, this component is ideal for restoring function...Read moreality when the broil feature fails to produce heat, distributes heat unevenly, or emits unusual odors. The element operates by converting electrical energy into radiant heat, and its failure can result in poor cooking performance or safety concerns. Installation requires disconnecting power, using basic hand tools, and securing the wires to prevent them from slipping into the oven cavity. Always consult your appliance’s manual for model-specific instructions.
Read less

$171.75
In Stock
Exterior Door Glass - Stainless
Part #W10401225
Exterior portion only. This is NOT the entire door assembly.

$7.47
In Stock

$45.29
In Stock
Gasket Cavity (Black)
Part #W11675844
This part is the replacement door gasket for your oven. It is now made of black rubber and is sold individually. The door gasket runs along the circumference of the oven door and creates a seal that insulates the oven and keeps heat in. If your oven will not heat up properly, or if you notice that the door gasket has become loose or worn,...Read more it may need to be replaced. To replace the door gasket, you will need to remove the retaining bracket at the bottom of the oven door, then carefully pull the gasket away from the front of the oven cavity. Then, push the new gasket inside the groove on the outside of the oven cavity, securing it with the arrowhead fasteners that are built in to the oven cavity. This is an OEM part from the manufacturer.
Read less

$7.47
In Stock

$102.35
In Stock

$52.67
In Stock
Range Surface Ignitor
Part #WP9782116
Also known as Spark Electrode. This part helps your burner ignite and produce flame.
Manuals & Care Guides for KDRP707RSS01
Click to downloadInstall
Installation Instructions
(1.52MB)
Manual
Owner's Manuals
(1.16MB)
Manual
Owner's Manuals
(3.11MB)
Common Symptoms of the KDRP707RSS01
How this model fails, and the parts that fix it.
Oven is too hot
Fixed by
these parts
these parts

Show All
Element will not heat
Fixed by
these parts
these parts


Show All
Will Not Start
Fixed by
these parts
these parts


Show All
Little to no heat when baking
Fixed by
these parts
these parts

Show All
Oven not heating evenly
Fixed by
these parts
these parts

Show All
Little to no heat when broiling
Fixed by
these parts
these parts
Show All
Gas igniter glows, but will not light
Fixed by
these parts
these parts

Show All
Leaking
Fixed by
these parts
these parts

Show All
Door won’t close
Fixed by
these parts
these parts


Show All
Door won’t open after self cleaning cycle
Fixed by
these parts
these parts
Show All
Watch our pros, then fix it yourself.
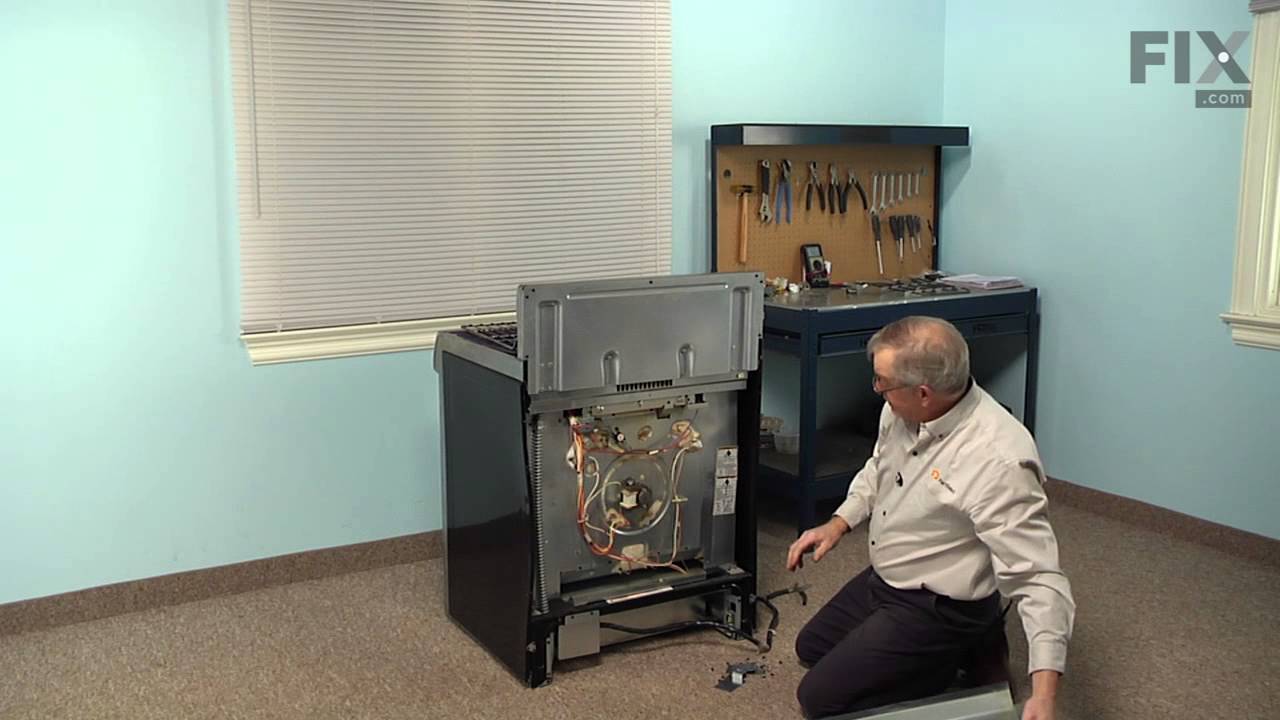
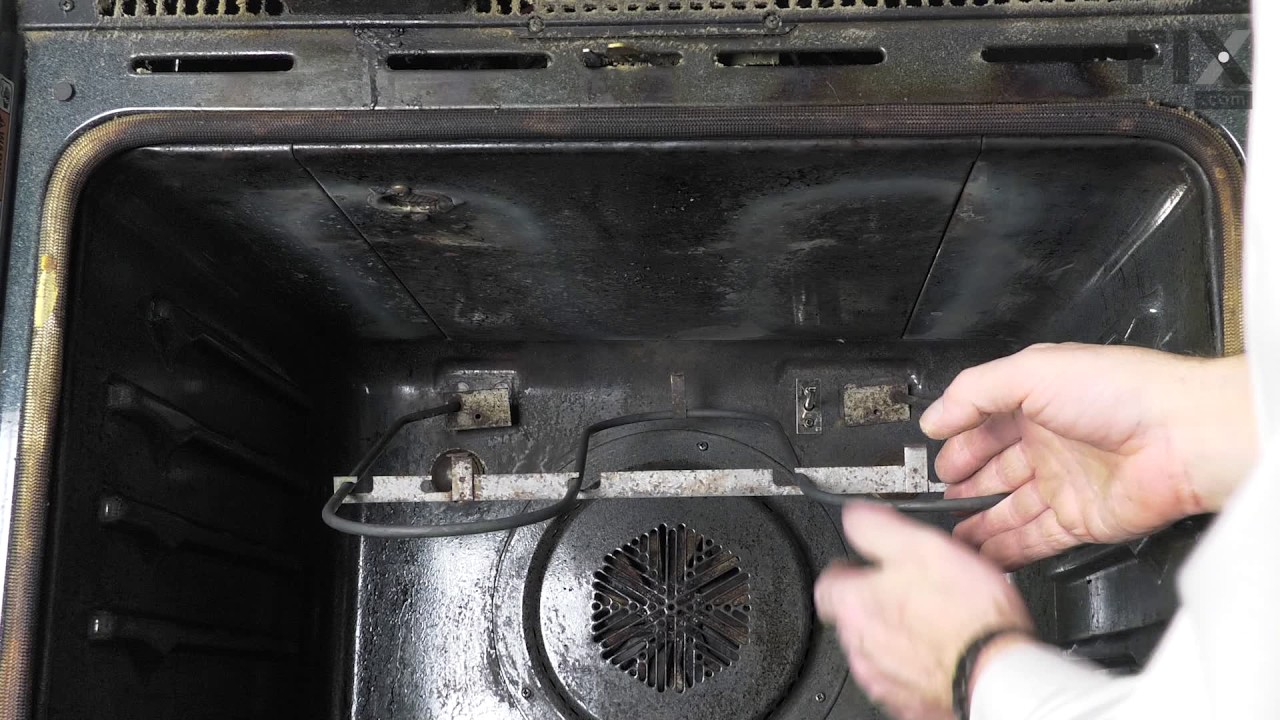
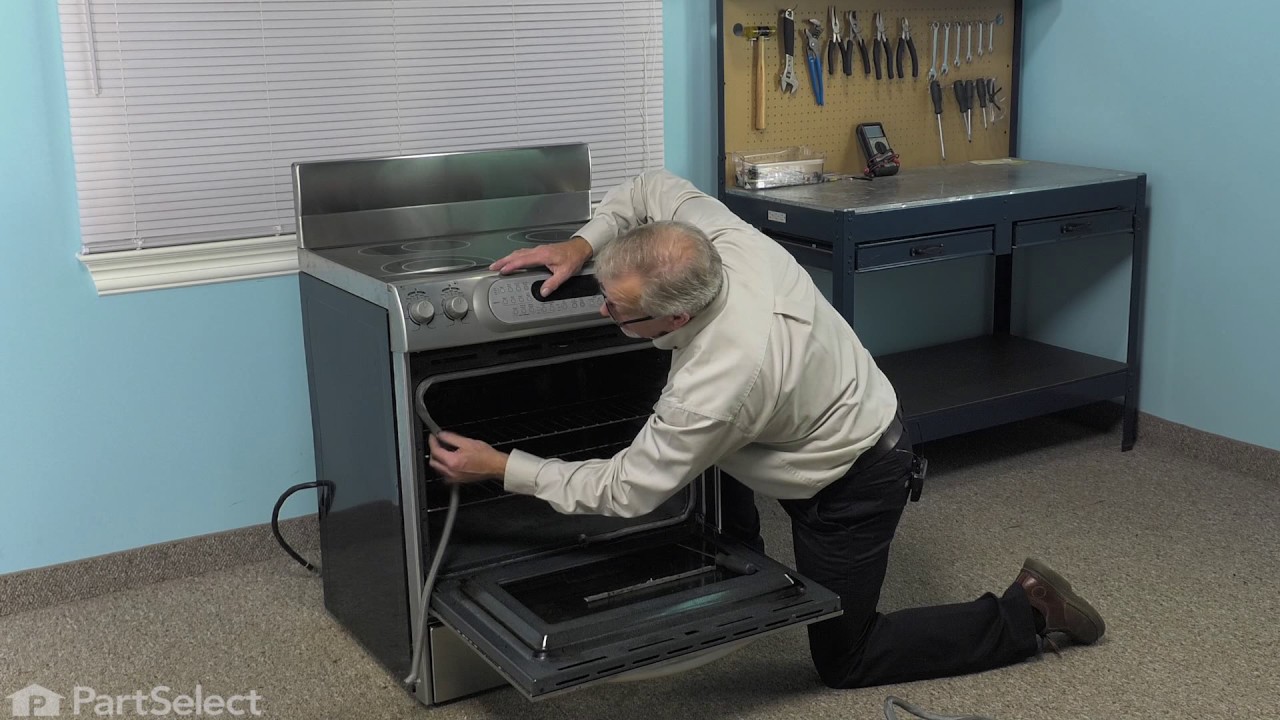

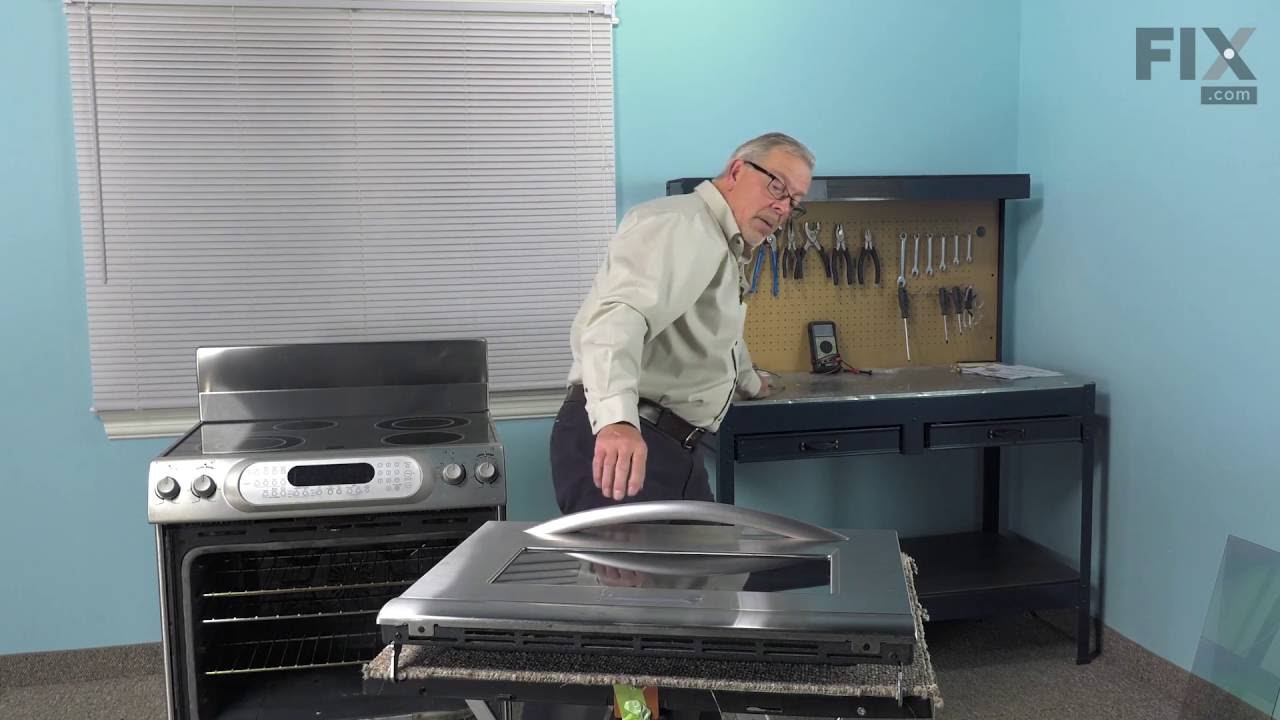
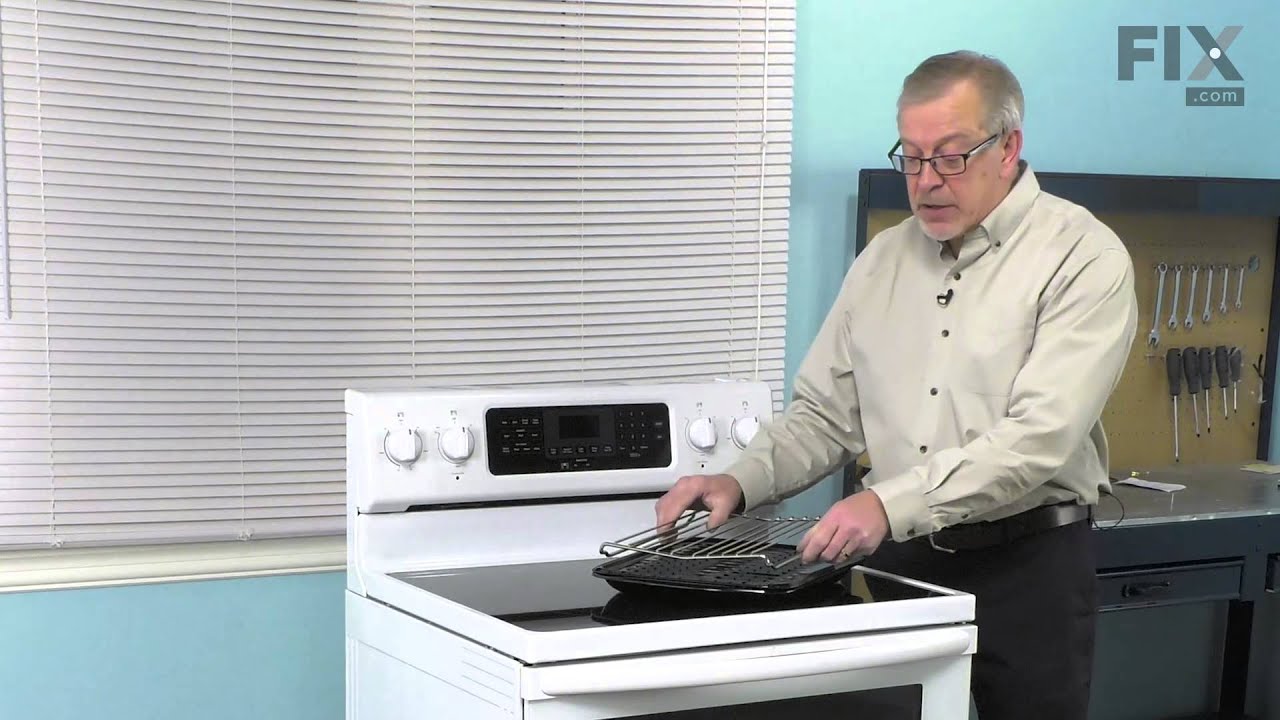
See how others fixed this model. Time, tools, difficulty, and steps that lead to victory!
View More