



 My Orders




KDPM704KPS1 KitchenAid Dishwasher - Overview
Diagrams for KDPM704KPS1
See every part. Know exactly what you need.


Enter a part description. DIY Heroes keep it simple, eg. "belt" or "pump".
Search filter:
Clear Filter
Your search term must have 3 or more characters.

$15.00
In Stock
Dishwasher Mounting Bracket
Part #WP8269145
The mounting bracket is sold individually, without screws. This part secures the upper side of the dishwasher to the underside of the counter or cabinet to prevent the dishwasher from moving, shaking, or tilting forward. The bracket is made entirely of metal. It is recommended to check all brackets, if applicable, because they often wear ...Read moreat the same rate and both may need to be replaced. This is an OEM part that is sourced from the authentic manufacturer. Tools needed are a pair of needle nose pliers and a screwdriver.
Read less

$48.45
In Stock
Tine Row
Part #W10728160
The tine row on your dishwasher rack divides the rack into columns to keep your kitchen items in place during the washing cycle. If you notice that one or more of the tines on your current tine row is damaged, you should consider replacing it. This product is made of gray plastic and is approximately 21 inches in length. This tine row con...Read moretains 11 straight tines and 1 curved tine. This product is sold individually. Many of our customers have rated this repair as very easy. To complete this repair, simply remove the old tine row and replace it with the new one.
Read less

$7.47
In Stock

$7.47
In Stock

$19.30
In Stock
Elbow Hose Fitting
Part #W10685193
This part has a swivel gooseneck fitting and that allows it to be installed closer to the wall. This part has a 3/4" hose thread on one side and a 3/8" copper tubing on the other side.

$55.29
In Stock
Water Inlet Valve
Part #W11434044
The water inlet valve assembly is a crucial component of dishwashers that controls the flow of water into the unit. This genuine OEM replacement part includes the inlet valve, inlet hose, and hose clamp to ensure the proper water supply for your dishwasher’s operation. Designed for specific models, this part ensures that water is fed into...Read more the dishwasher during the wash cycle, promoting efficient cleaning. Before installation, it is important to unplug the dishwasher and turn off the water supply to avoid any accidents. Wear work gloves for your safety during the installation process. Be sure to verify the compatibility with your dishwasher’s model number, as similar-looking parts may have slight variations in size or design.
Read less

$65.73
In Stock
HEATER
Part #W11537778
This heating element is a genuine OEM replacement sourced directly from the original manufacturer for use in various models of dishwashers. The element is designed to heat water inside the dishwasher during the wash and rinse cycles to enhance the efficiency of the cleaning process. It is positioned at the bottom of the dishwasher tub, be...Read moreneath the lower rack. The heating element includes a bushing, which is a protective covering that prevents water from coming into contact with the electric terminals, and two plastic nuts.
Read less

$7.47
In Stock
Washer Screw
Part #WPW10273971

$48.45
In Stock
Door Seal Assembly (Lower)
Part #W11664713
This lower door seal is a flexible rubber gasket designed to create a watertight barrier at the bottom of your dishwasher door, preventing leaks, steam, and detergent from escaping during wash cycles. Its ribbed press-in design and soft sealing lip ensure a secure fit for long-lasting performance. If you notice water pooling on the floor,...Read more visible cracks, or wear on the old gasket, replacing it will restore proper sealing and protect your kitchen from damage. Installation is quick and simple, requiring no special tools, making it an easy DIY solution for maintaining your dishwasher’s efficiency.
Read less

$60.51
In Stock
Water Inlet
Part #W11535094

$85.55
In Stock
Drain Pump
Part #W11412291

$21.45
In Stock
SCREW
Part #W11551775
This screw provides secure fastening for components, helping maintain proper alignment and structural stability during operation. Correct fastening reduces vibration, prevents component movement, and supports long-term reliability. Replacing missing or damaged screws restores secure assembly and dependable performance.
Common Symptoms of the KDPM704KPS1
How this model fails, and the parts that fix it.
Leaking
Fixed by
these parts
these parts


Show All
Not cleaning dishes properly
Fixed by
these parts
these parts


Show All
Door latch failure
Fixed by
these parts
these parts


Show All
Not draining
Fixed by
these parts
these parts


Show All
Will not fill with water
Fixed by
these parts
these parts

Show All
Door won’t close
Fixed by
these parts
these parts
Show All
Will not dispense detergent
Fixed by
these parts
these parts

Show All
Not drying dishes properly
Fixed by
these parts
these parts
Show All
Noisy
Fixed by
these parts
these parts
Show All
Will Not Start
Fixed by
these parts
these parts
Show All
Watch our pros, then fix it yourself.
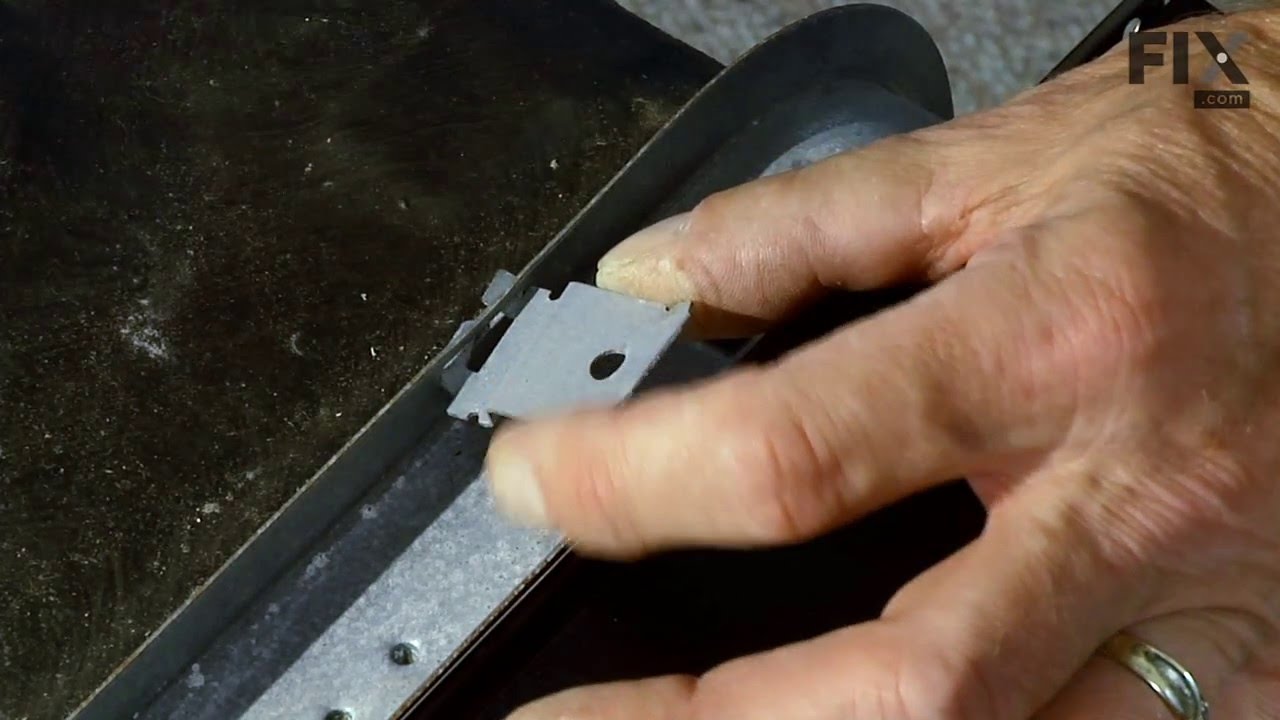
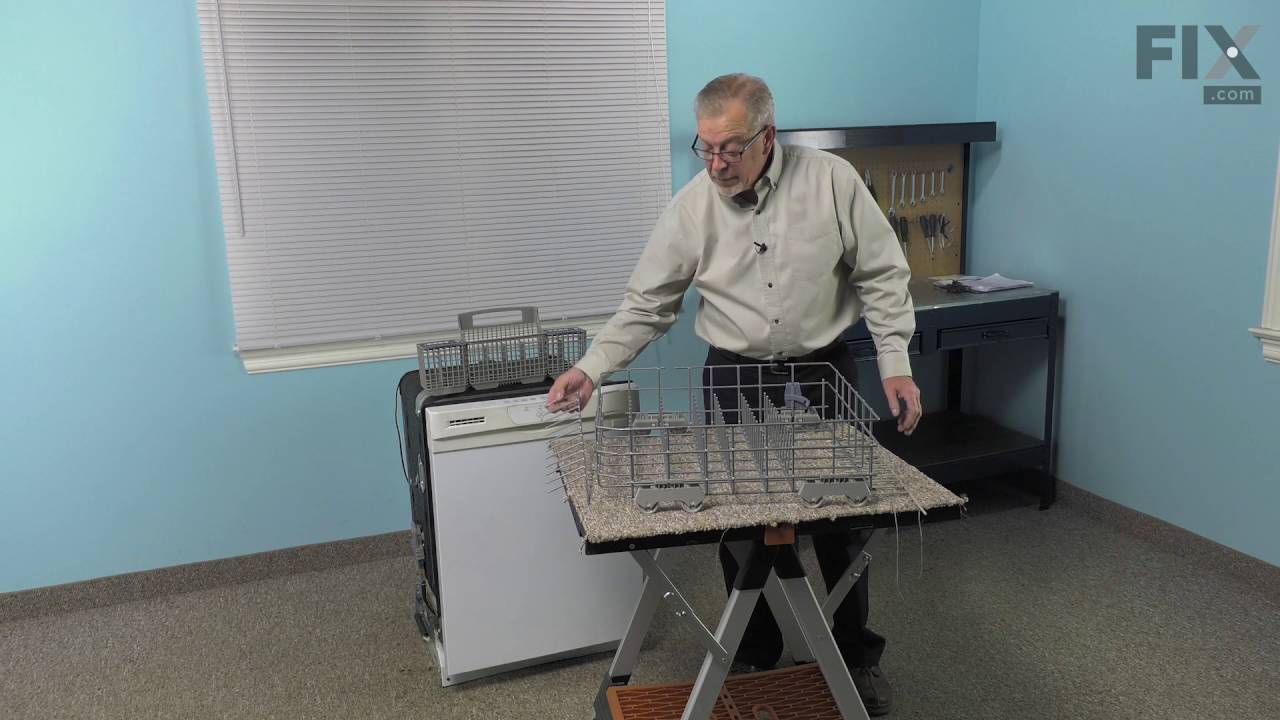
See how others fixed this model. Time, tools, difficulty, and steps that lead to victory!
View More