



EasyApplianceParts is now PartSelect! We've merged our sites to provide a better shopping experience for you.   Full Details

Find Parts

Parts Departments

Top Model Types

Top Brands

Repair Help

Expert Repair Videos

Keep typing for more specific results...

Parts That Fix KitchenAid Dishwasher KDFE104DWH5 Leaking

Leaking is a commonly reported symptom for the KDFE104DWH5 KitchenAid Dishwasher, and we have put together a full guide on how to fix this. This advice is based on feedback from people who own this exact appliance. We have listed the most common parts for your KDFE104DWH5 KitchenAid Dishwasher that will fix Leaking. We have included repair instructions, and helpful step-by-step video tutorials. If you are experiencing this issue, not to worry, DIYers just like you have fixed this, and shared their experience to help you!

Fixes Symptom 29% of time

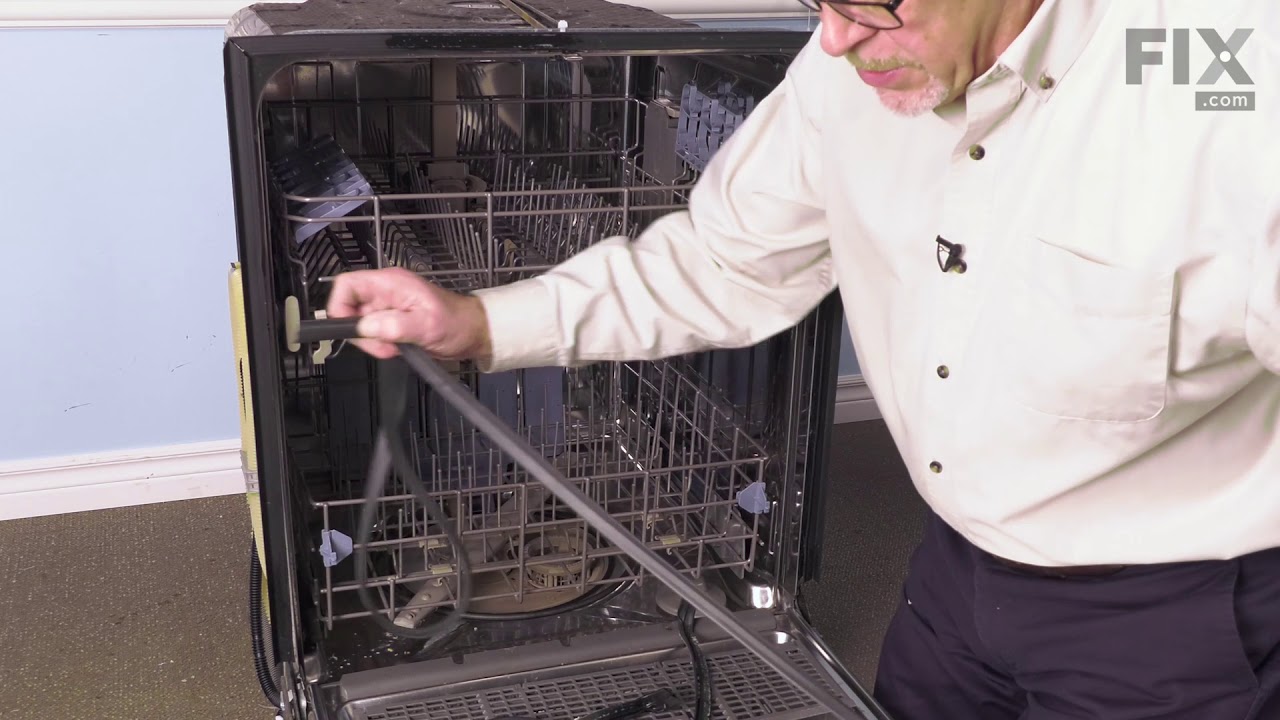
Prevent leaks and maintain optimal cleaning performance with this durable dishwasher door seal. It creates a secure barrier to keep water contained during wash cycles, ensuring reliable operation. Replace by removing the old seal and fitting the new one snugly around the door frame.

$ 57.38
In Stock
Part #W11177741

Replacing your KitchenAid Dishwasher Door Seal
Replacing your Dishwasher Door Seal

Customer Repair Stories

leaking from door
19 of 20 people found this instruction helpful.
  • charles from MAURICE, LA
  • Very Easy
  • 15 - 30 mins
Removed old gasket, cleaned track and replaced gasket-also quit using Cascade pellets and went back to using Cascade powder with a numerical "rating" of 6. The pellets of even 10 caused the washer to leak, obviously too much foam would not float the float to actuate the pump.
Was this helpful?
Thank you for voting!
Leaking gasket
70 of 81 people found this instruction helpful.
  • Larry from BENICIA, CA
  • Really Easy
  • 30 - 60 mins
Easily pulled old gasket from channel. Soaked new gasket in warm water. Cleaned debris from channel with wire brush and CLR. Starting at top-middle, gently pressed new gasket in place. Used a gentle push-pull technique on the corners. Used fingers to smooth gasket all around. Closed door and kept latched for 2 hours. Ran dishwaher to che ck for leaks.
Was this helpful?
Thank you for voting!
2 Seal

Fixes Symptom 9% of time

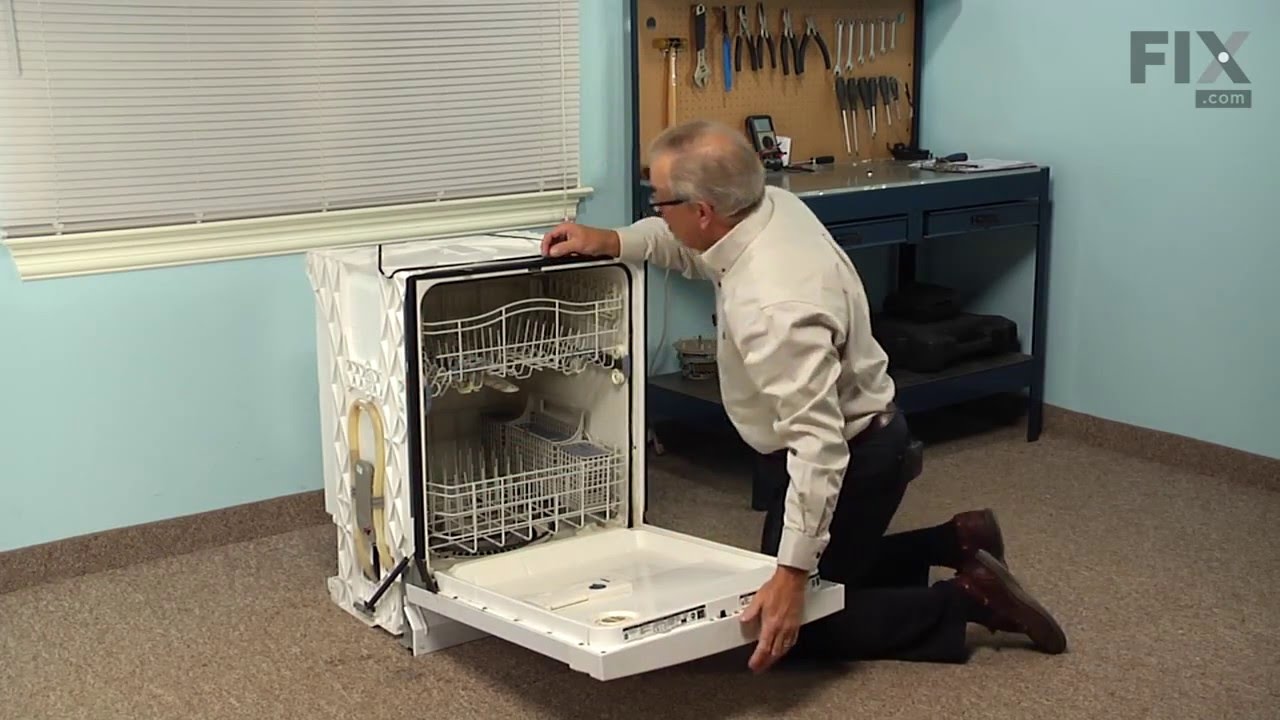
This is a seal, but you may also know it as a door gasket and it is for your dishwasher. The seal forms a watertight barrier between the door and the dishwasher tub, deterring water from escaping during a wash cycle. If your dishwasher is leaking you will need to replace the seal, as it is likely damaged. The first step should be to check the seal for buildup of food particles near the sides and the bottom of your appliance.

$ 67.82
In Stock
Part #W10864081

Replacing your KitchenAid Dishwasher Seal
Replacing your Seal

Customer Repair Stories

Leak
1 of 3 people found this instruction helpful.
  • Charles from WALLBACK, WV
  • Really Easy
  • 30 - 60 mins
1. Remove old seal
2. Install new seal
Was this helpful?
Thank you for voting!
Leaking door seal
7 of 12 people found this instruction helpful.
  • Charles from ELGIN, IL
  • Easy
  • 30 - 60 mins
  • Screw drivers
Pulled dishwasher out from under the counter, removed faulty seal, installed new seal. Easy to understand directions are on web site.
Was this helpful?
Thank you for voting!

Fixes Symptom 6% of time

This lower door seal ensures a tight seal between the bottom of your dishwasher door and the tub, preventing leaks during operation. It is compatible with various Whirlpool, KitchenAid, Maytag, Jenn-Air, Amana, Inglis, and Magic Chef dishwashers. If water is leaking from the front or bottom of your appliance, replacing this seal can resolve the issue. After installation, close the door for several hours to ensure the seal seats properly for optimal performance.

$ 60.51
In Stock
Part #W10909089

Customer Repair Stories

Dishwasher door leaking
35 of 38 people found this instruction helpful.
  • Paul from HGHLNDS RANCH, CO
  • A Bit Difficult
  • 30 - 60 mins
  • Nutdriver
First off, this part does not look like a seal. It seems more like a trim piece. It is the only part along the bottom of the DW door so it is indeed a seal, and the DW was leaking after I replaced the seal around the tub and the door. First take off the inner panel of the door by removing the Torx screws on the edge and the hinges. Pay at tention to which hole each screw came out because they are different lengths. Gently separate the inner panel being careful with the wires going to the detergent dispenser. The seal is held on by 5 small hex head screws on the bottom of the door panel. Remove the old one and install the new one. Put the door panel back together and on the hinges. Good luck.
Was this helpful?
Thank you for voting!
4 Motor

Fixes Symptom 6% of time

Also know as a diverter valve. This diverter motor is for dishwashers. Diverter motor controls the flow of water to the spray arms. Unplug the dishwasher and shut off the water supply before installing this part. Wear work gloves to protect your hands.

$ 78.26
In Stock
Part #W10537869

Replacing your Kenmore Dishwasher Motor

Replacing your Motor

Customer Repair Stories

Leaking under the motor
35 of 48 people found this instruction helpful.
  • John from PERRY, MO
  • Very Easy
  • 15 - 30 mins
  • Nutdriver, Pliers, Screw drivers
Unplug the dishwasher,take the screws out of the coutertop,then slide dishwasher out turn it on its side. Then take a torx screwdriver and remove 2 mounting screws. Unplug the wires going into the motor and replace the motor with the new one. But you need to replace the grommet the motor shaft slides up into or it will still leak.
Was this helpful?
Thank you for voting!
Diverter valve was leaking.
40 of 49 people found this instruction helpful.
  • Dennis from PORTAGE, MI
  • Really Easy
  • 15 - 30 mins
  • Nutdriver
After shutting off electricity, lay dishwasher on it's side (use a towel to absorb any water) then just use nut driver to remove faulty valve.
Was this helpful?
Thank you for voting!

Fixes Symptom 5% of time

This water inlet valve should be located behind the lower kick plate panel in either the right or left corner. The attaching solenoids on the valve open and close according to the desired amount of water needed.

$ 54.24
In Stock
Part #W11175771

Replacing your Whirlpool Dishwasher INLET VALVE

Replacing your Dishwasher INLET VALVE

Customer Repair Stories

Water leaking in from under unit
4 of 4 people found this instruction helpful.
  • Bruce from PHENIX CITY, AL
  • Really Easy
  • 15 - 30 mins
  • Pliers, Screw drivers, Wrench (Adjustable)
Turn the supply water off to the unit usually under the sink. If under cabinet model, usually there are 2 crews just under the counter top holding the unit in place remove these. Slide the unit out if possible for easy access to underside. Remove lower front panel (just under the door) by turning 2 plastic screws 1/4 turn. Use something s table to slightly prop up the unit such as a gallon paint can. The valve will usually be located in front left hand side. Mine was blue in color. Using a adjustable wrench remove the water supply line to the valve. Be sure to have a towel handy as there will be some water left in the line. Using pliers, compress the spring type clamp on the line that feeds from the valve to the unit and slide it back/away from the valve, then pull the hose from the valve. The valve itself will be mounted to the unit just behind a metal bracket and will have one "Phillips type"/ cross point screw in it, remove that screw and slide/wiggle the valve out. Replace it with new valve and reverse the procedures. Just don't over-tighten the inlet water line or you may damage it's sealing ability and cause a leak. Usually 1/4 turn past hand tight will do it. Turn on the water and check for leaks, a flashlight comes in handy. Then simply slide the unit back into place and replace the 2 cabinet screws. You are done!
Was this helpful?
Thank you for voting!
Inlet valve wasn't working
26 of 30 people found this instruction helpful.
  • Melissa from AIKEN, SC
  • Really Easy
  • 15 - 30 mins
  • Pliers, Screw drivers
Put thread tape on threads. Screwed water hose to part. Pushed hose onto part. Pushed electric clip to part. Screwed part onto washer. Done
Was this helpful?
Thank you for voting!

Fixes Symptom 5% of time

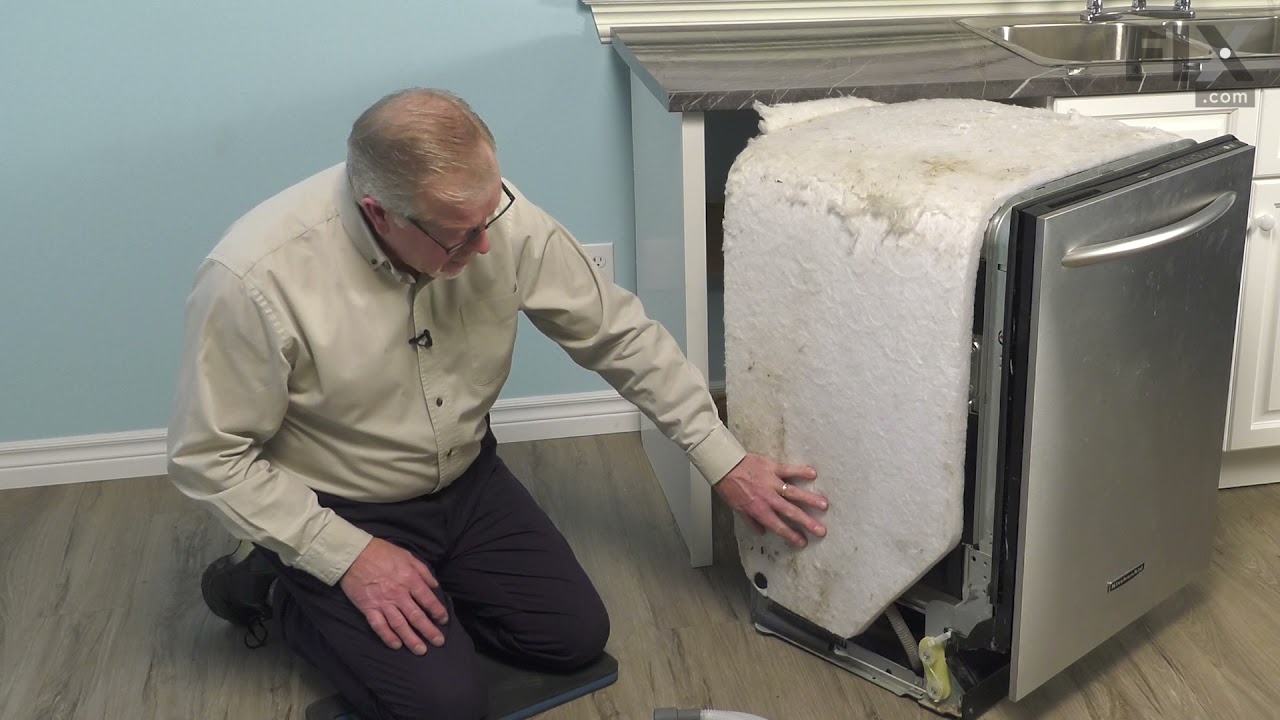
This drain hose is 6 and 1/2 feet.

$ 25.75
In Stock
Part #8269144A

Replacing your Kenmore Dishwasher Drain Hose
Replacing your Drain Hose

Customer Repair Stories

Drain hose leaking
8 of 12 people found this instruction helpful.
  • Robert from Beaufort, SC
  • Easy
  • 15 - 30 mins
  • Pliers
I did not relize that the drain hose was in two parts. Naturally I ordered the wrong half. So after I relized my mistake, I re-ordered the correct part. Once the correct part was received the repair was easy and went well.
Was this helpful?
Thank you for voting!
Unwanted water.
10 of 11 people found this instruction helpful.
  • David from PITTSBURGH, PA
  • Easy
  • 30 - 60 mins
  • Pliers, Screw drivers, Wrench (Adjustable)
A Mouse friend had seen fit to chew through the original drain line. I used my Model Number, and was able to order the correct part . It arrived the next day. The job itself is fairly straight forward. You will need to access the rear of the machine. This may include shutting off, and disconnecting the water supply line. (Adjustable wren ch). Mine is under the sink, on the "Hot" side. You may also need to un-plug the unit. (recommended) . A pair of (Pliers) will be needed for the spring clamp.
Was this helpful?
Thank you for voting!

Fixes Symptom 5% of time

This pump inlet grommet is a genuine OEM replacement part that is compatible with various models of dishwashers. It is made of rubber and has a diameter of approximately 2.5 inches. The grommet is used to create a watertight seal in the area between the inlet hose and the circulation pump. This prevents the dishwasher from leaking, and it also helps to absorb minor shocks and vibrations that occur while the dishwasher is running. It is normal for the grommet to wear down over time or become damaged from exposure to water, heat, and chemicals.

$ 28.42
In Stock
Part #WPW10538166

Customer Repair Stories

I damaged the grommet when removing the recirc pump
6 of 6 people found this instruction helpful.
  • john from SANFORD, NC
  • Easy
  • 30 - 60 mins
  • Pliers, Screw drivers
repair went smooth for the grommet. suggest a small of vasoline to ease installation of grommet
Was this helpful?
Thank you for voting!
WARNING!!! This is NOT the grommet that goes on the "pump stem" in the center
26 of 29 people found this instruction helpful.
  • Monica from PITTSFORD, NY
  • Very Difficult
  • More than 2 hours
I purchased this misguided by the official response to "Doug" on April 17, 2018, which at the time was labeled as "most helpful". This is NOT the little grommet in the center. This is a big grommet that goes no the supply pump. This is #14 in the diagram. (#15 is actually the clamp that holds it). If you are looking for the little grommet that goes on that stem on the central recirculation pump, that part is not available, it only comes fused on the sump, and for replacing the sump you have to disassemble the whole bottom part of the dishwasher, pumps, sensors, valves, hose...even this big grommet. A lot of work, and since you are at it, you might want to replace both grommets. If you need THIS big grommet (#14) only, then it is not so much work, just take out one clamp, one connected cable, and the grommet to replace. But check if your machine has reusable clamps, because if not, you might want to order a new clamp. Good luck!
Was this helpful?
Thank you for voting!
8 Sump

Fixes Symptom 4% of time

This works in conjunction with the pump and filtration system. It is used to receive drainage for disposal.

$ 115.48
In Stock
Part #WPW10455268

Customer Repair Stories

Water leaking through the sump shaft seal
8 of 11 people found this instruction helpful.
  • Jason from MOLINE, IL
  • Really Easy
  • 30 - 60 mins
  • Pliers, Screw drivers, Wrench (Adjustable)
First I removed everything off of the bottom of the dishwasher. Then I removed the main center piece that everything mounts to. Then I reinstalled the new center piece with the help of some evoo cooking spray (extra virgin olive oil) I sprayed it on the rubber seal to aid in getting that center piece installed without a battle. Then I rei nstalled everything else in the reverse order that I removed it. The evoo cooking spray works wonders for more than just cooking !!!
Was this helpful?
Thank you for voting!

Fixes Symptom 3% of time

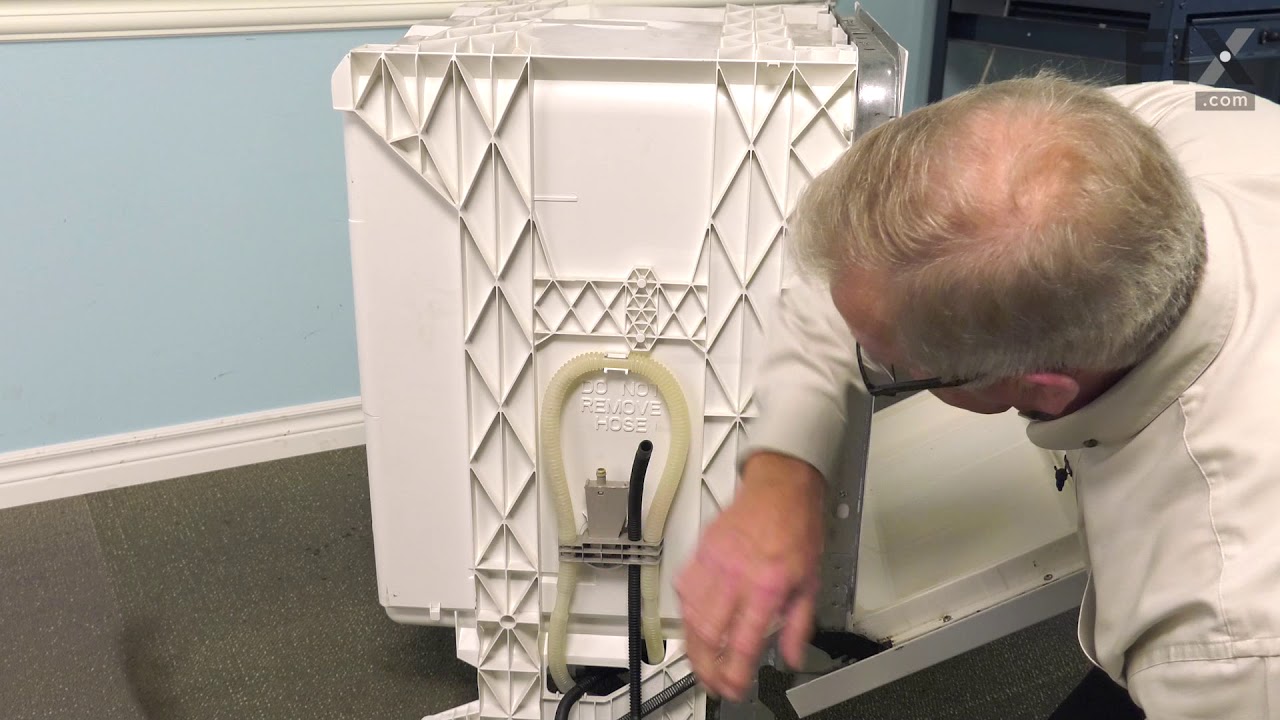
This fill hose is a genuine OEM replacement part for your dishwasher. The hose is made of black plastic, and is accordion-style, for ease of movement within your dishwasher. To replace the fill hose, you will need a 1/4 inch nut driver, Channellock pliers, and a Phillips screwdriver. Replacing this part will require some disassembly, such as removing the water inlet valve from the fill hose, and the clamps which secure the hose in place. Reuse your existing clamps when securing your new fill hose in place.

$ 54.24
In Stock
Part #W10878507

Replacing your Whirlpool Dishwasher Inlet Fill Hose
Replacing your Inlet Fill Hose

Customer Repair Stories

The hose had a slit in it.
  • Larry from Sarasota, FL
  • Easy
  • 15 - 30 mins
  • Screw drivers, Wrench (Adjustable)
I removed old hose and replaced it with a new one and reinstalled the dishwasher.
Was this helpful?
Thank you for voting!
Hole in filler hose
  • Gordon from Davidsonville, MD
  • Really Easy
  • Less than 15 mins
  • Pliers
twist filler hose assembly to the side and slide hose in. place clamps on hose and attach to water supply and valve.
Was this helpful?
Thank you for voting!

Fixes Symptom 3% of time

This hose clamp is used in a wide variety of household appliances. Most often it is found in washers, dishwashers, refrigerators, freezers, dehumidifiers, garbage disposals, or air conditioners. This clamp is used to securely attach a hose to another part of your appliance, which helps prevent leaks from those connections. Depending on the appliance, it can attach hoses to drain pumps, water inlet valves, pressure switches, and injector nozzles. We recommend you refer to model-specific diagrams for appropriate uses and exact placement. This hose clamp is made of metal, and is sold individually. To access and replace this part you will need a nut driver, pliers, and screwdrivers. Before you begin any repair work, make sure you have unplugged your appliance, and shut off the water supply if applicable.

$ 7.47
In Stock
Part #WP596669

Replacing your Kenmore Washer Hose Clamp

Replacing your Washer Hose Clamp

Fixes Symptom 3% of time

This part is used to drain water from your dishwasher.

$ 51.91
In Stock
Part #WPW10545278

Replacing your Whirlpool Dishwasher Drain Hose
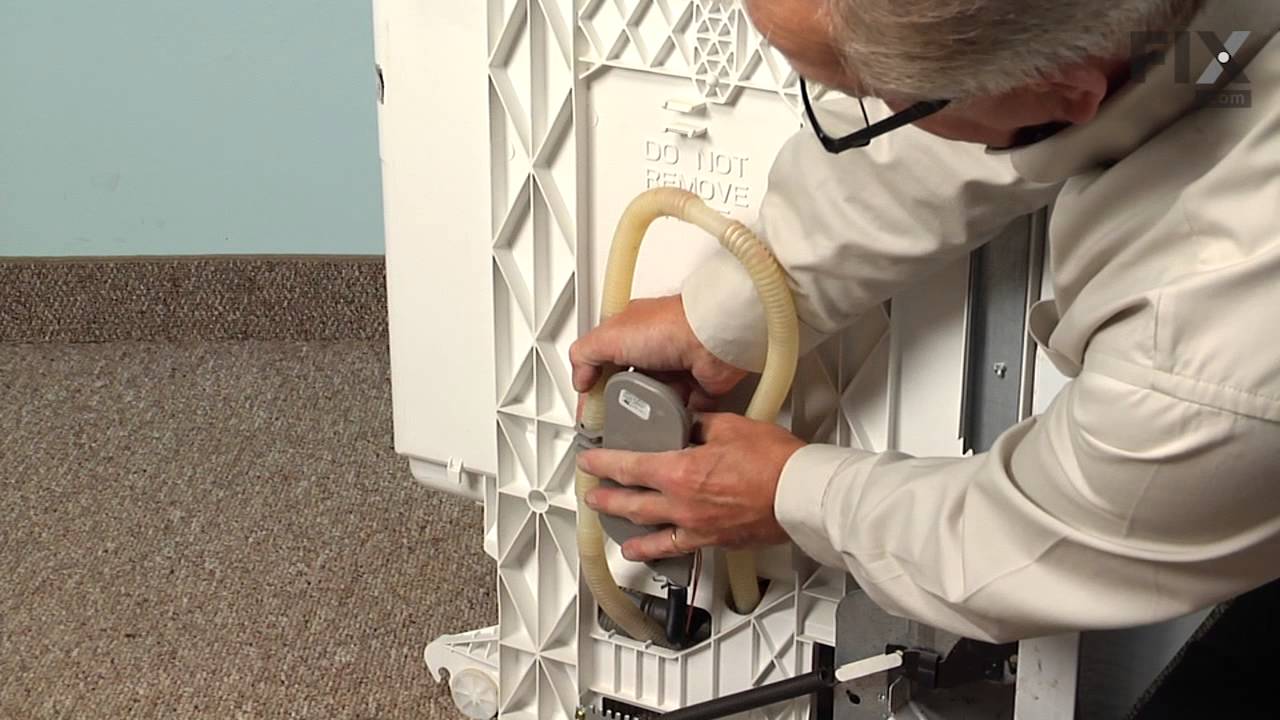
Replacing your Dishwasher Drain Hose

Fixes Symptom 2% of time

The hose clamp is used to hold the water hose in place which will prevent the hose from leaking water. Sometimes the clamp may lose its ability to latch on, causing a leaking washer. For the installation, you will need a flat head screw driver to replace the clamp and a drill to access the screws to remove the front of the washer. Be careful if you do not have specific clamp pliers as the clamp could fly off. Once the front of the washer has been removed, take a quick look for water damage or any obvious signs of where the leak is coming from. If it is not obvious, run water to test.

$ 9.62
In Stock
Part #WP285655

Replacing your Kenmore Washer Hose Clamp

Replacing your Hose Clamp

Fixes Symptom 2% of time

This part is also known as a float switch. This float switch, when activated, stops the flow of water into the dishwasher.

$ 47.40
In Stock
Part #WPW10195039

Replacing your Whirlpool Dishwasher Overfill Control Switch

Replacing your Dishwasher Overfill Control Switch

Customer Repair Stories

DISHWASHER WOULD NOT FILL WITH WATER
2 of 5 people found this instruction helpful.
  • TRACEY ANN from BRICK, NJ
  • Really Easy
  • Less than 15 mins
  • Pliers
Unscrewed bottom panel of the dishwasher and simply replaced the bad control switch with the new one.
Was this helpful?
Thank you for voting!
water fill overflows at times
7 of 12 people found this instruction helpful.
  • Dennis from AUBURNDALE, WI
  • Really Easy
  • 15 - 30 mins
thought it could be due to the overfill control switch,so ordered one and replaced one in the washer. However, it did not solve the problem. Having a repair company coming to look at the dishwasher. Tipped the washer on its back and switch was readily accessable. Only had to open plastic covering over the switch, disconnect the wires and install new switch and reconnect the wires.
Was this helpful?
Thank you for voting!

Fixes Symptom 2% of time

$ 66.77
In Stock
Part #W10445975

Replacing your Whirlpool Dishwasher Hose

Replacing your Dishwasher Hose

Customer Repair Stories

hose had a hole and leaked
0 of 2 people found this instruction helpful.
  • Christopher from Delaware City, DE
  • Easy
  • 15 - 30 mins
  • Nutdriver
I pulled the dishwasher out from the countertop rolled it to the side removed old clamps and hose installed new hose in kind used different hose clamps than provided turned up right pushed back in ran a cycle while looking underneath with a flashlight and saw no leaks and dishwasher has been back in use for a week now.Chris
Was this helpful?
Thank you for voting!
rat got under dishwasher and chewed water lines, grommet
10 of 11 people found this instruction helpful.
  • sharon from LAS VEGAS, NV
  • Easy
  • 1- 2 hours
  • Pliers, Screw drivers
saw big hole in first (main) hose - got replacement at local hardware thinking it was the only problem - it wasn't - turned on the water and noticed another leak so ordered hose from parts select - fast delivery - installed 2nd hose but still a leak so ordered grommet from parts select - again prompt delivery - installed it and voila no m ore leak -
also checked for rat entry points, plugged those and put down bait - bait wasn't being taken under dishwasher even tho rat reappeared so put a snap trap in back - no luck so far - teachable moment: might have been cheaper to just get another dishwasher as parts are expensive and its difficult to tell extent of damage - luckily i only needed 3 parts = $150
Was this helpful?
Thank you for voting!

Fixes Symptom 2% of time

Also known as a washer.

$ 42.12
In Stock
Part #WP8531743

Replacing your KitchenAid Dishwasher Gasket
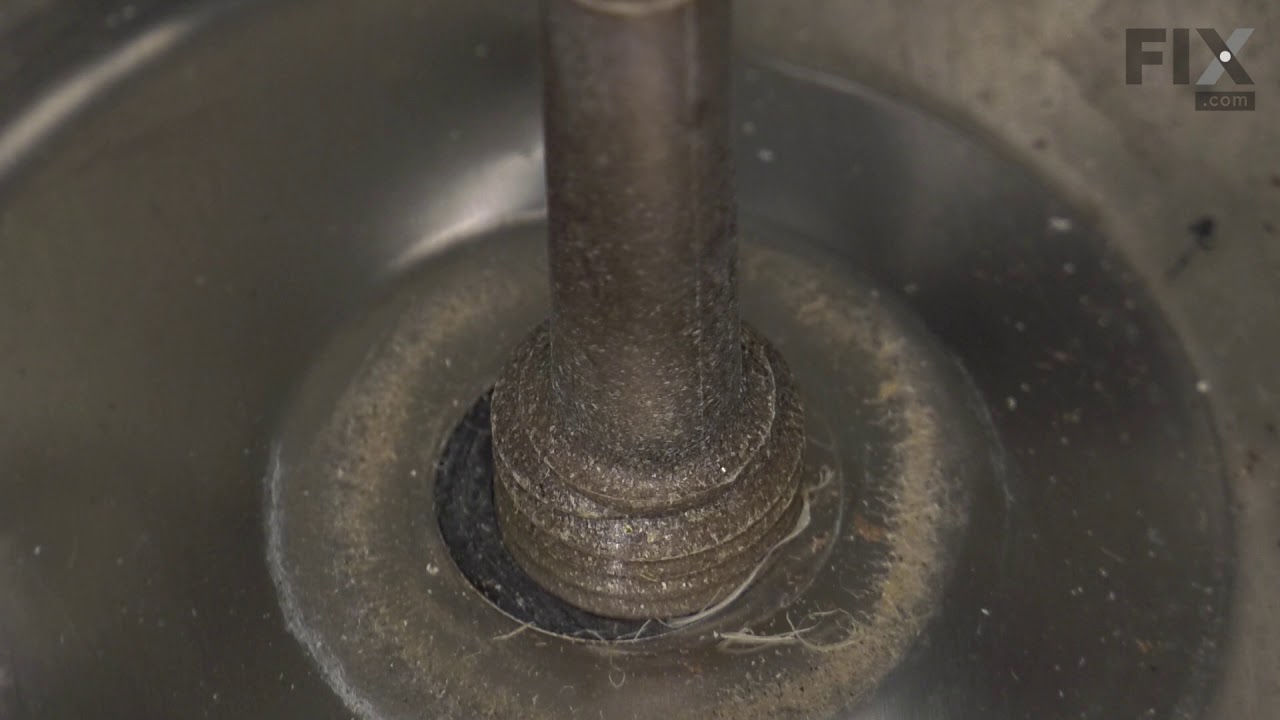
Replacing your Dishwasher Gasket

Fixes Symptom 2% of time

This is connected to the water valve, is located on the side of your tub and allows water to enter your dishwasher. ***Note: This part does not include the inlet gasket - must order separately.

$ 70.95
In Stock
Part #WPW10195536
17 Float

Fixes Symptom 1% of time

This dishwasher water level float helps monitor and regulate the amount of water inside the tub to prevent overfilling during operation. Made from durable black plastic, the float rises with the water level and activates a safety switch to stop water flow once the correct level is reached, supporting proper wash performance and protecting the appliance from leaks or overflow. Replacing a worn or stuck float can resolve issues such as overfilling, underfilling, or cycle interruptions. Installation typically involves removing the lower rack and securing the float in its designated opening, ensuring it moves freely before reassembling the dishwasher.

$ 52.67
In Stock
Part #WPW10195036
18 CLAMP

Fixes Symptom 1% of time

$ 15.00
In Stock
Part #W10789434

Fixes Symptom 1% of time

Water inlet gasket WP8531323 is a water inlet gasket for dishwashers. It ensures a watertight seal at the point where water enters the tub, preventing leaks and maintaining efficient water flow during the wash cycle.

$ 26.82
In Stock
Part #WP8531323

Fixes Symptom 1% of time

Sold individually.

$ 7.47
In Stock
Part #WP9741232
21 HOUSING

Fixes Symptom 1% of time

$ 27.36
In Stock
Part #W10873429

Fixes Symptom 1% of time

This is a flexible drain hose that is 12 feet long.

$ 28.42
In Stock
Part #3385556

Replacing your Whirlpool Dishwasher Drain Hose
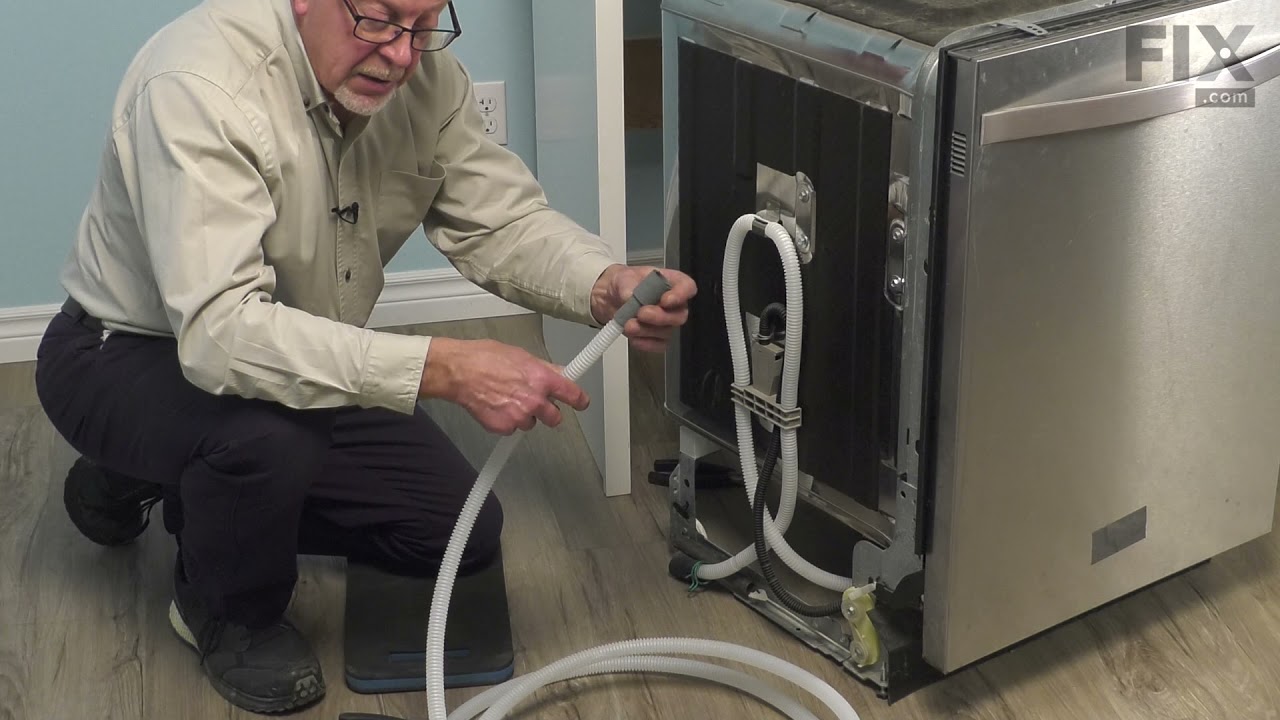
Replacing your Drain Hose

Customer Repair Stories

Installing a new dishwasher in a remodeled Kitchen
  • Maxie from Bridge City, TX
  • Really Easy
  • 30 - 60 mins
  • Pliers, Screw drivers, Wrench set
I remodeled my kitchen with new cabinets. In order to better utilize cabinet space, I located the dishwasher away from the sink, which means that I had to have a longer drain hose. The store I purchased the dishwasher from didn't have a longer hose, so I went online and found it on this website. Thanks for the quick shipment. I ordered it using standard delivery and received it in less than three days. I have book marked this website for future use.
Was this helpful?
Thank you for voting!
23 Cover

Fixes Symptom 1% of time

This genuine Whirlpool cover is a key component of your dishwasher, compatible with several models under the Whirlpool, KitchenAid, Maytag, Jenn-Air, Amana, Inglis, and Magic Chef lineups. It serves as a sump cover, attached to the tub bottom, channeling and collecting water directly into the pump to ensure optimal functioning. For your safety, we recommend unplugging the dishwasher or switching off the house circuit breaker before installing this piece. A pair of work gloves is also advised to guard your hands during installation. Be certain of the part number's compatibility with your particular model before purchasing. Its design may vary in size and shape so a precise fit is essential for appropriate functioning.

$ 26.82
In Stock
Part #WPW10455271

Fixes Symptom less than 1% of time

This is a door latch for various dishwashers. Door latches are designed to communicate with the control board of the dishwasher when the door is closed and latched shut. If your dishwasher is not latching shut properly, or if your dishwasher will not start when the door is shut, then this latch is likely broken or bad. To replace this door latch, you will need a screwdriver or drill, and a set of pliers. This latch is sold individually, and does not come with any securing screws or other parts.

$ 28.42
In Stock
Part #WPW10653840

Replacing your Whirlpool Dishwasher Door Latch - Black
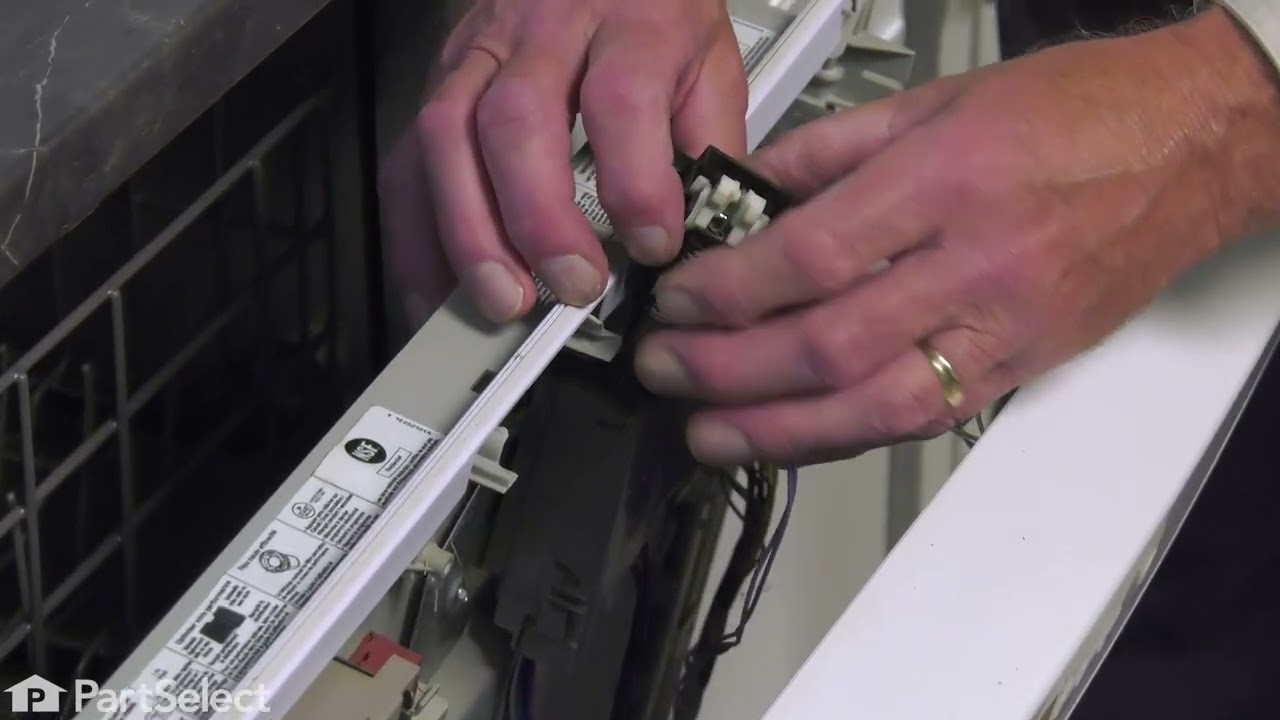
Replacing your Door Latch - Black

Customer Repair Stories

Door latch wouldn't close
5 of 6 people found this instruction helpful.
  • Colin from Goffstown, NH
  • Easy
  • 30 - 60 mins
  • Screw drivers
Turned off power to the dishwasher. Removed the front panel via the screws on the inner wall of the door. Lifted and pulled out the front panel. Disconnected cable connections to fully remove the front panel. Pressed down on the latches to the left and right side of the door latch. Pulled out the door latch. Put in new door latch until it clicked into place. Reattached cable connections. Put the front panel back on with the screws. Turned back on power to the dishwasher.
Was this helpful?
Thank you for voting!
Door would not latch shut
7 of 7 people found this instruction helpful.
  • RONALD from PRESCOTT, AZ
  • Really Easy
  • 30 - 60 mins
Following a utube video made it easy. Removed the outer cover of the door to expose latch. Two screws remove the latch, pay attention to how it was positioned and put the new one on and then replace the panel. But first turn off the electricity to the unit at the fuse box.
Was this helpful?
Thank you for voting!

Fixes Symptom less than 1% of time

Introducing the Whirlpool Dishwasher Door Brace, a genuine Whirlpool part designed to notably enhance the performance of your dishwasher. This durable brace, specially engineered to replace the flat panel vapor barrier, has been crafted with a rod to keep the hinges straight, ensuring better alignment and longevity of your dishwasher door. This component assists in reinforcing the rear of your dishwasher tub, adding to the overall structural integrity. Designed for easy installation, you'll want to disconnect power and shut off the water supply before beginning to ensure a safe process. It's recommended to verify the correct part for your enterprise model before acquisition. Turn to Whirlpool's trusted reliability for this exceptional dishwasher door brace to keep your unit running smoothly.

$ 27.36
In Stock
Part #W10850371

Fixes Symptom less than 1% of time

A Bit Difficult 

30 - 60 mins 

This part is a door balance link kit, also sometimes known as door cable or door spring cable kit, that helps support the door as it opens and closes by connecting to the dishwasher door hinges. The kit includes two door balance links and two door balance mounts with wheels, which will replace both the left and right sides. The only tool needed is a 5/16 nut driver. Before removing the existing kit, take note of how the door balance link kit is assembled for a smooth replacement process. It is recommended to check the door springs in case they need to be replaced as well.

$ 29.47
In Stock
Part #8194001

Replacing your KitchenAid Dishwasher Door Balance Link Kit
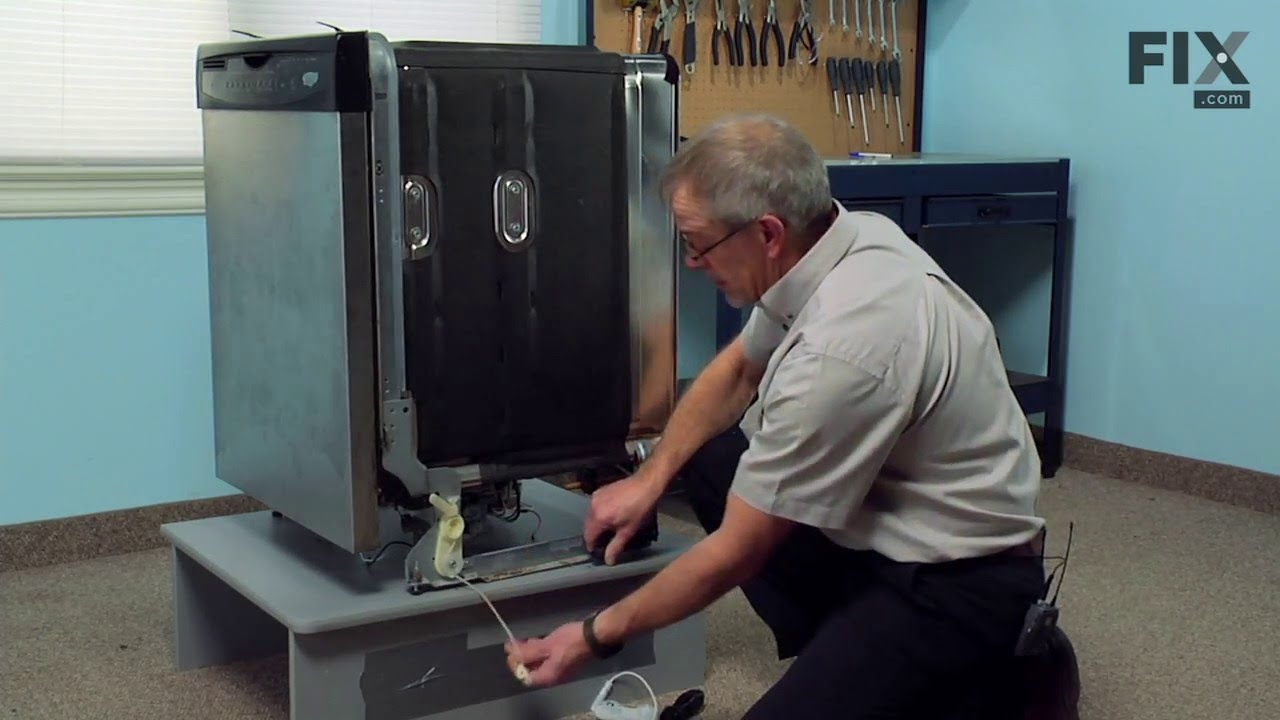
Replacing your Door Balance Link Kit

Customer Repair Stories

Door spring link broken
162 of 204 people found this instruction helpful.
  • Sean from Ramona, CA
  • Easy
  • 15 - 30 mins
  • Screw drivers, Wrench (Adjustable)
1. Open the dishwasher and remove the two plastic grommets about halfway down on either side of the opening. Then remove the two screws under the grommets.

2. Remove the kick plate under the door. May have to lower unit by turning the feet using the adjustable wrench.

3. Make sure you have enough slack in the water i nput line and electrical wiring that you can pull the dishwasher out about 12 inches or more.

4. There is a spring and nylon rope link on both sides of the unit. Probably just one link is broken, but the replacement comes with two, so you can replace both or save one as a spare. Look at the good side and it should be pretty self explanatory how it attaches. I found it easiest to first thread the link around the lower pulley, then attach the link to the spring, then spring to the rear support, then the link to the door.

5. Reverse (2 to 1) to reinstall the dishwasher.
Was this helpful?
Thank you for voting!
Replaced Hinge Link
636 of 690 people found this instruction helpful.
  • Scott from Fort Lauderdale, FL
  • Easy
  • Less than 15 mins
  • Screw drivers
Pulled dishwasher from under counter, attached link to spring, hooked spring back into frame/chassis, threaded link through pulleys, attached other end of link onto door, reinstalled dishwasher under counter. All's well. Note-I purchased an extra link anticipating that the other one will fail. They're cheap enough.
Was this helpful?
Thank you for voting!
27 SHIELD

Fixes Symptom less than 1% of time

Shield

$ 35.80
In Stock
Part #W10831329

Fixes Symptom less than 1% of time

$ 21.45
In Stock
Part #WPW10476221

Replacing your Kenmore Dishwasher Diffuser

Replacing your Diffuser

Fixes Symptom less than 1% of time

If your dishwasher isn’t draining properly or leaving water behind, this drain pump motor assembly might be the fix you need. It helps clear water from the tub during the drain cycle, keeping your appliance running smoothly and your dishes clean. This genuine replacement part is made to fit a variety of models from Whirlpool and related brands like Kenmore, KitchenAid, and Amana, making installation straightforward and dependable.

$ 65.73
In Stock
Part #W10876537

Customer Repair Stories

DISHWASHER WOULDN'T DRAIN
9 of 9 people found this instruction helpful.
  • James from SACRAMENTO, CA
  • Really Easy
  • 15 - 30 mins
  • Screw drivers, Wrench (Adjustable)
1. Shut off water valve
2. disconnect water hose(wrench-adjustable)
3. Disconnect drain hose (screwdriver)
4. Pull dishwasher out from under counter
5. Put down towel to soak up residual water that drains out of dishwasher
6. lay dishwasher face down; electronics is located underneath dishwasher.
7. locate f aulty drain pump
8. remove electrical connector from drain pump by first pressing on connector retention tab with screwdriver while sliding connector loose.
9. twist drain pump body while using screw driver to depress drain pump retention tab.
10. remove old drain pump body and insert and twist new drain pump body into old location (use screw driver to assist retention tab engagement)
11. attach electrical connector.
12. Return dishwasher to upright position, slide it under the counter (with its cotton cover); reconnect hoses AND turn water supply back on (make sure you remember to turn the water supply back on)
Was this helpful?
Thank you for voting!
Dish washer would not drain properly
14 of 17 people found this instruction helpful.
  • Kelli from BURLINGTON, MA
  • Very Easy
  • 15 - 30 mins
Shut off breaker. Took off front skirt of dishwasher .
Used pliers to loosen the pressure clamp on drain pump , have towel handy as there will be some water. Turn pump to left as you push in on the clip on side of drain pump. It will come out. Remove wire plug from old pump and plug into new pump than insert new pump and turn an d push in till it clicks. Use pliers to pinch hose clamp and push hose onto pump release hose clamp. Turn breaker on. Run a cycle and make sure all is tight before putting skirt on front.
Was this helpful?
Thank you for voting!
30 Lever

Fixes Symptom less than 1% of time

$ 9.62
In Stock
Part #WPW10195037

Replacing your Whirlpool Dishwasher Lever
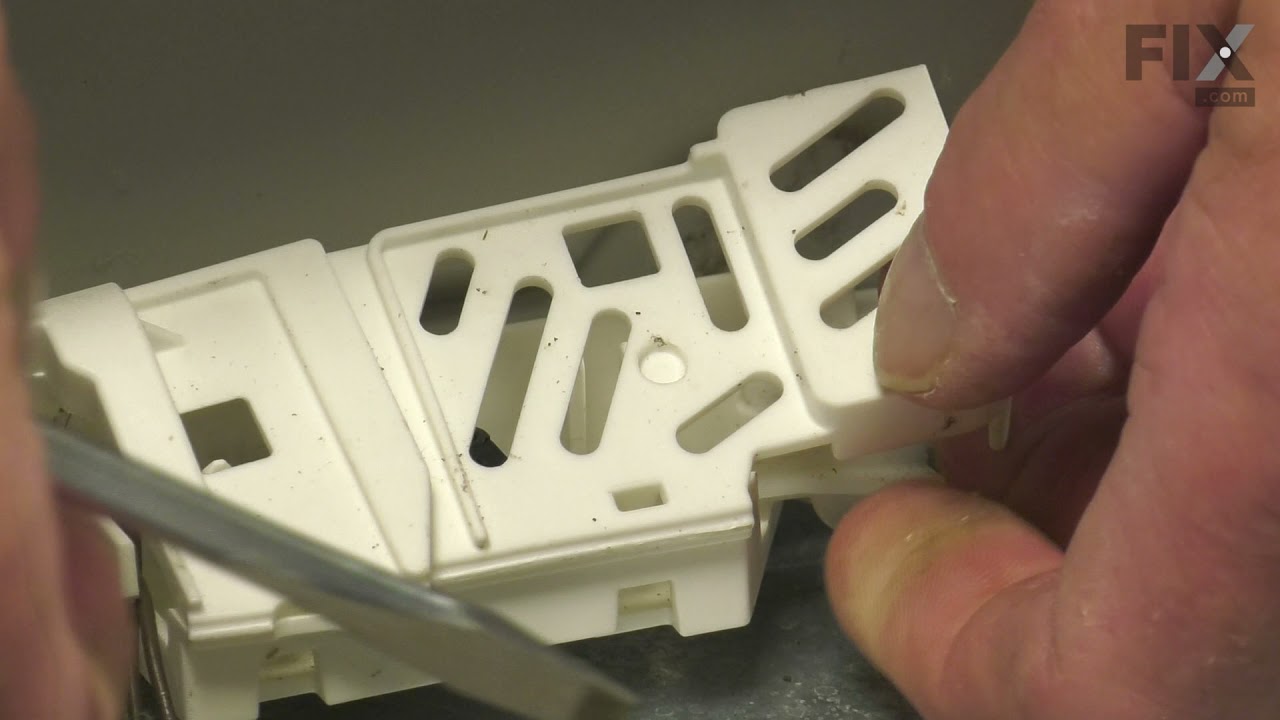
Replacing your Lever

Customer Repair Stories

Dishwasher was not filling up with water.
7 of 11 people found this instruction helpful.
  • Jolene from CINCINNATI, OH
  • A Bit Difficult
  • 30 - 60 mins
  • Screw drivers
First I got online to troubleshoot issue to save mysel from a service call. One of the first UTube videos, a young man said usually the main issue was the lever. He pushed down on the floater. If it didn't click, than the lever below needed to be replaced. Most important to turn off the circuit breaker before beginning the repair. I got o n whirlpool.com, Part Select, ordered the lever, which was under $10. And once delivered, was able to switch out the old lever with the new replacement. Part Quote video took me through the process step by step. The lever package was marked that usually it was only 2% of the time that replacing the lever fixed the issue. Of course, I was thrilled, my dishwasher was up and running again. Thank you.
Was this helpful?
Thank you for voting!

Fixes Symptom less than 1% of time

★★★★★
★★★★★
(2)

Easy 

Less than 15 mins 

This OEM gray Dishwasher Lower Dishrack Wheel Assembly is a plastic kit that allows the rack to slide in and out of the dishwasher easily. If it breaks or becomes damaged. sliding will feel difficult. This can happen due to normal wear and tear, and the part should be replaced if this occurs. Check your model number and user manual to make sure this part is correct. It attaches directly to the dishrack. To repair, open the dishwasher door and pull out the lower dishrack. Next, push the tab from both sides and it should pop out. To install the new wheel assembly, place it on the rack and make sure the caps overlap the wire from the inside before you clip it in place by pushing the wheel. It measures roughly 3x6 inches.

$ 33.95
In Stock
Part #W10195416

Replacing your KitchenAid Dishwasher Lower Dishrack Wheel
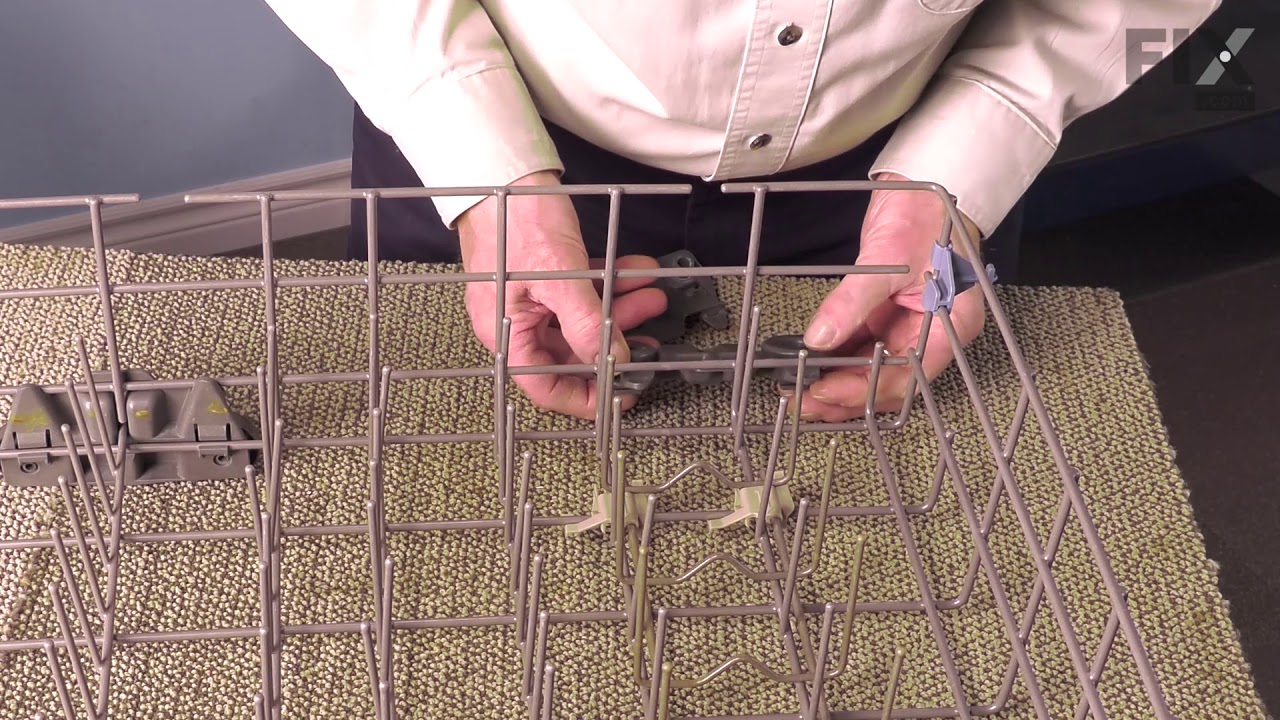
Replacing your Lower Dishrack Wheel

Customer Repair Stories

Wheel on lower shelf broke off
31 of 37 people found this instruction helpful.
  • Dennis from OAKWOOD, IL
  • Very Easy
  • Less than 15 mins
Simply snap the old one off and snap the new one on. Simple as that less than 15 seconds.
Was this helpful?
Thank you for voting!
Broken wheel unit on the bottom dish rack
100 of 115 people found this instruction helpful.
  • Thomas from WEST OLIVE, MI
  • Very Easy
  • Less than 15 mins
All you do is pop out the old wheel unit at two (2) points on the plastic wheel housing and pop in the new one. Easy fix. Less than a 5 minute fix.
Was this helpful?
Thank you for voting!

Fixes Symptom less than 1% of time

This OEM Dishwasher Upper Rack Adjuster is a grayish-black, plastic part which will require a screwdriver to install. It fits onto the dishwasher rack and connects it to the track allowing it to slide in and out. If broken then the rack will no longer slide properly, and the part must be replaced. The installation has been rated as "easy" by customers. Before beginning any repair, you should unplug the dishwasher and wear gloves to protect your hands. Check your model number and user manual to see if this part is right for you! Your dishwasher should have a left and right upper rack adjuster, and both are the same part. These parts are sold individually, so if you are looking to replace both, you will need to order two parts.

$ 33.69
In Stock
Part #WPW10546503

Customer Repair Stories

One side had broken
12 of 13 people found this instruction helpful.
  • Arthur from GLENSIDE, PA
  • Easy
  • 30 - 60 mins
  • Screw drivers
This was tricky, not so much the difficulty of the repair so much as finding the right instructions. There weren’t any on your website. YouTube videos were all over the place in terms of specific set ups. Eventually I found the right one. This would have been very easy and would have taken less than 15 minutes if I had the right instructi ons from the start. Most of my time was taken with searching for instructions.
Was this helpful?
Thank you for voting!
A small plastic knob, that holds the top rack of the dishwasher to the slide rail, broke.
14 of 18 people found this instruction helpful.
  • Lynn from DUVALL, WA
  • Easy
  • 30 - 60 mins
  • Screw drivers
My husband called Part Select and described the problem. After we sent a couple of photos to the technician, she determined the part that we needed...a top rack assembly unit...and it arrived within a few days.
I watched the video that Part Select provided and it made the job so much easier than if the new part had been sent with a b ooklet of diagrams and written instructions. The video showed exactly how to dismantle the old part and then install the new part. It was also helpful to compare the part I was working with to the same part on the other side of the rack so that I knew for sure that I had it positioned correctly.
The part and shipping cost about $70. It would have cost more than 3 times as much if I had to call a repairman.
Was this helpful?
Thank you for voting!

Fixes Symptom less than 1% of time

This dishwasher pump and motor assembly is compatible with dishwashers. It is supplied directly by the original manufacturer to ensure that it fits perfectly with your model. The pump and motor are responsible for moving water throughout the dishwasher during the wash cycle. The pump draws water from the tub and pumps it through various channels, such as the detergent dispenser, spray arms, and drain hose. The motor provides the power necessary to drive the circulation pump, causing the pump to rotate and circulate water. If the assembly is faulty, you will notice difficulties starting or filling the dishwasher, poor cleaning performance, incomplete cycles, and water leaks.

$ 157.45
In Stock
Part #W11665769

Fixes Symptom less than 1% of time

The heating element is not designed to heat the water that enters it, but is designed to maintain the heat of the water that enters the dishwasher. It is located on the bottom of the dishwasher.

$ 79.80
In Stock
Part #W10703867

Replacing your KitchenAid Dishwasher Heating Element
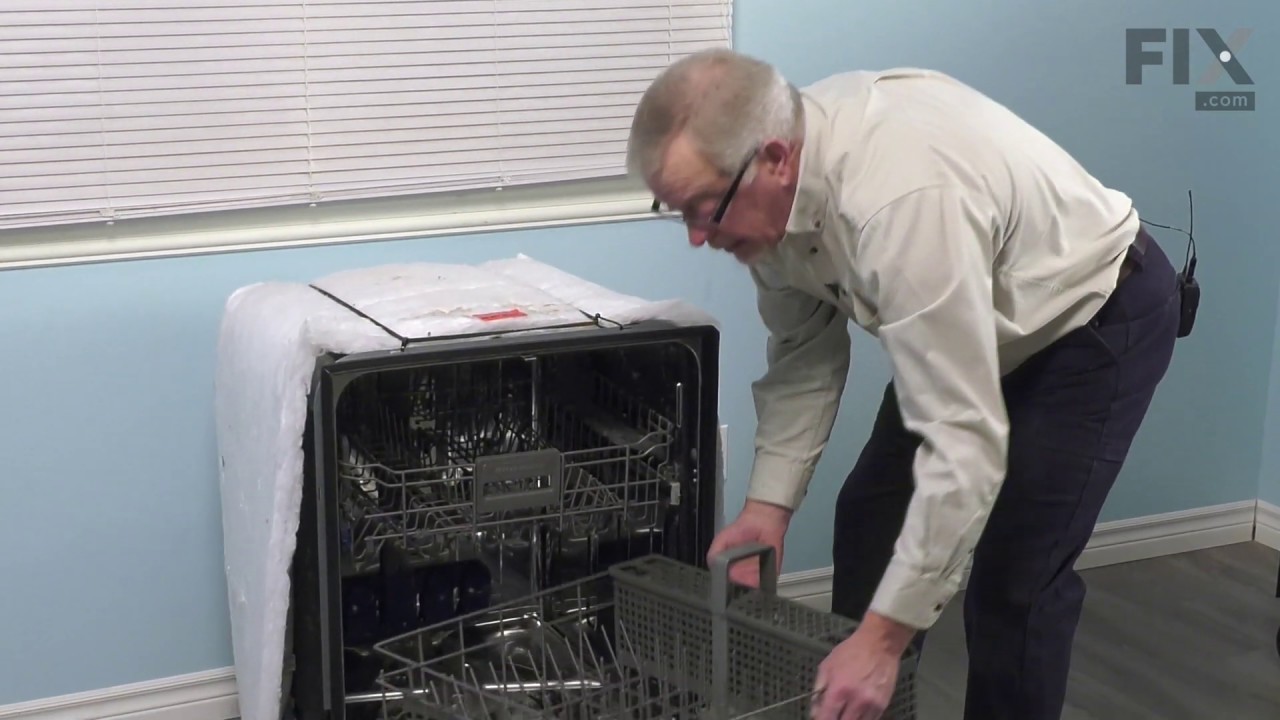
Replacing your Dishwasher Heating Element

Customer Repair Stories

Defective dishwasher heating element
3 of 4 people found this instruction helpful.
  • Matthew from CHATHAM, VA
  • Really Easy
  • 30 - 60 mins
  • Wrench set
Turned off water supply to the unit. Removed plastic cover at bottom front. I only had to disconnect the copper water line to slide the unit about 1/3 of the way out. I then was able to reach the wires, disconnect them and use a stubby box/open end wrench (5/8? don't remember for sure) to remove the plastic nuts. I then opened the door, removed the bottom basket and slipped the element right out. Installation of new part was reverse.
Was this helpful?
Thank you for voting!
No heating for washing or drying
11 of 12 people found this instruction helpful.
  • Dewey from UNIONTOWN, AL
  • Really Easy
  • 30 - 60 mins
  • Pliers
Was a cinch just watched the video whole procedure took an hr or so
Was this helpful?
Thank you for voting!

Fixes Symptom less than 1% of time

The mounting bracket is sold individually, without screws. This part secures the upper side of the dishwasher to the underside of the counter or cabinet to prevent the dishwasher from moving, shaking, or tilting forward. The bracket is made entirely of metal. It is recommended to check all brackets, if applicable, because they often wear at the same rate and both may need to be replaced. This is an OEM part that is sourced from the authentic manufacturer. Tools needed are a pair of needle nose pliers and a screwdriver.

$ 15.00
In Stock
Part #WP8269145

Replacing your Whirlpool Dishwasher Mounting Bracket
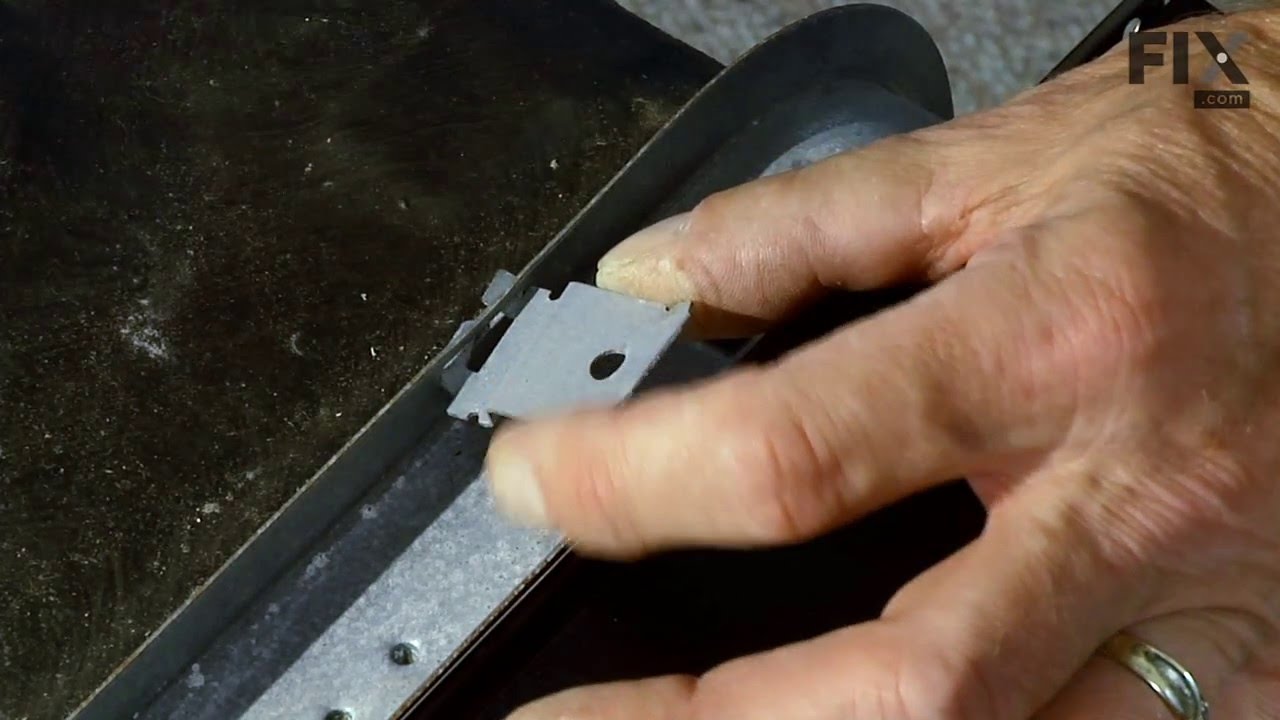
Replacing your Dishwasher Mounting Bracket

Customer Repair Stories

Broken Mounting bracket
8 of 14 people found this instruction helpful.
  • Roy from HIGGINSVILLE, MO
  • Really Easy
  • 15 - 30 mins
  • Screw drivers
Removed old part and replaced with new part
Was this helpful?
Thank you for voting!
Lost dishwasher brackets
78 of 118 people found this instruction helpful.
  • Judith from Essex, MA
  • Easy
  • 15 - 30 mins
  • Screw drivers
I called an experienced plumber, who balanced and installed my new dishwasher properly, using the brackets I ordered from Parts Select, after an INEXPERIENCED plumber had tossed the factory-provided mounting brackets out with the shipping carton. Relief!
Was this helpful?
Thank you for voting!
36 Tub Cap

Fixes Symptom less than 1% of time

The plastic button covers the sharp ends of screws along the edge of the dishwasher tub. Sold individually.

$ 13.92
In Stock
Part #W10795980

Fixes Symptom less than 1% of time

This dishwasher filter is a genuine OEM component designed to work with the water pump, preventing debris from entering and potentially damaging the pump system. Made with a gray plastic top and bottom, each approximately 5 inches in diameter, the filter plays a critical role in maintaining proper drainage and cleaning performance. Over time, the filter may become clogged or damaged, leading to poor cleaning results or drainage issues. Replacement is straightforward: turn the old filter counterclockwise to unlock and remove it, then screw in the new filter, ensuring it is securely seated. Regular inspection and replacement help maintain optimal dishwasher function.

$ 48.45
In Stock
Part #W10872845

Replacing your Whirlpool Dishwasher Filter
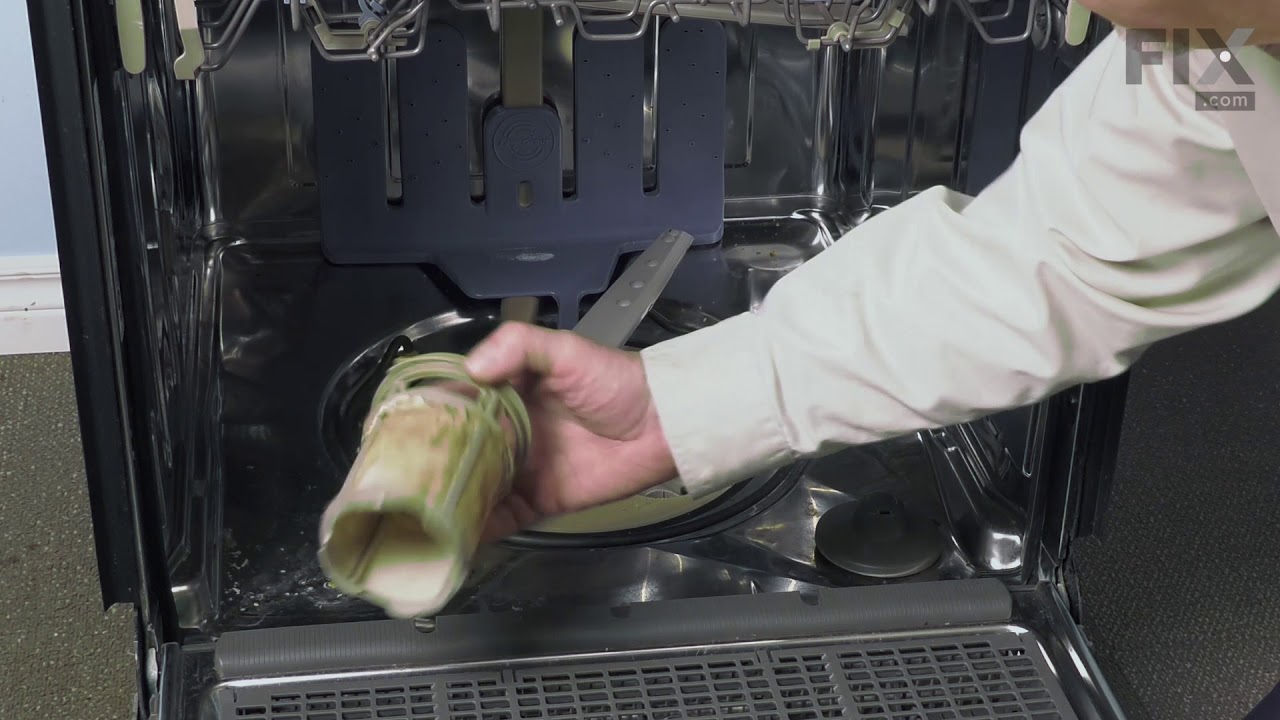
Replacing your Dishwasher Filter

Customer Repair Stories

New filter
6 of 8 people found this instruction helpful.
  • John from SAINT CHARLES, MO
  • Very Easy
  • Less than 15 mins
Ordering the part was very easy. It shipped fast and delivered over 3 days. It fit perfectly
Was this helpful?
Thank you for voting!
Dishwasher would not drain
8 of 11 people found this instruction helpful.
  • Edward F from CINCINNATI, OH
  • Really Easy
  • 30 - 60 mins
After bailing out the unit, filled filter hole with a moderate amount of Dawn dish washing detergent. Ran dishwasher twice to remove all Dawn from the unit. Had to bailout the water (and suds) from the washer both times. After the dishwasher finally drained I inserted the new filter..
Was this helpful?
Thank you for voting!

Fixes Symptom less than 1% of time

This is an upper spray arm for a dishwasher. While the appliance is in use, the spray arm rotates while water travels through it to distribute water evenly throughout the dishwasher tub. This ensures the dishes are efficiently and properly cleaned. It measures approximately 19 inches long and is grey in color.

$ 46.34
In Stock
Part #WPW10448645

Customer Repair Stories

The middle spray bar was broke off the rack,
1 of 2 people found this instruction helpful.
  • Sherry from INDIAN TRAIL, NC
  • Very Easy
  • Less than 15 mins
Took out the middle rack. Flipped it over to get a better angle
And popped it back on. Spun it to make sure it would spin. Put the rack back in. Works like a charm.
Was this helpful?
Thank you for voting!
New part does not spin like original part that I replaced
1 person found this instruction helpful.
  • Peter from GALENA, IL
  • Really Easy
  • 15 - 30 mins
It is easy to change out the part. It seems though the part does not freely spin like it should. Does not seem to be warped but does not free spin.
Maybe the new part does not match??
Was this helpful?
Thank you for voting!
39 Screen

Fixes Symptom less than 1% of time

This is a screen filter, designed to keep food particles, gunk, and debris from entering the pump of your dishwasher. If this filter is missing, damaged, or simply unusable, it will need to be replaced so you can effectively clean your dishes. Replacing this filter is simple, as you only need to twist and remove the lower filter, before you can carefully lift this filter out. This filter is an OEM part and is sold individually.

$ 27.36
In Stock
Part #WPW10463906

Replacing your Whirlpool Dishwasher Screen
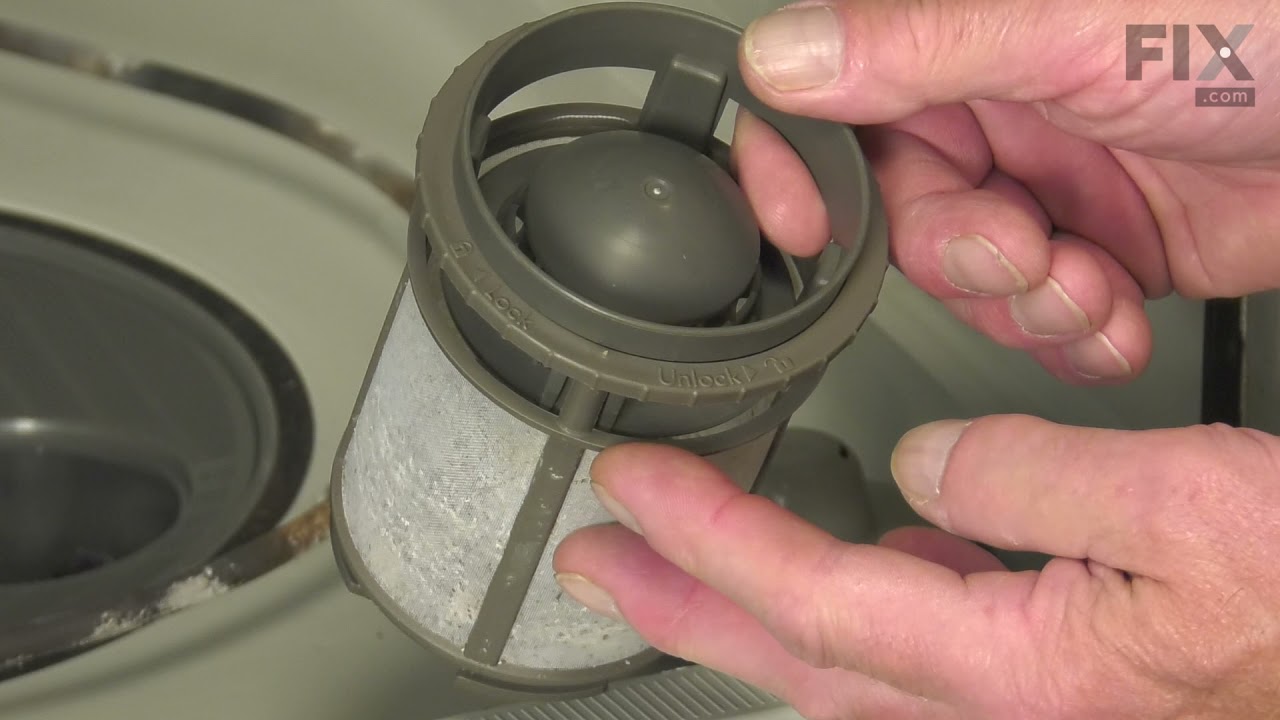
Replacing your Screen

Customer Repair Stories

The old filter was warped, allowing food into the sprayer system
3 of 3 people found this instruction helpful.
  • George from LYMAN, ME
  • Really Easy
  • Less than 15 mins
Replaced the strainer. This keeps the two sprayers clean/clear so they do not clog up. Dishes are cleaner now. Note : if your sprayers are clogged it is a long process to clear out the sprayers. Dishes will not be clean until your sprayers are all cleared.
Was this helpful?
Thank you for voting!

Fixes Symptom less than 1% of time

This dishwasher detergent dispenser is a genuine OEM replacement part designed for select models from Whirlpool, KitchenAid, Maytag, Amana, and other affiliated brands. Mounted on the inner door panel, it features separate, covered compartments for detergent and rinse aid, ensuring precise release during the wash cycle. The spring-loaded mechanism is engineered to dispense cleaning agents at optimal times, enhancing overall wash performance. Constructed from heat-resistant, high-grade materials, this dispenser offers long-term durability and reliability. It replaces older components such as W10620296 and W10620298. Compatibility should be verified using your dishwasher’s model number prior to installation.

$ 80.82
In Stock
Part #W10861000

Customer Repair Stories

Detergent dispenser latch broken
12 of 13 people found this instruction helpful.
  • Benjamin from KNOXVILLE, TN
  • Really Easy
  • 30 - 60 mins
  • Screw drivers
Replaced the detergent dispenser module by first unscrewing the front outer cover from the dishwasher and removing it, then by unplugging the old detergent dispenser, then by bending the metal latch clips outward to remove the old detergent dispenser, then by bending the metal latch clips inward before inserting the new detergent dispense r, plugging the new one into the wiring harness then re-securing the front outer cover of the dishwasher door.

This repair could be done in under 15 minutes but my dishwasher is so old that there was a lot of gunk built-up around the screws that hold the front cover on that I wanted to take my time cleaning up real nice.

The detergent dispenser is VITAL for getting dishes clean. Without it working properly, the detergent will be removed from the wash during the pre-wash/soak function and your dishes will not come out clean. I HIGHLY recommend doing this repair if your detergent dispenser is not working, and I had a great experience with www.PartSelect.com
Was this helpful?
Thank you for voting!
Detergent door was not locking closed
17 of 18 people found this instruction helpful.
  • David from Swanzey, NH
  • Really Easy
  • 15 - 30 mins
  • Nutdriver, Screw drivers
Super simple.
Remove all screws around the stainless metal shroud inside the door. DONT remove the hinge screws.
Torx bit required.

Unplug detergent dispenser and place outer door assembly aside. Dispenser has small clips holding it in, top, bottom and sides I believe. Push these in, dispenser falls out into dishwashe r.

Insert new unit, reverse all steps. Done.
Dont for get to reattach the wires!
Was this helpful?
Thank you for voting!

Fixes Symptom less than 1% of time

This genuine OEM water supply manifold or tube is specially designed for various models of dishwashers. It fits onto the upper rack of the dishwasher. The manifold distributes water from the main water supply line, through the spray arm, to various parts of the dishwasher where it is needed for cleaning dishes. When the dishwasher is turned on, the water inlet valve opens, allowing water to flow into the manifold. If the manifold is damaged, or no longer functioning properly it will be unable to distribute water to the spray arms leading to uneven cleaning, water leakage, difficulties completing cycles and reduced energy efficiency.

$ 76.17
In Stock
Part #WPW10340542

Replacing your KitchenAid Dishwasher Manifold

Replacing your Manifold

Customer Repair Stories

The Broan downdraft vent fan turned itself on at random times and ran continuously without input.
2 of 2 people found this instruction helpful.
  • William from WESTFORD, MA
  • Very Difficult
  • 30 - 60 mins
I could not effect a repair because the parts did not arrive on the promised date and after several calls I still do not know when they will arrive or even if they have been shipped.
Was this helpful?
Thank you for voting!
rubber flaps on the end of the manifold were worn - no pressure
13 of 13 people found this instruction helpful.
  • Paula from ANDOVER, MA
  • Easy
  • 30 - 60 mins
Ordered the "right" part according to the diagram. The part I received was about 1/4" too long so I couldn't use the whole manifold. Took the rubber end off and - fortunately- it fit the old manifold. Dishwasher works fine now. Wish I could have ordered just the rubber valves.
Was this helpful?
Thank you for voting!