


 My Orders




KDDT207BBL1 KitchenAid Range - Overview
Diagrams for KDDT207BBL1
See every part. Know exactly what you need.


Enter a part description. DIY Heroes keep it simple, eg. "belt" or "pump".
Search filter:
Clear Filter
Your search term must have 3 or more characters.

$19.54
In Stock
Light Bulb - 40W
Part #8009
This an authentic OEM 40-Watt replacement light bulb, used in a number of household appliances. It is specially designed to withstand extreme temperatures, which is why these replacement bulbs are most often used to light the inside of refrigerators and ranges. It features a standard socket base, which means you simply unscrew the burnt-o...Read moreut bulb and screw in the replacement. Depending on the appliance you may require a screwdriver or nut driver to access the light bulb. We recommend you wear work gloves while handling this replacement part. It is constructed of glass and metal and is sold individually. Depending on the appliance and location of the bulb within it, you may want to consider disconnecting power and using a flashlight for easier access to unscrewing and re-screwing in your bulb during this repair.
Read less

$9.62
In Stock
Knob Skirt - Black
Part #W10854242
The knob skirt or grommet on your range goes around the knob, forming a buffer between it and the range surface. If your knob skirt is damaged, you should consider replacing it. This product is approximately 2 inches in diameter. This part is made of black plastic, and is sold individually. Many of our customers have described this repair...Read more as very easy. To complete the repair, simply remove the burner knob and the old knob skirt, replace it with the new knob skirt and re-attach the burner knob. The product contains four locking tabs that should snap into place easily.
Read less

$9.62
Special Order
Range Knob Skirt
Part #WP3180081
This white knob skirt is located between the glass top and the control knobs of your stove top. The skirt has an outside diameter of approximately 2 inches. The most common reasons to replace the timer knob skirt is if it is cracked or damaged, or if the timer assembly will not advance. This repair is a relatively simple one, but be caref...Read moreul not to snap the plastic clips when you are inserting the new knob skirt into place. This genuine OEM replacement knob skirt is sold individually.
Read less

$7.47
In Stock

$7.47
In Stock
Screw
Part #WP488729
Metallic screw that is less than an inch long. Does not include the plastic washer.

$49.50
In Stock
2 Piece Broiler Pan
Part #4396923
This broiler pan and roasting rack set is designed to help reduce mess while cooking by allowing grease to drain away from food. Its durable porcelain-coated construction stands up to high temperatures and makes cleanup simple. With approximate dimensions of 16 3/4 inches long, 12 3/4 inches wide, and 1 3/4 inches high, it offers a convenient size for everyday broiling and roasting.

$36.85
In Stock
Control Knob
Part #WP3182567
This part is a black plastic knob that is most often used as a burner control knob. This knob allows you to turn the burner on your range or cooktop on, and it allows you to control the temperature of the burner. If your knob is broken, damaged, or lost, this is the replacement part you will need. This knob accepts a d-shaped shaft. To su...Read moreccessfully install this part, line the flat edge of the shaft up with the hole in the knob, then simply press the knob onto the shaft and into place. This knob is sold individually.
Read less

$66.77
In Stock
SOCKT-LITE
Part #W11594027
The light socket on your electric range connects the power source to the light bulb. If your oven light is malfunctioning, you may need to replace the light socket. The light socket is located in the back of your range, so in order to access it you will need to remove the back panel. Many of our customers have rated this repair as easy, a...Read morend it should take less than 15 minutes. Before you begin this repair, make sure to disconnect the power source from your range. This is an OEM part sourced directly from the manufacturer.
Read less

$27.36
Special Order

$9.62
In Stock

$76.20
In Stock
Range Inner Door Glass
Part #WP3169203
This inner oven door glass panel is a durable, heat-resistant replacement designed to restore the clarity and safety of your oven, wall oven, or oven/microwave combination unit. Crafted from high-hardness tempered glass, it features an anti-scratch surface that ensures long-lasting performance and easy maintenance. Ideal for replacing cra...Read morecked, broken, or discolored inner door glass, this panel helps maintain the appliance’s appearance while allowing a clear view of food during cooking. Installation is straightforward and typically involves removing the oven door, unscrewing the inner panel, and securing the new glass in place. Compatible with a wide range of models, this replacement part meets or exceeds original equipment standards for quality and reliability.
Read less

No Longer Available
Manuals & Care Guides for KDDT207BBL1
Click to downloadCommon Symptoms of the KDDT207BBL1
How this model fails, and the parts that fix it.
Will Not Start
Fixed by
these parts
these parts


Show All
Little to no heat when baking
Fixed by
these parts
these parts

Show All
Element will not heat
Fixed by
these parts
these parts
Show All
Oven not heating evenly
Fixed by
these parts
these parts
Show All
Gas igniter glows, but will not light
Fixed by
these parts
these parts
Show All
Oven is too hot
Fixed by
these parts
these parts
Show All
Watch our pros, then fix it yourself.

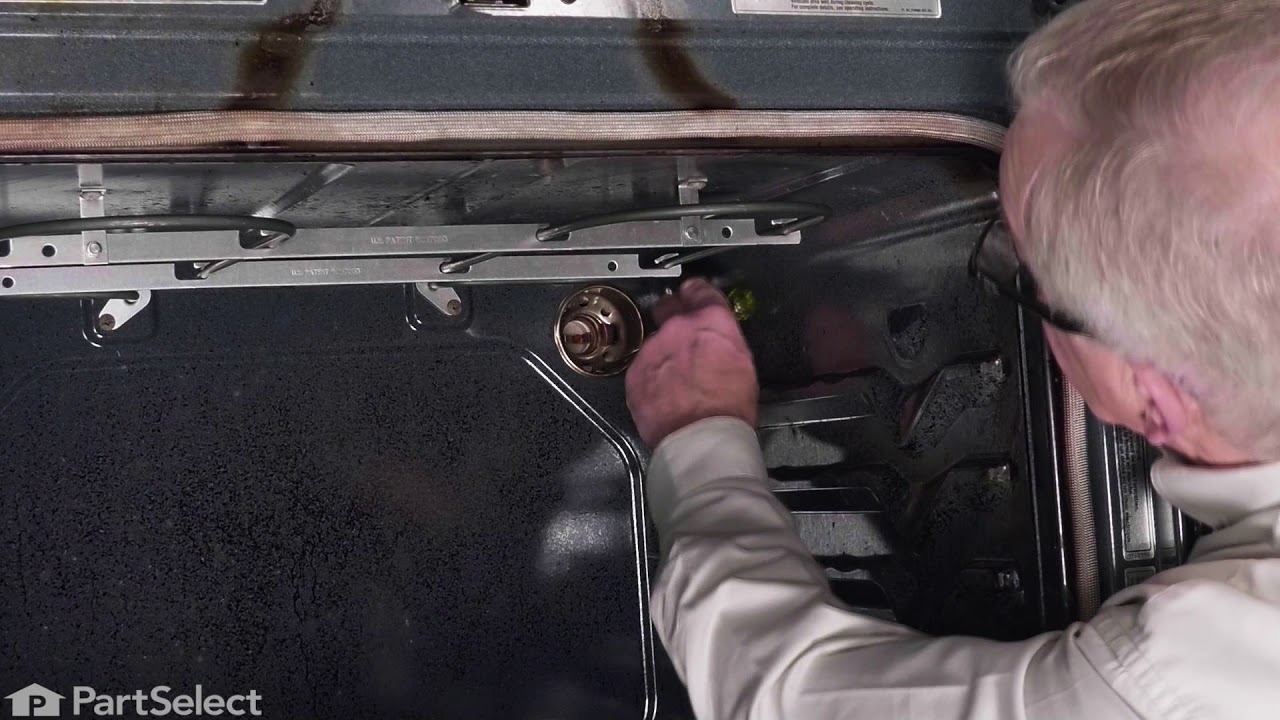



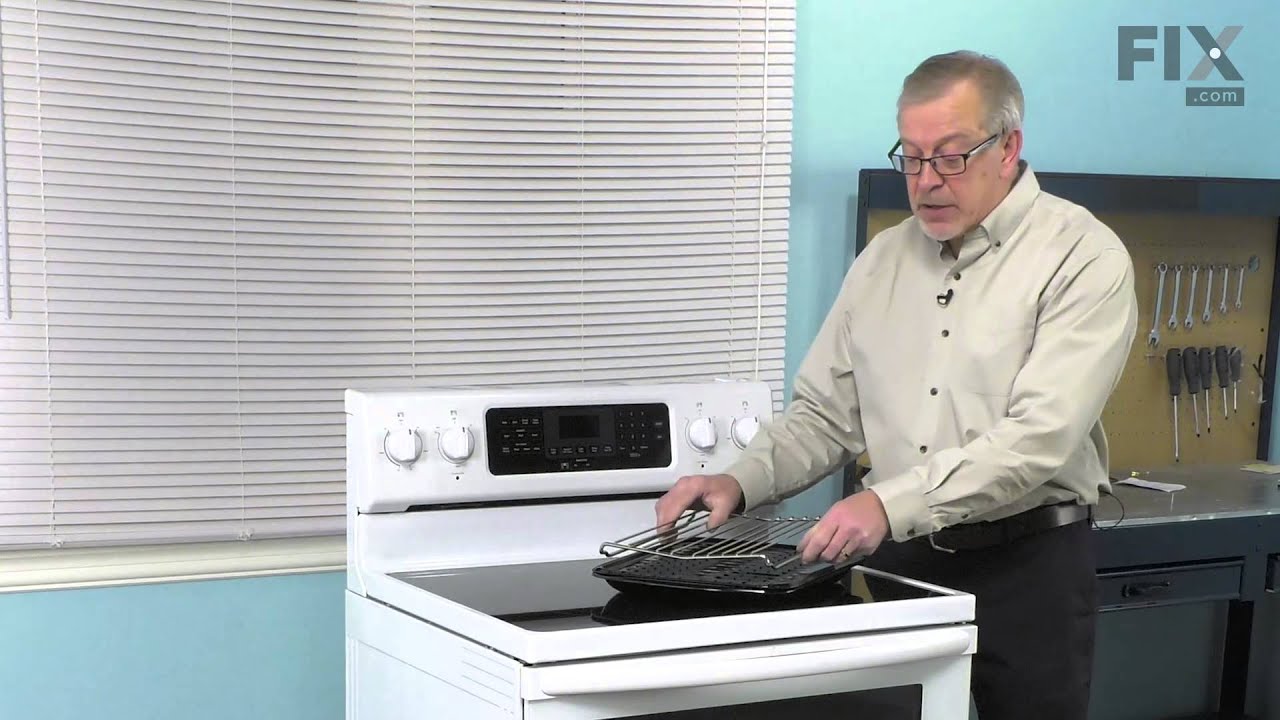
See how others fixed this model. Time, tools, difficulty, and steps that lead to victory!
View More
Search repair tips from other customers using simple keywords like "replace", "fit", "remove", "inspect". DIY doesn't mean you have to do it alone!
Search filter:
Clear Filter
Your search term must have 3 or more characters.
Broken oven door inner glass
29 of 33 people
found this instruction helpful.
I first removed the two screws (located on the inner side of the door about halfway from the top) which hold the hinges to the door. With the screws removed, I was able to remove the entire door by grasping the door on each side and puling up and sliding the door away from the hinges.
The rest involves deconstructing the door ... Read more by removing the screws and layers of metal liner layers and frames until you reach the inner glass.
You're likely to get anxious about remembering where all the screws go when reassembling, but if you lay out the screws in the same orientation they were in prior to disassembly, you should be fine.
The rest involves deconstructing the door ... Read more by removing the screws and layers of metal liner layers and frames until you reach the inner glass.
You're likely to get anxious about remembering where all the screws go when reassembling, but if you lay out the screws in the same orientation they were in prior to disassembly, you should be fine.
Read less
Other Parts Used:


Was this helpful?
Thank you for voting!