


 My Orders




KDDC24CVS01 KitchenAid Refrigerator - Overview
Diagrams for KDDC24CVS01
See every part. Know exactly what you need.


Enter a part description. DIY Heroes keep it simple, eg. "belt" or "pump".
Search filter:
Clear Filter
Your search term must have 3 or more characters.

$120.55
In Stock
Replacement Ice Maker
Part #4317943
This ice maker (Complete Icemaker Assembly, Whirlpool Icemaker Kit, Ice Maker Assembly, Refrigerator Ice Maker, Icemaker) receives water from the water inlet valve, freezes it, and dispenses it into the ice bucket until the bucket is full. Ice makers will need to be replaced every 3-10 years depending on the frequency of usage, and water ...Read morequality. You can perform a voltage test with a multimeter or perform an inlet valve test. If you’re unable to make ice, or notice leaks then it may be a sign your ice maker is damaged and could be in need of a replacement. This model measures approximately 11x5 inches, is constructed of plastic and metal, and comes in black/silver. This ice maker is a complete assembly; the whole assembly attaches to the wall of your freezer. ***NOTE: Ice maker does NOT come with the bail or shut off arm. You must order them separately if required. It does come complete with flat and round plug wiring harness, the mounting hardware, and the instructions. The harness can be reused. The ice maker will not fit refrigerators that have the ice auger mounted on the door.
Read less

$18.65
In Stock
Ice Maker Water Fill Tube Kit
Part #WP2196157
The icemaker water fill tube provides water to the icemaker so it can produce ice and dispense water. If you notice that your ice maker is not making or dispensing ice, or is leaking, you may need to replace the water fill tube. This water fill tube kit comes with a fill tube and a compression nut. This part is made of white plastic and i...Read mores approximately 10 inches in length. The ice maker water fill tube is in the rear of the fridge. To complete this repair, you will need a 1/4 inch nut driver and a utility knife. Before beginning this repair, you may want to disconnect the water and power supply to the refrigerator.
Read less

$44.23
In Stock
Refrigerator Water Filter Cap
Part #WP2186494B
This refrigerator water filter cap is a durable black plastic component designed to secure the water filter in place within compatible refrigerator models. It functions as both a protective cover and a locking mechanism, ensuring the filter remains properly seated for optimal performance. The cap installs easily without tools—simply turn ...Read moreit clockwise to lock and counterclockwise to remove. A properly fitted cap helps maintain water filtration efficiency and prevents leaks or dislodgement during operation. This replacement part is compatible with select models and offers a reliable solution for maintaining your refrigerator’s water system.
Read less

$47.40
In Stock
Filter Inlet Water Tube
Part #8201597
This refrigerator water filter inlet tube kit is a genuine OEM component designed to deliver water from the household supply to the refrigerator’s filtration system, supporting both the ice maker and water dispenser. The tubing begins with a 1/4-inch diameter and transitions to 5/16-inch, ensuring compatibility with various Whirlpool refr...Read moreigerator models. The kit includes the inlet tube, a PVC sleeve, an adhesive sheet, and an instruction guide for proper installation. Over time, the inlet tube may become clogged, cracked, or damaged, leading to reduced water flow, leaks, or malfunctioning ice production. Replacing this part restores efficient water delivery and helps maintain the appliance’s performance and reliability.
Read less

$74.08
In Stock
EveryDrop6 Refrigerator Water Filter
Part #EDR6D1
This part is accessed from the front of the appliance in the bottom left-hand corner in top-freezer refrigerators. It is white in color and measures 1-1/8 inches deep, 2-1/8 wide and 10-1/2 inches high. It filters contaminants such as lead, benzene, mercury, and more. It is recommended that the filter be changed every 6 months to maximize performance. This filter is sold individually.

$21.45
Special Order

$7.47
In Stock

$11.77
Special Order
Refrigerator Water Hose Clamp
Part #WP488878
This water hose clamp is used in your refrigerator to support the water tube. If the tubing or hose is working, but is loose inside the unit, the clamp, which is supposed to support it in place, could be broken or damaged. If this is a symptom of yours, you should replace the clamp. These tube clamps are sold individually, the screw is no...Read moret included. Make sure to unplug your refrigerator from the power source before installing this part. Refer to the manual provided by the manufacturer for further instructions.
Read less

$48.45
In Stock
Ice Pan
Part #W11625904
This ice pan is a replacement storage component designed to hold and collect produced ice. It is commonly replaced when cracked, warped, or damaged.

$114.47
In Stock
Water Filter Housing
Part #WP2225521
This refrigerator water filter housing securely holds the water filter and connects it to the internal water supply lines, ensuring proper filtration and leak-free operation. Manufactured to original equipment standards, it offers a precise fit and durable construction for select models. Replacement may be necessary if the original housin...Read moreg begins to leak or shows signs of wear. Installation involves unplugging the appliance, removing access panels, disconnecting water lines, and securing the new housing in place. It replaces previous part numbers and is designed for long-term reliability and ease of installation.
Read less

$193.85
On Order

$141.66
Special Order
Gasket
Part #WPW10204700
Introducing the authentic Whirlpool GASKET, a crucial component for the efficient operation of your refrigerator. This OEM part is compatible with various models of Whirlpool appliances, fortifying its versatility. Specially designed to create a tight seal around your freezer door, it plays a pivotal role in preventing the entry of warm a...Read moreir into the freezer compartment. For optimal application and smooth fitment, soaking the gasket in warm water or warming it gently with a low heat hair dryer is recommended. Please ensure to safely store any perishable food items during the repair process. Always remember to verify the precision of your part number with your appliance model prior to making a purchase.
Read less
Manuals & Care Guides for KDDC24CVS01
Click to downloadCommon Symptoms of the KDDC24CVS01
How this model fails, and the parts that fix it.
Ice maker not making ice
Fixed by
these parts
these parts


Show All
Leaking
Fixed by
these parts
these parts

Show All
Ice maker won’t dispense ice
Fixed by
these parts
these parts
Show All
Not dispensing water
Fixed by
these parts
these parts

Show All
Ice maker dispenses too little ice
Fixed by
these parts
these parts
Show All
Ice maker dispenses too much ice
Fixed by
these parts
these parts
Show All
Won’t start
Fixed by
these parts
these parts
Show All
Watch our pros, then fix it yourself.
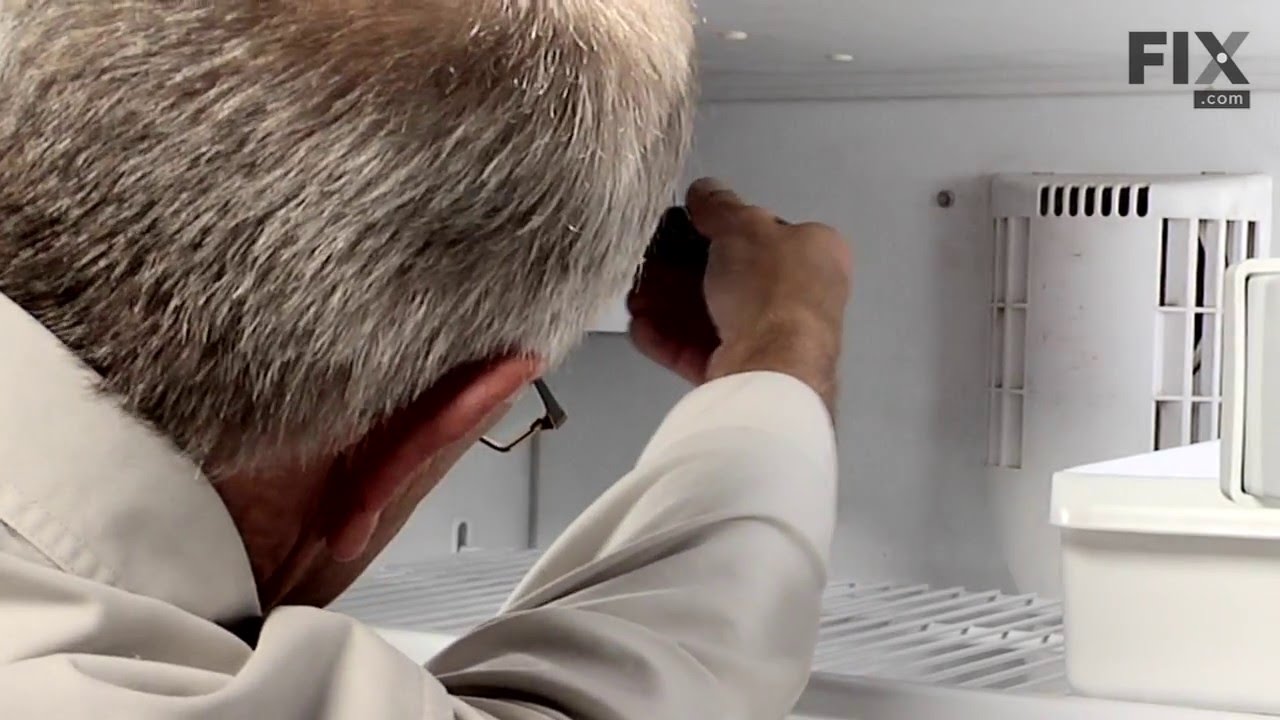
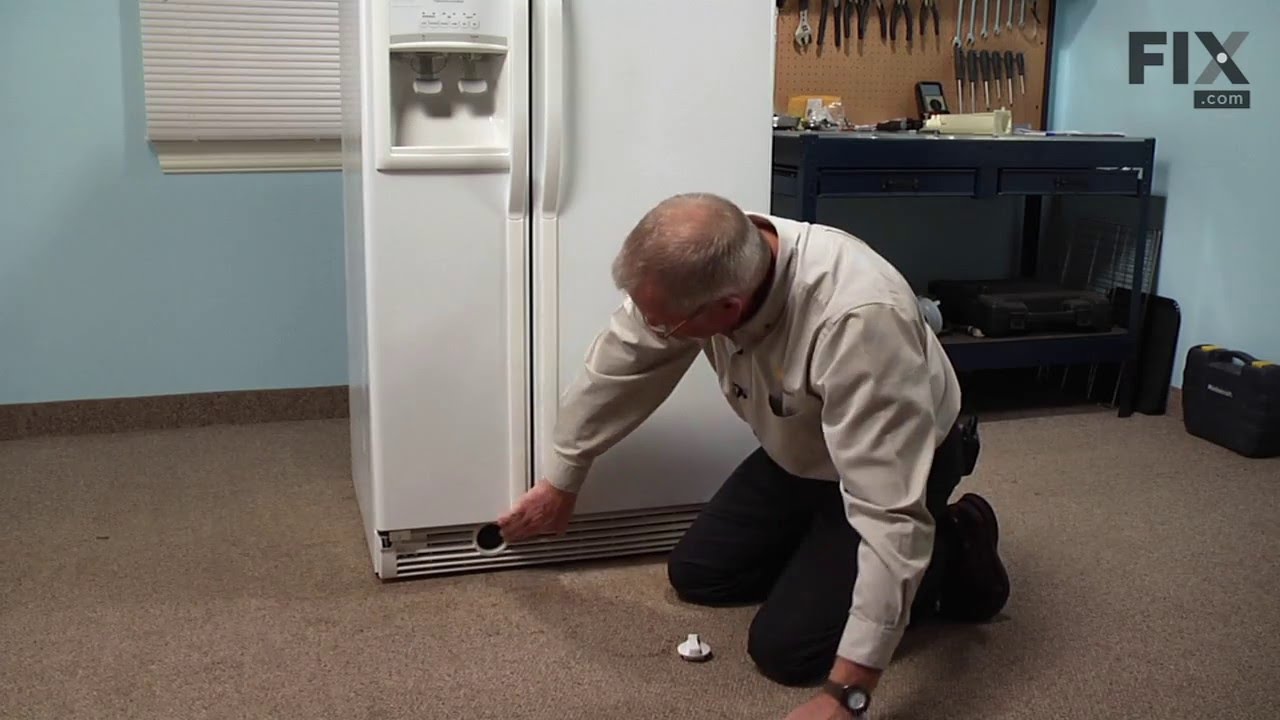
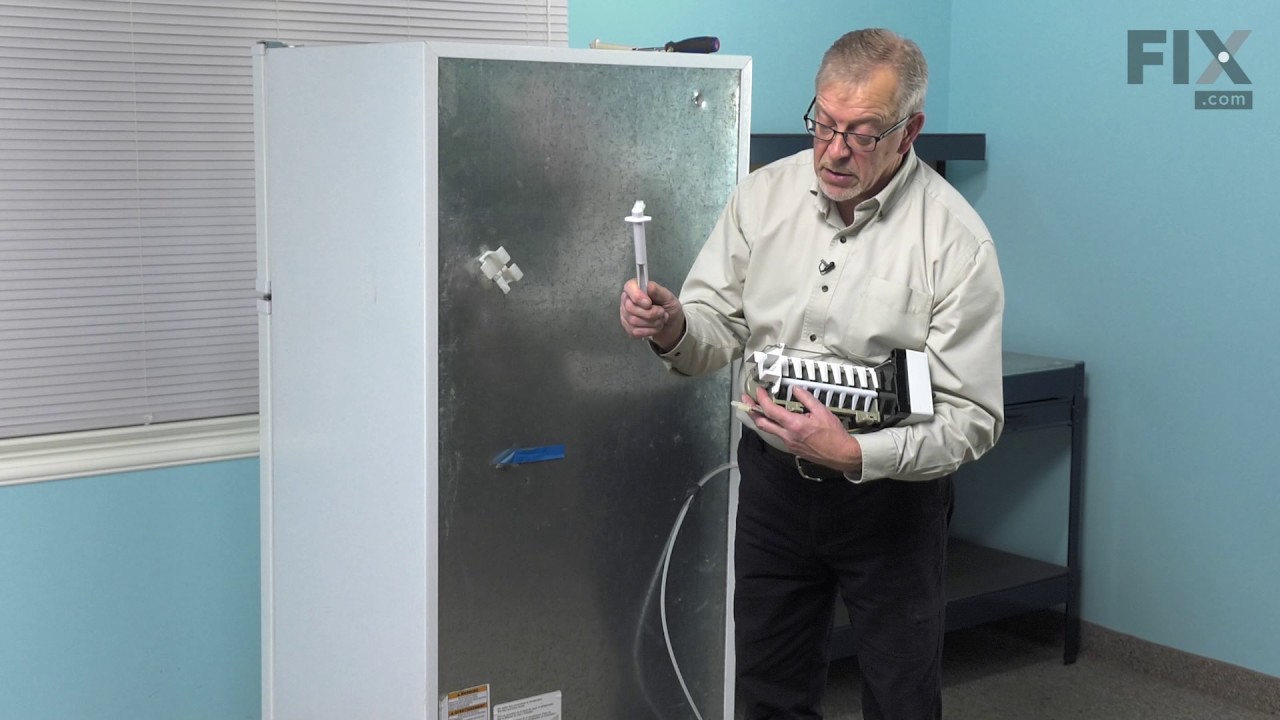
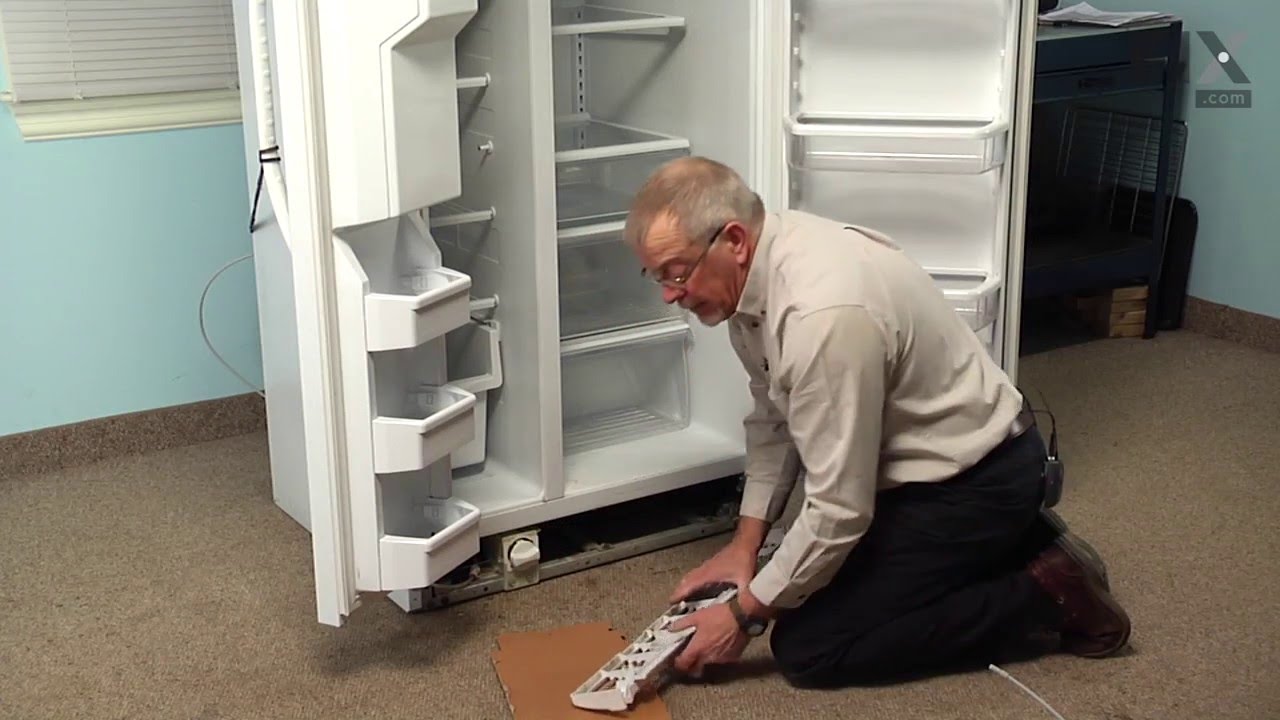
See how others fixed this model. Time, tools, difficulty, and steps that lead to victory!
View More