EasyApplianceParts is now PartSelect! We've merged our sites to provide a better shopping experience for you.   Full Details

Find Parts

Parts Departments

Top Model Types

Top Brands

Repair Help

Expert Repair Videos

Keep typing for more specific results...

KDC-18 KitchenAid Dishwasher - Overview

Diagrams for KDC-18

See every part. Know exactly what you need.

Enter a part description. DIY Heroes keep it simple, eg. "belt" or "pump".

Search filter:
Clear Filter
Your search term must have 3 or more characters.
Dishwasher Single Roller Wheel – Part Number: WP4162322
$7.47
In Stock
Dishwasher Single Lower Roller Axle – Part Number: WP4162321
No Longer Available
Dishwasher Single Lower Roller Axle
★★★★★
★★★★★
(11)
Part #WP4162321
This is the axle ONLY. Wheel is sold separately.
Rubber Water Delivery Tube – Part Number: WP4171544
No Longer Available
Rubber Water Delivery Tube
★★★★★
★★★★★
(20)
Part #WP4171544
This rubber tube carries water from the upper spray arm manifold to the receiver of a dishwasher. This thin walled tube can become brittle over time and crack. If it does, it will lead to poor cleaning quality of the dishes on the upper rack, and you will need to replace it.
Door Hinge Guide Bearing Sleeve – Part Number: WP4160355
No Longer Available
Door Hinge Guide Bearing Sleeve
Part #WP4160355
Sold individually.
Dishwasher Water Inlet Valve – Part Number: WP4171000
$103.38
Special Order
Dishwasher Water Inlet Valve
★★★★★
★★★★★
(3)
Part #WP4171000
This valve replaces old two coil valves. The attaching solenoid on the valve open and close according to the desired amount of water needed.
Dishwasher Door Spring – Part Number: WP4162629
$24.67
In Stock
BASKT-WARE – Part Number: W11175758
$56.33
Special Order
Float Stem Kit – Part Number: W10207863
$53.56
Special Order
Float Stem Kit
Part #W10207863
This kit comes with the float stem, gasket and switch.
Rack Roller Retainer Kit – Part Number: 4171611
No Longer Available
Rack Roller Retainer Kit
★★★★★
★★★★★
(1)
Part #4171611
This upper rack roller retainer kit consists of four complete sets. Each set contains five pieces. Each set screws into the wall of your dishwasher and together they make up the assembly that the dishrack and its rollers glide on.
Dishrack Kit (Blue) – Part Number: 9741982
No Longer Available
Dishrack Kit (Blue)
Part #9741982
This upper dishrack assembly kit comes complete with the upper spray arm, a water supply tube, and the rollers. This light blue dishrack kit is intended for use with dishwashers of the KD18 through to the KUD23 series.
Rack Rollers – Part Number: 4172010
No Longer Available
Rack Rollers
★★★★★
★★★★★
(2)
Part #4172010
This set of four dishrack rollers is intended for use with the upper rack of your Whirlpool/KitchenAid brand dishwasher. Each roller is white and an inch in diameter. These rollers are to be used with KD20 and later models of KitchenAid dishwashers.
Lower Dishrack Only – Part Number: WP4172117
No Longer Available
Lower Dishrack Only
★★★★★
★★★★★
(3)
Part #WP4172117
This lower dishrack does not include the rollers, axles or corner splash guards. The color of the rack is no longer blue, but light ice gray.

Common Symptoms of the KDC-18

How this model fails, and the parts that fix it.

Watch our pros, then fix it yourself.
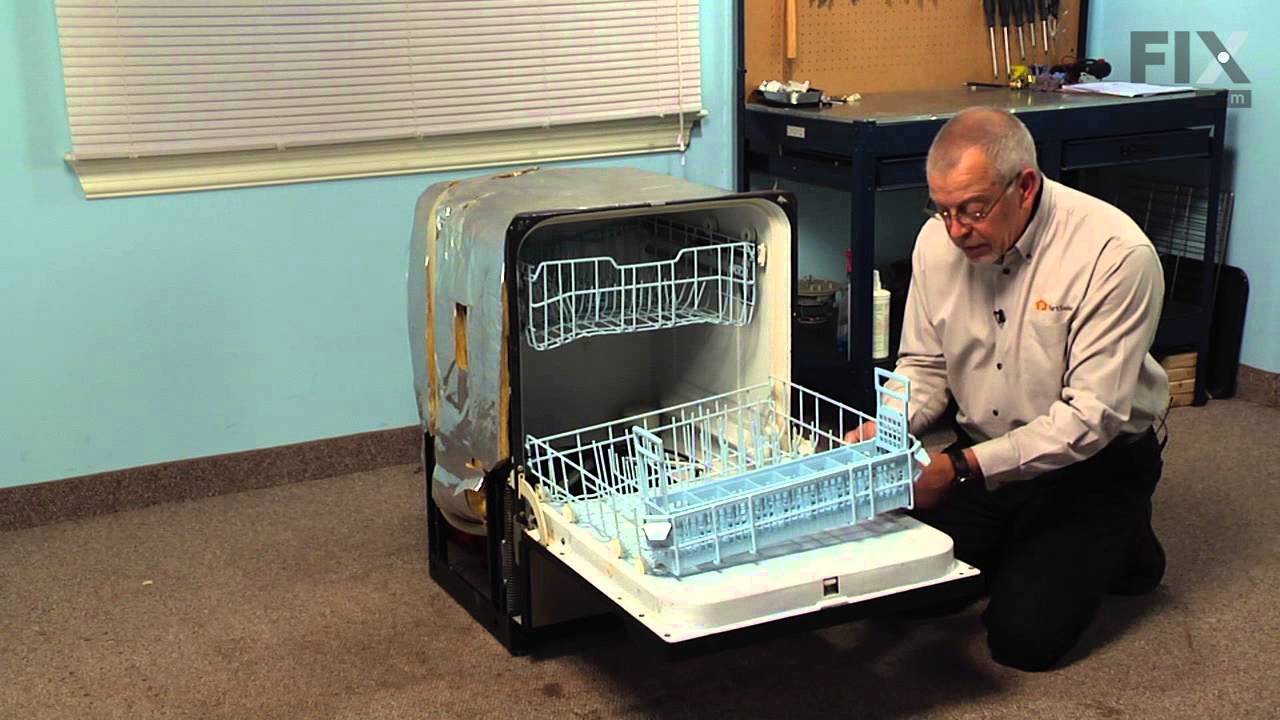
See how others fixed this model. Time, tools, difficulty, and steps that lead to victory! View More

Search repair tips from other customers using simple keywords like "replace", "fit", "remove", "inspect". DIY doesn't mean you have to do it alone!

Search filter:
Clear Filter
Your search term must have 3 or more characters.
Replace Broken Dishwasher Door Spring
16 of 20 people found this instruction helpful.
  • John S from Coventry, RI
  • Really Easy
  • Less than 15 mins
  • Screw drivers
Removed 4 philips head screws on bottom front plates (2) under the dishwasher door, removed old springs and inserted new springs. Then replaced the plates and screws. Replaced both springs even though only one broke. Springs should always be replaced in pairs - as the old good spring will not be as strong as the new one.
Was this helpful?
Thank you for voting!
Dishwasher often didn't fill with water.
11 of 14 people found this instruction helpful.
  • Lorrin from Longview, WA
  • Very Difficult
  • More than 2 hours
  • Nutdriver, Screw drivers
Remove power, either unplug the unit or locate and turn off the circuit breaker. There is power under the dishwasher even if it is not running.

Use the nut driver to remove both lower panels to gain access to the bottom of the dishwasher.

I suspected the overflow switch and used the ohm meter to discover the resista nce of the switch, with no water in the washer, measured anywhere from a couple of ohms to 40 ohms or more and of course it should be less than one ohm.

There was no sign of any leakage or other problem so I wanted to keep the job simple and replace only the actual micro switch.

Problem! The micro switch is mounted on the back side of the float stem kit and visibility is severely limited. About all you can see are the switch terminals and the head of the phillips screw that holds the microswitch on the rest of the float stem kit.. You'll definitely need a small mirror.

I first pulled the wires from the microswitch terminals. Then I used a small phillips screw driver to remove the screw holding the switch and the first thing that happened is the small white float lever fell out. (I didn't know that it was even there because of the poor visibility. Ugly surprise!)

I spent 1/2 hour or more studying how the lever went in and found that the cirular end of the lever fits into a circular depression in the assembly body and was HELD IN BY THE SWITCH. (Now it's really getting ugly!)

The problem then is how to get the lever back in place and have it stay there while placing the micro switch back in place. There just isn't any easy way to do that. If only the switch and lever were one piece it would have been so simple.

Aha!

I placed and aligned both the lever and the microswitch on the float assembly body that I received. Using a couple of small pieces of electricians tape I taped the microswitch and lever together so they were one piece. Then I carefully (very carefully) removed the switch/lever
"assembly" that I made and eased it into position onto back side of the dishwasher float stem assembly body. When the switch is almost in place there is just barely room to get the tip of your finger in there and seat the rounded end of the lever into the depression. After seating the lever, carefully replace and tighten the phillips screw holding the switch in place. Then remove the electricians tape.

Replace the wires on the micro switch terminals, replace the front panels, put your tools away, and by golly, you're done.

This repair is not for the faint-hearted nor for those with fat fingers or who tend to be klutsy. It took me three or four attemps and a couple of hours to get the microswitch and float lever into place. But I think it was worth it as I didn't have to remove the dishwasher, play with water lines, or remove the full float assembly thus avoiding creating other problems that might likely result in water leaks and additional repairs..

If you decide to try this repair, good luck. It can be done but it is tough.
Was this helpful?
Thank you for voting!
dishwasher not washing well
10 of 12 people found this instruction helpful.
  • Joseph from Raleigh, NC
  • Easy
  • 30 - 60 mins
  • Nutdriver, Screw drivers, Wrench (Adjustable)
I turned off the CB for the DW and the water supply to the DW.
I disconnected the electrical connections on the water inlet valve. I then removed the panels from the lower part of the dishwasher, I pulled the water inlet line off and then the water return line off.

I replaced the valve. The only problem I ran into is t hat the inlet portion required a new brass "ell" - the one that was on the old piece would have of course been ok, however, it was solidly in place in the old water inlet valve

the only other issue, and one that would probably be commonly encountered - when I first went to turn off the water supply to the DW, the valve leaked - I was fortunate to be able to take the valve apart, clean it and put it back in place
Was this helpful?
Thank you for voting!