


 My Orders




KC535ADW2 Frigidaire Range - Overview

Enter a part description. DIY Heroes keep it simple, eg. "belt" or "pump".
Search filter:
Clear Filter
Your search term must have 3 or more characters.

$15.20
In Stock
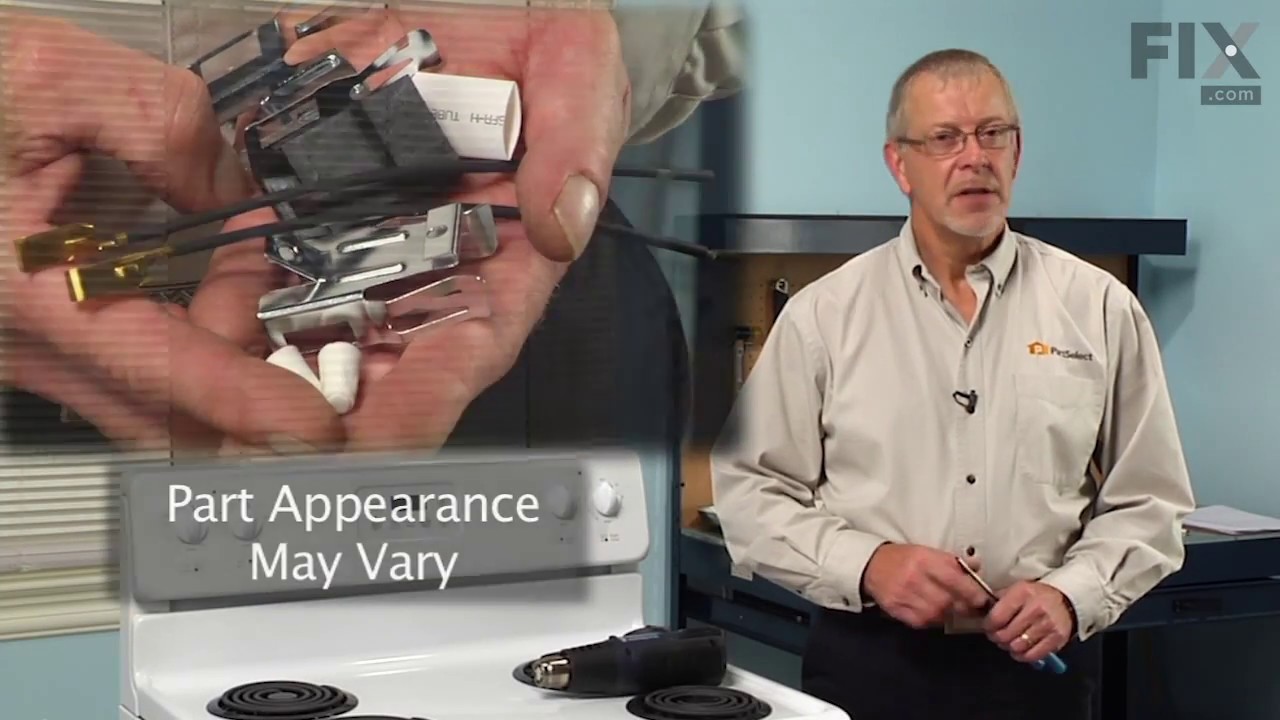
Terminal Block Kit
Part #5303935058
This part connects the wire harness to the surface element and is used for ranges. The kit includes interchangeable mounting brackets, ceramic wire nuts, heat shrink protective tubing, and wires. If your range/oven is having symptoms such as burner not heating, heating elements not working, burning smell, or if the oven is making a buzzin...Read moreg noise then this could be the solution. The tools needed to replace the kit are wire strippers, a heat gun or hair dryer, and #1 square heard screw driver. Refer to the installation/instructional video for further guidance to accurately replace the element.
Read less

$40.65
In Stock
Bake Element - 240V
Part #5303051519
This heating element, used in any range/oven, is an open-style bake element. It is placed at the bottom of the oven and supplies heat. If your baking element does not supply consistent heat or is burnt out, then replacing the element is the solution to this problem. This heating element is a 19-1/4 inches wide by 15 inches long. The push-...Read moreon male spade terminals are 13-3/4 inches apart. The tools needed for this replacement are: a screwdriver and needle-nose pliers. The first step in is to unplug the range or shut off the house circuit breaker before starting. Unscrew the back of the oven cavity to pull out wires from the defective element. Reconnect wires to the new element and screw it back.
Read less

$62.84
In Stock
Surface Element - 8 Inch - 2600W
Part #316442301
The range surface element provides heat to the cooking surface on top of the range. The element has a universal plug, is 8 inches in diameter, spans 5 coils in width and reaches 2600 watts. Before you begin your repair, ensure that the elements are turned off and have had time to cool. Once you have removed the element this is a good time...Read more to ensure the terminal is in good condition (they can wear over time) which may need to be replaced as well. This quick repair requires no tools except gloves for safety, and a small amount of time.
Read less

$37.35
In Stock
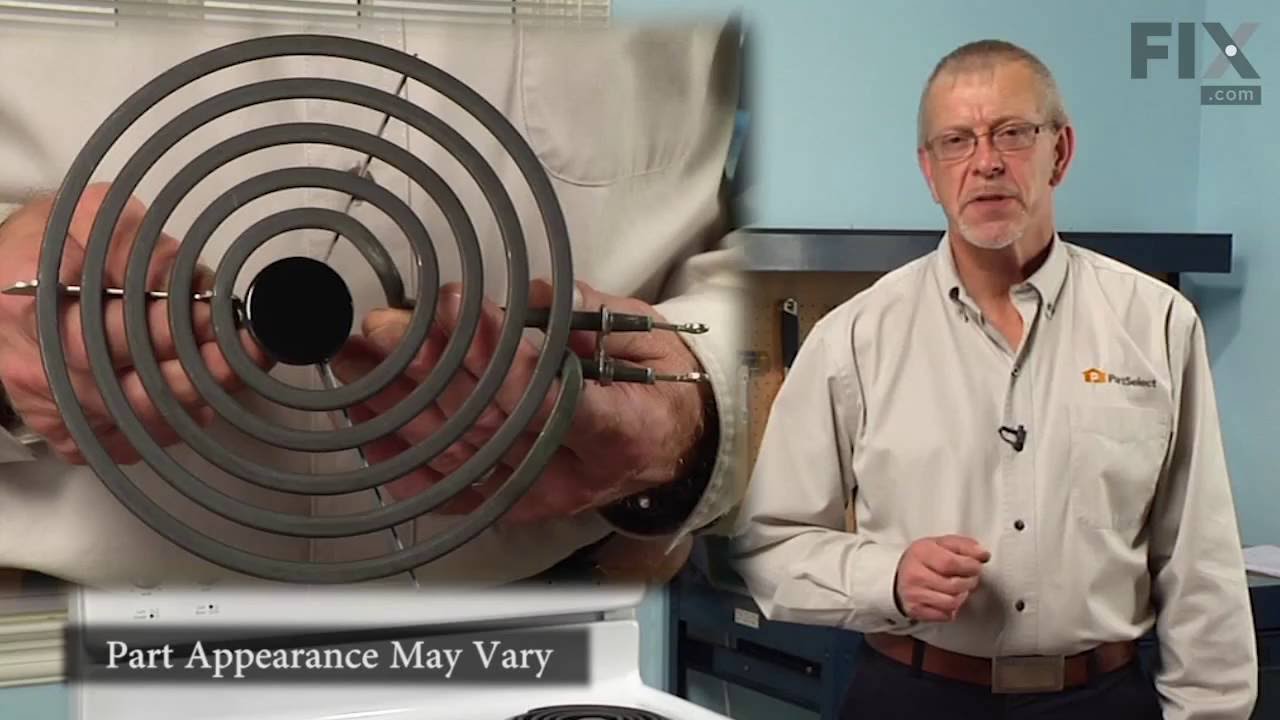
Surface Element - 6 Inch
Part #318372210
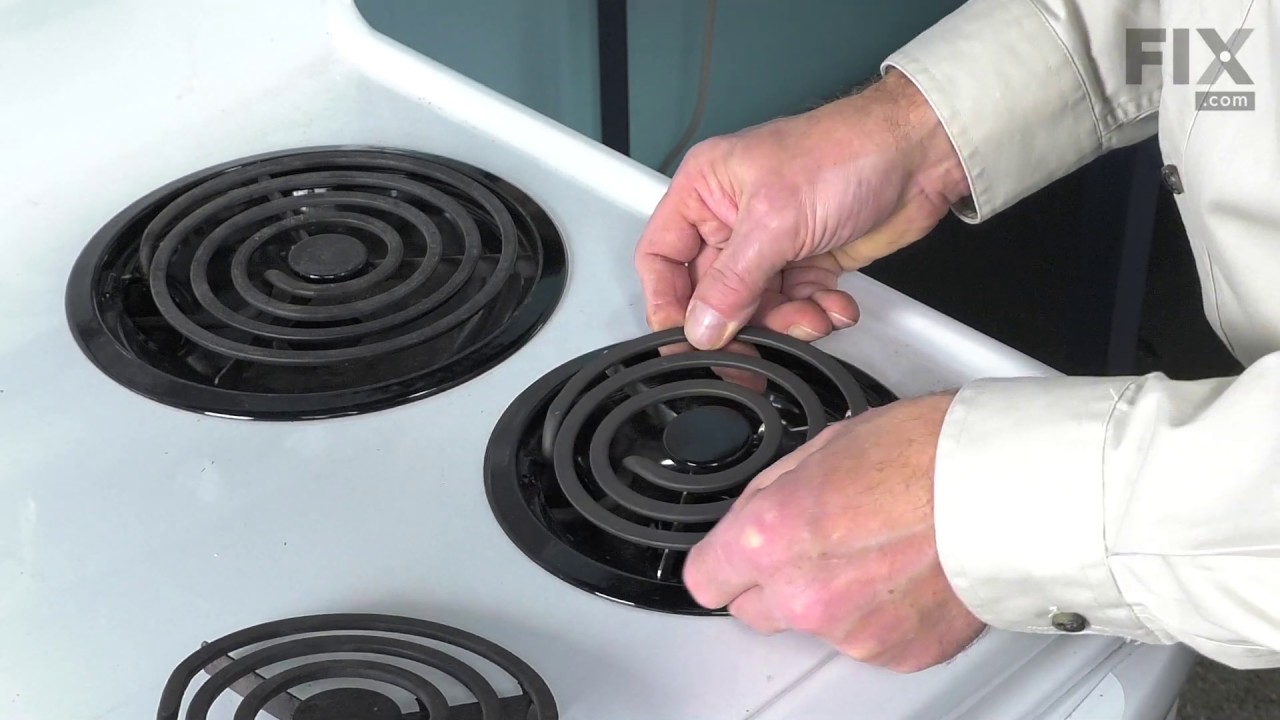
This part is sold individually. This is a part for your stove top. The surface element is what your cookware sits on. The element supplies heat at varying temperatures. This may need to be replaced if the coil has shorted out or the terminal block shorted, and this caused the connectors at the end to burn out. The element is set in place ...Read moreby springs. You will need to push the springs in to release the old element. Make sure the drip bowl is lined up with the terminal block and press the new element into place.
Read less

$142.95
Special Order
Broil Element
Part #5303051516
This fully open fixed oven broil element carries 240 volts and 2750 watts.

$38.30
On Order

No Longer Available
Trim Ring - 8"
Part #5308003114

$56.05
Special Order
Trim Ring - 6"
Part #5308003113

No Longer Available
PAN-BURNER
Part #318138500

No Longer Available
Porcelain Drip Pan - Small
Part #318138501
No Longer Available
SPRING-OVEN DOOR
Part #08003264

$74.08
Special Order
HINGE
Part #5308003183
Common Symptoms of the KC535ADW2
How this model fails, and the parts that fix it.
Element will not heat
Fixed by
these parts
these parts


Show All
Little to no heat when baking
Fixed by
these parts
these parts
Show All
Will Not Start
Fixed by
these parts
these parts
Show All
Oven not heating evenly
Fixed by
these parts
these parts
Show All
Oven is too hot
Fixed by
these parts
these parts
Show All
Little to no heat when broiling
Fixed by
these parts
these parts

Show All
Watch our pros, then fix it yourself.
See how others fixed this model. Time, tools, difficulty, and steps that lead to victory!
View More
Search repair tips from other customers using simple keywords like "replace", "fit", "remove", "inspect". DIY doesn't mean you have to do it alone!
Search filter:
Clear Filter
Your search term must have 3 or more characters.
burner shorted out
61 of 75 people
found this instruction helpful.
I followed the directions by clipping wires to old burner socket, splicing the wires to new terminal block, screwing down new "block bracket," and plugging in new burner.
Other Parts Used:
Was this helpful?
Thank you for voting!