EasyApplianceParts is now PartSelect! We've merged our sites to provide a better shopping experience for you.   Full Details
✖

Find Parts

Parts Departments

Top Model Types

Top Brands

Repair Help

Expert Repair Videos

Keep typing for more specific results...

KBURT3671A (02) Thermador Refrigerator - Overview

Diagrams for KBURT3671A

See every part. Know exactly what you need.

Enter a part description. DIY Heroes keep it simple, eg. "belt" or "pump".

Search filter:
Clear Filter
Your search term must have 3 or more characters.
EveryDrop Water Filter – Part Number: EDR5RXD1
$79.33
In Stock
EveryDrop Water Filter
★★★★★
★★★★★
(53)
Part #EDR5RXD1
Enjoy cleaner water and ice with this easy-to-install refrigerator filter. It uses Triple Filtration Technology to reduce 16 common contaminants, so your drinks and meals taste better. For best results, swap it out every six months to keep your water fresh and safe.
00 Cap – Part Number: 00422456
$84.96
In Stock
00 Cap
Part #00422456
ICE MAKER – Part Number: 00645956
$345.40
In Stock
ICE MAKER
Part #00645956
This ice maker assembly automatically produces and harvests ice by cycling water through freezing and release stages. Designed for dependable output, it restores consistent ice production when performance declines or stops.
COMPRESSOR – Part Number: 00143288
$1053.62
Special Order
COMPRESSOR
Part #00143288
HOUSING PART – Part Number: 00436733
$279.73
Special Order
HOUSING PART
Part #00436733
SEAL-DOOR – Part Number: 00472161
$489.74
Special Order
SEAL-DOOR
Part #00472161
VALVE – Part Number: 00492195
No Longer Available
VALVE
Part #00492195
SWITCH – Part Number: 00416133
$86.96
In Stock
SWITCH
Part #00416133
THERMISTOR – Part Number: 00491867
$184.72
Special Order
THERMISTOR
Part #00491867
MOTOR-FAN – Part Number: 00436784
$210.68
Special Order
MOTOR-FAN
Part #00436784
SCREW – Part Number: 00416041
No Longer Available
SCREW
Part #00416041
SEAL-DOOR – Part Number: 00143782
No Longer Available
SEAL-DOOR
Part #00143782

Common Symptoms of the KBURT3671A

How this model fails, and the parts that fix it.

Watch our pros, then fix it yourself.

See how others fixed this model. Time, tools, difficulty, and steps that lead to victory! View More

Search repair tips from other customers using simple keywords like "replace", "fit", "remove", "inspect". DIY doesn't mean you have to do it alone!

Search filter:
Clear Filter
Your search term must have 3 or more characters.
Change ice/water filter
307 of 403 people found this instruction helpful.
  • Nora from Bethesda, MD
  • Really Easy
  • Less than 15 mins
It was really easy. Took off grill at bottom of refrigerator, turned existing filter to get it out and then inserted the new one.
Was this helpful?
Thank you for voting!
Replace Ice & Water Filter
144 of 228 people found this instruction helpful.
  • Redentor from Daly City, CA
  • Really Easy
  • Less than 15 mins
Just turn old filter counterclockwise, pulli it out, insert the new filter from "Part Select" clockwise and WALLLA!!!!...we have fresh clean water.That easy a caveman can do it.
Was this helpful?
Thank you for voting!
Replacment of Ice/Water Filter
37 of 39 people found this instruction helpful.
  • Robert from Mount Prospect, IL
  • Really Easy
  • Less than 15 mins
  • Pliers
The first step was to go to PartSelect.com to find where the filter is located because that is not revealed in Whirlpool's Guide. This refrigerator came with the home I had just puchased so Iwas unfamiliar with the filter replacement. Th filter is on the grill at the bottom of the refrigerator. I followed the instructions helpfully pri nted on the replacement cartridge box which arrived in less than the 3-5 days acknowledged on my order.

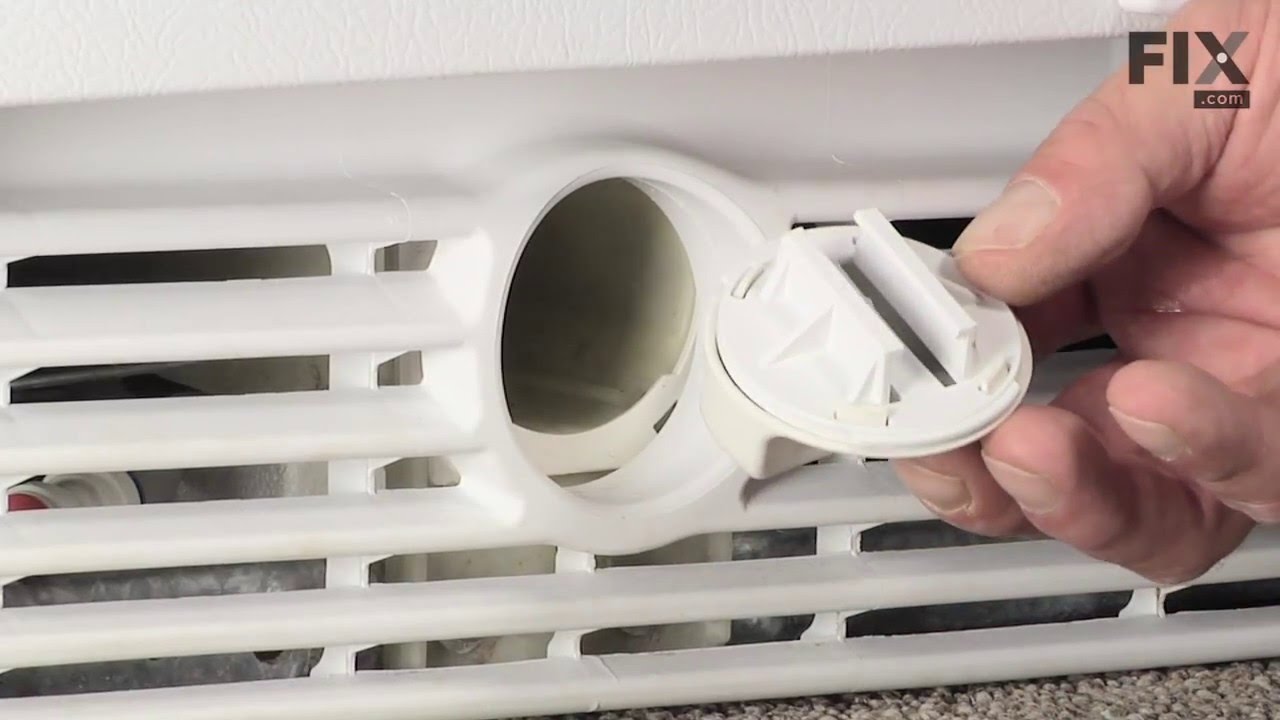
Turn the filter handle 1/4 turn counterclockwise. Don't be timid. It was very tight (probably had not been replaced ever). Remove the filter from the handle that protrudes through the grill at the bottom of the front of the refrigerator.

Insert the new cartridge into the filter handle insert snugly until it goes no further and turn 1/4 clockwise.

The instructions on the replacement cartridge tell you to run the water for 5 minutes to remove air and sediment from the system. DO NOT skip this step. I was. I discovered a large amount of sediment after even three minutes of flushing. A 5-gallon pale will help. And don't forget to turn off the ice maker while you are flushing. Otherwise you will end up with ice cubes everywhere as you try to position the bucket under the water dispenser.
Was this helpful?
Thank you for voting!