


 My Orders




KBRA22KLSS01 KitchenAid Refrigerator - Overview
Diagrams for KBRA22KLSS01
See every part. Know exactly what you need.


Enter a part description. DIY Heroes keep it simple, eg. "belt" or "pump".
Search filter:
Clear Filter
Your search term must have 3 or more characters.

$30.53
In Stock

$65.73
In Stock
Refrigerator Condenser Fan Motor Kit
Part #833697
This condenser fan motor kit is designed for use with refrigerators. This fan draws air through the condenser coils and over the compressor. It does this with the goal of cooling the warm refrigerant before it enters the evaporator. When your fan or fan motor is not working your refrigerator will not cool properly. This is a 2-Watt, 115 V...Read moreolt motor that rotates the fan in a counter clockwise direction. This kit includes the hardware needed for installation, and a set of instructions. Before you begin any repair work make sure to unplug your appliance.
Read less

$30.53
In Stock
Door Switch
Part #W11396033
This light switch may also be known as a refrigerator door switch or a light switch kit, and is compatible with your refrigerator. The function of the refrigerator door switch is to turn on the light when your fridge door is open, and to make sure it is off when your refrigerator door is closed. The reason you would need to replace this p...Read moreart is if your light is not turning on when your door is open. For this repair, you will need a putty knife, and a small flat-blade screwdriver.
Read less

$7.47
In Stock

$35.80
In Stock
Refrigerator Water Fill Cup & Bearing
Part #WP628356
This refrigerator ice maker fill cup dispenses the water into the ice cube mold during the fill cycle. Replacing the water fill cup is a possible solution if you notice that the ice maker is leaking, or not making/dispensing ice. If you notice the fill cup has been damaged or cracked; replace the part straight away. This water fill cup is...Read more a genuine OEM part and will fit most refrigerators, but check the list of compatible brands to make sure yours is included before purchasing.
Read less

$91.05
In Stock
Refrigerator Crisper Frame
Part #WPW10568041
This refrigerator shelf frame is designed to support the glass shelf positioned above the crisper or pantry drawer, helping to keep your fresh food items organized and easily accessible. Crafted for durability and a precise fit, it is compatible with a range of refrigerator models. Please note that this listing includes the frame only; th...Read moree glass shelf and center support are not included and must be purchased separately. Installation is straightforward—simply remove the old frame and slide the new one into place to restore the functionality of your refrigerator’s storage space.
Read less

No Longer Available
Touch-Up Paint - White
Part #72017
This touch-up paint can be used on a wide variety of household appliances. It is most often used on washers, dryer, refrigerators, dishwashers, ranges, freezers, trash compactors, or microwaves. It is an 18 ml, or.6 fluid ounces, bottle of touch-up paint. It also features a brush for easy application. This quick-drying, long-lasting paint...Read more is perfect for fixing any nicks, scratches, or chips on the exterior of your appliance. This paint is white in color, and provides a durable finish.
Read less

$7.47
In Stock

$28.42
In Stock
Evaporator Fan Blade
Part #WP2169142
If your refrigerator or freezer is too warm, or making noises, you may need to replace the fan blade. The fan blade attaches to the evaporator motor, which is in the freezer section, to help circulate the cold air into the refrigerator and freezer sections. The fan blade is white in color and made from plastic. This is a genuine OEM part...Read more. Please be sure to disconnect the power to your refrigerator before starting your repair.
Read less

$74.08
In Stock
Defrost Thermostat Kit
Part #12001937
This part is snapped onto the top portion of the evaporator. The thermostat sends temperature information to the processor. The defrost heater must be replaced when replacing the thermostat.

$104.20
Special Order
Ice Bucket
Part #WP67001255
The ice bucket in your freezer catches and holds the ice when it is released by the icemaker. If your ice bucket is cracked or damaged, you may need to replace it to prevent a potential leak. This part is made of white plastic and is sold individually. This ice bucket is approximately 15 inches long by 12 inches wide. Many of our customer...Read mores have rated this repair as very easy. To complete this repair, simply remove the old ice bucket and replace it with the new one. Be sure to remove any broken pieces of the old ice bucket before replacing it.
Read less

$57.38
In Stock
Freezer Evaporator Fan Motor 115v 60hz
Part #WPW10128551
This is an evaporator fan motor, it is 115 volts and 60 hertz and it is for your refrigerator/freezer. You will need to replace this part if your appliance is too warm or getting noisy. This evaporator fan motor is located in the back of the freezer. This part circulates air over the refrigerator coils. These coils will convert the heat i...Read morento cool air, which is then circulated throughout your appliance. To replace this part you will need a 1/4-inch nut driver and a pair of needle nose pliers.
Read less
Manuals & Care Guides for KBRA22KLSS01
Click to downloadCommon Symptoms of the KBRA22KLSS01
How this model fails, and the parts that fix it.
Light not working
Fixed by
these parts
these parts


Show All
Fridge too warm
Fixed by
these parts
these parts


Show All
Noisy
Fixed by
these parts
these parts

Show All
Freezer section too warm
Fixed by
these parts
these parts
Show All
Freezer not defrosting
Fixed by
these parts
these parts


Show All
Ice maker not making ice
Fixed by
these parts
these parts


Show All
Will Not Start
Fixed by
these parts
these parts


Show All
Fridge runs too long
Fixed by
these parts
these parts
Show All
Fridge and Freezer are too warm
Fixed by
these parts
these parts
Show All
Frost buildup
Fixed by
these parts
these parts


Show All
Leaking
Fixed by
these parts
these parts
Show All
Door won’t open or close
Fixed by
these parts
these parts


Show All
Freezer too cold
Fixed by
these parts
these parts
Show All
Door Sweating
Fixed by
these parts
these parts

Show All
Ice maker won’t dispense ice
Fixed by
these parts
these parts
Show All
Ice maker dispenses too much ice
Fixed by
these parts
these parts
Show All
Door latch failure
Fixed by
these parts
these parts

Show All
Too warm
Fixed by
these parts
these parts
Show All
Not dispensing water
Fixed by
these parts
these parts
Show All
Fridge too cold
Fixed by
these parts
these parts
Show All
Watch our pros, then fix it yourself.




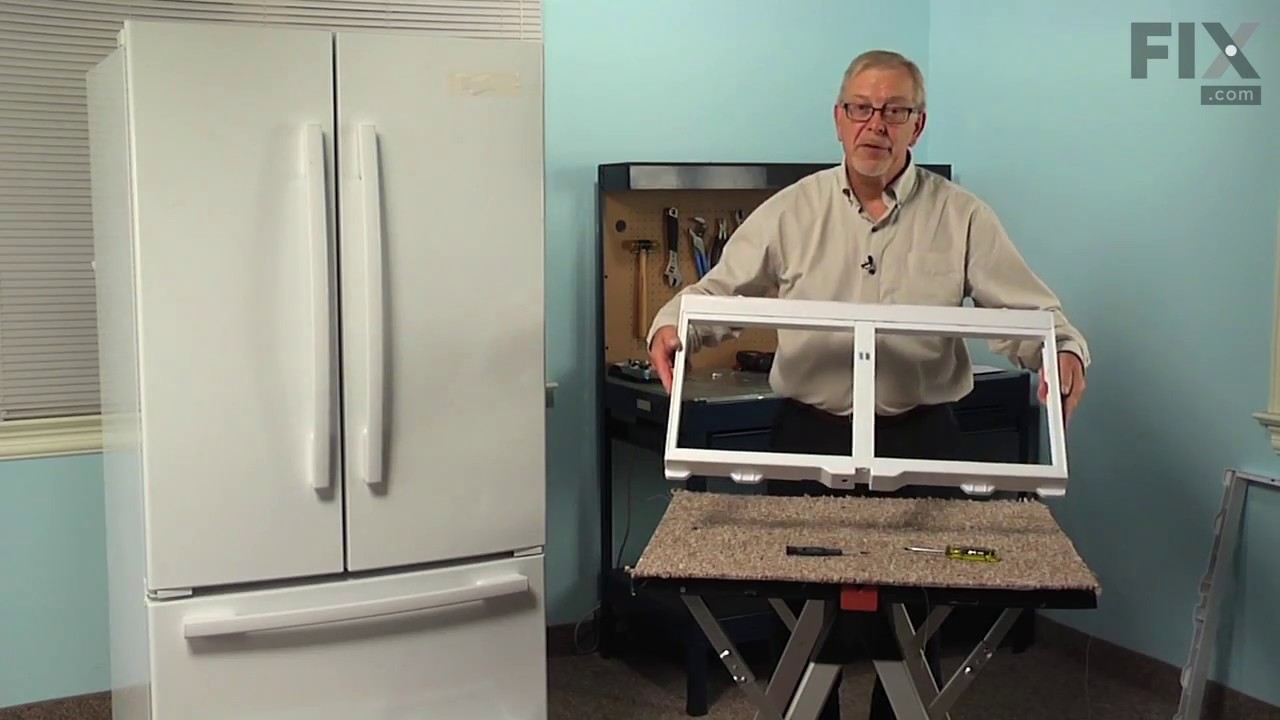

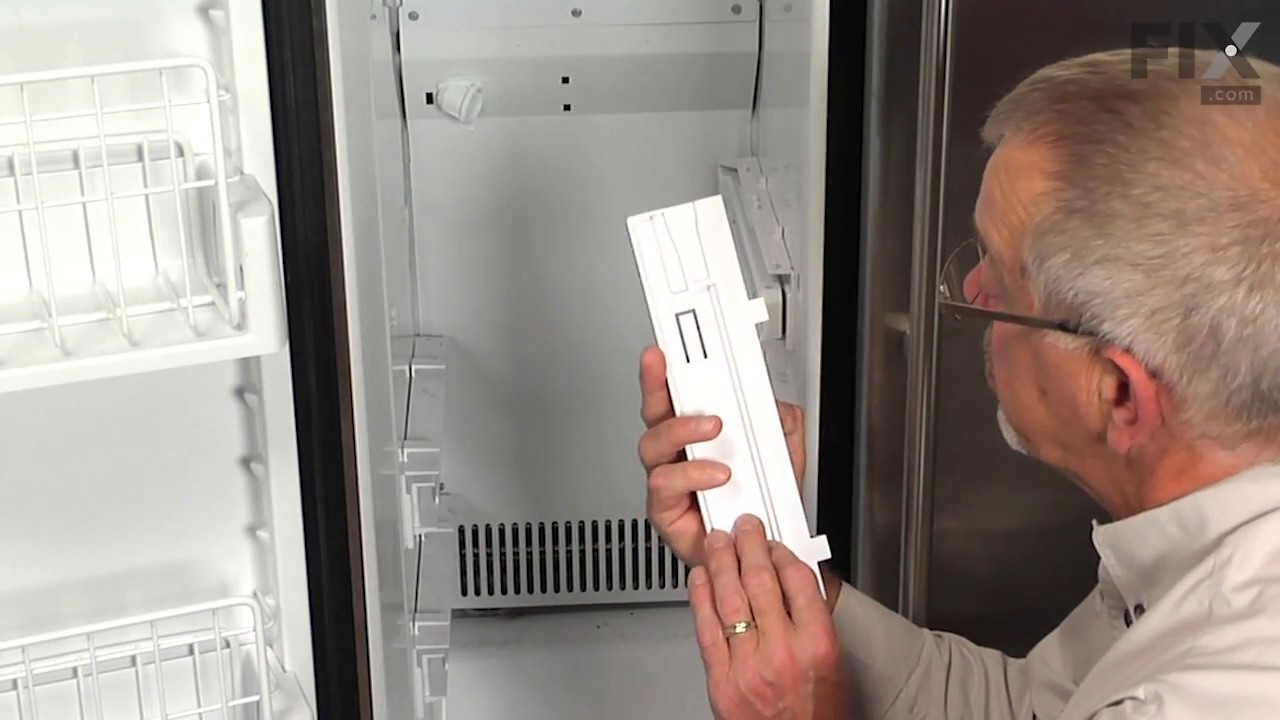
See how others fixed this model. Time, tools, difficulty, and steps that lead to victory!
View More