


 My Orders




KBLS22KVSS00 KitchenAid Refrigerator - Overview
Diagrams for KBLS22KVSS00
See every part. Know exactly what you need.


Enter a part description. DIY Heroes keep it simple, eg. "belt" or "pump".
Search filter:
Clear Filter
Your search term must have 3 or more characters.

$54.24
In Stock
Refrigerator Center Crisper Drawer Slide Rail - White
Part #WPW10671238
This is a center crisper rail for your refrigerator. This part acts as a support rail for the crisper drawer by holding the center of the crisper frame. You will need to replace this part is if your current drawer is not opening or closing properly. This crisper rail is white and it is made entirely of plastic. It is roughly 13.5 inches long, and 2.5 inches wide. This is an easy repair which requires no tools.

$30.53
In Stock

$11.77
In Stock
Crisper Drawer Cover Support
Part #WP67001716
This crisper drawer cover support is for refrigerators.
Crisper drawer cover support supports the crisper drawer lid.
Wear work gloves to protect your hands when installing this part.

$45.29
In Stock
Refrigerator Capacitor
Part #WPW10662129
This capacitor (Refrigerator and Freezer Compressor Run Capacitor, Run Capacitor) provides the voltage or energy current required to start the compressor and keep it running. It allows the compressor in your appliance to easily cycle on and off. This capacitor mounts directly onto the compressor starting relay. If the capacitor is faulty ...Read morethe compressor may get unusually hot and draw excessive amperage. It the compressor overheats, it may fail to run until it cools down again. The compressor may also get noisy from overheating. If this part is totally electrically open, it is defective (often due to overheating) and needs to be replaced. The part measures 1 inch by 1-1/2 inches, and is constructed of plastic with two metal wire terminals. This item includes 1 capacitor, sold individually. This part comes in black.
Read less

$30.53
In Stock
Door Switch
Part #W11396033
This light switch may also be known as a refrigerator door switch or a light switch kit, and is compatible with your refrigerator. The function of the refrigerator door switch is to turn on the light when your fridge door is open, and to make sure it is off when your refrigerator door is closed. The reason you would need to replace this p...Read moreart is if your light is not turning on when your door is open. For this repair, you will need a putty knife, and a small flat-blade screwdriver.
Read less

$12.20
In Stock

$91.05
In Stock
Refrigerator Crisper Frame
Part #WPW10568041
This refrigerator shelf frame is designed to support the glass shelf positioned above the crisper or pantry drawer, helping to keep your fresh food items organized and easily accessible. Crafted for durability and a precise fit, it is compatible with a range of refrigerator models. Please note that this listing includes the frame only; th...Read moree glass shelf and center support are not included and must be purchased separately. Installation is straightforward—simply remove the old frame and slide the new one into place to restore the functionality of your refrigerator’s storage space.
Read less

No Longer Available
Touch-Up Paint - White
Part #72017
This touch-up paint can be used on a wide variety of household appliances. It is most often used on washers, dryer, refrigerators, dishwashers, ranges, freezers, trash compactors, or microwaves. It is an 18 ml, or.6 fluid ounces, bottle of touch-up paint. It also features a brush for easy application. This quick-drying, long-lasting paint...Read more is perfect for fixing any nicks, scratches, or chips on the exterior of your appliance. This paint is white in color, and provides a durable finish.
Read less

$28.42
In Stock
Evaporator Fan Blade
Part #WP2169142
If your refrigerator or freezer is too warm, or making noises, you may need to replace the fan blade. The fan blade attaches to the evaporator motor, which is in the freezer section, to help circulate the cold air into the refrigerator and freezer sections. The fan blade is white in color and made from plastic. This is a genuine OEM part...Read more. Please be sure to disconnect the power to your refrigerator before starting your repair.
Read less

$47.40
In Stock
Thermistor
Part #12002355
This long harness thermistor kit is what helps monitor and regulate the temperature inside your refrigerator. It can be located in either the freezer compartment near the evaporator coils or in the fresh food compartment near the airflow channels, depending on the model. If you notice issues like excessive icing in the freezer, inadequate...Read more cooling in the refrigerator, temperature fluctuations, or error messages on the display panel, it indicates a potential problem with the thermistor. Since your fridge will not be able to maintain the desired temperature, this results in food spoilage, inefficient cooling, and potential damage to the cooling components. To replace the thermistor, disconnect it from the connector plug or wiring harness and remove any mounting brackets or clips using a screwdriver if necessary. Remember to consult your user manual to determine the required number of thermistors, as they are sold individually as OEM replacement parts.
Read less

$9.62
In Stock
Refrigerator Humidity Control Slide
Part #WP67005864
This part mounts on the crisper drawer cover and is used to limit the amount of air that gets into the crisper.

$12.85
In Stock
Manuals & Care Guides for KBLS22KVSS00
Click to downloadCommon Symptoms of the KBLS22KVSS00
How this model fails, and the parts that fix it.
Light not working
Fixed by
these parts
these parts


Show All
Fridge too warm
Fixed by
these parts
these parts


Show All
Will Not Start
Fixed by
these parts
these parts


Show All
Noisy
Fixed by
these parts
these parts


Show All
Door won’t open or close
Fixed by
these parts
these parts


Show All
Fridge and Freezer are too warm
Fixed by
these parts
these parts

Show All
Freezer section too warm
Fixed by
these parts
these parts
Show All
Fridge too cold
Fixed by
these parts
these parts
Show All
Freezer not defrosting
Fixed by
these parts
these parts


Show All
Clicking sound
Fixed by
these parts
these parts
Show All
Too warm
Fixed by
these parts
these parts
Show All
Frost buildup
Fixed by
these parts
these parts

Show All
Freezer too cold
Fixed by
these parts
these parts
Show All
Ice maker not making ice
Fixed by
these parts
these parts

Show All
Door Sweating
Fixed by
these parts
these parts

Show All
Fridge runs too long
Fixed by
these parts
these parts
Show All
Not dispensing water
Fixed by
these parts
these parts
Show All
Won’t start
Fixed by
these parts
these parts
Show All
Ice maker won’t dispense ice
Fixed by
these parts
these parts
Show All
Leaking
Fixed by
these parts
these parts
Show All
Watch our pros, then fix it yourself.
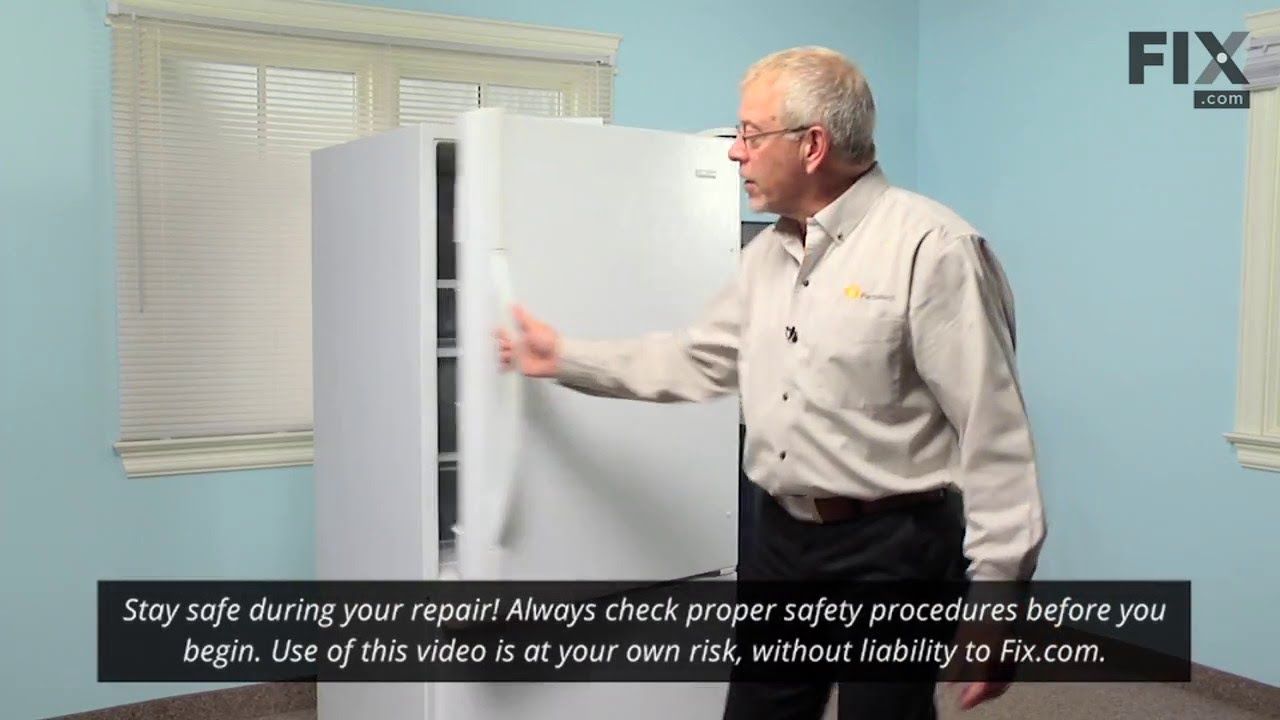



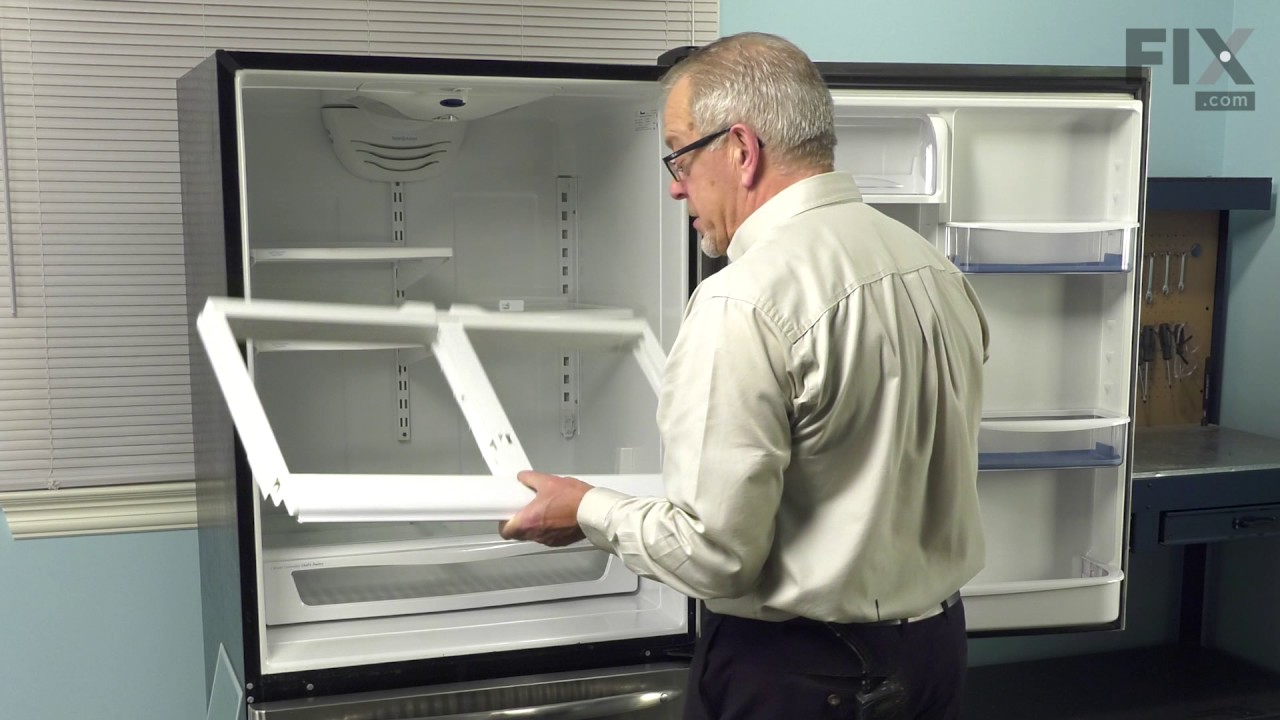

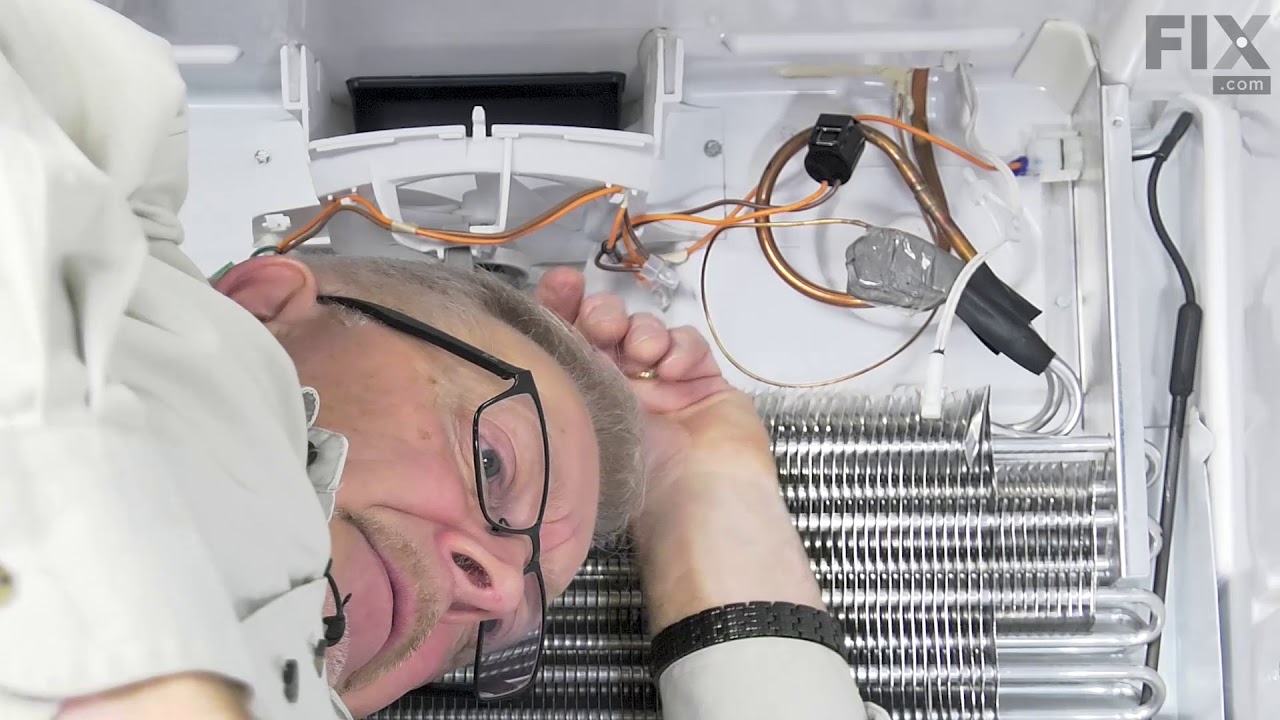
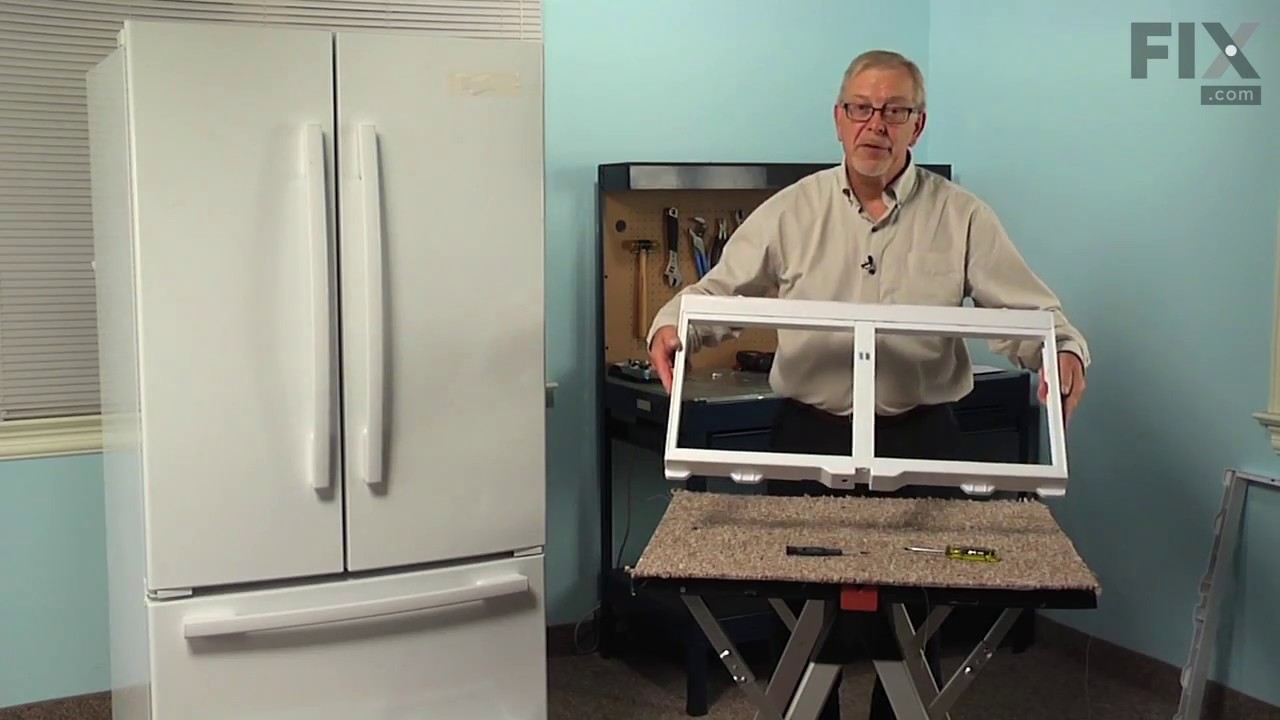
See how others fixed this model. Time, tools, difficulty, and steps that lead to victory!
View More