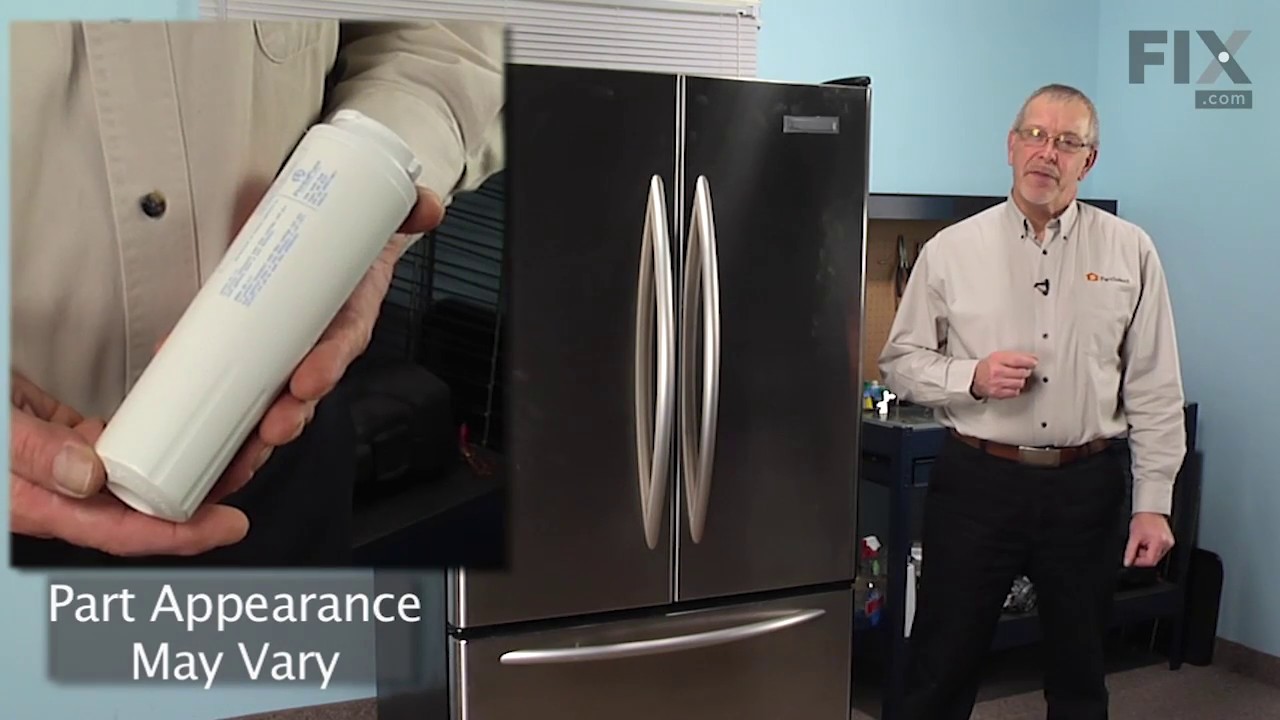
This water filter (Whirlpool EveryDrop Refrigerator Water Filter, Single Turn Filter) purifies water going to the water dispenser and sometimes the icemaker as well. This part should be replaced if it is causing reduced water flow or just replaced periodically per the owner manual. Replacing this water filter may fix a noisy or leaking fr...Read moreidge, a fridge that is not dispensing water (or reduced flow rate), and an ice maker that is not making ice at all, or not making enough ice. This filter is white, sold individually and measures 8 inches by 3 inches in diameter. This water filter has been updated by the manufacturer. It may appear different but will still function the same. It is sold individually.
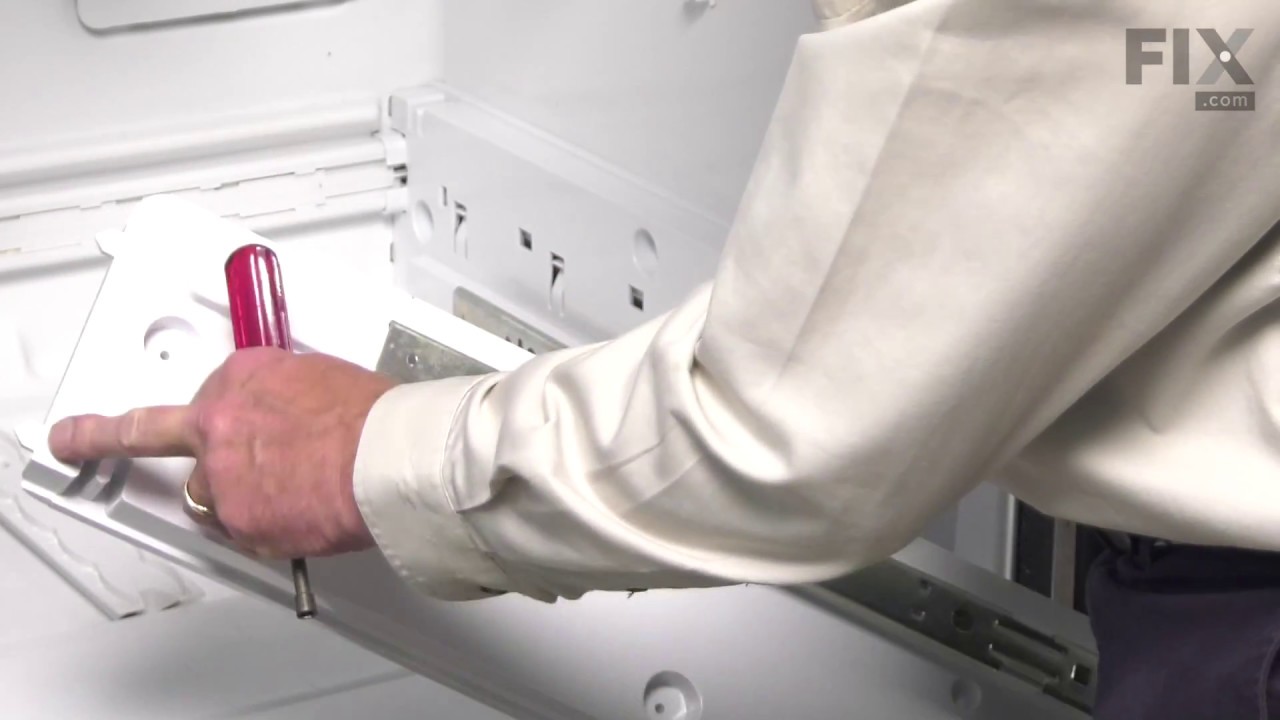
This manufacturer-approved Refrigerator Pantry End Cap Kit, also known as the Refrigerator Drawer Support, is a kit containing all parts of the Pantry End Cap. It snaps into place on the appliance’s pantry drawer to help contain the items inside and to keep your refrigerator door from sliding all the way out. It is rated as "medium" diff...Read moreiculty to install, is constructed of plastic and comes in white. If broken or missing, the pantry drawer will not stay in place and the part should be replaced. Refer to your user manual and model number to ensure this is the correct part for you. This kit includes both the right and left side end caps, as well as the pins that will hold them in place. To replace an end cap, remove the three screws holding it in place. Then, remove the pin and end cap, replacing the old end cap with the new end cap. In the past, the left and right end caps were sold separately, but the part has been updated and now includes both sides. The part is sold as a kit, and unfortunately, as such none of the parts are available individually.
This ice maker (Ice Maker Assembly, Refrigerator Ice Maker) produces ice cubes that are ejected into the storage bucket. It is located in the freezer section of your appliance, mounted on the freezer wall. The ice maker can break from normal wear and accidental damage. If this happens, your refrigerator may no longer make ice cubes, or ma...Read morey not make enough cubes, and the part should be replaced. This model measures approximately 11 inches long and 5 inches wide. It’s constructed of plastic and metal, and comes in black/white/silver. This assembly includes the ice mold and the control device.
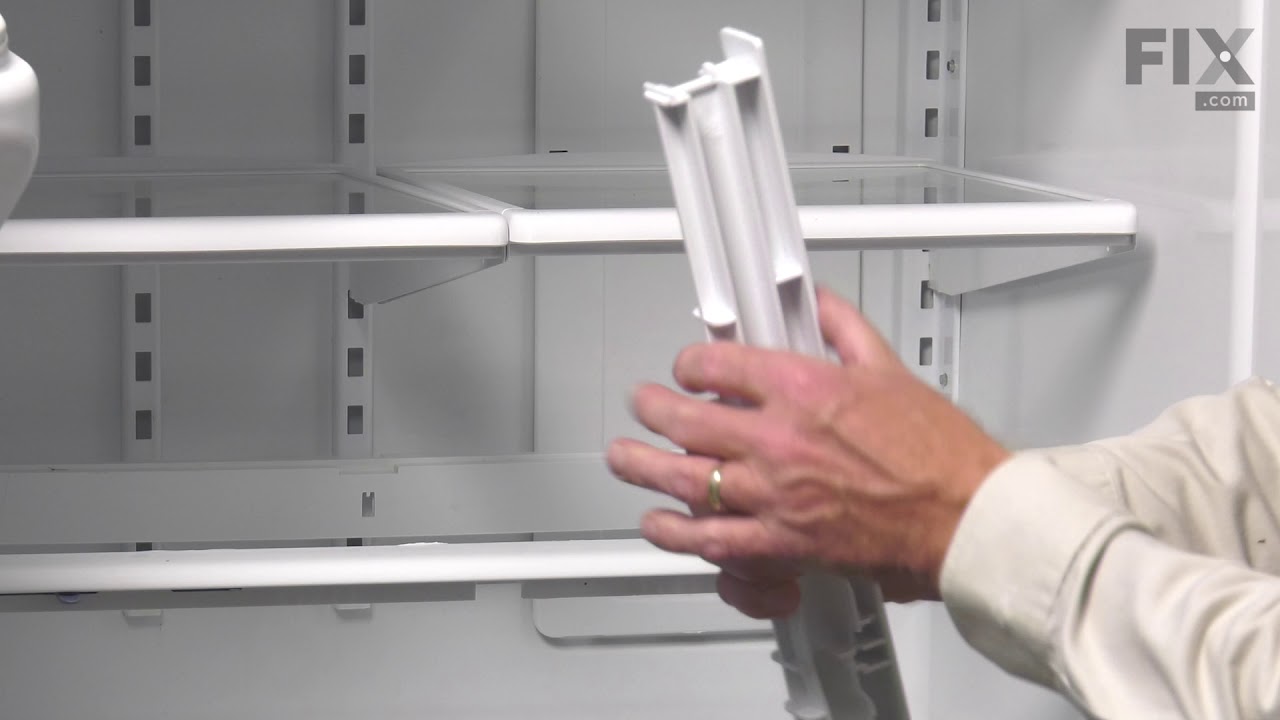
This OEM Center Rail is a white plastic part which supports the crisper frame, which holds the crisper. Fifteen inches long and white in colour, if broken, the support may no longer hold properly. Refer to your model number and user manual to see if this part will be right for your appliance. This part is a very easy repair which only ta...Read morekes a few minutes and does not require any tools. Just slide the crisper drawers out, lift out the glass shelf, slide the new rale into place and replace the glass shelf and crisper drawers. This part is sold individually and not as part of a set.
This light switch may also be known as a refrigerator door switch or a light switch kit, and is compatible with your refrigerator. The function of the refrigerator door switch is to turn on the light when your fridge door is open, and to make sure it is off when your refrigerator door is closed. The reason you would need to replace this p...Read moreart is if your light is not turning on when your door is open. For this repair, you will need a putty knife, and a small flat-blade screwdriver.
This genuine OEM crisper frame support provides stability to the crisper drawer in your refrigerator, preventing sagging or collapse under the weight of produce. It is typically located at the bottom or near the rear wall of the fridge. If the crisper drawer feels unstable or wobbly, it may indicate a broken or damaged frame support. To r...Read moreeplace it, remove items from the crisper shelf, then the shelf and crisper itself. Take off the glass from the top of the frame, and pull the support off the mounting stud. Note that the wall anchor for mounting this replacement part is sold separately.
This includes both the run capacitor and the start relay. The capacitor helps the compressor kick on and off while maintaining a constant temperature to keep things frozen in your freezer.
The start relay boosts the compressor, and then shuts off as soon as the motor gets up to speed and the overload provides extra protection against excessive temperatures.
This pantry drawer front lid assembly is a genuine OEM replacement component designed to maintain optimal freshness and organization within select refrigerator models. Constructed from durable white plastic and featuring a clear window for visibility, it fits securely over the pantry drawer to regulate temperature and moisture levels. By ...Read moreforming a proper seal, it helps prevent spoilage and reduces air exposure, preserving the quality of stored food. Compatible with a wide range of refrigerators from Whirlpool, KitchenAid, Maytag, and other affiliated brands, this part is engineered for long-lasting performance. Model verification is recommended prior to installation.
This water filter bypass cap, also known as a water filter bypass plug, is an authentic OEM part that replaces the regular water filter cartridge in refrigerators. It allows water to flow freely through the dispensing system when the filter is not present. The bypass can fail if it becomes clogged, cracked, or falls out of alignment. A fa...Read moreulty filter bypass will result in leaking, poor ice production, and difficulties dispensing water. You can find the filter bypass inside the refrigerator, near the water filter housing. Disconnect the water supply lines and remove the faulty bypass. Insert the new bypass in its place and reconnect the water supply lines.
This refrigerator crisper drawer frame is a genuine replacement part designed to support the crisper drawer and the shelf above it, which serves as the drawer’s lid. Its raised edges help contain spills and contribute to maintaining proper airflow within the refrigerator, promoting optimal food preservation. Made for select Whirlpool, May...Read moretag, KitchenAid, and Amana models, this OEM frame restores structural integrity and functionality to the crisper section. The frame does not include the glass insert or humidity controls, which must be transferred from the original assembly. If the existing frame is cracked or damaged, replacing it ensures continued support for produce storage and helps maintain consistent cooling performance.
Ask our experts a question about this model and we'll get back to you as soon as possible!
We may have answered a similar question already! Search questions and answers left by others using simple keywords like "fit", "broken", "easy", or "quality" to find questions that match.
Search filter:
Clear Filter
Your search term must have 3 or more characters.
Sort by:
Prev
1
Next
Sorry, we couldn't find any existing answers that matched.Try using some different or simpler keywords, or submit your new question by using the "Ask a Question" button above!
Harriet - For model number KBFS25ETBL01
January 25, 2022
The handle of my freezer came off. How do i fix it?
Hello Harriet, thank you for your question. You would access these screws through the back side of your door. You may have to remove the door to get at them. The part number for the screw is PartSelect Number PS11741409 and the mount is PartSelect Number PS11743658. Good luck and have a great day.
What is the part number for the pump that feeds the water dispenser on the inside of the refrigerator
Hey Eric, thank you for your question. There is no built-in pump available in the refrigerator to pull water from the waterline to the water dispenser. If your water dispenser is not dispensing water or dispensing slowly, then you may need to check the water inlet valve, part number PS11743697. Check the water pressure in the water supply line, and water filter, part number PS11722130. We hope this helps! If you need help placing an order, customer service is open 7 days a week. Thanks again for your great question.
Hello Dan, thank you for reaching out. Your model has two light bulb covers: the refrigerator light bulb cover and the freezer light bulb cover. To remove the light bulb cover in the refrigerator section, slide the light shield towards the back of the compartment to release it from the light assembly. For the freezer section, the light shield opens from the back. Firmly press forward on the notches in the back of the shield and pull the shield down. We hope this is what you were looking for!
Was this helpful?
Thank you for voting!
Prev
1
Next
✖
Ask a Question
Ask our experts a question on this model and we'll respond as soon as we can.
See how others fixed this model. Time, tools, difficulty, and steps that lead to victory!View More
Search repair tips from other customers using simple keywords like "replace", "fit", "remove", "inspect". DIY doesn't mean you have to do it alone!
Search filter:
Clear Filter
Your search term must have 3 or more characters.
light on to order water filter
916 of 1059 peoplefound this instruction helpful.
Douglas from Byron, NY
Really Easy
Less than 15 mins
Pressed in the end of the filter cover, lowered it down part way. Twisted the old filter 1/4 turn and removed it. Set in the sink to drain. Inserted new filter and twisted it to lock. closed cover. Done. Total time @ 1 Minute.
Was this helpful?
Thank you for voting!
Icemaker producing few or no cubes and often leaving "kling-ons" on ice tray
816 of 915 peoplefound this instruction helpful.
Bernie from Diamond Bar, CA
Easy
30 - 60 mins
Nutdriver
Interior surface of ice tray felt rough & flaky (coating deteriorated) so cubes would not release. Unplug appliance. Remove timer cover by hand pressure @ edge. Remove single attachment screw & bracket at lower front of icemaker. Disconnect wiring harness from socket @ rear of compartment. Tricky part was determin
... Read moreing what type of connection held the other two attachment points along the long edge of the icemaker. I did not have repair manual or useful drawing but looked @ PartsDirect pic of side brackets & used a small mirror to confirm that mine were also some sort of "snap in" attachment. Remove icemaker unit by pushing upward and outward on the unit. I takes a good bit of pressure and will pop loose, but be careful not to break attachment bracket from freezer wall. Scavenge shut off bar and wiring harness from old icemaker once you have it out & attach to new one before installing it back in freezer. Again, you might find a mirror useful to align those pesky snap-in brackets with the new unit. Since you probably kept your freezer running while waiting for the part, the plastic snap-ins will be cold and brittle. I warmed them up first by applying a dampened cloth heated in the microwave to make them a little more pliable. A good push of the new unit towards the snap-ins along with some upward force will get it stable. Reattach the metal screw in bracket & connect the wiring harness to rear plug... and don't forget to plug the whole thing back in. It will take awhile for the first batch of cubes dump as the timer may need to cycle completely around to get to the fill cycle... be patient. Dump the first couple of batches of cubes just to make sure you're free of any residue.
Read less
Was this helpful?
Thank you for voting!
Ice maker leaking at first then quit making ice all together
433 of 497 peoplefound this instruction helpful.
Hootie from Joshua, TX
Really Easy
15 - 30 mins
Nutdriver
unplugged refrigerator and shut off water, removed one screw and loosened two more, after removing one side of the ice bucket rail, unplugged electrical from old ice maker. Then I removed the bail and out on new one, reinstalled ice maker in reverse order from taking it out.



 My Orders