



EasyApplianceParts is now PartSelect! We've merged our sites to provide a better shopping experience for you.   Full Details

Find Parts

Parts Departments

Top Model Types

Top Brands

Repair Help

Expert Repair Videos

Keep typing for more specific results...

Parts That Fix KitchenAid Refrigerator KBFS20EVMS11 Leaking

Leaking is a commonly reported symptom for the KBFS20EVMS11 KitchenAid Refrigerator, and we have put together a full guide on how to fix this. This advice is based on feedback from people who own this exact appliance. We have listed the most common parts for your KBFS20EVMS11 KitchenAid Refrigerator that will fix Leaking. We have included repair instructions, and helpful step-by-step video tutorials. If you are experiencing this issue, not to worry, DIYers just like you have fixed this, and shared their experience to help you!

Fixes Symptom 65% of time

Easy 

15 - 30 mins 

The p-trap drain tube kit may also be known as the duck bill, or the drain pipe, and it is compatible with your refrigerator. The function of the p-trap drain kit is to carry the water that has formed during the defrost cycle to the bottom of the refrigerator, where your drain pan is located. The tools you will need for this repair include a 1/4-inch nut driver and a small flat-blade screwdriver. To do this repair you will need to pull the refrigerator forward in order to reach the lower access panel at the back. This kit includes the tube extension piece and spacer.

$ 44.23
In Stock
Part #W10619951

Replacing your Whirlpool Refrigerator P-Trap Drain Tube Kit
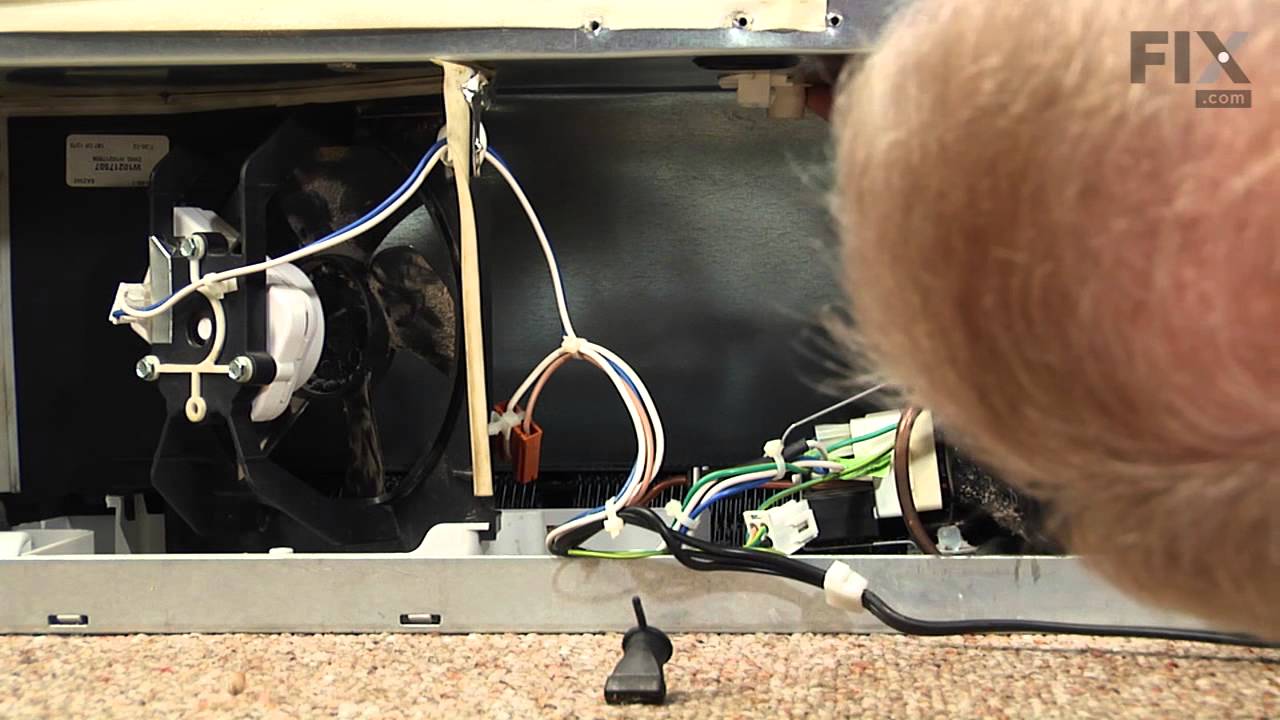
Replacing your P-Trap Drain Tube Kit

Customer Repair Stories

Freezer icing up .
17 of 19 people found this instruction helpful.
  • Rich from Lansing, IL
  • Easy
  • 30 - 60 mins
  • Nutdriver, Wrench (Adjustable)
Watched Partselect video of P-trap installation.Removed water line & back cover& disconnected wires to water solenoid .Removed old drain tube & old problematic rubber funnel. Used contact cleaner to clean rubber residue from drain line and used a little silicone to aide reassembly. Job went well thanks to video.
Was this helpful?
Thank you for voting!
Water leaking from bottom of refrigerator onto floor
108 of 123 people found this instruction helpful.
  • Jack from DINUBA, CA
  • Really Easy
  • 30 - 60 mins
  • Nutdriver, Screw drivers
The video on website is very good and explains everything in detail. Just follow the directions. This is EASY!!!!
Was this helpful?
Thank you for voting!

Sold Individually. - * Part may differ in appearance, but functions same as original.

$ 23.60
In Stock
Part #WP2300868

Replacing your Whirlpool Refrigerator Water Tube Connector/Union 5/16 To 5/16
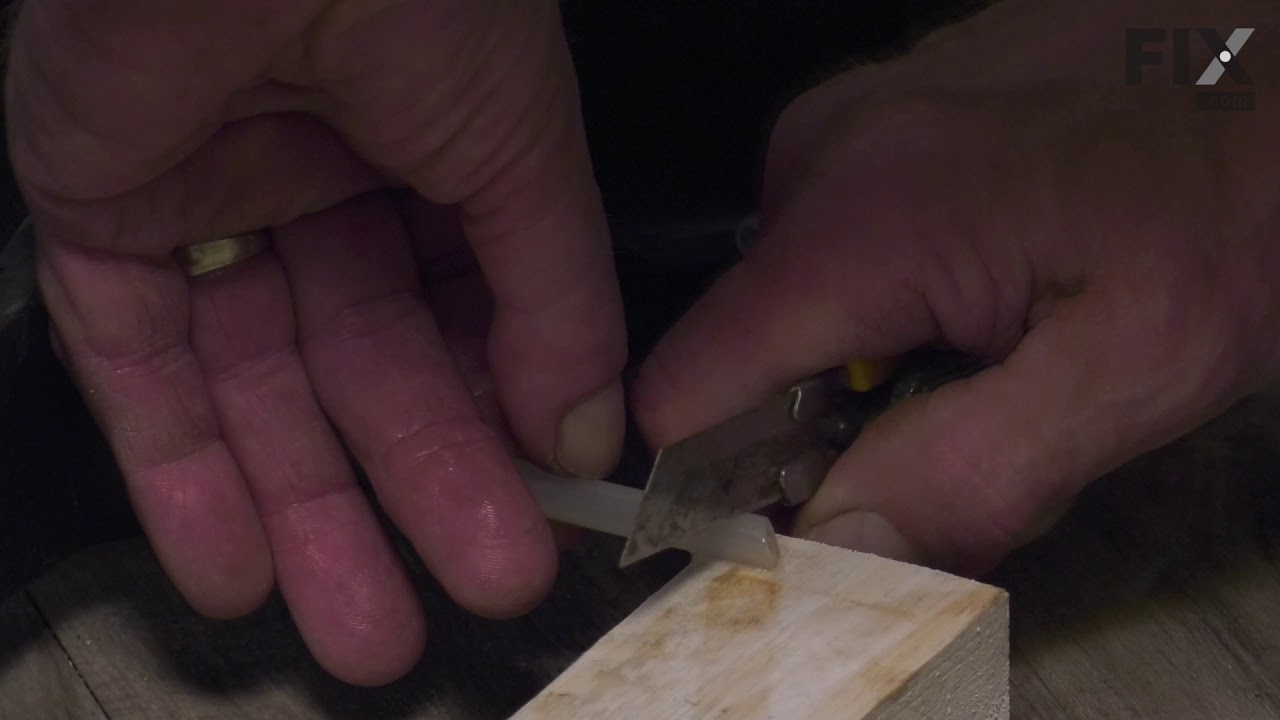
Replacing your Refrigerator Water Tube Connector/Union 5/16 To 5/16

Customer Repair Stories

Leaking water tube connector/union
10 of 12 people found this instruction helpful.
  • Roderick from NEWTOWN, PA
  • Easy
  • 15 - 30 mins
  • Pliers, Screw drivers
Received the union I ordered, then discovered that the tubes were different sizes, so I had the wrong part. I had read elsewhere that it was necessary to trim the two ends of the tubes with a box cutter to stop the leaks - I did this, and the leaking stopped. I was then able to go to a local hardware store and get a 5/16 to 1/4 union and replace it. The leaking is stopped, and the water supply in the door is now working like new. No problem with partselect, but I did buy a caliper so that I can check tube diameters if I ever have a similar problem! This is a great site to find instructions - well worth the time to search!
Was this helpful?
Thank you for voting!
Had to replace a hose connector at the base of my refrig/frreezer
47 of 81 people found this instruction helpful.
  • Leo from Salem, SC
  • Really Easy
  • Less than 15 mins
Perhaps a helpful hint:

When aI received the hose adapter/connector, I inserted the 2 hose ends only to have water drip from the connection.
I used a utility knife to remove an inch from each side, then reinserted the hoses. That made the differnce. Dry as a bone.

LG
Was this helpful?
Thank you for voting!

Fixes Symptom 4% of time

This water filter head assembly secures the water filter and connects it to the refrigerator’s internal water lines, ensuring proper filtration and flow to the dispenser and ice maker. If you notice leaks, reduced water pressure, or improper filtering, replacing this part can restore functionality. The assembly includes water tubing and a by-pass plug for use when a filter is not installed. Always unplug the refrigerator before installing and verify compatibility before purchasing.

$ 75.38
Special Order
Part #W11346623

Customer Repair Stories

ICE MAKER WATER FILTER HEAD REPLACEMENT
2 of 2 people found this instruction helpful.
  • KENNETH from STOCKBRIDGE, MI
  • Easy
  • 30 - 60 mins
  • Nutdriver, Pliers, Screw drivers
AS PER A VERY GOOD VIDEO I FOUND SIMPLY BY SEARCHING FOR THE PART NUMBER. IT MAY HAVE BEEN ON THIS SITE. SADLY, THE PUSHING ON THE CONNECTOR WITH THE 1/2" WRENCH LOOKED A LOT EASIER IN THE VIDEO, OTHERWISE EASY PEAZY AND I HAVE VERY PAINFUL ARTHRITIS IN MY SHOULDERS.
Was this helpful?
Thank you for voting!
Head filter broke where you put the filter in
2 of 2 people found this instruction helpful.
  • David from HARRISBURG, PA
  • Really Easy
  • 30 - 60 mins
  • Wrench set
I watched a 5-minute YouTube video ordered the part. It was delivered fast and it took me about 30 minutes to put it on.
Was this helpful?
Thank you for voting!

Fixes Symptom 3% of time

This is a speed lamp clip, and may also be known as the water line spring clamp. It is used in conjunction with your refrigerator. If you have a leak at your fill tub, this part may be the reason. The function of this clip is to keep the fill tube and the water line connected. This will allow water to flow freely without leakage into your water/ice dispensers. This part is quite small, with less than a half-inch in outer diameter. The clip is an off-black, almost olive color, and is rounded.

$ 11.77
In Stock
Part #WPM0114003

Fixes Symptom 3% of time

This refrigerator ice maker fill tube is designed to channel water cleanly and accurately from the water inlet valve to the ice maker tray, supporting reliable ice production and preventing leaks inside the freezer compartment. Made from durable white plastic and formed with an elbow shape to ensure proper alignment, it helps prevent common issues such as frozen, cracked, or misdirected water flow. Replacement is recommended if the ice maker is not producing ice, water is leaking, or the tube shows signs of damage or blockage. Installing a properly functioning fill tube helps restore consistent ice output while protecting the refrigerator from moisture-related damage.

$ 60.51
On Order
Part #W11176463

Customer Repair Stories

Old fill tube was blocked
3 of 3 people found this instruction helpful.
  • David from VESTAL, NY
  • Very Easy
  • 15 - 30 mins
  • Pliers
Cut old fill tube into pieces, removed and replaced with new tube. Extremely easy.
Was this helpful?
Thank you for voting!
The water supply line to the ice maker kept popping off after I replaced the water filter because an "ice plug" had formed in the fill tube, unbeknownst to me.
5 of 7 people found this instruction helpful.
  • Michael from TAKOMA PARK, MD
  • Easy
  • 30 - 60 mins
  • Nutdriver, Pliers
1. Turn your water OFF and pull the refrigerator out from the wall so you can access the back.
2. Use pliers to remove tubing clamp.
3. Remove old water fill tube.
4. I used a putty knife to gently pry out the old fill tube from the back of the refrigerator. Once the fill tube pulls out about 1/4 to 1/2", then you ca n gently pull the remainder of the tube out by hand. Once I removed my "old" fill tube, that is when I saw the "ice plug" that was causing pressure in the water supply line and caused my water line to pop off.
5. Install new fill tube. The end that goes in first needs to go through a small "ring" inside the freezer (this "ring" is not encountered until the fill tube only has about one more inch to be inserted into the back of the refigerator. I could barely see this "ring" if I opened the freezer drawer and stuck my head in as far as I could. I had to gently rotate the new fill tube until it cleared the "ring". You will feel some resistance until it lines up properly.
6. Snugly push in the part that stays on the outside of the refrigerator until it looks like it is sealed.
7. Gently push up the water fill tube where it belongs in the new part and replace the tubing clamp.
8. Turn your water on and make sure there are no leaks (I left my refrigerator out for about an hour).
9. Push your refrigerator back in place.
Was this helpful?
Thank you for voting!

Fixes Symptom 3% of time

This water filter (Whirlpool EveryDrop Refrigerator Water Filter, Single Turn Filter) purifies water going to the water dispenser and sometimes the icemaker as well. This part should be replaced if it is causing reduced water flow or just replaced periodically per the owner manual. Replacing this water filter may fix a noisy or leaking fridge, a fridge that is not dispensing water (or reduced flow rate), and an ice maker that is not making ice at all, or not making enough ice. This filter is white, sold individually and measures 8 inches by 3 inches in diameter. This water filter has been updated by the manufacturer. It may appear different but will still function the same. It is sold individually.

$ 84.45
In Stock
Part #EDR4RXD1

Replacing your Maytag Refrigerator Water Filter
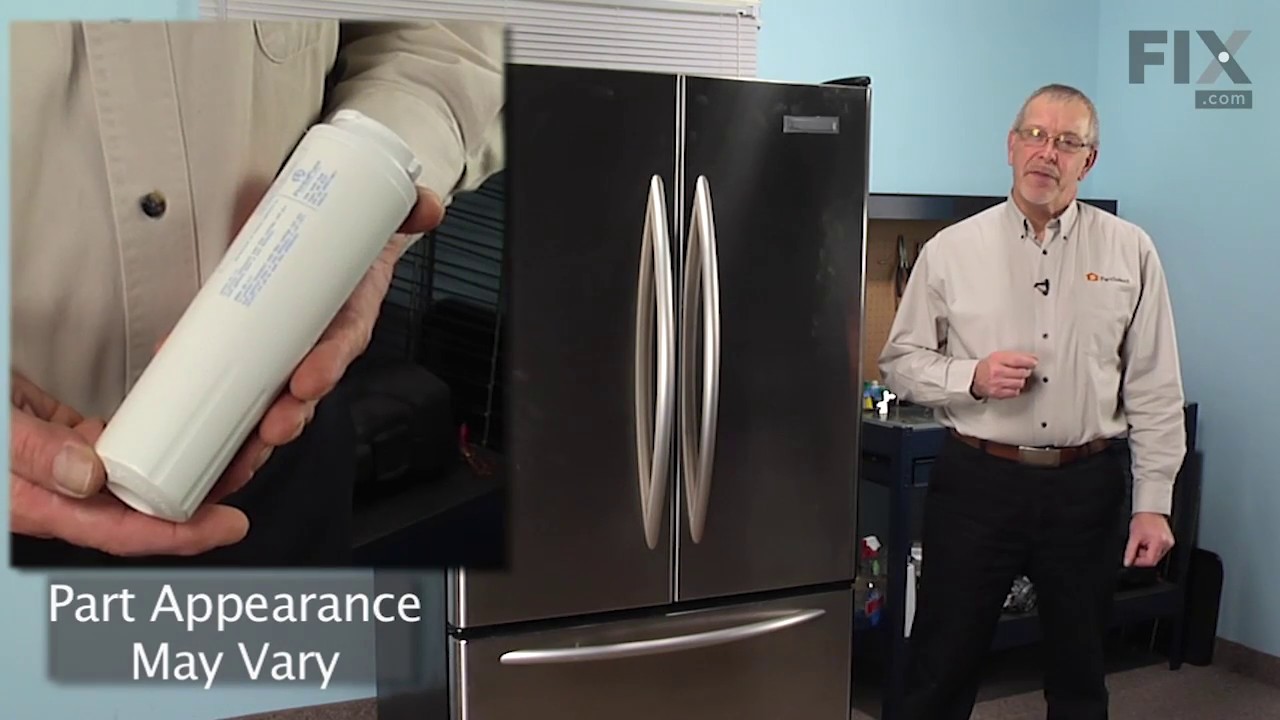
Replacing your Refrigerator Water Filter

Customer Repair Stories

Removing the existing filter by rotating as directed and then dislodging from 'docking' station proved difficult. Turns out, the old filter is under a bit of vacuum pressure and getting the unit to separate or release was a challenge.
216 of 335 people found this instruction helpful.
  • Jake from Novato, CA
  • Easy
  • Less than 15 mins
I removed the drop-down outer housing by gently prying the sides of the two pivot pins at the rear. This gave me move 'room' to grip and slightly rotate then pull the old filter forward and away from the tight suction connection. I was concerned that I would be too forceful for the plastic assemblies and would break something; deliberate motions and a steady thought process on the problem helped disengage the darned old filter!
Was this helpful?
Thank you for voting!
light on to order water filter
916 of 1059 people found this instruction helpful.
  • Douglas from Byron, NY
  • Really Easy
  • Less than 15 mins
Pressed in the end of the filter cover, lowered it down part way. Twisted the old filter 1/4 turn and removed it. Set in the sink to drain. Inserted new filter and twisted it to lock. closed cover. Done. Total time @ 1 Minute.
Was this helpful?
Thank you for voting!

Fixes Symptom 3% of time

This refrigerator door gasket is designed to create an airtight seal when the door is closed, helping maintain consistent internal temperatures and energy efficiency. Constructed in gray and equipped with magnets along all sides, it ensures a secure closure that prevents warm air from entering and cold air from escaping. Over time, the gasket may become cracked or lose its sealing ability, leading to symptoms such as condensation on the door or difficulty opening and closing. Replacement is recommended if these issues occur, and installation typically involves removing the old gasket and pressing the new one into the designated groove around the door frame. Proper sealing is essential for optimal appliance performance and food preservation.

$ 144.93
In Stock
Part #W10830162

Customer Repair Stories

Original right hand French door gasket tearing along left hand side (where doors meet)
16 of 16 people found this instruction helpful.
  • Mike from LUDINGTON, MI
  • Really Easy
  • 30 - 60 mins
Really was very easy to do.
I read how others completed the replacement & followed instructions that came with the replacement gasket. Original gasket (new in 2008) was at first stubborn to remove but once I got it started was easy to complete removal.
The new gasket arrived folded in half. I followed the instructions to elimi nate the bends and a few crinkles with heat by laying the gasket in direct sunlight until it was warmed and pliable. I cleaned the gasket areas and then massaged the warmed gasket until it was smooth & fully shaped. It was then very easily to install.
So glad I decided to order this original part form this site and install myself. Saved a lot of money plus enjoyed satisfaction of doing this myself
Was this helpful?
Thank you for voting!
Door gasket wasnt sealing anymore and had some minor cracks
31 of 31 people found this instruction helpful.
  • Joel from DELRAY BEACH, FL
  • Very Easy
  • Less than 15 mins
First, I removed the old door gasket by pulling it out of the channel it was mounted in, noting the orientation of the gasket. Then, it was a simple matter of lining the new gasket up with the channel and pressing it into the groove. Very easy repair, and the door seals great!
Was this helpful?
Thank you for voting!

Fixes Symptom 3% of time

This refrigerator drip pan is a genuine replacement part designed to collect condensation from the evaporator coils during the defrost cycle. Positioned beneath the coils, it channels excess moisture away from the interior of the appliance, helping prevent leaks and water damage. The pan also promotes evaporation, aided by the warmth from nearby components like the compressor. If you're noticing water pooling inside or behind your refrigerator, replacing a damaged or missing drip pan can restore proper moisture control and protect your appliance.

$ 78.77
In Stock
Part #WPW10655368

Customer Repair Stories

Pan is easy part, fan motor assembly is appliance orgami
4 of 5 people found this instruction helpful.
  • Thomas from MELBOURNE, FL
  • Easy
  • 15 - 30 mins
  • Nutdriver, Screw drivers
Remove back cover
Remove drip thing from top to tray in the back
Remove fan motor assembly. This is squirrely. Top bends towards you, bottom pushes in to the unit. Not fun.
CAREFULLY remove copper tube that rests on drip tray
Remove tray - there are clips in the front that get released by screwdriver
Clean up ... Read more />Replace new tray
Replace copper tube
Play with fan motor assembly till it fits. It doesn't look like it's gonna work until it does. See youtube videos on this.
Replace drip thing from top to tray - I forgot this one the first time.
Replace cover.

This is a simple, but squirrely, repair. Right on the border of easy (because so few tools and steps) and A Bit Difficult because of the patience required.
Was this helpful?
Thank you for voting!
Drip pan in the back bottom was cracked during shipping and leaked
41 of 50 people found this instruction helpful.
  • David from Traverse City, MI
  • A Bit Difficult
  • 15 - 30 mins
  • Nutdriver
We had periodic leaks from under the Unit from new, could never figure out where it was coming from. Finally as it began to cause damage to surrounding cabinets, we took the back off and found the multiple cracks in the drip pan. Someone had hand trucked it from the wrong side! It was difficult to figure out the fan removal (it sits in th e pan) but push the top forward and pull the bottom back and the fan came out. Then the pan was simple to remove / replace, by reversing the removal procedure, the fan was re installed.
Was this helpful?
Thank you for voting!

Fixes Symptom 2% of time

Sold individually.

$ 9.62
In Stock
Part #WPA3223101

Customer Repair Stories

Water line feeding ice maker was not producing ice
1 person found this instruction helpful.
  • Daniel from SAINT ALBANS, VT
  • Really Easy
  • Less than 15 mins
  • Pliers, Socket set
Take out the elbow fill tube and check to see if ice build up inside tube. Clean tube of ice build up. Replace tube back in. In my case that corrected my problem.
Was this helpful?
Thank you for voting!

Fixes Symptom 2% of time

This gray freezer door gasket is designed to create a tight, reliable seal around the door of compatible refrigerator models. It helps maintain consistent internal temperatures by preventing warm air from entering and cold air from escaping, which improves energy efficiency and preserves food freshness. If the gasket becomes warped, creased, or damaged, it may cause temperature fluctuations, increased energy use, or difficulty closing the door. Replacing a faulty gasket is essential for optimal appliance performance. This part is sold individually and is compatible with a range of refrigerator models—please verify fit before purchase.

$ 90.17
In Stock
Part #W10443320

Customer Repair Stories

replace freezer door gasket
8 of 10 people found this instruction helpful.
  • Russell from ROCK HILL, SC
  • Very Easy
  • Less than 15 mins
first pressed in two bottom corners then used fingers to press in bottom section,pressed in two top corners then pressed in both sides using fingers followed by pressing in top section using fingers.VERY EASY !
Was this helpful?
Thank you for voting!

Fixes Symptom 2% of time

This water inlet valve assembly is for refrigerators. Water inlet valve assembly supplies water to the ice maker and water dispenser in the refrigerator. Safely store any food that could deteriorate while the power is off and unplug the refrigerator before installing this part. Wear work gloves to protect your hands.

$ 112.44
In Stock
Part #WPW10420083

Customer Repair Stories

No water and ice maker not working
2 of 2 people found this instruction helpful.
  • Christopher from WARREN, RI
  • Really Easy
  • 30 - 60 mins
  • Socket set
Used a 1/4" nut driver for the project install, just one note when installing the water feed into the new inlet valve make sure it is seated properly, look for the indicator mark on the water feed. Very easy installation!
Was this helpful?
Thank you for voting!

Fixes Symptom 2% of time

This is an ice maker assembly for various models of refrigerator. This ice maker assembly is used to freeze and eject ice into the ice bucket, then dispense the ice. This ice maker comes with the necessary shut-off arm, as well as a wire harness to properly install it into the freezer compartment of your refrigerator. If your current ice maker is either not producing ice or not breaking the ice up properly, it will need to be replaced. This ice maker assembly is an OEM part and is sold on its own, without any other parts or accessories.

$ 104.39
In Stock
Part #W10884390

Customer Repair Stories

Ice maker was leaking fresh water into the tray freezing large clumps of cubes together.
16 of 17 people found this instruction helpful.
  • william from GROVE, OK
  • A Bit Difficult
  • 15 - 30 mins
  • Nutdriver, Screw drivers
First and foremost shut off the water supply to the Ice maker. Some recommend unplugging the refrigerator or disabling the circuit breaker to the refrigerator. Then after emptying the freezer remove the freezer door by loosening the four hex head screws and lift the door straight up and set it off to the side.You can then remove the lower basket. Now locate the clamps located at the rear sides of the inner basket and use a small flat blade screwdriver to gently push the tabs toward the outside of the side clamps while pulling up at the same time and releasing the clamp. Now repeat this procedure on the opposite side of the inner basket. The inner basket can then be pulled out being careful to not damage the roller tracts or gear rollers. Three hexhead screws secure the ice maker to the wall. The screw under the ice maker must be removed while the two on top just loosened. The electrical plug is removed by depressing the tabs on the top and bottom of the plug and then pulling outward. Carefully lift the ice maker upward and out from the two upper hex head screws. You can then install the replacement icemaker by reversing the procedure.
Was this helpful?
Thank you for voting!
Ice maker did not work in the bottom freezer
33 of 43 people found this instruction helpful.
  • Raymond from NORTH VENICE, FL
  • Easy
  • 30 - 60 mins
  • Screw drivers, Socket set
Shut down refrigerator at the breaker. Placed freezer items in a cooler. Removed top shelf. You must release roller covers on each side to remove the shelf ( Two front screws must be removed) Took off freezer door. (4 screws holding the door to the bracket) Disconnected ice maker electronic plug. Totally removed bottom screw holding ice maker. Loosen two top screws and remove ice maker. Reverse process to install.
Was this helpful?
Thank you for voting!

Fixes Symptom 1% of time

This water filter bypass cap, also known as a water filter bypass plug, is an authentic OEM part that replaces the regular water filter cartridge in refrigerators. It allows water to flow freely through the dispensing system when the filter is not present. The bypass can fail if it becomes clogged, cracked, or falls out of alignment. A faulty filter bypass will result in leaking, poor ice production, and difficulties dispensing water. You can find the filter bypass inside the refrigerator, near the water filter housing. Disconnect the water supply lines and remove the faulty bypass. Insert the new bypass in its place and reconnect the water supply lines.

$ 48.45
In Stock
Part #W11395888

Replacing your Maytag Refrigerator Water Filter Bypass
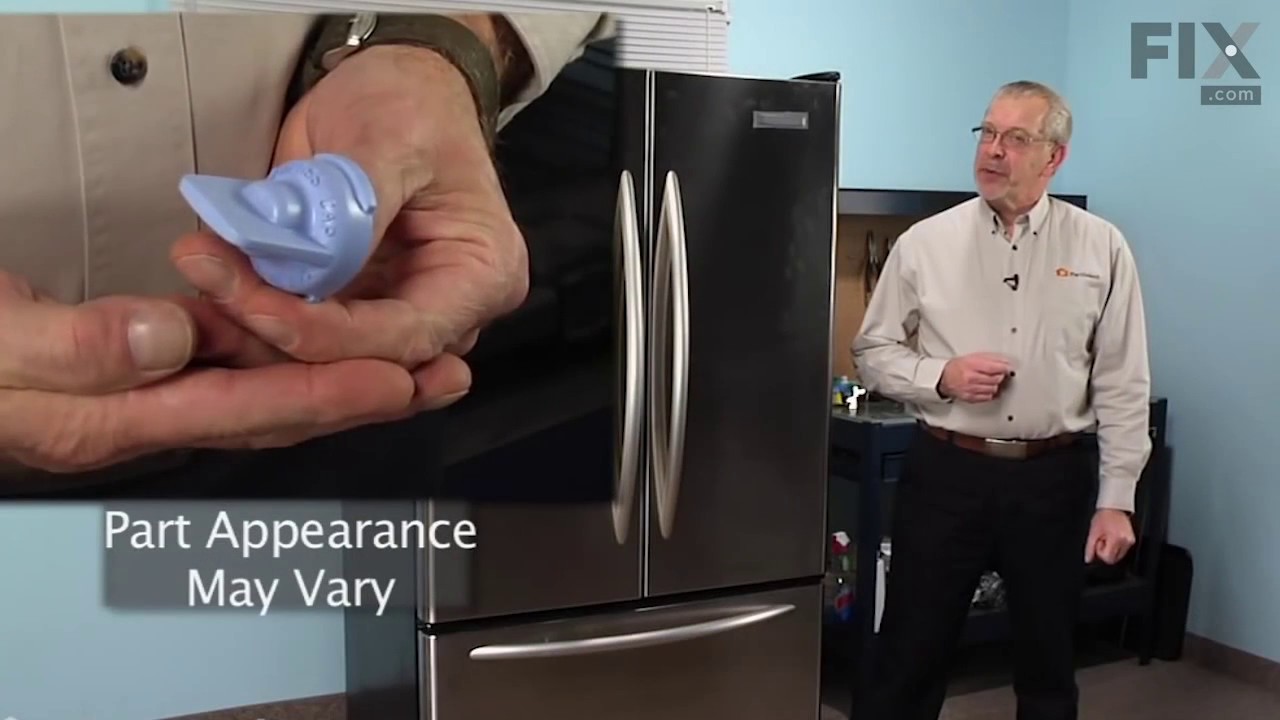
Replacing your Refrigerator Water Filter Bypass

Customer Repair Stories

no water when under sink water filter installed
11 of 19 people found this instruction helpful.
  • Emi from Arlington, VA
  • Easy
  • Less than 15 mins
I called the installer of my filter unit and he told me that often, thhe fridge filter is the problem. Like magic it worked
Was this helpful?
Thank you for voting!
Remove the water filter to install the bypass cap
11 of 14 people found this instruction helpful.
  • Phil from GREENFIELD, IN
  • Very Easy
  • Less than 15 mins
  • Pliers
Lower the filter bottom housing to gain access to the filter. Unscrew the filter and install the bypass cap. Secure the lower filter housing to the top assembly.
Was this helpful?
Thank you for voting!