


 My Orders




KA1 - Overview
Models starting with KA1
Click on the best match to narrow your results.
Enter a part description. DIY Heroes keep it simple, eg. "belt" or "pump".
Search filter:
Clear Filter
Your search term must have 3 or more characters.

$32.63
In Stock
Belt Kit
Part #12112425
This kit includes both the drive belt and the pump belt which are both V-shaped. If your washer does not toss, spin, or drain water properly, this might be because one of these belts has worn or stretched out. This results in the belt losing its grip and no longer driving the pump. The pump belt is black and made of rubber. The pump belt ...Read moreis located between the motor and pump underneath the washer. Simply remove the belt and hook the new one around the pulley. You may need to loosen or tighten the belt to ensure it is set in place properly.
Read less

$6.40
In Stock
Dryer Retaining Ring
Part #WP9703438
This part is a retaining ring, sometimes called a retaining clip, that holds the drum support roller onto the shaft of a dryer. It is made entirely of metal and measures less than an inch in diameter. The retaining ring is a genuine OEM part sourced directly from the manufacturer. The ring may vary in appearance due to manufacturer substi...Read moretution, but the function is the same. You may need to replace this part if the dryer is noisy during tumbling, will not tumble, or takes too long to dry. Be sure to check drum support roller kit and shaft before ordering parts.
Read less

$26.82
In Stock
Worm Following Gear
Part #W11086780
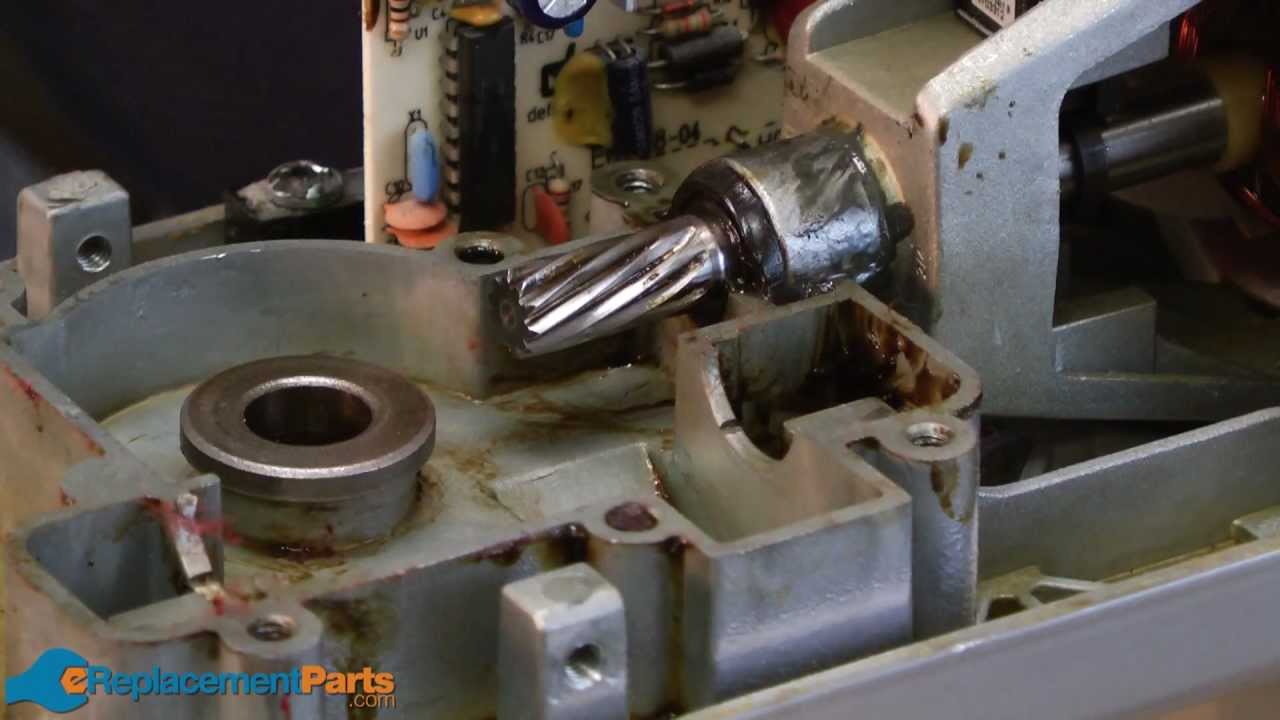
This gear is used to power your stand mixer. It is attached to the planetary shaft. The gear can become stripped over time or accumulate grease. You may need to replace other mechanical parts at the same time such as the worm gear and pinions. Make sure the mixer is unplugged before beginning this repair. Clear excess grease as you encounter it during this repair.

$63.64
In Stock
Hub Gear
Part #W11192795
Includes both the attachment and beveled gear. This worm follower gear is for stand mixers.
Worm follower gear meshes with the worm gear, causing the rotation of the planetary assembly where the accessories attached.
Unplug the mixer before installing this part. Wear work gloves to protect your hands.

$28.42
In Stock
Mixer Flat Beater
Part #WPW10672617
This Flat Beater Part Number WPW10672617 is for Stand Mixers. Attaches to the beater shaft and is for normal to heavy mixtures such as cake batters or cookie dough. This has a powder coated finish.

$79.98
In Stock
Water Inlet Valve
Part #205613
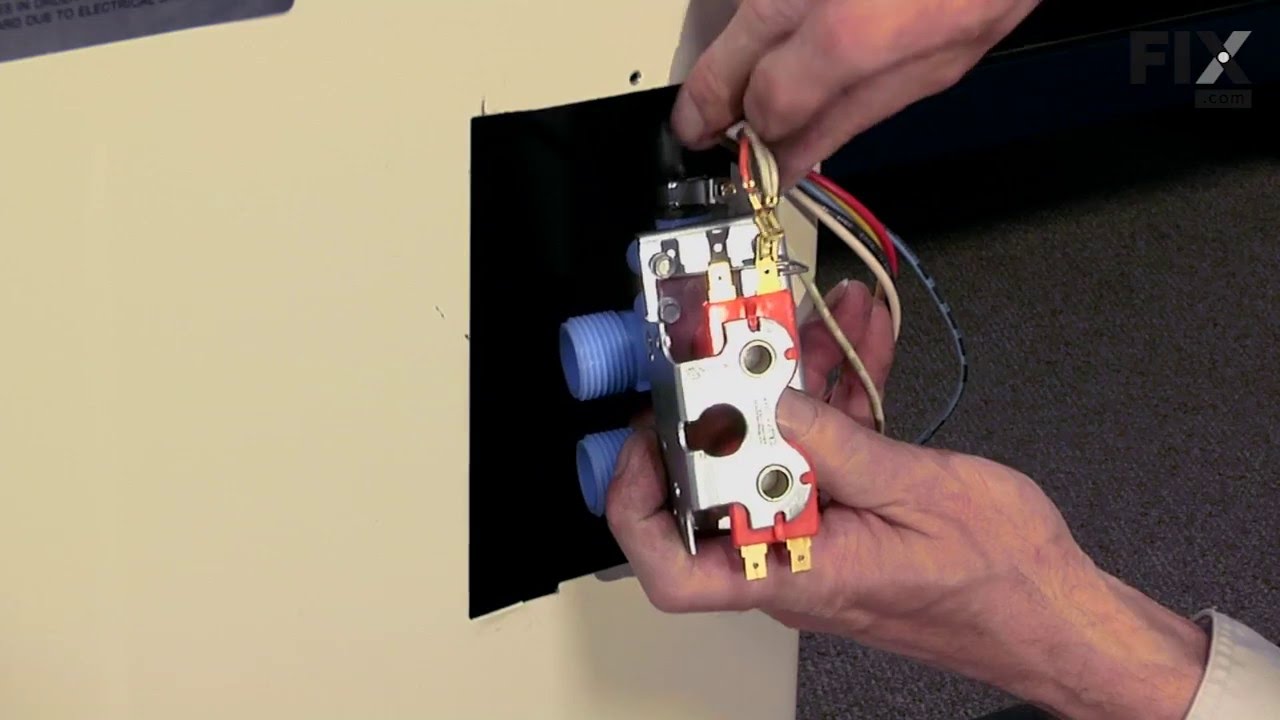
This is a water inlet valve which is used in washing machines. The valve controls and monitors the flow of water into the washer. It has a multi-mount bracket and outlet adaptor. The tools needed for this repair are: a 5/16 nut driver, 1/4 nut driver, and a small flat blade screwdriver. If cold water does not flow into washer, or the wash...Read moreing machine will not fill with hot water, replacing the valve can be the solution. To gain access to the water valve, locate the back of the washer and remove the hot and cold hoses, as well as the whole assembly. Next, remove the four wires and loosen up the clamp. After removing the old valve, replace it with the new one and reconnect the wires and hose. Remember to disconnect the washer from the power source before starting this project.
Read less

$33.69
In Stock
Wire Whip Mixer
Part #WP9704329
This wire whip is for stand mixers.
Wire whip attaches to the beater shaft and incorporates air into cream, eggs and frostings.
Follow the instructions in the owner's manual for using and installing this part.

$8.55
In Stock

$54.24
In Stock
Mixer Worm Gear
Part #WP9709231
This durable metal worm gear is designed to rotate the planetary assembly in select stand mixers, enabling smooth and consistent operation of attached accessories. As a key internal component, it helps drive the mixing action and ensures reliable performance. If your mixer is unresponsive, making unusual noises, or slipping during use, a ...Read moreworn or damaged gear may be the cause. Replacing this part can restore proper function and extend the life of your appliance.
Read less

$22.52
In Stock
Lid Switch
Part #W10820036
This washer/dryer lid or door switch kit serves as a critical safety component, designed to prevent the appliance from operating when the lid or door is open. It ensures that the washer does not fill or spin and the dryer does not start unless the door is securely closed, helping to avoid water spills and potential safety hazards. The kit...Read more includes all necessary components for installation and is compatible with a wide range of top-loading washers and front-loading dryers. Installation typically involves disconnecting power, accessing the control panel or door area, and replacing the switch using standard tools. The switch is compact and designed to fit seamlessly within the appliance’s housing, with dimensions approximately 2.5 inches in length, 1 inch in width, and 1 inch in height. It features a neutral color finish that blends with most appliance interiors.
Read less

$79.64
In Stock
Stand Mixer Speed Control Board and Knob (Black)
Part #WP9706648
This speed control switch assembly is a precision electronic component designed to regulate motor speed in stand mixers. It includes a black control knob and is engineered to deliver consistent performance across various mixing tasks, from gentle stirring to high-speed whipping. By allowing fine-tuned adjustments, it helps prevent overmix...Read moreing and ensures optimal texture and consistency in recipes. This genuine OEM part is compatible with select KitchenAid and Whirlpool stand mixer models and is ideal for replacing a worn or malfunctioning speed control unit. Installation should be performed with the appliance unplugged to ensure safety and proper handling of electrical components.
Read less

No Longer Available
Drain Pump
Part #WP6-2022030
This washing machine drain pump is intended for use with automatic washers that have been manufactured since 1958. The pump itself is made of plastic, though it does come with a metallic belt pulley.
Common Symptoms of models starting with KA1
How this model fails, and the parts that fix it.
Burning smell
Fixed by
these parts
these parts


Show All
Noisy
Fixed by
these parts
these parts

Show All
Will not drain
Fixed by
these parts
these parts

Show All
Leaking
Fixed by
these parts
these parts

Show All
Will not agitate
Fixed by
these parts
these parts
Show All
No hot or cold water
Fixed by
these parts
these parts
Show All
Touchpad does not respond
Fixed by
these parts
these parts


Show All
Spins slowly
Fixed by
these parts
these parts
Show All
Will Not Start
Fixed by
these parts
these parts

Show All
Spinning Issues
Fixed by
these parts
these parts
Show All
Water Filling Issues
Fixed by
these parts
these parts
Show All
Won’t Start
Fixed by
these parts
these parts
Show All
Shaking and Moving
Fixed by
these parts
these parts
Show All
Noisy and Marks Left on Clothes
Fixed by
these parts
these parts
Show All
Watch our pros, then fix it yourself.
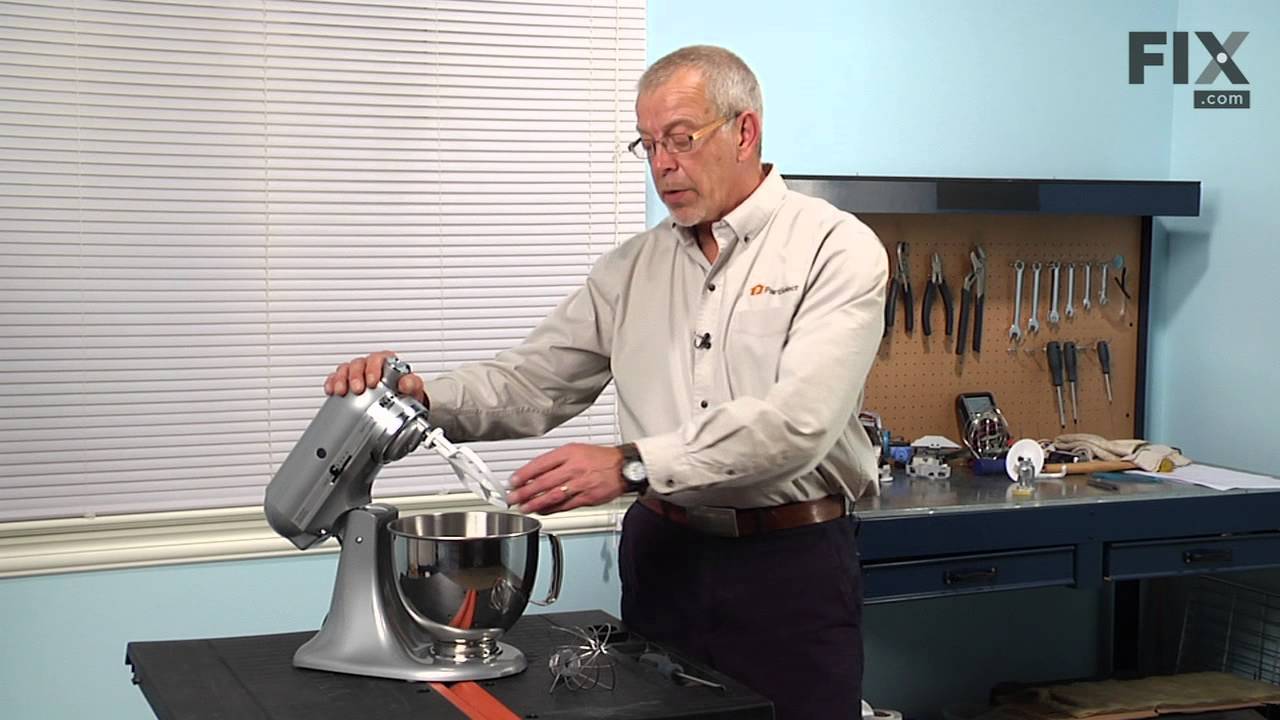
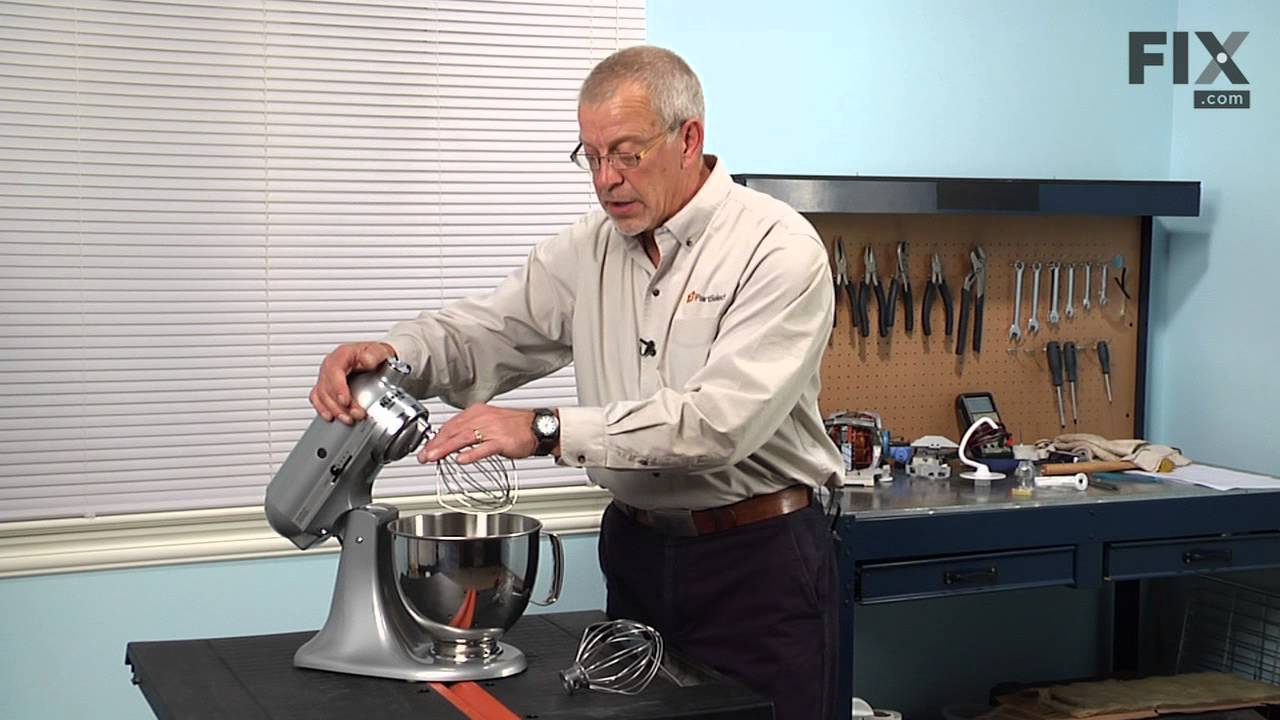
See how others fixed this model. Time, tools, difficulty, and steps that lead to victory!
View More
Search repair tips from other customers using simple keywords like "replace", "fit", "remove", "inspect". DIY doesn't mean you have to do it alone!
Search filter:
Clear Filter
Your search term must have 3 or more characters.
Drum would not drain and there was a banging noise when the drum spun
600 of 658 people
found this instruction helpful.
I removed the 2 phillips screws on the bottom of the front panel. Then checked around to find the belts were actually below the floor panel.
I pulled the washing machine away from the wall and tilted it bacwards and found the pump belt was off the pully and the drive belt was badly damaged. I replaced the 2 belts which took no tools ... Read more and about 3 minutes to accomplish then resecured the front panel, pushed back in place and leveled. Complete repair from diagnosis to back in operation took less than 15 minutes.
I pulled the washing machine away from the wall and tilted it bacwards and found the pump belt was off the pully and the drive belt was badly damaged. I replaced the 2 belts which took no tools ... Read more and about 3 minutes to accomplish then resecured the front panel, pushed back in place and leveled. Complete repair from diagnosis to back in operation took less than 15 minutes.
Read less
Was this helpful?
Thank you for voting!
Clothes would come out of the spin cycle still wet
132 of 144 people
found this instruction helpful.
First found out where the belts were by tipping the machine backwards and saw that the belts were intact but extremely loose. Ordered two belts (Drive and Pump) . Re-tipped the machine and in less than three minutes, had installed the new belts. I re-hooked the hoses to the back and the machine operated as if new.
Was this helpful?
Thank you for voting!