This part is a retaining ring, sometimes called a retaining clip, that holds the drum support roller onto the shaft of a dryer. It is made entirely of metal and measures less than an inch in diameter. The retaining ring is a genuine OEM part sourced directly from the manufacturer. The ring may vary in appearance due to manufacturer substi...Read moretution, but the function is the same. You may need to replace this part if the dryer is noisy during tumbling, will not tumble, or takes too long to dry. Be sure to check drum support roller kit and shaft before ordering parts.
This Flat Beater Part Number WPW10672617 is for Stand Mixers. Attaches to the beater shaft and is for normal to heavy mixtures such as cake batters or cookie dough. This has a powder coated finish.
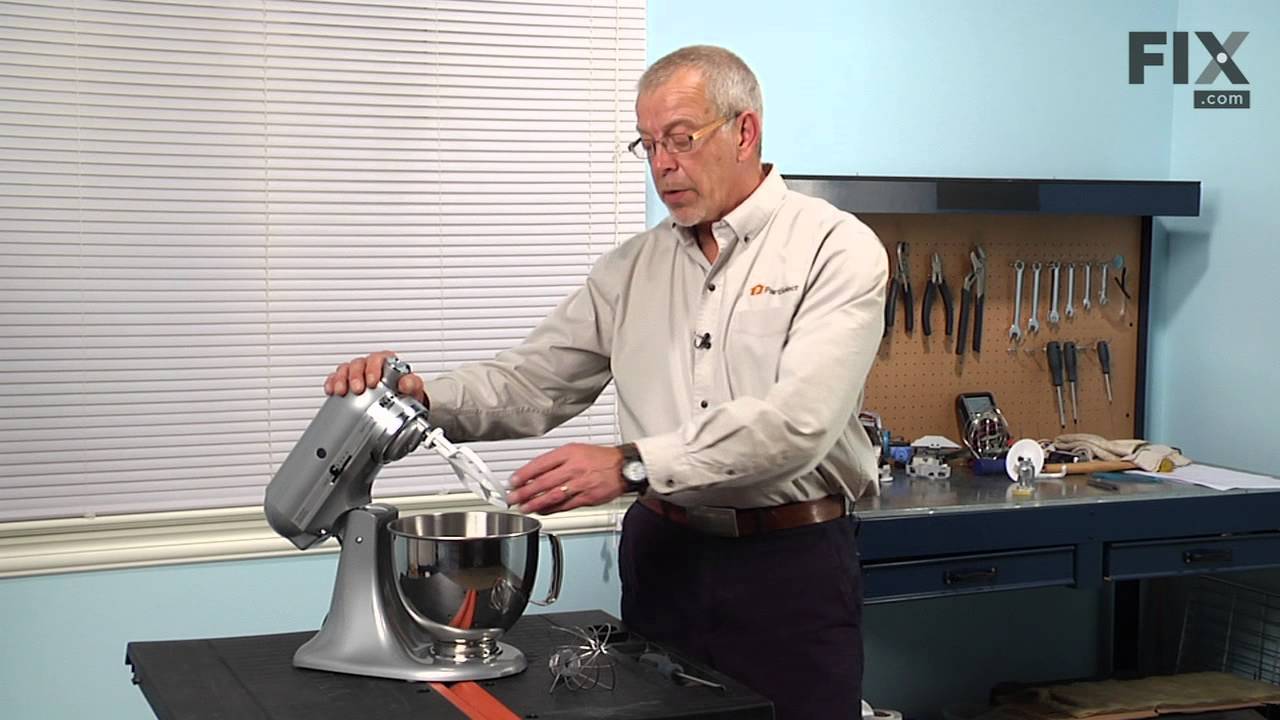
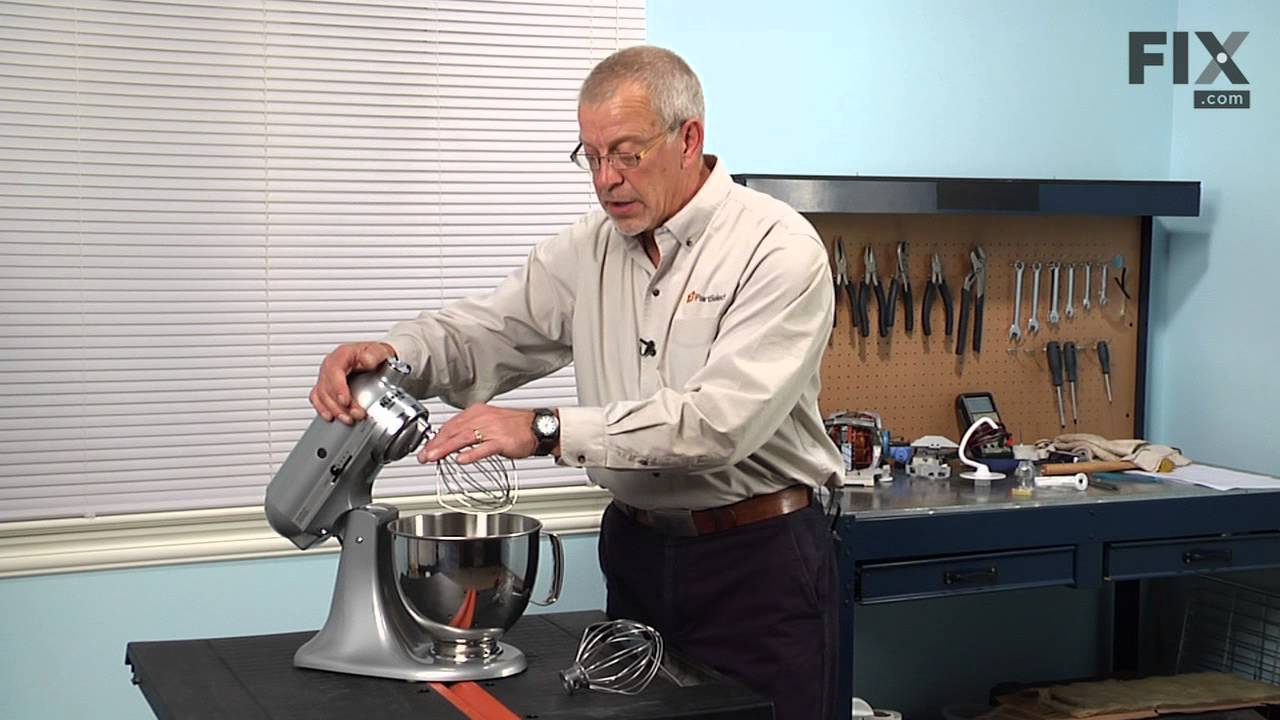
This wire whip is for stand mixers.
Wire whip attaches to the beater shaft and incorporates air into cream, eggs and frostings.
Follow the instructions in the owner's manual for using and installing this part.
The speed control lever on your stand mixer allows you to adjust the speed that the mixer is running at. The lever is approximately 3.5 inches long, with a black plastic handle at the top. The speed control lever connects to the interior of your stand mixer, so you will have to take it apart to access the bar that the lever is attached to...Read more. Once you’ve opened the mixer, you can unscrew the old lever, taking care not to misplace the screw or washer that holds it in place. Replace the old lever with the new one, and then put the mixer back together.
Ask our experts a question about this model and we'll get back to you as soon as possible!
We may have answered a similar question already! Search questions and answers left by others using simple keywords like "fit", "broken", "easy", or "quality" to find questions that match.
Search filter:
Clear Filter
Your search term must have 3 or more characters.
Sort by:
Prev
1
2
3
Next
Sorry, we couldn't find any existing answers that matched.Try using some different or simpler keywords, or submit your new question by using the "Ask a Question" button above!
Sandra - For model number K45SS
December 19, 2019
Looking for dough hock and beater that will fit my model K45SS.
Hi Sandra,
Thank you for your question. The part number listed under your model number for the dough hook is PS11757067 and the part number listed for the beater is PS11757063. We hope this helps. Thank you and have a great day!
5 peoplefound this instruction helpful.
Was this helpful?
Thank you for voting!
Janette - For model number K45SS
December 30, 2019
How do i remove the bowl from the base? After using the dough hook, it gets wedged onto the mixer and i can't budge it.
Hello Janette and thank you for writing.
First, you need to remove the hook by pulling up and turning it to the left, which will release the hook, then you can remove the bowl by turning it to the left and pulling up. For your convenience, we have attached the link to your manual. We hope this helps. Good luck with your repair.
https://www.manualslib.com/products/Kitchenaid-K45ss-Classic-Stand-Mixer-12872.html
2 peoplefound this instruction helpful.
Was this helpful?
Thank you for voting!
Connie - For model number K45SS
March 10, 2020
Would like order info for part # 3 cover for front end where attachments connect & # 37 power replacement cord for my classic mixer
Hi Connie, thank you for your question. Certainly, here are those parts: PS11775314, and PS12731171. If you are looking to purchase this part then you can do so by either adding it to your cart and going through the check out process online, or by calling our customer service line and ordering with one of our agents. We hope that helps. Good luck with your repair.
2 peoplefound this instruction helpful.
Was this helpful?
Thank you for voting!
Sandra - For model number K45SS
December 19, 2019
What kind of oil do i use for my model and how do i oil it. Where does it go into?
Hi Sandra, thank you for your question. This would be the part you are looking for: PS12583821. Good luck with your repair.
Excessive loose head where the attachments are inserted. I can wiggle the gears inside the mixer. I do not know the age of this unit but I am a DYI jack of all trades but master of none.
Hello Paul, Thank you for contacting us. Checking your model, this could be an issue with the planetary, gearcase bearings, or the agitator shaft. Good luck with your repair.
See how others fixed this model. Time, tools, difficulty, and steps that lead to victory!View More
Search repair tips from other customers using simple keywords like "replace", "fit", "remove", "inspect". DIY doesn't mean you have to do it alone!
Search filter:
Clear Filter
Your search term must have 3 or more characters.
Speed Control Lever KNOB BROKEN
163 of 209 peoplefound this instruction helpful.
Robert from Minot, ND
Easy
Less than 15 mins
Pliers
Pulled the Knob off of the new Lever then pressed it on the old Lever. I had to order the whole lever because it was the part nearest the knob in the illustrated parts break-down. I RECOMMEND THAT THE KNOB BE ADDED TO THE ILLUSTRATED PARTS BREAK-DOWN.
Was this helpful?
Thank you for voting!
motor would run but mixer wouldn't operate: broken worm gear
88 of 94 peoplefound this instruction helpful.
Raymond from Shirley, MA
Easy
30 - 60 mins
Screw drivers
My girlfriends' stand mixer failed when the accessory drive cap fell into the mixing bowl and jambed the beater, spliting the worm gear. The teeth on this gear are made of nylon and are molded to an aluminum center. This part is designed to fail in situations like this, saving the more expensive transmission parts. Following a repair manu
... Read moreal I found online, I first removed the rear cover and pulled out the cord strain relief out from the base. Next I removed the drip cup from around the base of the planetary drive. I then used a pin punch to drive out the pin holding the planetary to the center shaft and removed the planetary. The unit was then inverted and I removed 4 screws holding the bottom cover to the gear case, and the 5 screws from around the planetary drive. The bottom cover was then lifted off. Three screws holding the worm gear bracket in place were then removed and the worm gear assembly lifted out. A small pin holds the worm gear to the shaft. I drove this out with a small pin punch and the shaft and worm gear were then removed. There is also a thrust washer on this shaft, and it's location is important. Make a note for re-assembly. The new gear was installed and the entire process reversed for re-assembly. A successful repair completed! My girlfriend would have replaced this $200 appliance, but I was able to repair it for less than $30 including shipping.
Read less
Was this helpful?
Thank you for voting!
Mixer was making clunking sounds and shaking
90 of 109 peoplefound this instruction helpful.
Robert from Minden, NV
Easy
1- 2 hours
Screw drivers
I removed screws in a sequence that I felt wouldn't further damage the mixer until I had it completely unassembled. When I found the broken worm gear, I went online to find a part. I found an exploded view, but the part numbering was old, and the salesperson couldn't tell me what the worm gear and bracket assembly consisted of, as I only
... Read morewanted the worm gear. After trying to drive the pin out of the assembly, and failing, I decided to back online and see if anyone else had a photo of the assembly. Luckily (and wisely) PartSelect,com did and that answered any questions I had. The price was better, too. Reassembly of the mixer was a cinch with the exploded view. It's working like new, and we're hoping for another 35 years of service from it! Thanks.



 My Orders