


 My Orders




JSS86SP2SS General Electric Range - Overview

Enter a part description. DIY Heroes keep it simple, eg. "belt" or "pump".
Search filter:
Clear Filter
Your search term must have 3 or more characters.

$30.53
In Stock
Temperature Sensor
Part #WB21X22134
The temperature sensor, also known as the oven temperature sensor assembly is usually found in the back of the oven. The function of the oven temperature sensor assembly is to measure the temperature inside your oven while it is on and send the temperature back up to the electronic control, which adjusts as necessary. If your oven is havi...Read moreng difficulty achieving warmer temperatures and/or keeping warmer temperatures up, you may want to test your temperature sensor. Before you make this repair remember to unplug your range from the power source, and turn off the gas shut off valve.
Read less

$40.51
In Stock
Oven Sensor
Part #WB23T10015
The function of the oven sensor is to detect the temperature within the oven cavity. If you notice that the oven is too hot or too cold, or it is not heating evenly, you may need to replace the oven sensor. The oven sensor is typically located in the back of the oven so you will most likely need to pull your oven out to access it. Many of...Read more our customers have rated this repair as easy. You will need a Phillips screwdriver to complete this repair. Be sure to disconnect the power source and shut off the gas valve before doing this repair.
Read less

$166.42
In Stock
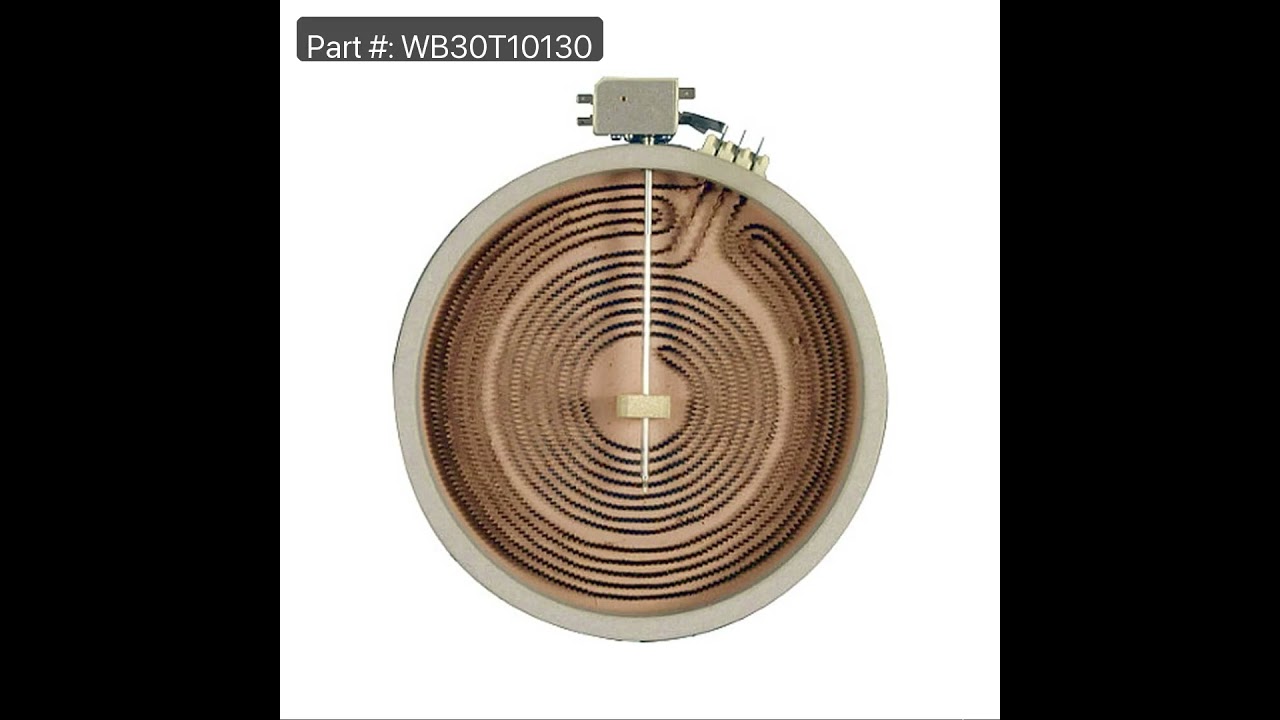
Haliant Element - 12 Inch
Part #WB30T10130
This dual radiant surface heating element is a genuine replacement component designed for select GE electric flat-top ranges, stoves, and cooktops. Commonly referred to as a "haliant" element, it features an integrated 12-inch and 9-inch heating zone, allowing for flexible cooking options based on pan size. Constructed from a durable nick...Read moreel-chromium alloy, it delivers consistent heat output and long-lasting performance. With a standard wattage of 1950 watts—though some replacements may offer up to 3000 watts—this element ensures efficient heat transfer to the glass cooking surface. Replacing a worn or malfunctioning element can restore proper heating and improve overall cooking performance. Compatibility should be verified using your appliance’s model number prior to installation.
Read less

$113.01
In Stock
ELEMENT RADIANT 9 Inch DUAL
Part #WB30X24111
This is a dual ceramic surface burner for ranges. This burner, also known as a heating element, is used within electric ranges to act as a stovetop burner. This burner measures approximately 10 inches in diameter and features a larger and smaller heating element that you can activate with the control board of your stovetop. If your stovet...Read moreop burner is currently not heating correctly or consistently, then it will need to be replaced immediately. This burner features a ceramic construction with metal parts like the terminals that connect directly to your range. This burner is an OEM part and is sold individually, so depending on how many of this burner your range uses, you may need to consider that before ordering.
Read less

$25.26
In Stock

$16.05
In Stock

$311.77
In Stock
Window Pack Assembly
Part #WB56X22160
This window pack assembly, also known as inner door glass, is supplied directly by the manufacturer for use in range ovens. It has measurements of approximately 22 inches by 14 inches. The inner door glass is situated between the outer door panel and the oven cavity. It acts as a barrier between the heat generated by the oven and the exte...Read morernal environment. This provides insulation and protection while allowing users to easily view the oven cavity. It is made of tempered glass and is resistant to high temperatures and thermal shock. If the inner door glass becomes damaged or cracked, heat will escape from the oven, you may be unable to see the contents of the oven and the risk of injury will be increased.
Read less

$16.05
In Stock

$16.05
In Stock
Range Screw
Part #WB01T10008
This part is a replacement screw for your oven. It is made of black metal and is sold individually. This screw is approximately 1/4 inch in diameter and about 1/2 inch in length. It is designed to connect the different parts of your oven door. This part is an authentic OEM part sourced directly from the manufacturer.

$110.22
In Stock
Element Radiant 5.5 IN
Part #WB30T10145
This surface element is designed to deliver heat to a specific cooking zone on the top of an electric range, providing consistent and efficient performance for everyday meal preparation. Located beneath the cooktop surface, it plays a key role in maintaining accurate temperature control. Before installation, be sure to unplug the range or...Read more switch off the appropriate circuit breaker to ensure safety. Wearing protective work gloves is also recommended to prevent injury while handling electrical components.
Read less

$30.53
In Stock

$35.80
In Stock
Range Board Sensor
Part #WB27X28659
Common Symptoms of the JSS86SP2SS
How this model fails, and the parts that fix it.
Element will not heat
Fixed by
these parts
these parts


Show All
Little to no heat when baking
Fixed by
these parts
these parts

Show All
Oven not heating evenly
Fixed by
these parts
these parts
Show All
Oven is too hot
Fixed by
these parts
these parts
Show All
Will Not Start
Fixed by
these parts
these parts

Show All
Little to no heat when broiling
Fixed by
these parts
these parts
Show All
Watch our pros, then fix it yourself.
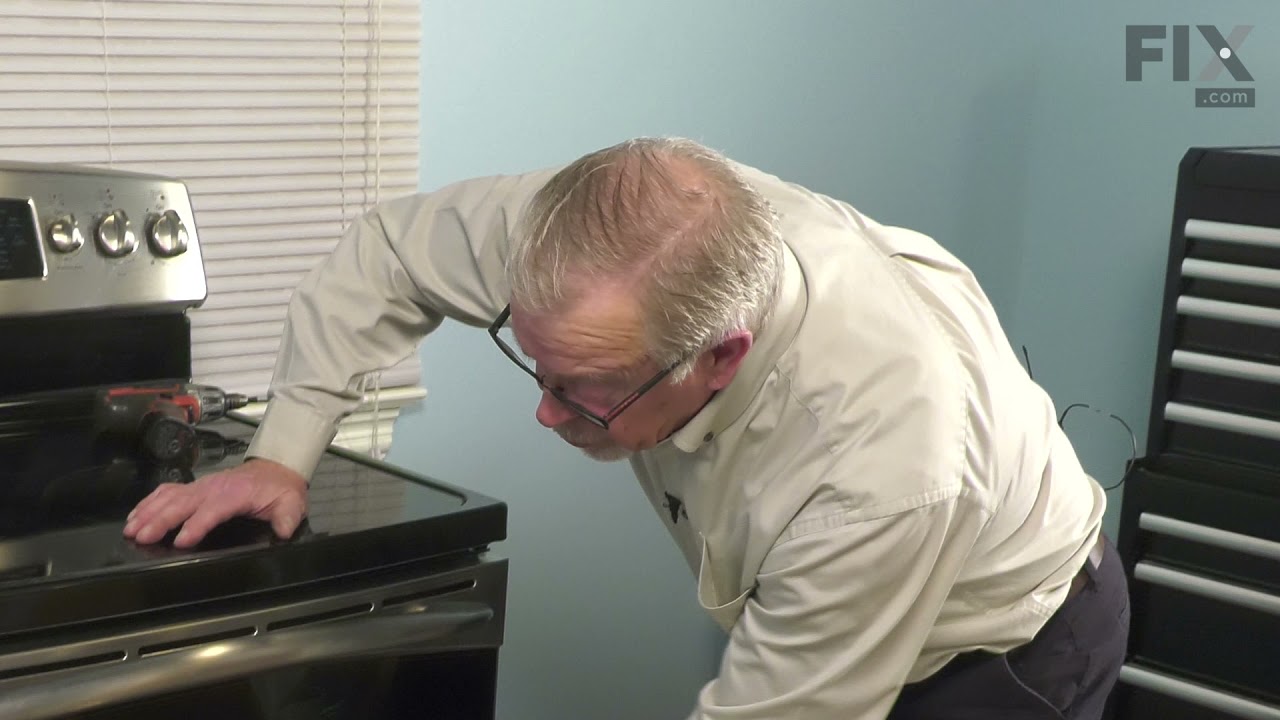
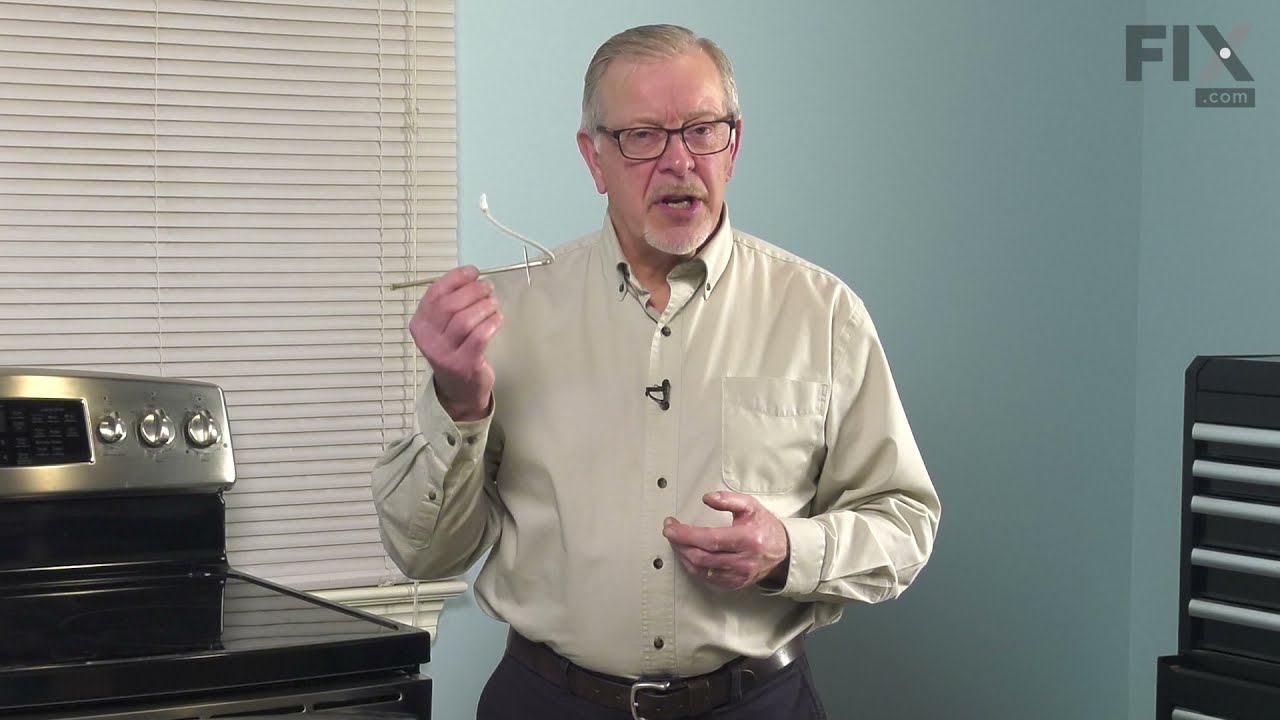
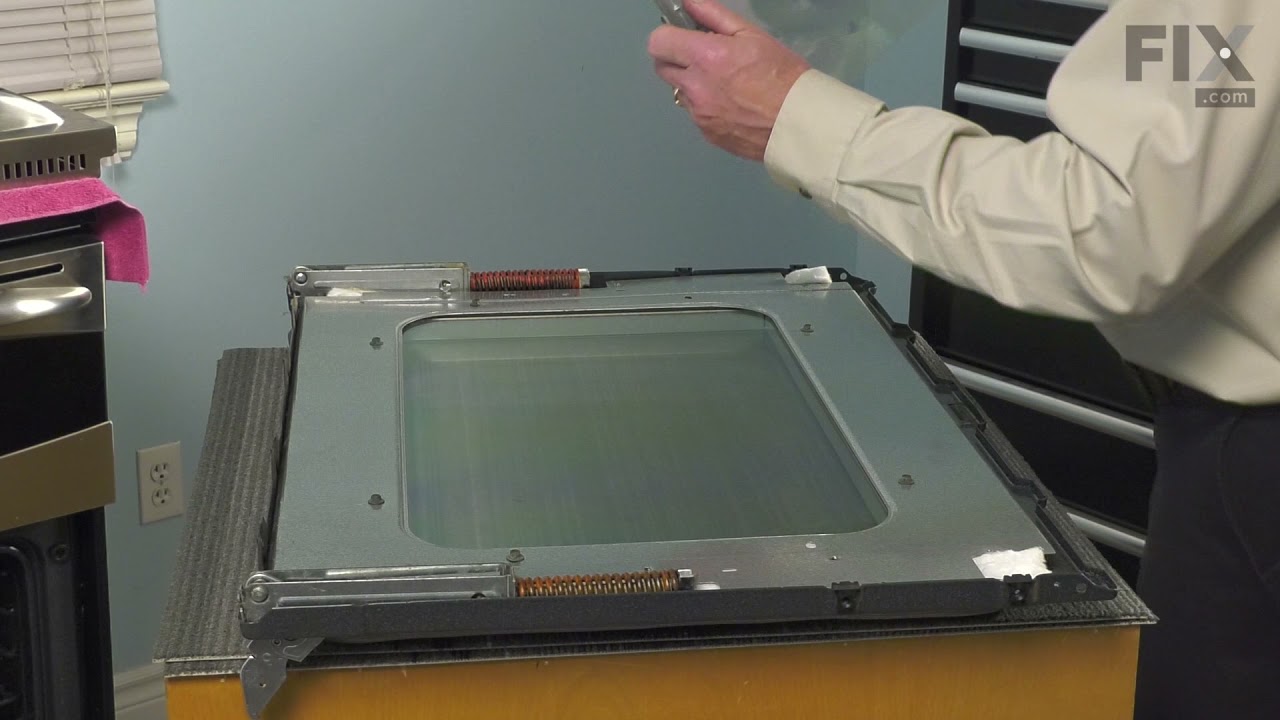
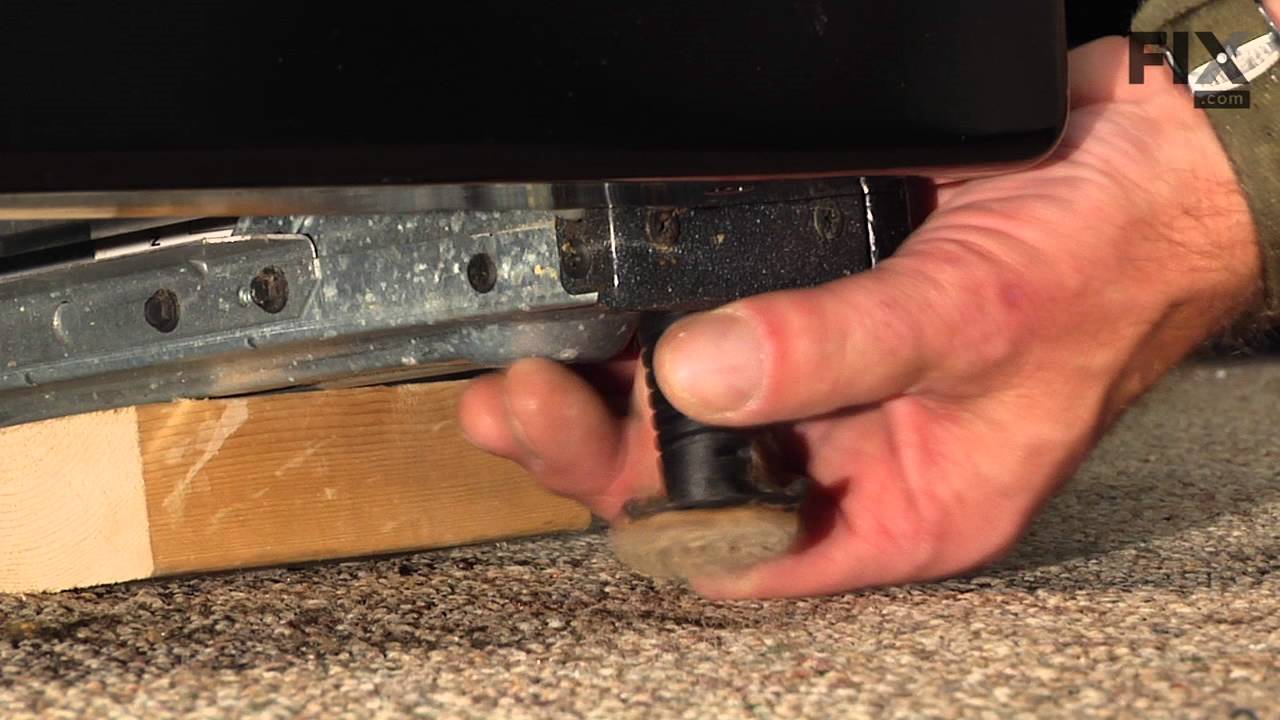

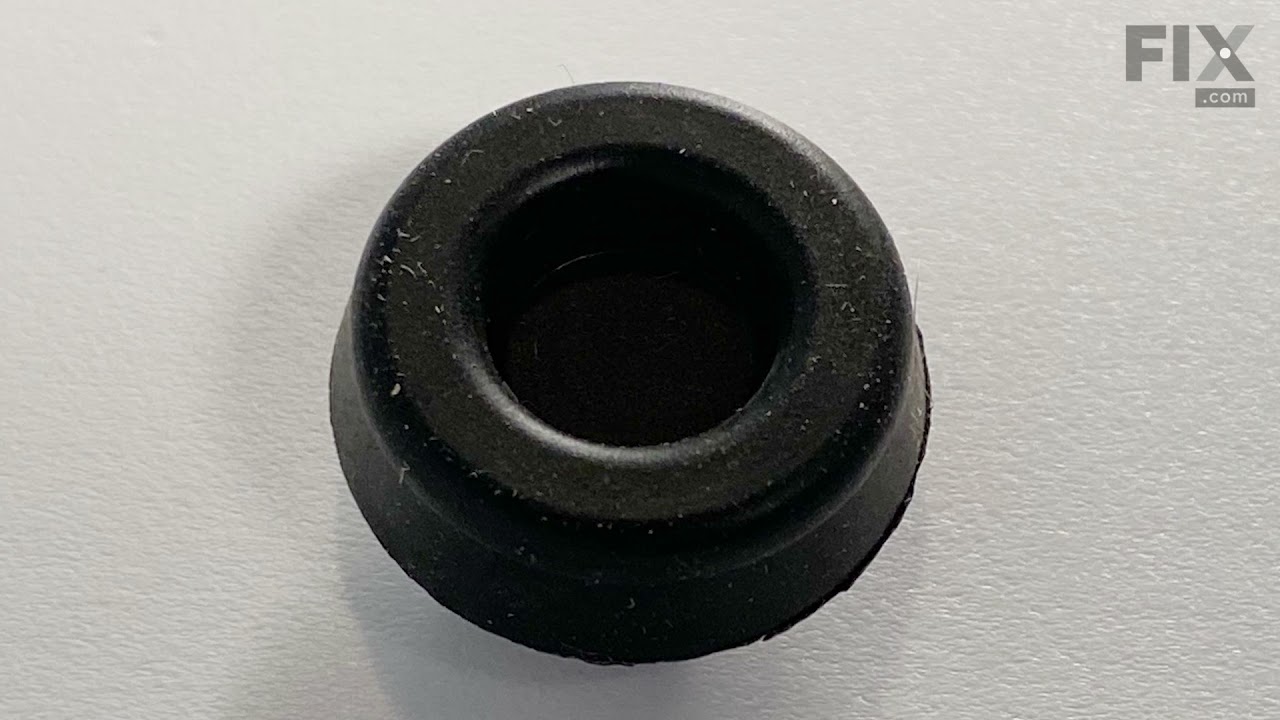
See how others fixed this model. Time, tools, difficulty, and steps that lead to victory!
View More