



 My Orders




JSP46BD1BB General Electric Range - Overview

Enter a part description. DIY Heroes keep it simple, eg. "belt" or "pump".
Search filter:
Clear Filter
Your search term must have 3 or more characters.

$73.86
In Stock
Oven Rack
Part #WB48T10095
The oven rack is sold individually. It is chrome in color and measures approximately 24 inches wide by 17-1/2 inches deep. The rack is used to hold cookware in the oven and slides back and forth for easy access. Racks can become rough and discolored over time and may need to be replaced, or perhaps you just need extra storage space in the...Read more oven! This repair is extremely simple and does not require any tools. Before you begin, ensure that the rack edges are straight and have not warped from shipment. Once the oven door is open, the stop end goes in first and it simply slides into place.
Read less

$123.58
In Stock
Dual Radiant Element - 9 Inch
Part #WB30T10099
This is a large dual haliant element with a limiter or sensor for glass cooktops and freestanding ranges. It is a 2500-watt part. The inner diameter measures 9 inches, while the outer diameter measures 10 inches. If there is no heat generated from your element, you may need to replace this part. You may also need to check your socket or i...Read morenfinite switch. It is located under the glass cooktop of your appliance. Be sure to unplug or cut the circuit breaker to your appliance before starting this repair. Before replacing this part, be sure your appliance is getting enough power. If it is receiving less than the required 220 volts of alternating current, the surface element will not work.
Read less

$16.07
In Stock
Oven Bulb Lens Cover - Glass
Part #WB25T10002
This part is the replacement oven bulb lens cover. It is made of glass and is approximately 3 inches in diameter. The lens cover is rigid and protects the oven light bulb from being damaged. The main reason to replace the oven bulb lens cover is if it is cracked, damaged, or missing. Be sure that the lens cover is cool to the touch before...Read more you begin this repair. To remove the lens cover simply turn it counterclockwise until you can remove it. Replace it with a new cover and turn it clockwise to lock it into place. This is an OEM part sourced from the manufacturer, and it is sold individually.
Read less

$39.95
In Stock
Oven Light Housing
Part #WB08T10002
The light housing is also known as a lamp holder and is a part for the oven in your range. The function of this piece is to hold the bulb that will light up the inside of your oven. As per the manufacturer instructions, if your bulb has burnt out you must buy the bulb for this part locally. This light housing is roughly five inches high, ...Read morewith an outside diameter of roughly four inches by four inches. To install this part, you will need a Phillips screwdriver, a nut driver, and a pair of pliers.
Read less

$25.26
In Stock

$16.05
In Stock

$133.95
In Stock
Large Haliant Burner with Limiter - 8"
Part #WB30T10045
This haliant burner element is a gneuine OEM replacement part for your stove. This element is 8 inches in diameter. The element lies underneath the stovetop, and will need to be replaced if it stops heating. To complete this repair you will need a 1/4 inch nut driver and a flat blade screwdriver. To access the element, open the oven door and unscrew the two screws under the lip of the cooktop.

$16.05
In Stock

$85.36
In Stock
Dual Burner Control Switch
Part #WB24T10063
This infinite control switch is designed to regulate the heat output of dual surface burners on ranges and cooktops. It manages both the inner and outer heating coils of dual-element burners by cycling power on and off, allowing precise temperature control across various settings. Compatible with a wide range of models from brands such as...Read more GE, Hotpoint, Kenmore, Monogram, and Café, this switch ensures consistent performance and safe operation. Common signs of a faulty switch include inconsistent heating, burners remaining at full heat regardless of the setting, or the control knob failing to respond. Installation involves disconnecting power, removing the cooktop panel, and replacing the switch behind the control knob. This part replaces several older models and is engineered for long-term
Read less

$129.32
In Stock

$94.60
In Stock

$16.05
In Stock
Range Screw
Part #WB01T10008
This part is a replacement screw for your oven. It is made of black metal and is sold individually. This screw is approximately 1/4 inch in diameter and about 1/2 inch in length. It is designed to connect the different parts of your oven door. This part is an authentic OEM part sourced directly from the manufacturer.
Common Symptoms of the JSP46BD1BB
How this model fails, and the parts that fix it.
Element will not heat
Fixed by
these parts
these parts


Show All
Door won’t close
Fixed by
these parts
these parts


Show All
Little to no heat when broiling
Fixed by
these parts
these parts

Show All
Little to no heat when baking
Fixed by
these parts
these parts

Show All
Watch our pros, then fix it yourself.
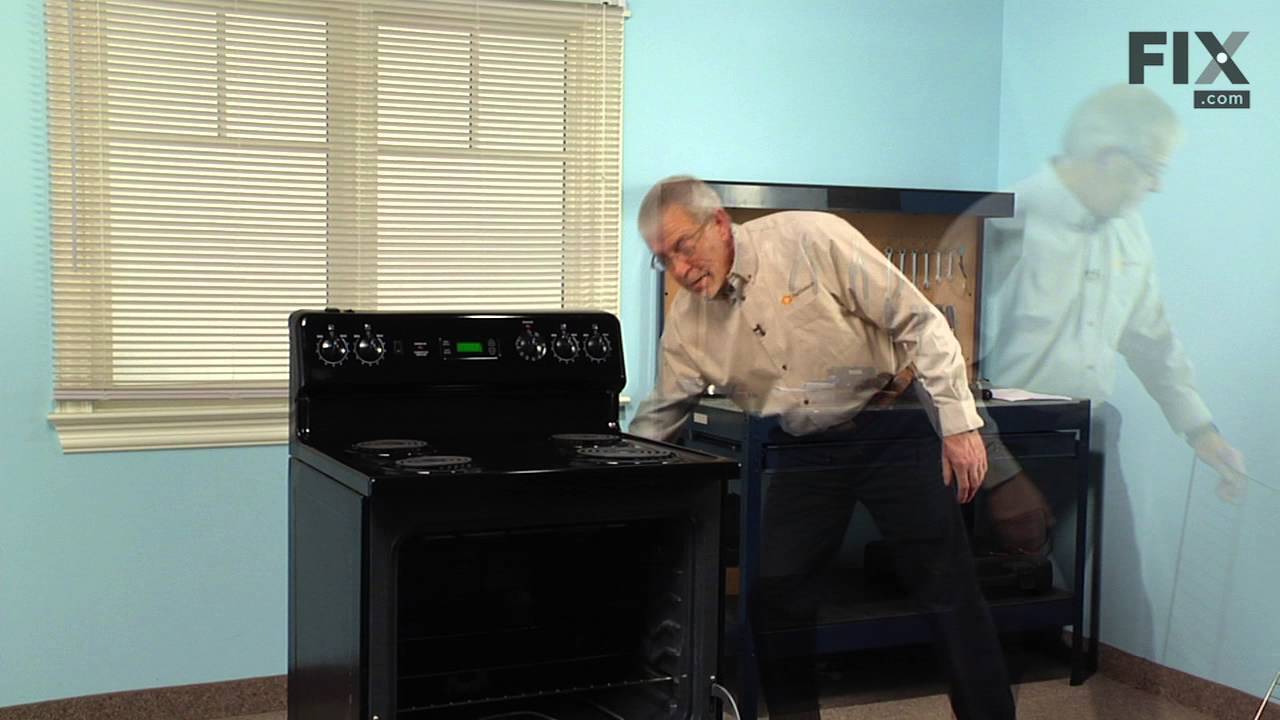

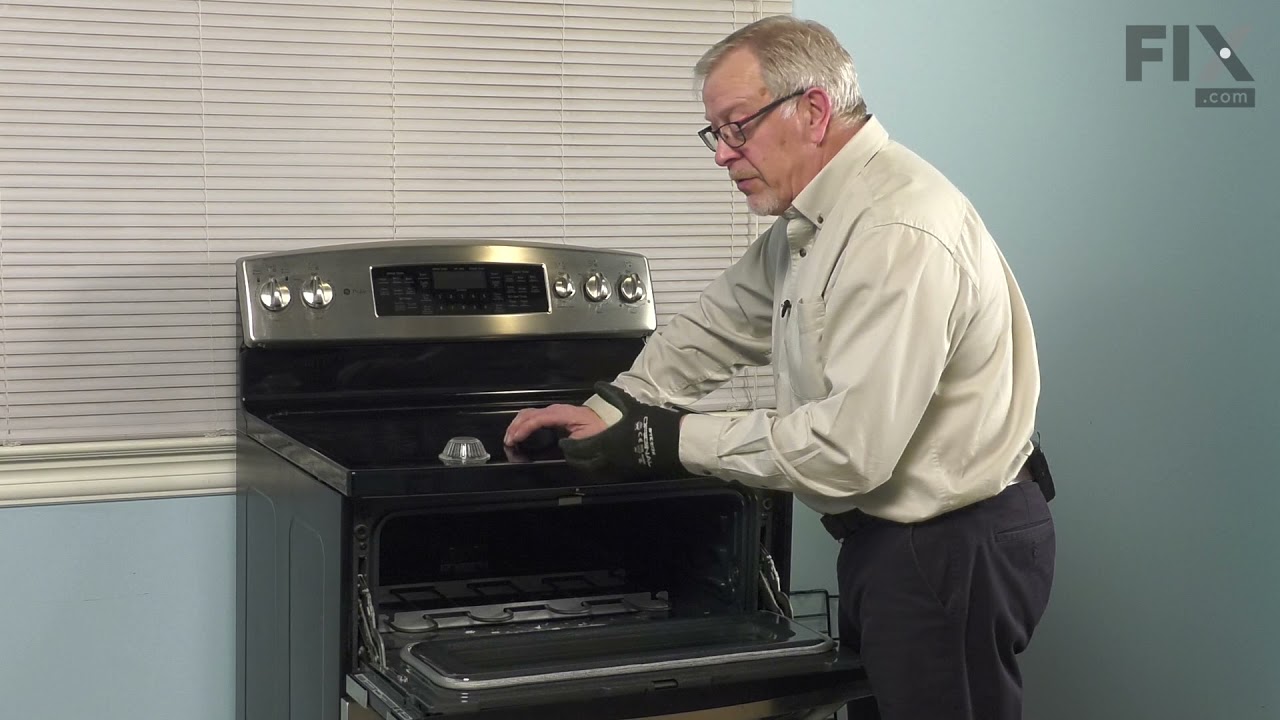
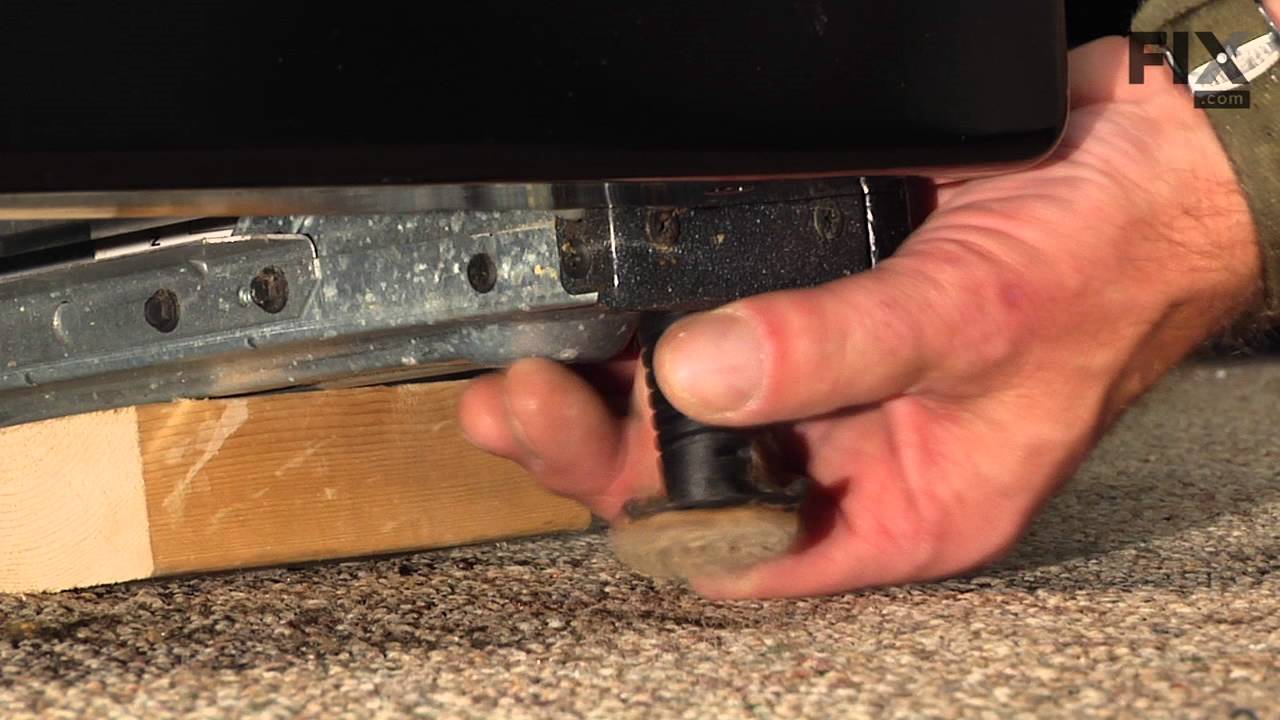
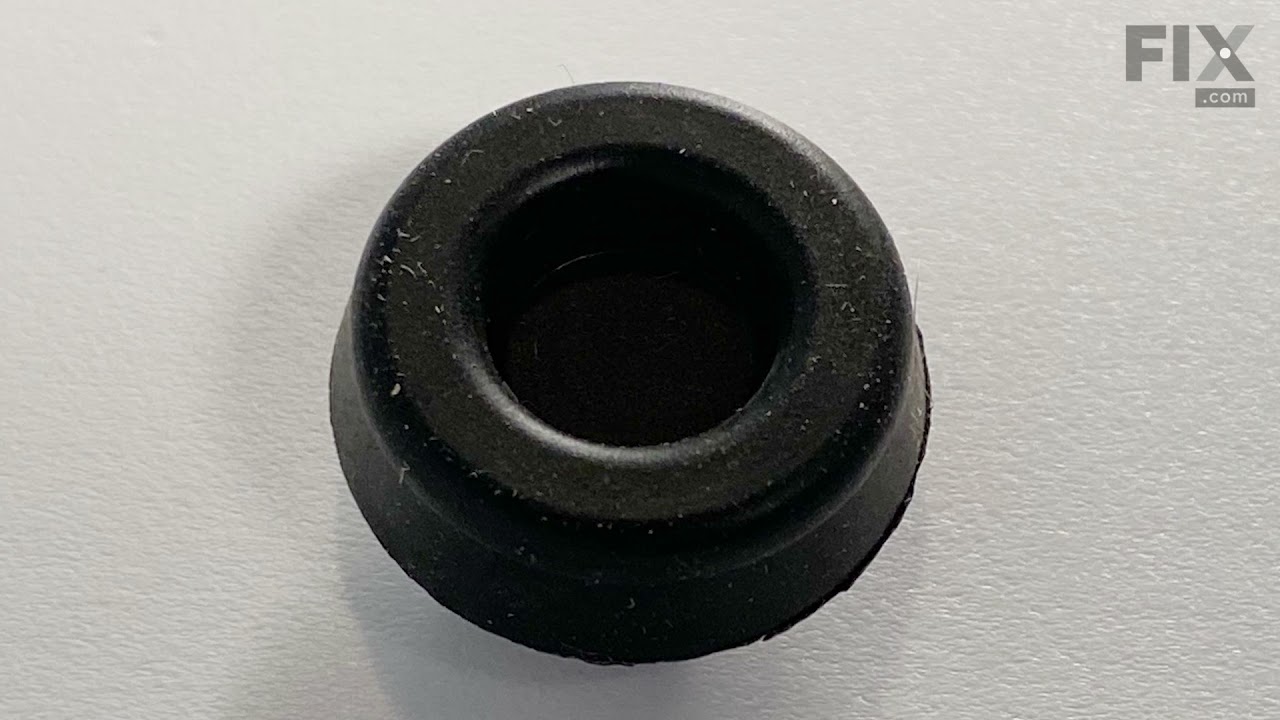
See how others fixed this model. Time, tools, difficulty, and steps that lead to victory!
View More