This 40-Watt light bulb is sold individually.
It is specially designed to withstand extreme temperatures, so this bulb is compatible with a variety of appliance types including refrigerators, ranges, microwaves, and dryers. It features a frosted glass bulb with a standard metal socket base, which allows you to easily unscrew the burnt-out light and twist the new bulb into place.
The oven rack is sold individually. It is chrome in color and measures approximately 24 inches wide by 17-1/2 inches deep. The rack is used to hold cookware in the oven and slides back and forth for easy access. Racks can become rough and discolored over time and may need to be replaced, or perhaps you just need extra storage space in the...Read more oven! This repair is extremely simple and does not require any tools. Before you begin, ensure that the rack edges are straight and have not warped from shipment. Once the oven door is open, the stop end goes in first and it simply slides into place.
This genuine GE drawer support is an original replacement part sourced from the manufacturer and is designed for use with electric ranges. Made of durable plastic, it attaches to the rear of the drawer and provides stable support by securing the rear side in place. This part includes the necessary mounting screw for installation and is so...Read moreld individually. It’s a simple yet essential component for maintaining smooth drawer operation and proper alignment.
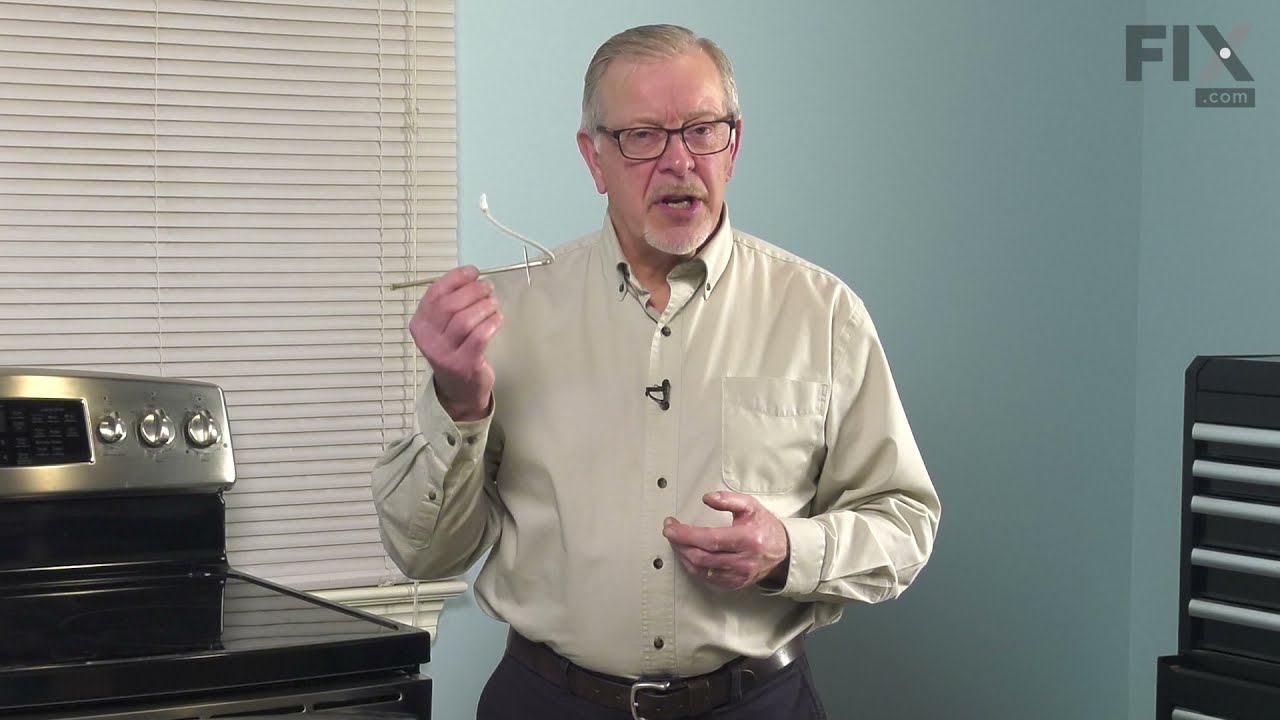
The function of the oven sensor is to detect the temperature within the oven cavity. If you notice that the oven is too hot or too cold, or it is not heating evenly, you may need to replace the oven sensor. The oven sensor is typically located in the back of the oven so you will most likely need to pull your oven out to access it. Many of...Read more our customers have rated this repair as easy. You will need a Phillips screwdriver to complete this repair. Be sure to disconnect the power source and shut off the gas valve before doing this repair.
This 8-inch radiant stovetop element is a genuine replacement part designed to deliver consistent heat to cookware during stovetop use. It fits select electric ranges and cooktops and is engineered to restore proper heating performance when an existing burner is damaged, unevenly heating, or non-functional. The element transfers heat effi...Read moreciently to support even cooking across a variety of pot and pan sizes. Installation involves lifting the cooktop and removing the screw and clip securing the old burner. A screwdriver is required, and the appliance should be disconnected from power before beginning the repair to ensure safety.
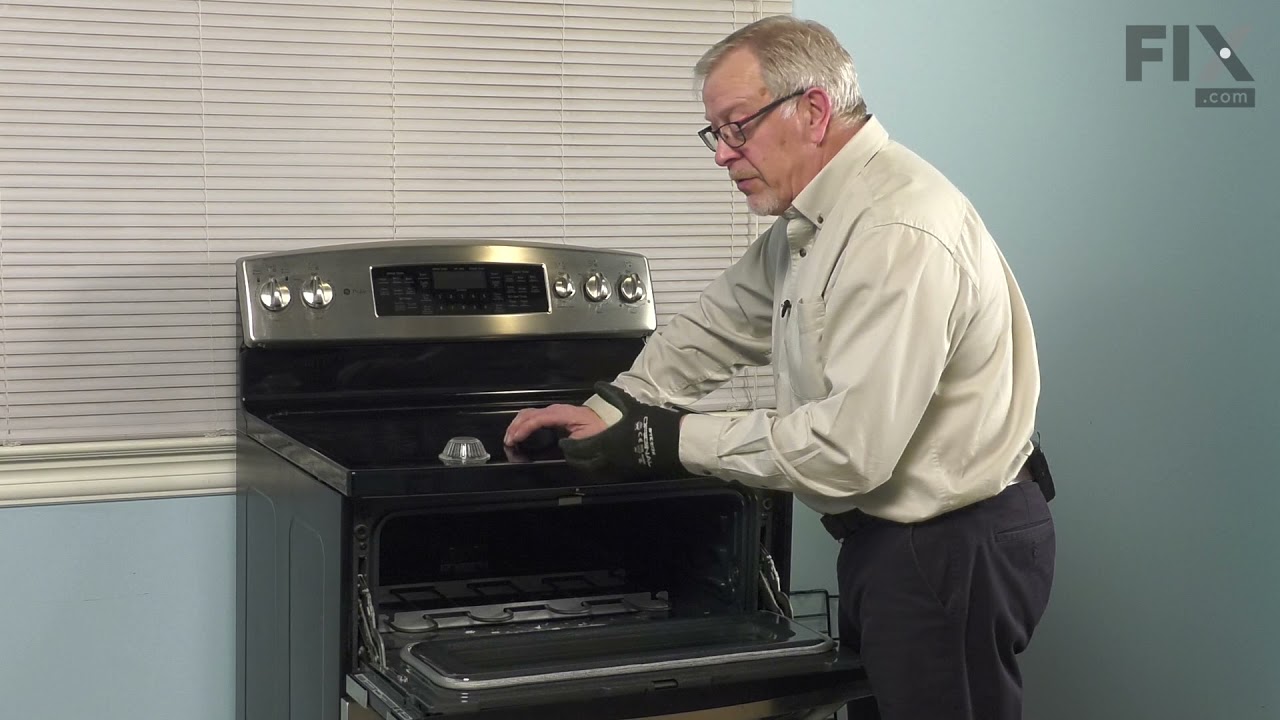
This part is the replacement oven bulb lens cover. It is made of glass and is approximately 3 inches in diameter. The lens cover is rigid and protects the oven light bulb from being damaged. The main reason to replace the oven bulb lens cover is if it is cracked, damaged, or missing. Be sure that the lens cover is cool to the touch before...Read more you begin this repair. To remove the lens cover simply turn it counterclockwise until you can remove it. Replace it with a new cover and turn it clockwise to lock it into place. This is an OEM part sourced from the manufacturer, and it is sold individually.
The light housing is also known as a lamp holder and is a part for the oven in your range. The function of this piece is to hold the bulb that will light up the inside of your oven. As per the manufacturer instructions, if your bulb has burnt out you must buy the bulb for this part locally. This light housing is roughly five inches high, ...Read morewith an outside diameter of roughly four inches by four inches. To install this part, you will need a Phillips screwdriver, a nut driver, and a pair of pliers.
The GE Oven Door Window Pack Assembly is a genuine OEM part that fits select GE ranges and ovens. It includes a heat-resistant inner glass panel, frame, and seals, providing insulation and clear visibility into the oven cavity. Common issues like cracked glass or heat loss can indicate the need for a replacement. Ensure the oven is cool to the touch and wear gloves for safe installation.
This oven door gasket is a high-performance seal made from heat-resistant rubber and fiberglass, designed to create an airtight barrier between the oven door and cavity. Measuring approximately 89.76 inches in length, its flexible construction allows for a precise fit across a range of oven models. The gasket plays a critical role in main...Read moretaining consistent internal temperatures by preventing heat from escaping, which supports even cooking and improved energy efficiency. Installation is beginner-friendly and typically takes under 30 minutes using pliers. Some versions include up to 25 mounting clips for secure attachment. Signs of wear—such as visible cracks, tears, or heat leakage—indicate the need for replacement to restore optimal oven performance.
Ask our experts a question about this model and we'll get back to you as soon as possible!
We may have answered a similar question already! Search questions and answers left by others using simple keywords like "fit", "broken", "easy", or "quality" to find questions that match.
Search filter:
Clear Filter
Your search term must have 3 or more characters.
Sort by:
Prev
1
Next
Sorry, we couldn't find any existing answers that matched.Try using some different or simpler keywords, or submit your new question by using the "Ask a Question" button above!
Dale - For model number JSP42BK5BB
October 26, 2023
Codes F7E6 on control panel. Cooking surface works but oven buttons not working
Hello Dale, thank you for the question. The error code you mentioned indicates that the touchpad is not communicating with the oven control board. We would recommend turn off the breaker, then back on. If the error persists, you may need to replace the key panel and support assembly, part number PS2359868. We hope this solves your problem!
See how others fixed this model. Time, tools, difficulty, and steps that lead to victory!View More
Search repair tips from other customers using simple keywords like "replace", "fit", "remove", "inspect". DIY doesn't mean you have to do it alone!
Search filter:
Clear Filter
Your search term must have 3 or more characters.
Oven was not coming up to temperature
57 of 79 peoplefound this instruction helpful.
Sean from Highlands Ranch, CO
Really Easy
15 - 30 mins
Nutdriver, Screw drivers
I had to remove the oven from the wall because the sensor plug connction is behind the unit. Two screws hold the sensor inside the oven and then I disconnected the lead and pulled the sensor out from the front. I installed the new sensor, tightened the two screws holding it in and connected the lead. Then reinstalled the oven into the wal
... Read morel. Overall, a very easy repair once you get the oven out.
Read less
Was this helpful?
Thank you for voting!
terminal block melted
56 of 77 peoplefound this instruction helpful.
jonathan from willow springs, IL
Easy
Less than 15 mins
Nutdriver, Screw drivers
The existing terminal block on my Ge oven/Range had melted due to a loose wire causing sparking and starting the plastic casing of the terminal block on fire and melting it, Part select made the part easy to find and had it at my house in 2 days. All I had to do was remove six screws to take the back sheet metal cover off of the oven. U
... Read morenscrew the terminal connections remove two mounting screws that held the terminal on to the oven body. This was a little trickier than it should have been because the melted plastic had reformed making it very hard to access the mounting screws. i then mounted the new piece and plugged the oven in, it took 15 minutes and was very easy. definitely saved me at-least a $100 for the service call i would have made if finding the part wasn't so convenient
Read less
Was this helpful?
Thank you for voting!
Buttons stopped working on the keypad.
42 of 49 peoplefound this instruction helpful.
KERRY from CLEARWATER, FL
Easy
Less than 15 mins
Pliers
Everybody said the Electronic clock oven control needed to be replaced, not the keypad. It was the keypad. Unpluged the range. Pulled the 4 burner control knobs off, Unscrewed the 4 burner contol knob bottoms to remove the panel cover, removed 2 of the keypad screws an loosened the other 2. Removed 4 screws holding the oven control pan
... Read moreel. Turned the panel over to access the keypad wiring ribbon. Released the ribbon, turned the panel over to remove the old keypad. Put the new keypad ribbon through the panel and pushed the ribbon into the ribbon slot, put the anel beck in place with 4 screws, slipped the keypad in place on 2 loosened screws. put the remaining 2 screws back in. tightened all four screws. replace the control panel cover and knobs. Plug back in and viola.



 My Orders