This genuine GE drawer support is an original replacement part sourced from the manufacturer and is designed for use with electric ranges. Made of durable plastic, it attaches to the rear of the drawer and provides stable support by securing the rear side in place. This part includes the necessary mounting screw for installation and is so...Read moreld individually. It’s a simple yet essential component for maintaining smooth drawer operation and proper alignment.
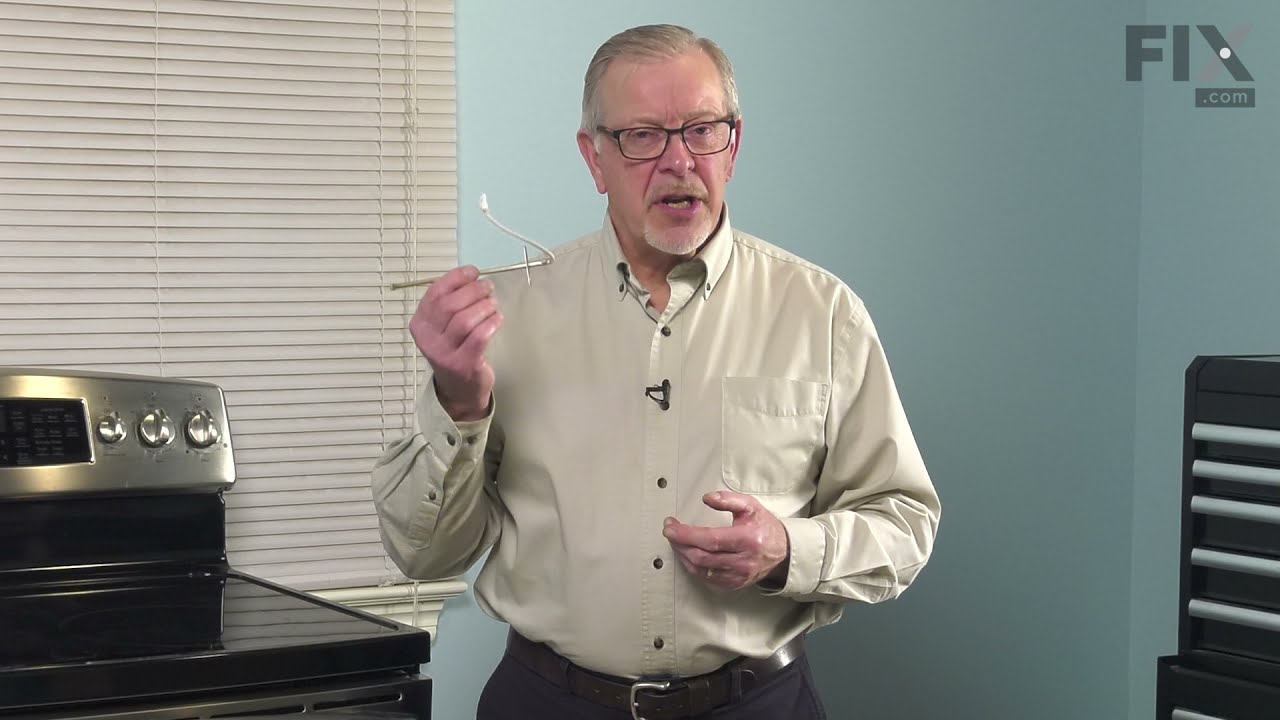
The function of the oven sensor is to detect the temperature within the oven cavity. If you notice that the oven is too hot or too cold, or it is not heating evenly, you may need to replace the oven sensor. The oven sensor is typically located in the back of the oven so you will most likely need to pull your oven out to access it. Many of...Read more our customers have rated this repair as easy. You will need a Phillips screwdriver to complete this repair. Be sure to disconnect the power source and shut off the gas valve before doing this repair.
This 8-inch radiant stovetop element is a genuine replacement part designed to deliver consistent heat to cookware during stovetop use. It fits select electric ranges and cooktops and is engineered to restore proper heating performance when an existing burner is damaged, unevenly heating, or non-functional. The element transfers heat effi...Read moreciently to support even cooking across a variety of pot and pan sizes. Installation involves lifting the cooktop and removing the screw and clip securing the old burner. A screwdriver is required, and the appliance should be disconnected from power before beginning the repair to ensure safety.
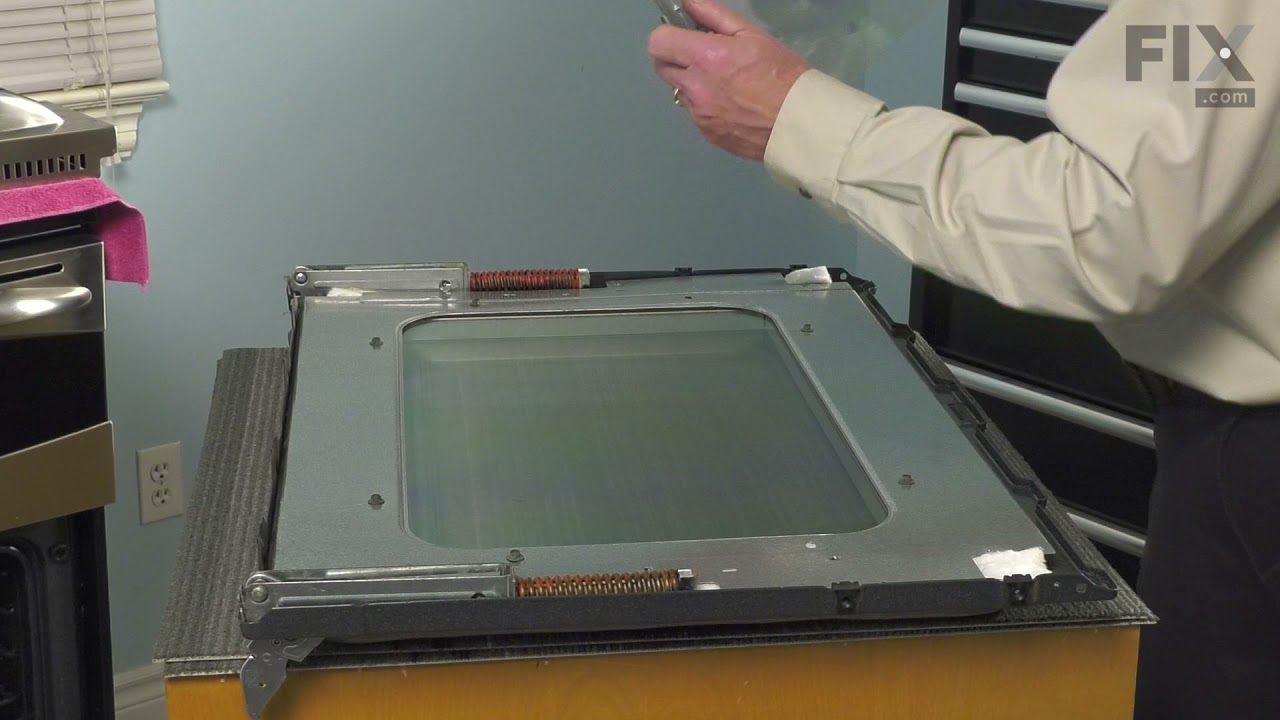
This window pack assembly, also known as inner door glass, is supplied directly by the manufacturer for use in range ovens. It has measurements of approximately 22 inches by 14 inches. The inner door glass is situated between the outer door panel and the oven cavity. It acts as a barrier between the heat generated by the oven and the exte...Read morernal environment. This provides insulation and protection while allowing users to easily view the oven cavity. It is made of tempered glass and is resistant to high temperatures and thermal shock. If the inner door glass becomes damaged or cracked, heat will escape from the oven, you may be unable to see the contents of the oven and the risk of injury will be increased.
This part provides a way of connecting individual electrical wires and offers protection of the device from electrical surges (voltages and/or currents).
This surface element is for ranges. Surface elements supply the heat to a cooking area on top of the range. Unplug the range or shut off the house circuit breaker for the range before installing this part. Wear work gloves to protect your hands.
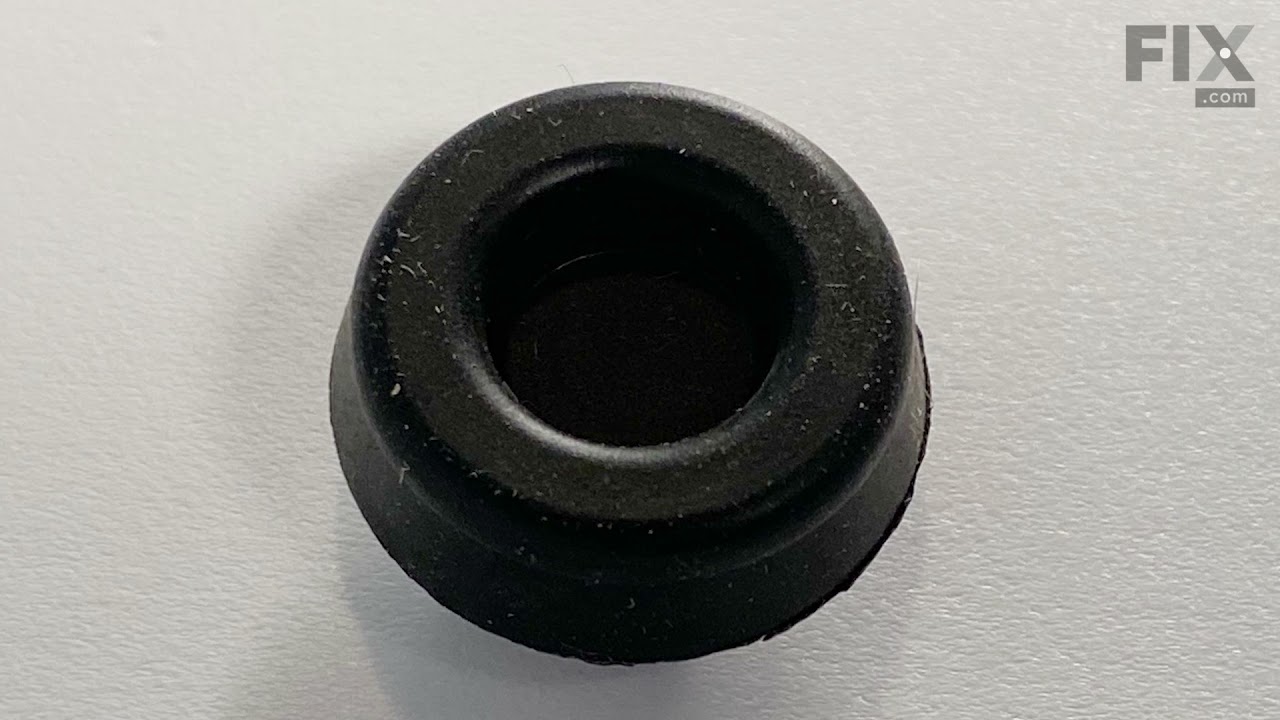
This part is a replacement screw for your oven. It is made of black metal and is sold individually. This screw is approximately 1/4 inch in diameter and about 1/2 inch in length. It is designed to connect the different parts of your oven door. This part is an authentic OEM part sourced directly from the manufacturer.
Ask our experts a question about this model and we'll get back to you as soon as possible!
We may have answered a similar question already! Search questions and answers left by others using simple keywords like "fit", "broken", "easy", or "quality" to find questions that match.
Search filter:
Clear Filter
Your search term must have 3 or more characters.
Sort by:
Prev
1
2
3
Next
Sorry, we couldn't find any existing answers that matched.Try using some different or simpler keywords, or submit your new question by using the "Ask a Question" button above!
Linda - For model number JS750SF3SS
January 22, 2023
Tri-ring element turns on and stays on hi even though I turn it to low. Will not cool down
Hi Linda, thank you for reaching out. The issue seems to be with the Infinite Control Switch and you may need to replace it, the part number is PS11771843. The Infinite Control Switch turns the surface element on and off and controls how much heat the element produces. If that does not help, we would recommend checking the Surface Element, part number PS8754838. Please reach out to customer service if you need help placing an order, anyone will be happy to assist you. We hope that helps.
All burners are working fine. Left front Burner Light will not turn off.
Hello Nick, thank you for reaching out. It seems that the front left infinite burner switch is defective and needs to be replaced. The part number for the infinite switch compatible with your model is PS236751. If you require assistance to place an order, please contact customer service. We hope that helps!
The big burner no work , and the light it’ s on always
Hello Cesar, thank you for your question. We have researched the model you have provided and have found the part number PS11771843 is the correct part for your appliance. I hope this helps!
1 personfound this instruction helpful.
Was this helpful?
Thank you for voting!
Kip - For model number JS750SF3SS
March 28, 2023
I need instructions for replacing the infinite switch, part # WB24X26408 for this model stove. It is the front right burner. I need to know how to access this part. Thanks in advance.
Hello Kip, thank you for getting in touch. You can remove the infinite switch using the following instructions:
1. Remove the switch knob.
2. Remove the crystal retainer underneath the knob.
3. Remove the control panel overlay.
4. Unscrew the control panel and lift the panel.
5. Dislocate the wires from the old infinite switch control.
6. Insert the new switch and attach wires.
7. Place the panel back and thread the screws.
8. Insert the control panel overlay, plastic holding plate, and knob back into place.
We hope this is what you were looking for!
1 personfound this instruction helpful.
Was this helpful?
Thank you for voting!
Dan - For model number JS750SF3SS
September 29, 2025
What does fault code F71 mean
Hi Dan, thank you for your inquiry. The F71 error code typically indicates a malfunctioning touchpad, which can be caused by a sticking button or internal damage. Carefully examine the touchpad for any visible signs of damage, such as cracks, burn marks, or corrosion. If you suspect a moisture issue or a sticky button, you can use a hair dryer to warm the surface of the touchpad. If these steps don't work, the problem likely lies with the control boar and touchpad assembly, part number PS11700842. Glad to be of help!
See how others fixed this model. Time, tools, difficulty, and steps that lead to victory!View More
Search repair tips from other customers using simple keywords like "replace", "fit", "remove", "inspect". DIY doesn't mean you have to do it alone!
Search filter:
Clear Filter
Your search term must have 3 or more characters.
Oven was not coming up to temperature
57 of 79 peoplefound this instruction helpful.
Sean from Highlands Ranch, CO
Really Easy
15 - 30 mins
Nutdriver, Screw drivers
I had to remove the oven from the wall because the sensor plug connction is behind the unit. Two screws hold the sensor inside the oven and then I disconnected the lead and pulled the sensor out from the front. I installed the new sensor, tightened the two screws holding it in and connected the lead. Then reinstalled the oven into the wal
... Read morel. Overall, a very easy repair once you get the oven out.
Read less
Was this helpful?
Thank you for voting!
terminal block melted
56 of 77 peoplefound this instruction helpful.
jonathan from willow springs, IL
Easy
Less than 15 mins
Nutdriver, Screw drivers
The existing terminal block on my Ge oven/Range had melted due to a loose wire causing sparking and starting the plastic casing of the terminal block on fire and melting it, Part select made the part easy to find and had it at my house in 2 days. All I had to do was remove six screws to take the back sheet metal cover off of the oven. U
... Read morenscrew the terminal connections remove two mounting screws that held the terminal on to the oven body. This was a little trickier than it should have been because the melted plastic had reformed making it very hard to access the mounting screws. i then mounted the new piece and plugged the oven in, it took 15 minutes and was very easy. definitely saved me at-least a $100 for the service call i would have made if finding the part wasn't so convenient
Read less
Was this helpful?
Thank you for voting!
Plastic drawer support snapped off
30 of 35 peoplefound this instruction helpful.
Jeff Troiano from Sayville, NY
Really Easy
Less than 15 mins
Screw drivers
The repair went very easy. The replacement part was designed differently than the original part. It installed on the rear of the drawer with a screw as the original snapped into the side. This was a bit confusing when researching and looking up the part online.




 My Orders