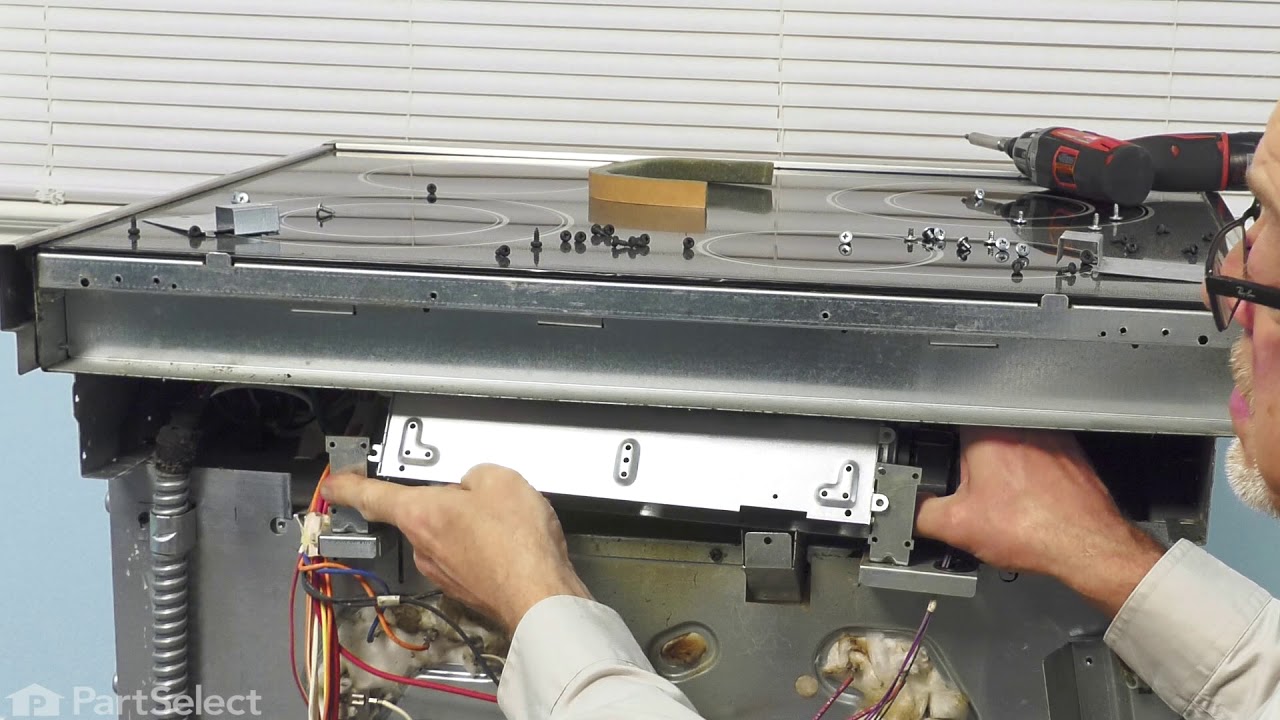
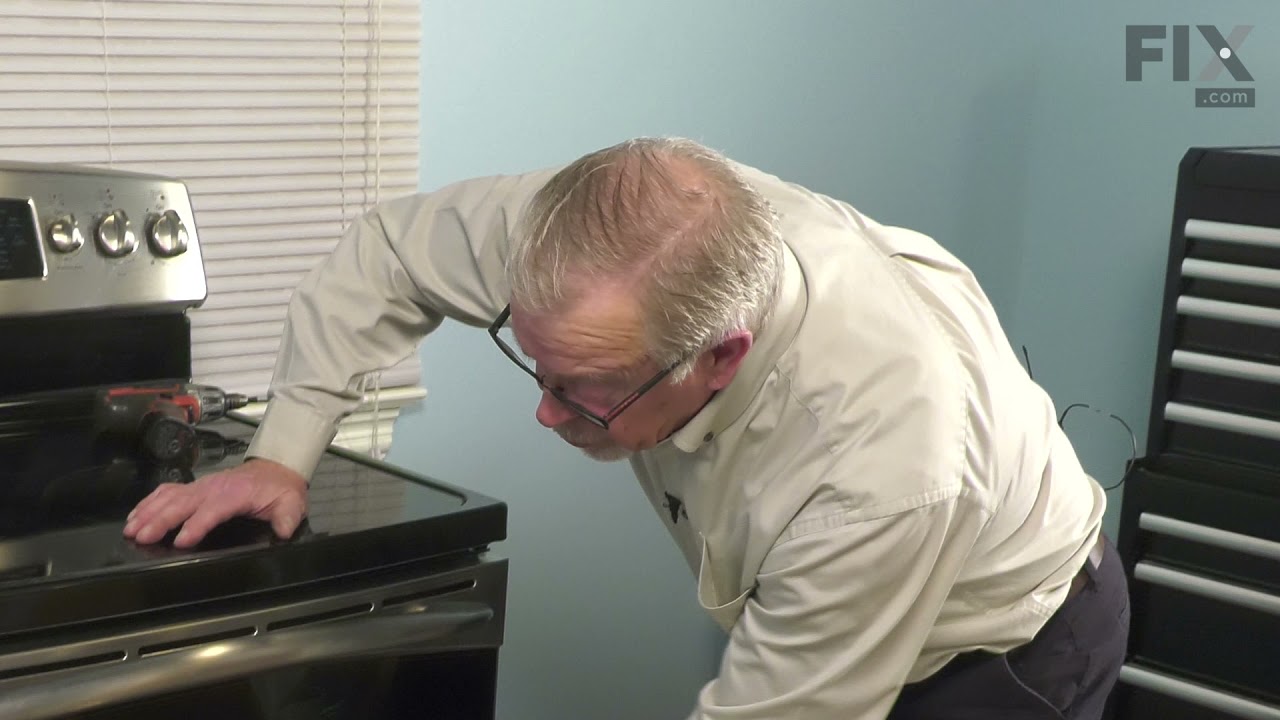
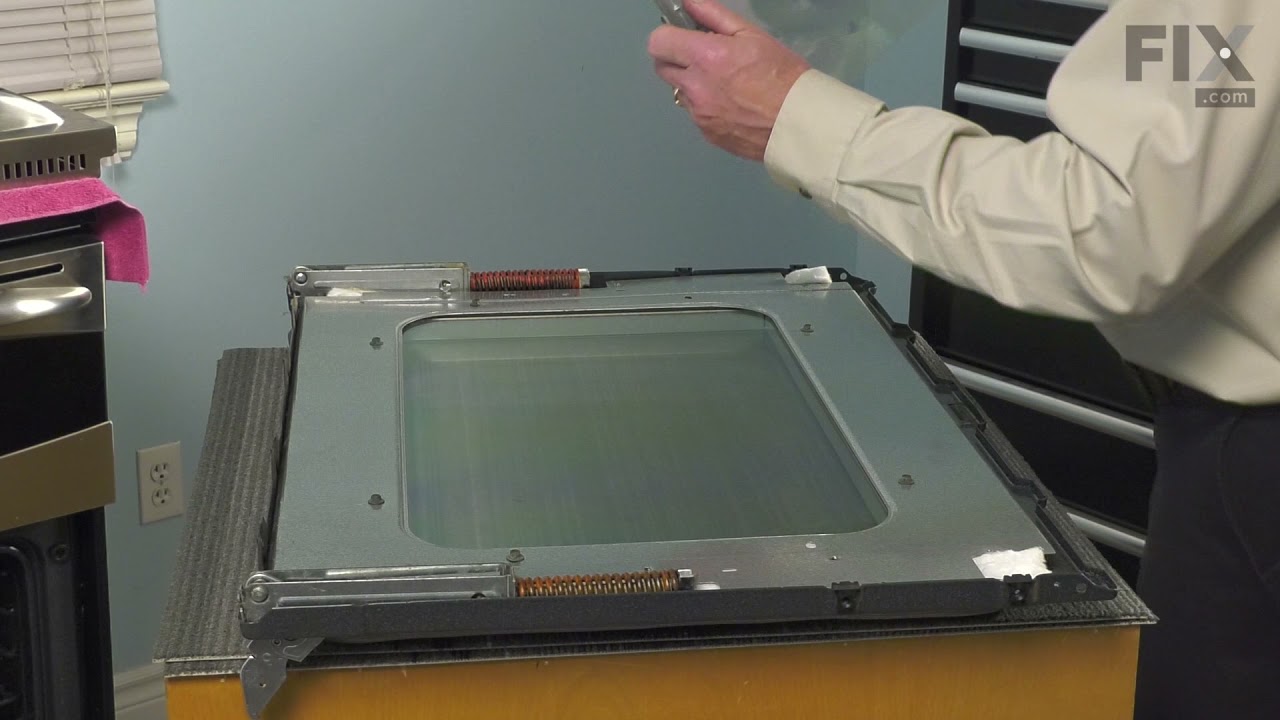
The temperature sensor, also known as the oven temperature sensor assembly is usually found in the back of the oven. The function of the oven temperature sensor assembly is to measure the temperature inside your oven while it is on and send the temperature back up to the electronic control, which adjusts as necessary. If your oven is havi...Read moreng difficulty achieving warmer temperatures and/or keeping warmer temperatures up, you may want to test your temperature sensor. Before you make this repair remember to unplug your range from the power source, and turn off the gas shut off valve.
This 40-Watt light bulb is sold individually.
It is specially designed to withstand extreme temperatures, so this bulb is compatible with a variety of appliance types including refrigerators, ranges, microwaves, and dryers. It features a frosted glass bulb with a standard metal socket base, which allows you to easily unscrew the burnt-out light and twist the new bulb into place.
This genuine GE drawer support is an original replacement part sourced from the manufacturer and is designed for use with electric ranges. Made of durable plastic, it attaches to the rear of the drawer and provides stable support by securing the rear side in place. This part includes the necessary mounting screw for installation and is so...Read moreld individually. It’s a simple yet essential component for maintaining smooth drawer operation and proper alignment.
This is a dual ceramic surface burner for ranges. This burner, also known as a heating element, is used within electric ranges to act as a stovetop burner. This burner measures approximately 10 inches in diameter and features a larger and smaller heating element that you can activate with the control board of your stovetop. If your stovet...Read moreop burner is currently not heating correctly or consistently, then it will need to be replaced immediately. This burner features a ceramic construction with metal parts like the terminals that connect directly to your range. This burner is an OEM part and is sold individually, so depending on how many of this burner your range uses, you may need to consider that before ordering.
This is an authentic GE oven rack, sourced directly from the manufacturer. It is made of metal, and provides a stable surface for cookware inside the oven. If your current oven rack is damaged or missing, simply lift it up gently to slide it out. Insert the new rack, ensuring it is level.
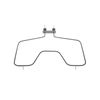
This part is the replacement bake element for your range. It is in an M shape, and is approximately 18 inches wide and 18 inches long.This is an OEM part and is sold individually.
This part is the replacement light socket for your oven. The oven light socket provides power to the light, and at the same time holds the light bulb in place.
This window pack assembly, also known as inner door glass, is supplied directly by the manufacturer for use in range ovens. It has measurements of approximately 22 inches by 14 inches. The inner door glass is situated between the outer door panel and the oven cavity. It acts as a barrier between the heat generated by the oven and the exte...Read morernal environment. This provides insulation and protection while allowing users to easily view the oven cavity. It is made of tempered glass and is resistant to high temperatures and thermal shock. If the inner door glass becomes damaged or cracked, heat will escape from the oven, you may be unable to see the contents of the oven and the risk of injury will be increased.
This light bulb lens covers the interior light bulb in an oven, range, or stove. No tools are necessary to replace this part. Simply slide off the wire bracket to remove the existing light bulb lens. Disconnect power to your appliance before this repair. It is recommended to check the light bulb while the lens cover is removed in case it ...Read moreneeds to be replaced. Be sure to remove all broken glass, if applicable, before installing new lens. This part is sourced directly from the genuine manufacturer, and is sold individually.
Ask our experts a question about this model and we'll get back to you as soon as possible!
We may have answered a similar question already! Search questions and answers left by others using simple keywords like "fit", "broken", "easy", or "quality" to find questions that match.
Search filter:
Clear Filter
Your search term must have 3 or more characters.
Sort by:
Prev
1
2
Next
Sorry, we couldn't find any existing answers that matched.Try using some different or simpler keywords, or submit your new question by using the "Ask a Question" button above!
Terry - For model number JS645SL3SS
February 11, 2024
Need to replace cook top. It is cracked
Hello Terry, thank you for getting in touch. The compatible glass cooktop for your model is part number PS16873663. If you need help placing an order, customer service is open 7 days a week!
Node setting on low but stuck on high bunner to hot
Hello Gary, thank you for contacting us. Based on our research, the issue is probably with the burner switch and you may need to replace it. The small burner switch is part number PS236738 and the large burner switch is part number PS11729102. Please reach out to customer service if you need help placing an order, anyone will be happy to assist you. We hope that helps.
I need to order the red indicator that shows when burners are on
Hello Robert, thank you for contacting us. The part you are looking for is a light indicator, part number PS1018167. We hope this is what you were looking for!
Hi Patricia, thank you for your inquiry. Based on our research, we would recommend resetting the unit by powering it off and turn it on back after 60 seconds. If the issue persists, then you have an issue with the control board, part number PS12702974, and needs to be replaced to fix the issue. We hope this solves your problem!
Hi William,
Thank you for your question. Here is a link to one of our YouTube videos that you may reference for information on how to install the cooling fan, https://www.youtube.com/watch?v=yDuuR_w6yfk. The range in the video may not be the same as yours, but it will give you a general idea on how to install the cooling fan. We hope this helps!
See how others fixed this model. Time, tools, difficulty, and steps that lead to victory!View More
Search repair tips from other customers using simple keywords like "replace", "fit", "remove", "inspect". DIY doesn't mean you have to do it alone!
Search filter:
Clear Filter
Your search term must have 3 or more characters.
Oven would go in to a F2 Error
148 of 226 peoplefound this instruction helpful.
Peter from stamford, CT
Really Easy
15 - 30 mins
Nutdriver
Removed six 1/4" hex nuts on rear of oven. Then through front/inside removed a single 1/4" hex nut to actually remove sensor. Unplug sensor connector, remove. Reversed steps, push oven back in place and plugged in. Tested oven function.
Was this helpful?
Thank you for voting!
terminal block melted
56 of 77 peoplefound this instruction helpful.
jonathan from willow springs, IL
Easy
Less than 15 mins
Nutdriver, Screw drivers
The existing terminal block on my Ge oven/Range had melted due to a loose wire causing sparking and starting the plastic casing of the terminal block on fire and melting it, Part select made the part easy to find and had it at my house in 2 days. All I had to do was remove six screws to take the back sheet metal cover off of the oven. U
... Read morenscrew the terminal connections remove two mounting screws that held the terminal on to the oven body. This was a little trickier than it should have been because the melted plastic had reformed making it very hard to access the mounting screws. i then mounted the new piece and plugged the oven in, it took 15 minutes and was very easy. definitely saved me at-least a $100 for the service call i would have made if finding the part wasn't so convenient
Read less
Was this helpful?
Thank you for voting!
Oven wouldn't preheat above 300 degrees
54 of 95 peoplefound this instruction helpful.
Gerald from Cape Canaveral, FL
Really Easy
15 - 30 mins
Nutdriver
Unplugged appliance and removed 5 screws on back of stove/oven and removed plate. Disconnected the sensor and unscrewed it on the inside of the oven. Pulled the cord through and replaced with new sensor. Replaced all parts and plugged in the appliance and tested. Worked great.


 My Orders