


 My Orders




JP661B3C3 Hotpoint Range - Overview

Enter a part description. DIY Heroes keep it simple, eg. "belt" or "pump".
Search filter:
Clear Filter
Your search term must have 3 or more characters.

$17.15
In Stock
Trim Ring - 8 Inch
Part #WB31X5014
This 8 inch high rise burner trim ring is intended for use with detached style low rise tilt lock surface mount burners on ranges.

$58.42
In Stock
Surface Element - 8 Inch - 2350W
Part #WB30M2
The surface element, also known as the coil surface element, transfers heat to the area on top of range. The element is 8 inches in diameter. If your surface element does not heat, over heats, or heats inconsistently, replacing this part can be the solution to your issue. To determine whether the element is defective, use a multimeter to ...Read moretest it. Before installing the new element, make sure the drip bowl is properly aligned with the notch of the pan. Insert the new element into the reciprocal at a 40 degree angle. Refer to the instructions provided by the manufacturer for more guidance.
Read less

$51.61
In Stock
Surface Element - 6 Inch - 240V
Part #WB30M1
If you notice that your surface element will not heat properly, you may need to replace it. This surface element is 6 inches in diameter and 240V. It is a Y-frame surface burner element with five turns and a metallic center medallion. When completing this repair, if you notice any signs of corrosion or overheating on the terminal, you may...Read more want to consider replacing the terminal block as well as the surface element. Many of our customers have rated this repair as easy. To complete this repair, simply tilt the old element up and remove it, and then replace it with your new one.
Read less

$53.20
In Stock
Range Infinite Heat Switch Kit
Part #WB21X36771
The infinite switch controls the stove top surface burner. This switch will work with most of the electrical range models with coil burner elements.

$37.91
In Stock
Range Terminal Block
Part #WB17X5113
This kit includes one ceramic block with 6" wire leads, 2 wire nuts and 2 heat shrink with mounting bracket.

No Longer Available
Drip Bowl - 6"
Part #WB31X5010
This six inch chrome drip bowl is intended for use with looped terminal style surface mount burner element units.

$28.42
In Stock

No Longer Available

$18.34
In Stock
SCREW
Part #WB1X536

No Longer Available
Center Piece - 6 Inch Burner
Part #WB32X52

No Longer Available
Center Piece - 8 Inch Burner
Part #WB32X51
This part it is used to cover the center of the coil burner. Sold
individually.

$35.80
Special Order
Screw - Package of 12
Part #WZ4X345D
Common Symptoms of the JP661B3C3
How this model fails, and the parts that fix it.
Element will not heat
Fixed by
these parts
these parts


Show All
Little to no heat when broiling
Fixed by
these parts
these parts
Show All
Watch our pros, then fix it yourself.
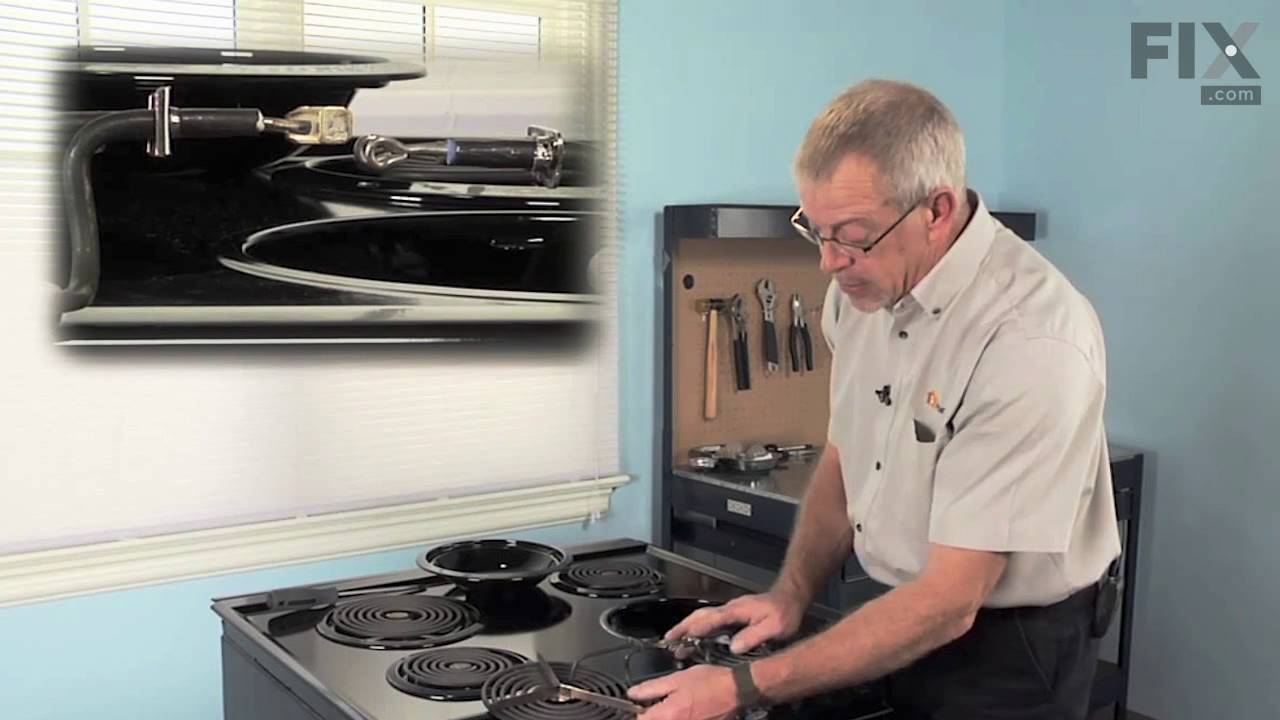
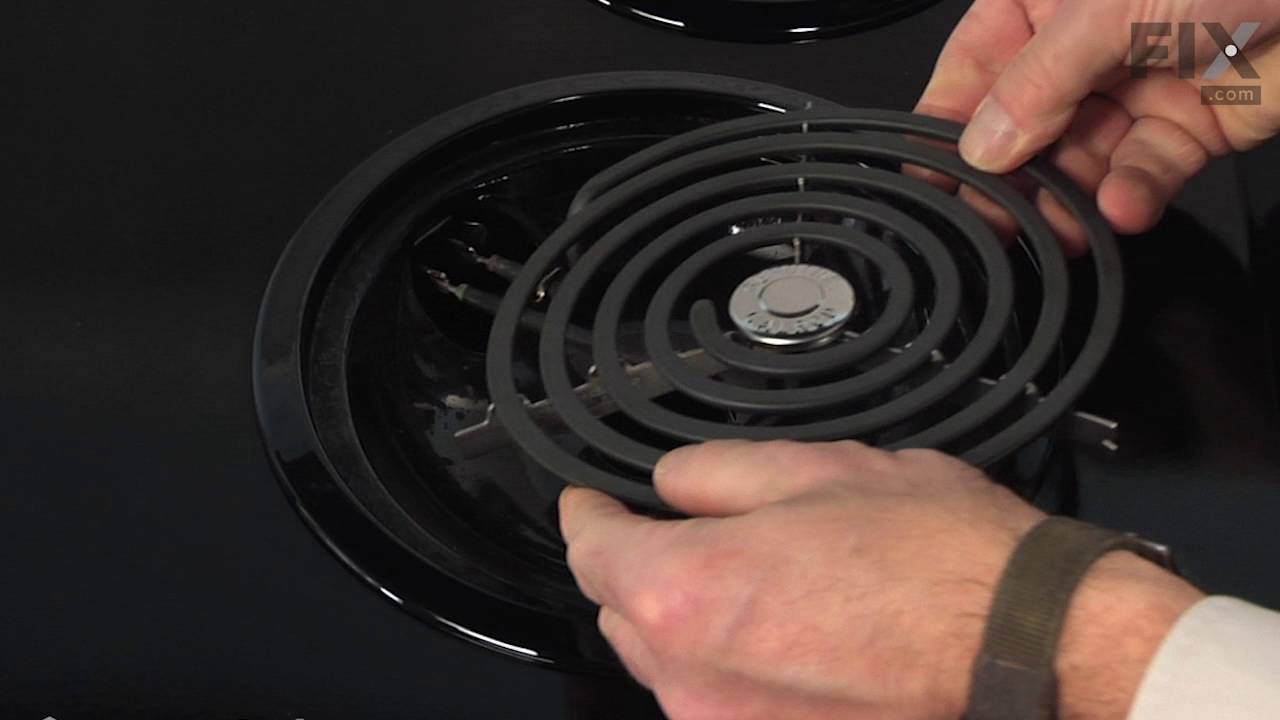
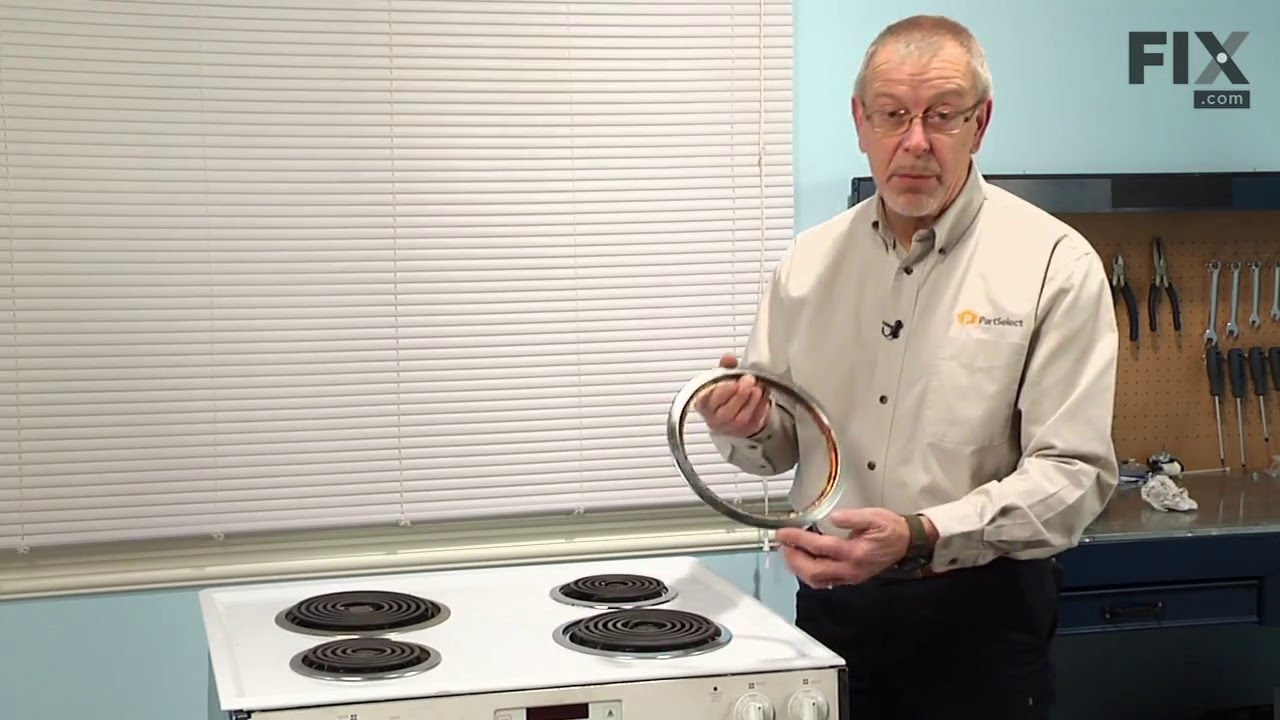
See how others fixed this model. Time, tools, difficulty, and steps that lead to victory!
View More
Search repair tips from other customers using simple keywords like "replace", "fit", "remove", "inspect". DIY doesn't mean you have to do it alone!
Search filter:
Clear Filter
Your search term must have 3 or more characters.
Replacement of Coils
35 of 42 people
found this instruction helpful.
Removed by slightly wiggling out of the coupling. No tools needed, seriously, (and I'm a contractor). Basically, pull out and snap back in.
Other Parts Used:
Was this helpful?
Thank you for voting!
Heating element required continuous adjustments to work.
29 of 32 people
found this instruction helpful.
I removed old 8" surface element and terminal block. Some of old wiring had to be cut off because of harding/cracking of old wiring. Stove was 23 years old and this burner was the most frequently used one. I soldered the new and remaining old wires together. I used the shirnk wrap that came with the terminal block to cover the solder join
... Read more
t. I screwed the new terminal block (one screw holds it in place - used same screw from old terminal block that was removed). I finished by inserting the new surface element. Everything works fine. In the next week or two after we use it a while, I will check wiring again to make sure there are no changes. You need to be very careful as it gets very hot under the burner.
Read less
Other Parts Used:
Was this helpful?
Thank you for voting!