


 My Orders




JMP28GR1WH General Electric Range - Overview


Enter a part description. DIY Heroes keep it simple, eg. "belt" or "pump".
Search filter:
Clear Filter
Your search term must have 3 or more characters.

$75.16
In Stock
Bake Element
Part #WB44K5013
This bake element is used in ranges and located at the bottom of the oven. The bake element supplies heat for baking. If your symptoms include: your oven is not heating evenly, not starting, or the heating is not consistent, then replacing the element can be the solution. Remove two retaining screws, make sure to disconnect the two connec...Read moreters at each end of the element, and replace with the new one. Before starting this replacement, make sure the range is unplugged from the power source or shut off from the house circuit breaker. The tool needed is a Phillips screwdriver.
Read less

$78.92
In Stock
Broil Element - 240V
Part #WB44K5009
This OEM-sourced broil element with push-on terminals is located on the roof of your oven cavity, providing heat from above to cook and heat your food. It requires a 240-volt power supply to function properly. The element measures 13 1/4 inches in width and has a length of 15 7/8 inches from the mounting bracket to the back. If you are ex...Read moreperiencing issues like uneven broiling or lack of heat, it is likely that the broil element is faulty and needs replacement. Before starting the replacement process, ensure that you turn off the oven at the breaker panel and let it cool down. To carry out the repair, you will need a flathead screwdriver, nut driver, and pliers. Begin by removing the oven door and racks. Then, unscrew the mounting screws that hold the old element in place and disconnect its wiring. Carefully pull out the old element from the appliance. When installing the new element, slide the wire contacts onto the terminals, insert it into the designated slot, and secure it with its fasteners. The top of the element is held in place by fork-like support clips, which are sold separately from the element itself.
Read less

$74.79
In Stock
Surface Burner Terminal Block Kit
Part #WB17X210
This is a surface burner terminal block kit, also known as range surface element receptacle, for an oven, range, or stove. The kit comes with the terminal block, mounting clip, and wires. This surface burner terminal block kit connects the wiring harness to the surface elements. It is important to shut off the power to the appliance befor...Read moree starting this repair. You will need to remove all four elements, trim rings, and drip bowls to access the terminal block on your stovetop. This is an OEM replacement part that is sourced from the genuine manufacturer.
Read less

$26.39
In Stock
Light Cover
Part #WB36X192
This light bulb lens covers the interior light bulb in an oven, range, or stove. No tools are necessary to replace this part. Simply slide off the wire bracket to remove the existing light bulb lens. Disconnect power to your appliance before this repair. It is recommended to check the light bulb while the lens cover is removed in case it ...Read moreneeds to be replaced. Be sure to remove all broken glass, if applicable, before installing new lens. This part is sourced directly from the genuine manufacturer, and is sold individually.
Read less

$85.52
In Stock

$158.94
In Stock
Door Lock and Switch Assembly
Part #WB49T10020
Secure the oven door during high-heat cleaning with a replacement lock motor and switch assembly. The motor moves the latch into the locked or unlocked position. A built-in switch reports the latch position to the oven control so the cleaning cycle can run safely. Replacement may be needed if the door will not lock, remains locked after t...Read morehe oven cools, or the cleaning cycle will not start. Check the latch arm and wiring for damage before service. Do not force the oven door open. Shut off electrical power, allow the oven to cool fully, and wear work gloves during installation.
Read less

$124.60
In Stock

$65.81
Special Order
Limit Switch
Part #WB24K5033
This part acts like a safety thermostat on the appliance. Once it reaches a certain temperature it will shut off the heat source (element) to make sure the temperature doesn't go any higher.

$35.80
In Stock
Screw - Package of 12
Part #WZ4X345D

No Longer Available
Inner Door Glass
Part #WB56X1907

$74.08
In Stock

No Longer Available
JAMB SWITCH
Part #WB24K5061
Common Symptoms of the JMP28GR1WH
How this model fails, and the parts that fix it.
Element will not heat
Fixed by
these parts
these parts


Show All
Little to no heat when baking
Fixed by
these parts
these parts
Show All
Little to no heat when broiling
Fixed by
these parts
these parts
Show All
Oven not heating evenly
Fixed by
these parts
these parts
Show All
Oven is too hot
Fixed by
these parts
these parts
Show All
Watch our pros, then fix it yourself.
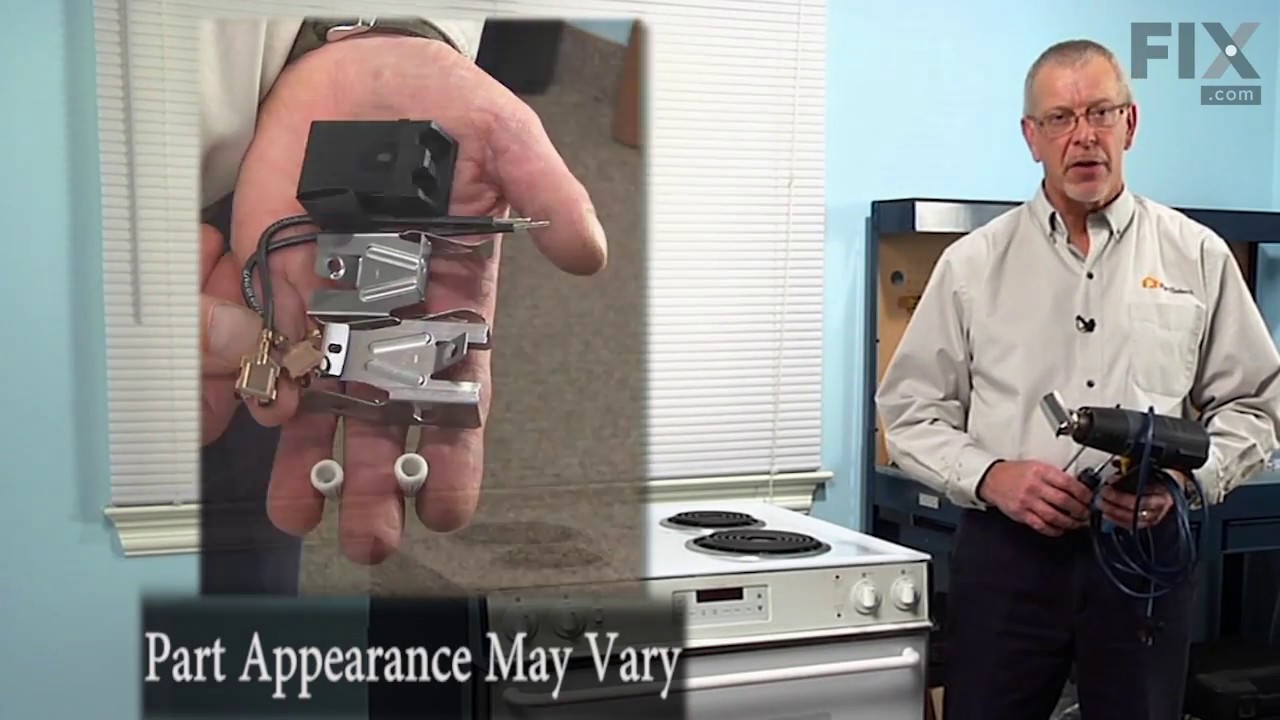
See how others fixed this model. Time, tools, difficulty, and steps that lead to victory!
View More