


 My Orders




JMP28BC1WH General Electric Range - Overview
Diagrams for JMP28BC1WH
See every part. Know exactly what you need.


Enter a part description. DIY Heroes keep it simple, eg. "belt" or "pump".
Search filter:
Clear Filter
Your search term must have 3 or more characters.

$21.45
In Stock
Drip Bowl - 6 Inch
Part #WB31T10010
This drip bowl, also known as the drip pan or burner bowl, is 6 inches in internal diameter to match the burner, but actually measures closer to 8 inches in total diameter to its outer edges. This authentic manufacturer-approved part is used to catch spills from cooking on the top burner. If your bowls are getting stained, dirty, or rust...Read moreed, this replacement can solve it. First, remove the element from the stove top, and pull out the old drip pan. Insert the new bowl and make sure it is aligned to where the element is plugged in. Lastly, you can put the element back in. For safety precautions, make sure to unplug the range from the power source and wait until the surface is cool before replacing this part. This part is sold individually, if you are replacing more than one drip bowl on your stove at once, you will need to account for this. To replace, simply pull the old surface elements and burner bowls off, give everything a thorough clean, and install the new parts with no tools necessary.
Read less

$25.75
In Stock
Drip Bowl - 8 Inch
Part #WB31T10011
This Drip Bowl, also known as a burner bowl or drip pan, is made to fit an element 8 inches in diameter and comes in chrome. The actual total diameter of this drip bowl is closer to 10 inches, but don't worry, it will fit your 8-inch burner. This bowl is used to catch drippings and food that falls when cooking on the oven element. The dri...Read morep bowl might burn, become rusty, and wear down over time, and will need to be replaced. Replacing the drip pan is very easy. The elements on the oven must be removed to access the pan underneath. When replacing the bowl, make sure to line up the hole with the terminal block where the element plugs into, and always remove power to your appliance and ensure it is completely cool before commencing your repair. These drip bowls are sold individually, not as a set for your appliance, so you will need to purchase each separately if upgrading all the drip bowls for your range.
Read less

$35.80
In Stock
Surface Burner Terminal Block Kit
Part #WB17T10006
This kit includes the female contact with wires, terminal block and mounting clip.

$58.42
In Stock
Surface Element - 8 Inch - 2350W
Part #WB30M2
The surface element, also known as the coil surface element, transfers heat to the area on top of range. The element is 8 inches in diameter. If your surface element does not heat, over heats, or heats inconsistently, replacing this part can be the solution to your issue. To determine whether the element is defective, use a multimeter to ...Read moretest it. Before installing the new element, make sure the drip bowl is properly aligned with the notch of the pan. Insert the new element into the reciprocal at a 40 degree angle. Refer to the instructions provided by the manufacturer for more guidance.
Read less

$51.61
In Stock
Surface Element - 6 Inch - 240V
Part #WB30M1
If you notice that your surface element will not heat properly, you may need to replace it. This surface element is 6 inches in diameter and 240V. It is a Y-frame surface burner element with five turns and a metallic center medallion. When completing this repair, if you notice any signs of corrosion or overheating on the terminal, you may...Read more want to consider replacing the terminal block as well as the surface element. Many of our customers have rated this repair as easy. To complete this repair, simply tilt the old element up and remove it, and then replace it with your new one.
Read less

$78.92
In Stock
Broil Element - 240V
Part #WB44K5009
This OEM-sourced broil element with push-on terminals is located on the roof of your oven cavity, providing heat from above to cook and heat your food. It requires a 240-volt power supply to function properly. The element measures 13 1/4 inches in width and has a length of 15 7/8 inches from the mounting bracket to the back. If you are ex...Read moreperiencing issues like uneven broiling or lack of heat, it is likely that the broil element is faulty and needs replacement. Before starting the replacement process, ensure that you turn off the oven at the breaker panel and let it cool down. To carry out the repair, you will need a flathead screwdriver, nut driver, and pliers. Begin by removing the oven door and racks. Then, unscrew the mounting screws that hold the old element in place and disconnect its wiring. Carefully pull out the old element from the appliance. When installing the new element, slide the wire contacts onto the terminals, insert it into the designated slot, and secure it with its fasteners. The top of the element is held in place by fork-like support clips, which are sold separately from the element itself.
Read less

$147.53
In Stock
Oven Sensor
Part #WB21X5301
It is possible that your oven is cold because of a fault in the temperature sensor. The temperature sensor regulates oven temperature in modern ranges, like a thermostat. It is on the back wall near the broiler on the top wall. On a newer oven, there may be a fault code displayed. Faulty temperature sensors are often responsible for F3 an...Read mored F4 error messages on an electric range. Check your manual or the manufacturer website to find out the proper resistance of the temperature sensor. To check your sensor, unplug the oven and use a multi-meter to see if your sensor is at the correct resistance.
Read less

$16.05
In Stock

$26.39
In Stock
Light Cover
Part #WB36X192
This light bulb lens covers the interior light bulb in an oven, range, or stove. No tools are necessary to replace this part. Simply slide off the wire bracket to remove the existing light bulb lens. Disconnect power to your appliance before this repair. It is recommended to check the light bulb while the lens cover is removed in case it ...Read moreneeds to be replaced. Be sure to remove all broken glass, if applicable, before installing new lens. This part is sourced directly from the genuine manufacturer, and is sold individually.
Read less

$43.18
In Stock
Broiler Pan - Large
Part #WB48X10056
This large broiler pan is found in the bottom of your oven and is used to catch drippings from broiling foods. This part includes the grate and bottom pan and is made of porcelain. The grate measures 15-1/2 inches wide by 13 inches deep and the pan is about 17 inches wide by 13 inches deep. No tools are required to replace this item, simp...Read morely pull out the lower drawer of your range, pull down the front of the drawer, slide the pan out and slide the new one into place. This is a genuine part sourced right from the manufacturer.
Read less

$85.52
In Stock

No Longer Available
Surface Burner Terminal Block Clip
Part #WB01T10014
Manuals & Care Guides for JMP28BC1WH
Click to downloadCommon Symptoms of the JMP28BC1WH
How this model fails, and the parts that fix it.
Element will not heat
Fixed by
these parts
these parts


Show All
Little to no heat when broiling
Fixed by
these parts
these parts

Show All
Little to no heat when baking
Fixed by
these parts
these parts

Show All
Oven not heating evenly
Fixed by
these parts
these parts
Show All
Will Not Start
Fixed by
these parts
these parts
Show All
Oven is too hot
Fixed by
these parts
these parts
Show All
Watch our pros, then fix it yourself.
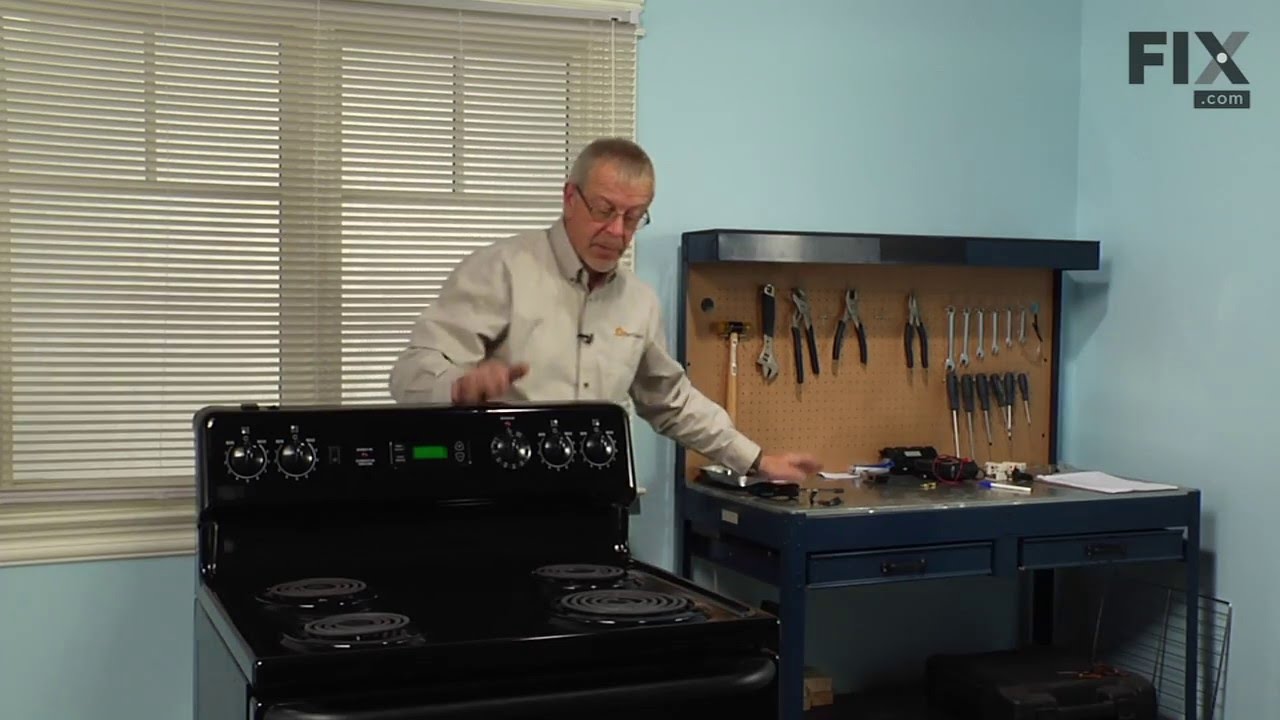
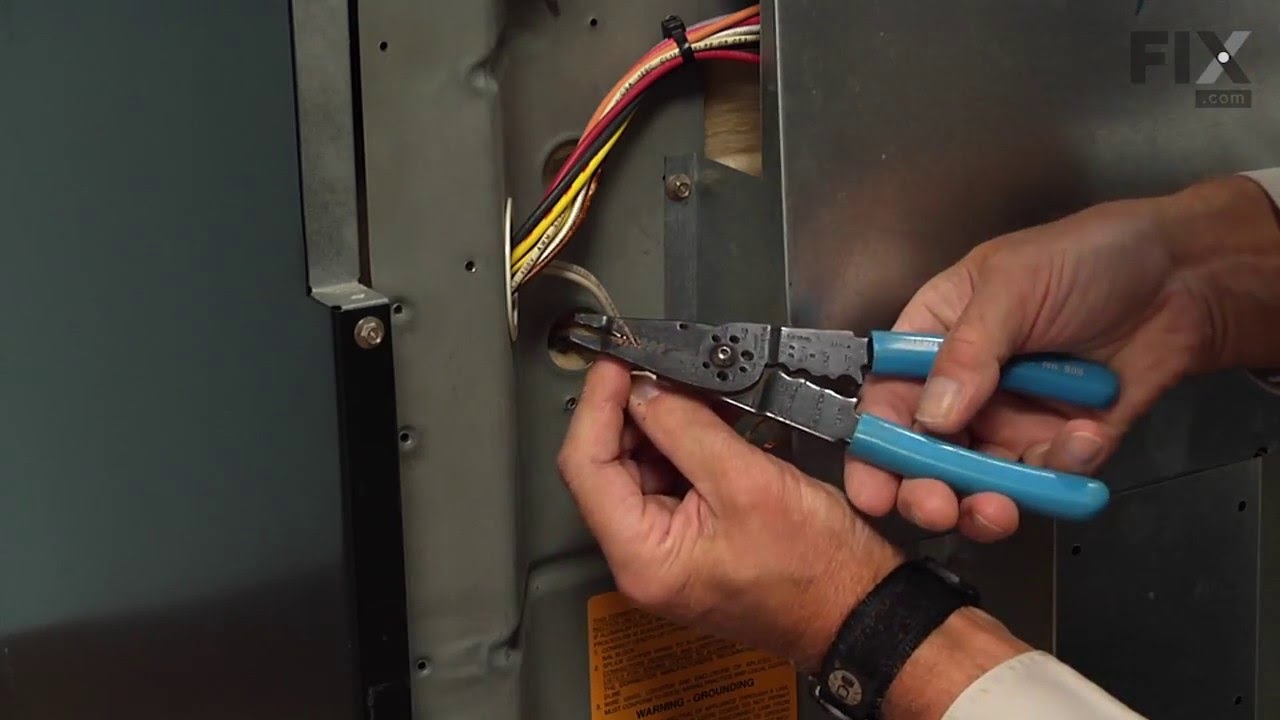
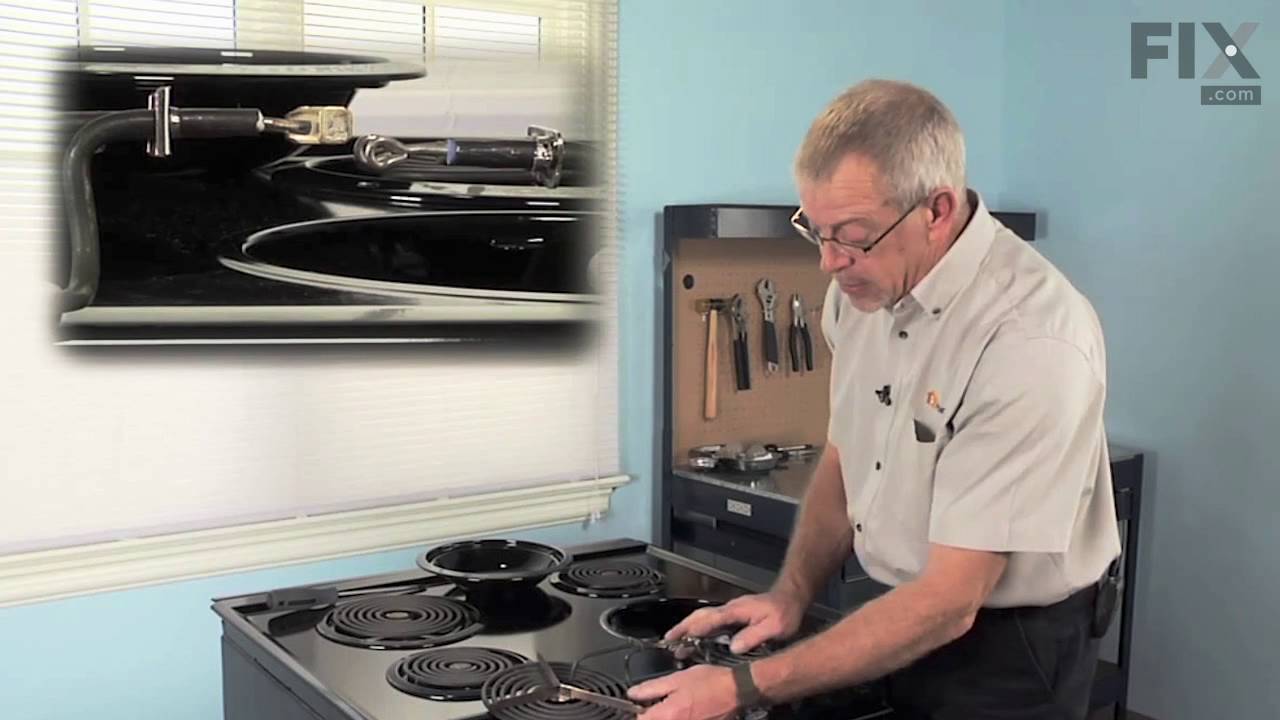
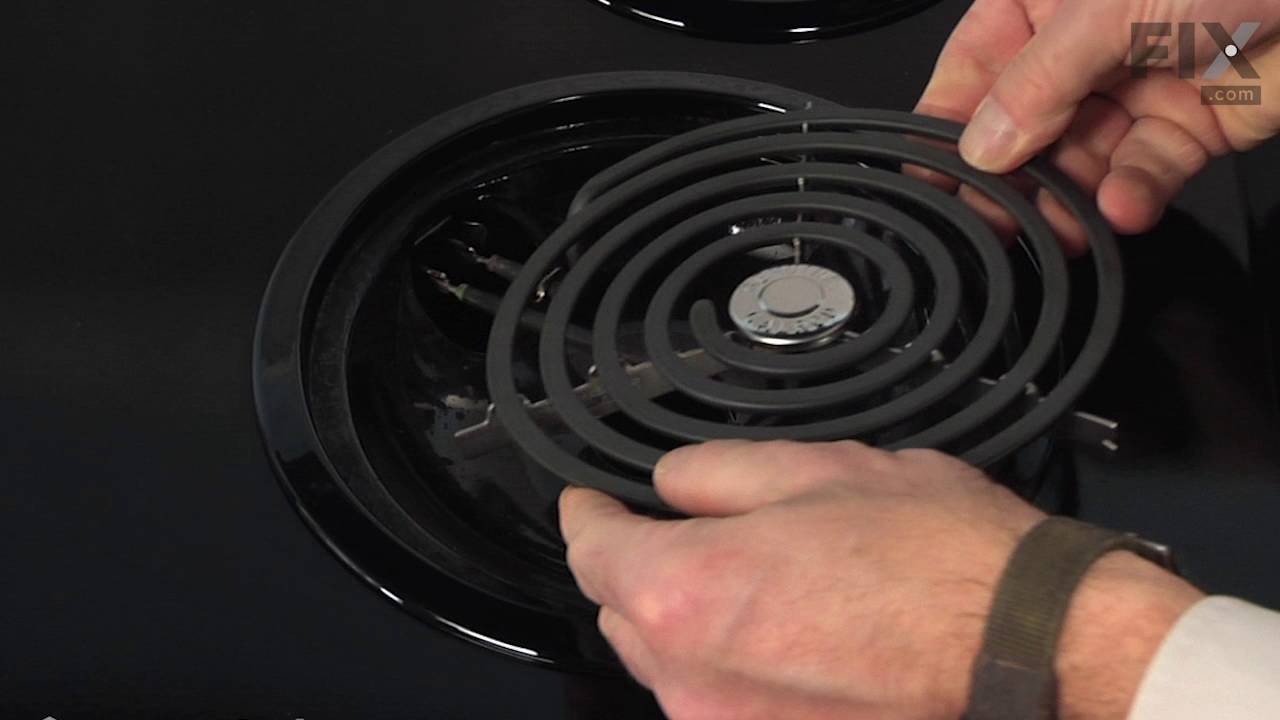
See how others fixed this model. Time, tools, difficulty, and steps that lead to victory!
View More
Search repair tips from other customers using simple keywords like "replace", "fit", "remove", "inspect". DIY doesn't mean you have to do it alone!
Search filter:
Clear Filter
Your search term must have 3 or more characters.
I needed new surface elements & burner bowls
493 of 503 people
found this instruction helpful.
This was about the simplest fix I've ever done. Just pulled off the old surface elements & burner bowls, wiped down the range top, and put in the new parts. Perfect fit. No problems at all. $$ well spent. ParsSelect shipped quickly, and they arrived well packaged. A+ experience all around. Thanks PartSelect. JA, San Ramon, CA
Other Parts Used:


Was this helpful?
Thank you for voting!
Burner bowls needed replacement
488 of 507 people
found this instruction helpful.
Very easy repair, Pulled burner coil out, removed old burner bowl. Put in new burner bowl, plugged burner coil back in... easy as 1,2,3
Other Parts Used:

Was this helpful?
Thank you for voting!
Burner Bowl Needed Replaced
524 of 693 people
found this instruction helpful.
Removed burner element and put in bowl
Other Parts Used:
Was this helpful?
Thank you for voting!